
1. Introduction
This instruction manual provides comprehensive guidance for assembling the Revell 03891 Boeing 747-8 Lufthansa New Livery 1:144 scale plastic model kit. This kit allows you to construct a detailed replica of the Boeing 747-8, featuring the distinctive Lufthansa New Livery. The Boeing 747-8 is known for its innovative design, advanced technology, and efficiency, making it a significant aircraft in aviation history.
The kit consists of 172 precision-engineered parts, designed for modelers aged 13 and up. Successful assembly requires attention to detail, patience, and the use of appropriate modeling tools and materials.

Image 1.1: The Revell Boeing 747-8 Lufthansa New Livery model kit box alongside a fully assembled model, showcasing the aircraft's design and the kit's packaging.
2. Safety Information
WARNING: SMALL PARTS. Not suitable for children under 3 years due to choking hazard.
This model kit contains small parts that can be a choking hazard. Keep all components out of reach of young children. Adult supervision is recommended during assembly, especially when using sharp tools and adhesives. Ensure adequate ventilation when using paints and glues, and follow the safety instructions provided with those products.
3. Package Contents
Your Revell 03891 model kit package should contain the following items:
- Plastic parts for the Boeing 747-8 aircraft (172 parts)
- Super decal set with the new Lufthansa livery markings
- Instruction manual (this document)

Image 3.1: A view of the plastic sprue frames containing the individual components of the model kit, ready for detachment and assembly.
4. Tools and Materials Required
The following tools and materials are essential for successful assembly and finishing of your model kit. These are not included in the kit and must be purchased separately:
- Plastic model cement (glue)
- Hobby knife or sprue cutters
- Small files or sandpaper (fine grit)
- Modeling paints (enamel or acrylic, as per your preference and the kit's color guide)
- Paintbrushes (various sizes) or airbrush equipment
- Tweezers
- Cotton swabs or soft cloth
- Decal setting solution (optional, for better decal adhesion)
5. Assembly Instructions
Follow these steps carefully for the assembly of your Boeing 747-8 model. Refer to the diagrams in the physical instruction booklet for detailed part placement.
5.1. Preparation
- Carefully remove parts from the sprue frames using sprue cutters or a hobby knife.
- Clean any excess plastic (flash) from the parts using a hobby knife or fine sandpaper.
- Dry-fit parts before applying glue to ensure proper alignment and fit.
5.2. Cockpit Assembly
Assemble the replica cockpit components as indicated in the instruction diagrams. Ensure all parts are securely glued and aligned.
5.3. Fuselage and Wing Assembly
- Join the fuselage halves, ensuring a tight seam. Use clamps or tape to hold them while the glue dries.
- Attach the main wing sections to the fuselage. Pay close attention to the dihedral angle.
- Assemble and attach the horizontal and vertical stabilizers to the tail section.
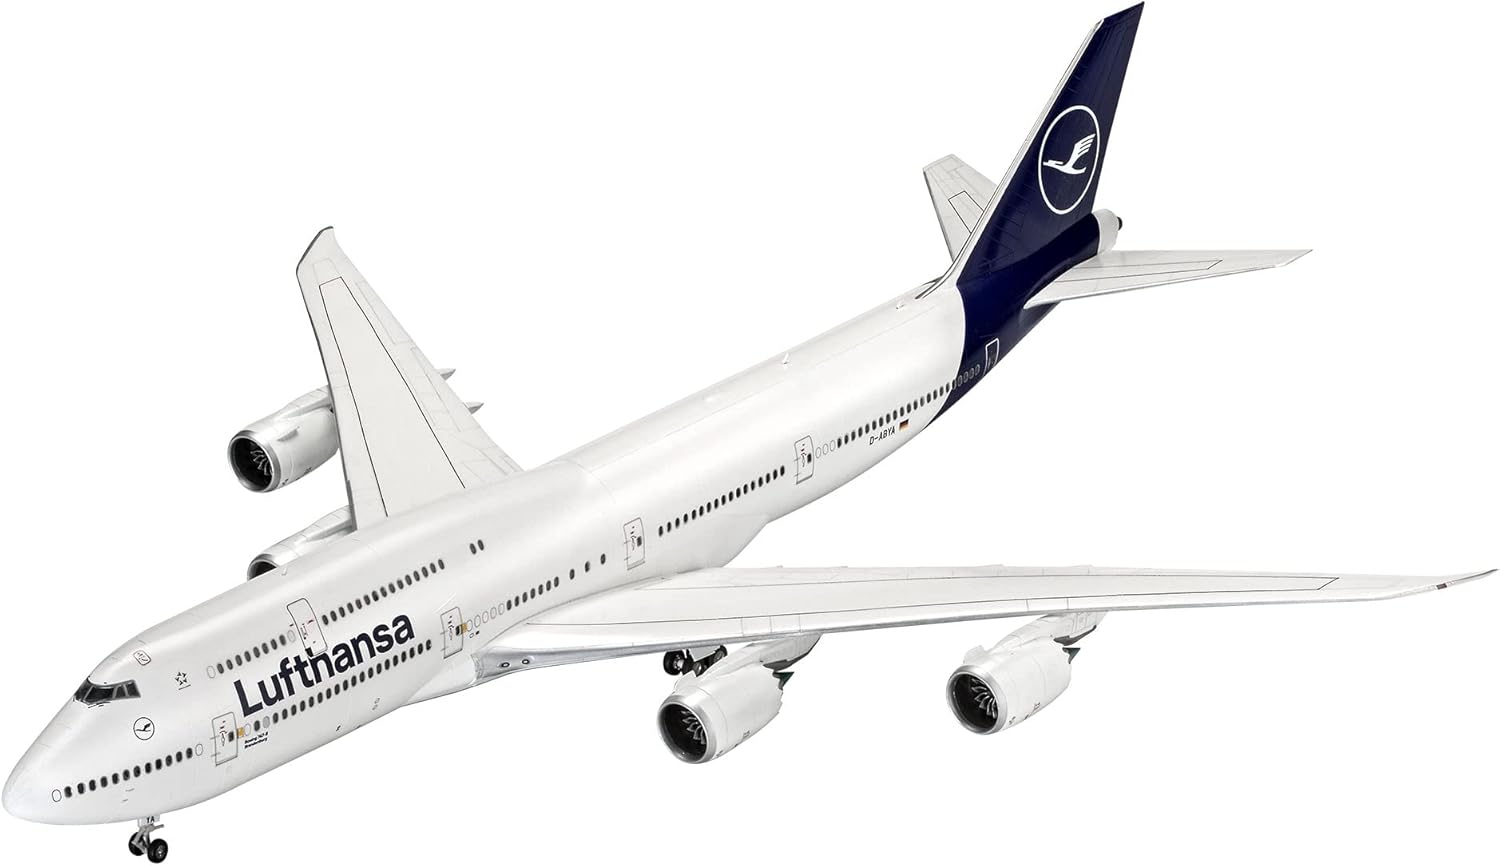
Image 5.1: A fully assembled Revell Boeing 747-8 model, showcasing the overall structure and the Lufthansa livery.
5.4. Engine Assembly
Assemble the detailed engine nacelles. The kit includes rotatable front fans. Ensure these are installed correctly to allow for movement if desired. Attach the completed engines to the wing pylons.

Image 5.2: Close-up view of the detailed engines on the model, highlighting the intricate design of the engine nacelles and fan blades.
5.5. Undercarriage Assembly
Assemble the detailed undercarriage components, including the landing gear struts and wheels. The kit features detailed under-carriage bays. You can choose to assemble the landing gear in either the extended (landing) or retracted (flight) position. If displaying in flight, use the provided display stand.
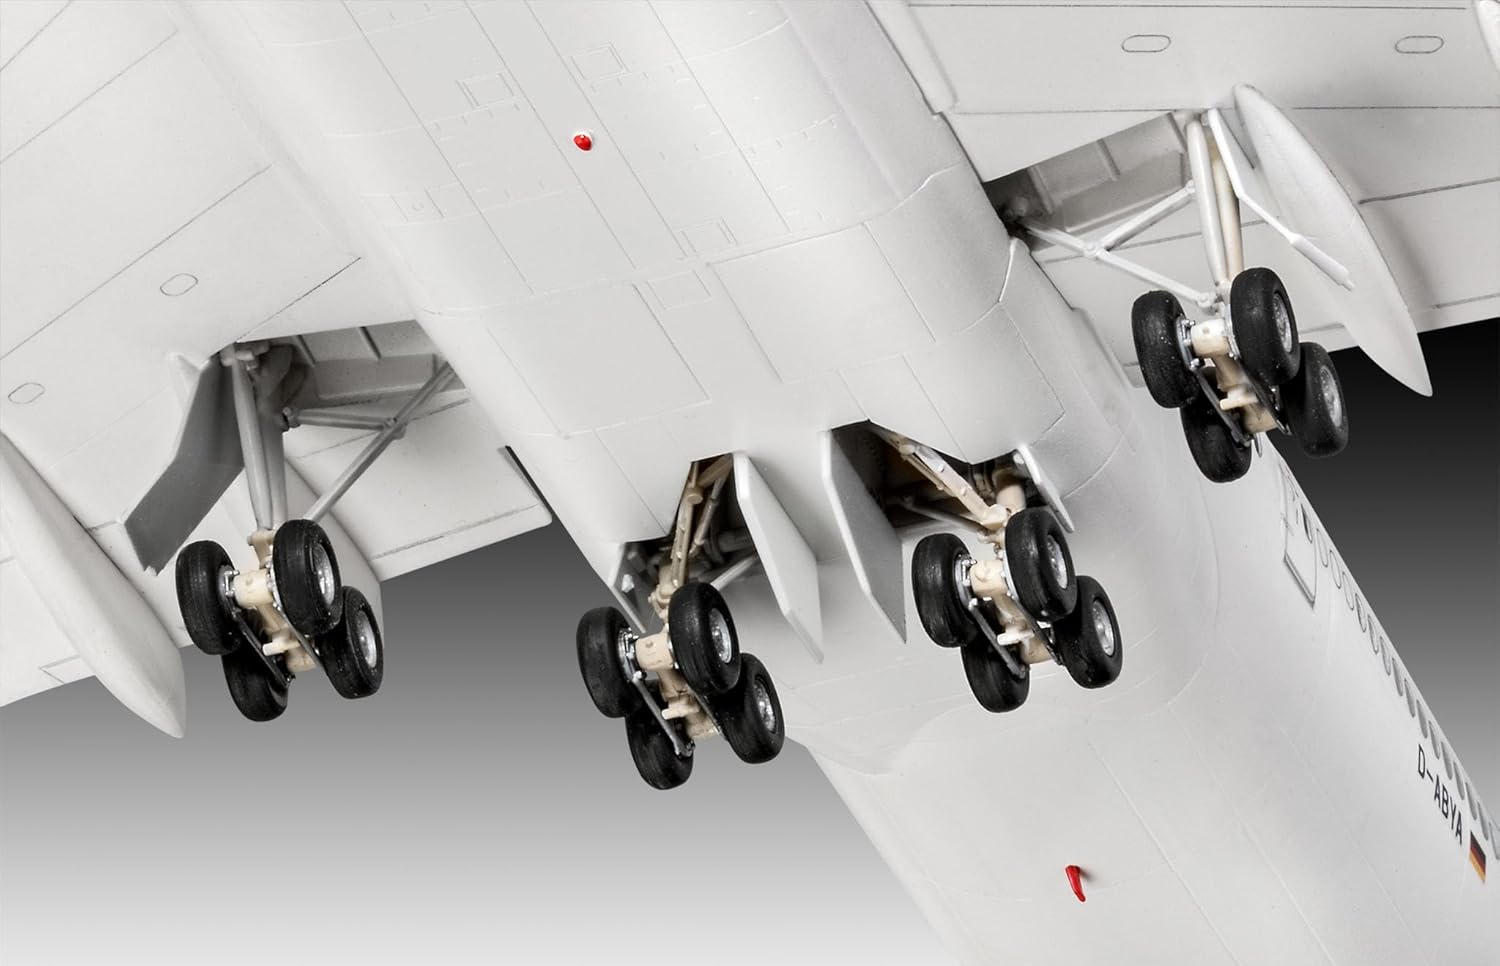
Image 5.3: A detailed view of the model's undercarriage, showing the landing gear struts, wheels, and the intricate bay details.
5.6. Decal Application
Once the main assembly and painting are complete, apply the "Super decal set with the new Lufthansa livery".
- Cut out each decal carefully.
- Dip the decal in lukewarm water for a few seconds until it slides freely on its backing paper.
- Slide the decal onto the desired position on the model.
- Gently blot away excess water with a soft cloth or cotton swab.
- Use decal setting solution (optional) to help the decal conform to surface details and eliminate silvering.
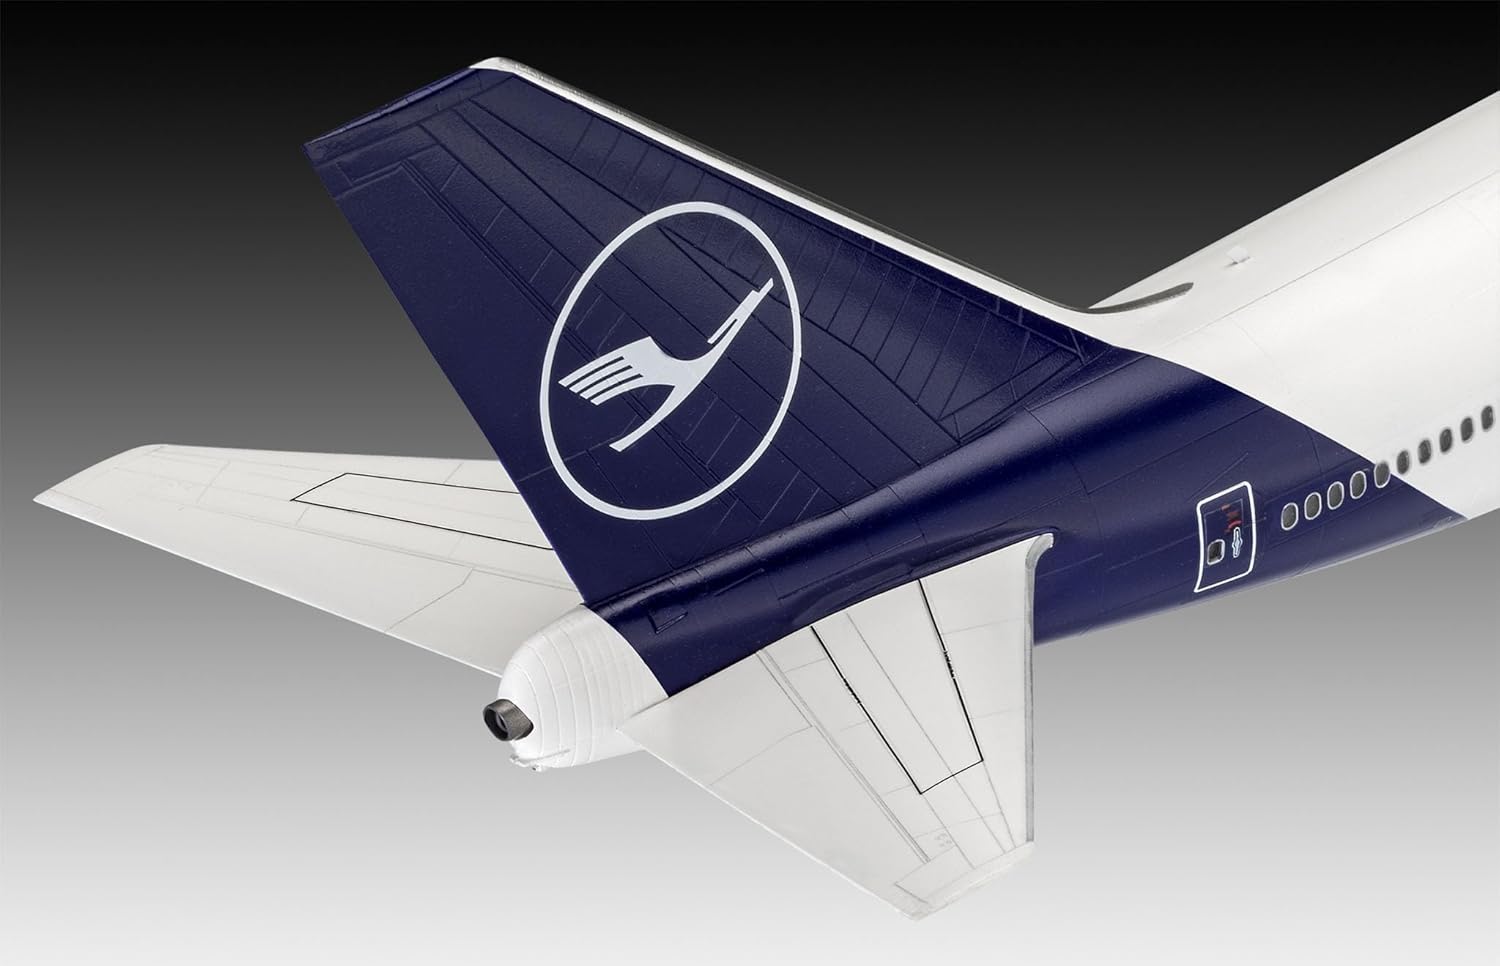
Image 5.4: Close-up of the model's tail fin, featuring the distinctive Lufthansa crane logo and blue livery, applied via decals.
6. Painting Guide
The kit requires painting to achieve the authentic Lufthansa New Livery. Refer to the color guide provided in the physical instruction booklet for specific paint codes and placement. You can use either enamel or acrylic paints.
- Preparation: Ensure surfaces are clean and free of dust or grease before painting.
- Priming: A primer coat is recommended for better paint adhesion and a uniform finish.
- Application: Apply thin, even coats of paint. Multiple thin coats are better than one thick coat. Allow each coat to dry thoroughly before applying the next.
- Detail Painting: Use fine brushes for small details and masking tape for sharp lines.
7. Display and Care
Once your model is complete, you can display it using the included display stand or with the landing gear extended. To maintain its appearance:
- Display the model in a cool, dry place away from direct sunlight to prevent fading of paints and decals.
- Clean the model periodically with a soft, dry brush or a slightly damp cloth. Avoid harsh chemicals.
- Handle the model carefully to prevent damage to delicate parts.

Image 7.1: An artistic illustration depicting the Boeing 747-8 in Lufthansa's New Livery, flying through a cloudy sky, representing the finished model in its intended environment.
8. Troubleshooting
| Problem | Possible Cause | Solution |
|---|---|---|
| Parts do not fit together properly. | Excess plastic (flash) on parts, misalignment, or incorrect part selection. | Carefully trim flash with a hobby knife. Dry-fit parts before gluing. Double-check part numbers against the instruction diagrams. |
| Decals bubble or do not adhere. | Surface not clean, insufficient water, or air trapped underneath. | Ensure surface is clean and smooth. Use enough water. Gently press out air bubbles with a cotton swab. Apply decal setting solution. |
| Paint finish is uneven or streaky. | Paint too thick, improper mixing, or insufficient drying time between coats. | Thin paint to the recommended consistency. Apply multiple thin coats. Allow ample drying time. |
9. Specifications
- Model: Boeing 747-8 Lufthansa New Livery
- Scale: 1:144
- Part Count: 172 parts
- Model Length: 525mm (20.67 inches)
- Model Wingspan: 476mm (18.74 inches)
- Material: Plastic
- Recommended Age: 13 years and up
- Item Model Number: RV03891
- GTIN: 04009803038919
10. Warranty and Support
For questions regarding missing parts, manufacturing defects, or assembly assistance, please contact Revell customer support directly. Information on how to contact Revell can typically be found on their official website or on the product packaging.
Please retain your proof of purchase for any warranty claims.
Visit the Official Revell Store on Amazon