1. Introduction
This manual provides essential information for the safe and effective installation, operation, and maintenance of your new EDGE INDUSTRIAL EMZ 5HP Compressor Duty Electric Motor. This motor is designed for belt-driven air compressors and features a 56HZ frame, 3450 RPM, and a 7/8" shaft diameter. Please read this manual thoroughly before any installation or operation to ensure proper use and to prevent injury or damage.

Figure 1: Front-side view of the 5HP Compressor Duty Electric Motor, showing the main body and the visible nameplate with specifications.
2. Safety Information
WARNING: Electrical shock hazard. Always disconnect power before installing, servicing, or cleaning this motor. Failure to do so can result in serious injury or death.
- Professional Installation Required: Due to the electrical nature and power of this motor, professional installation is mandatory. Incorrect wiring or installation can lead to motor damage, fire, or severe personal injury.
- Voltage Compatibility: This motor is rated for 230V. It is NOT rated for any voltage less than 208 VAC. Ensure your power supply matches the motor's voltage requirements.
- Non-Reversible Rotation: The motor's shaft rotation is CCW (Counter Clockwise) when viewed from the shaft end. This rotation is NOT REVERSIBLE. Attempting to reverse the rotation may damage the motor.
- Thermal Protection: The motor is thermally protected with a manual reset. If the motor overheats, it will shut off. Allow the motor to cool before pressing the reset button.
- Secure Mounting: Ensure the motor is securely mounted to a stable surface to prevent vibration and movement during operation.
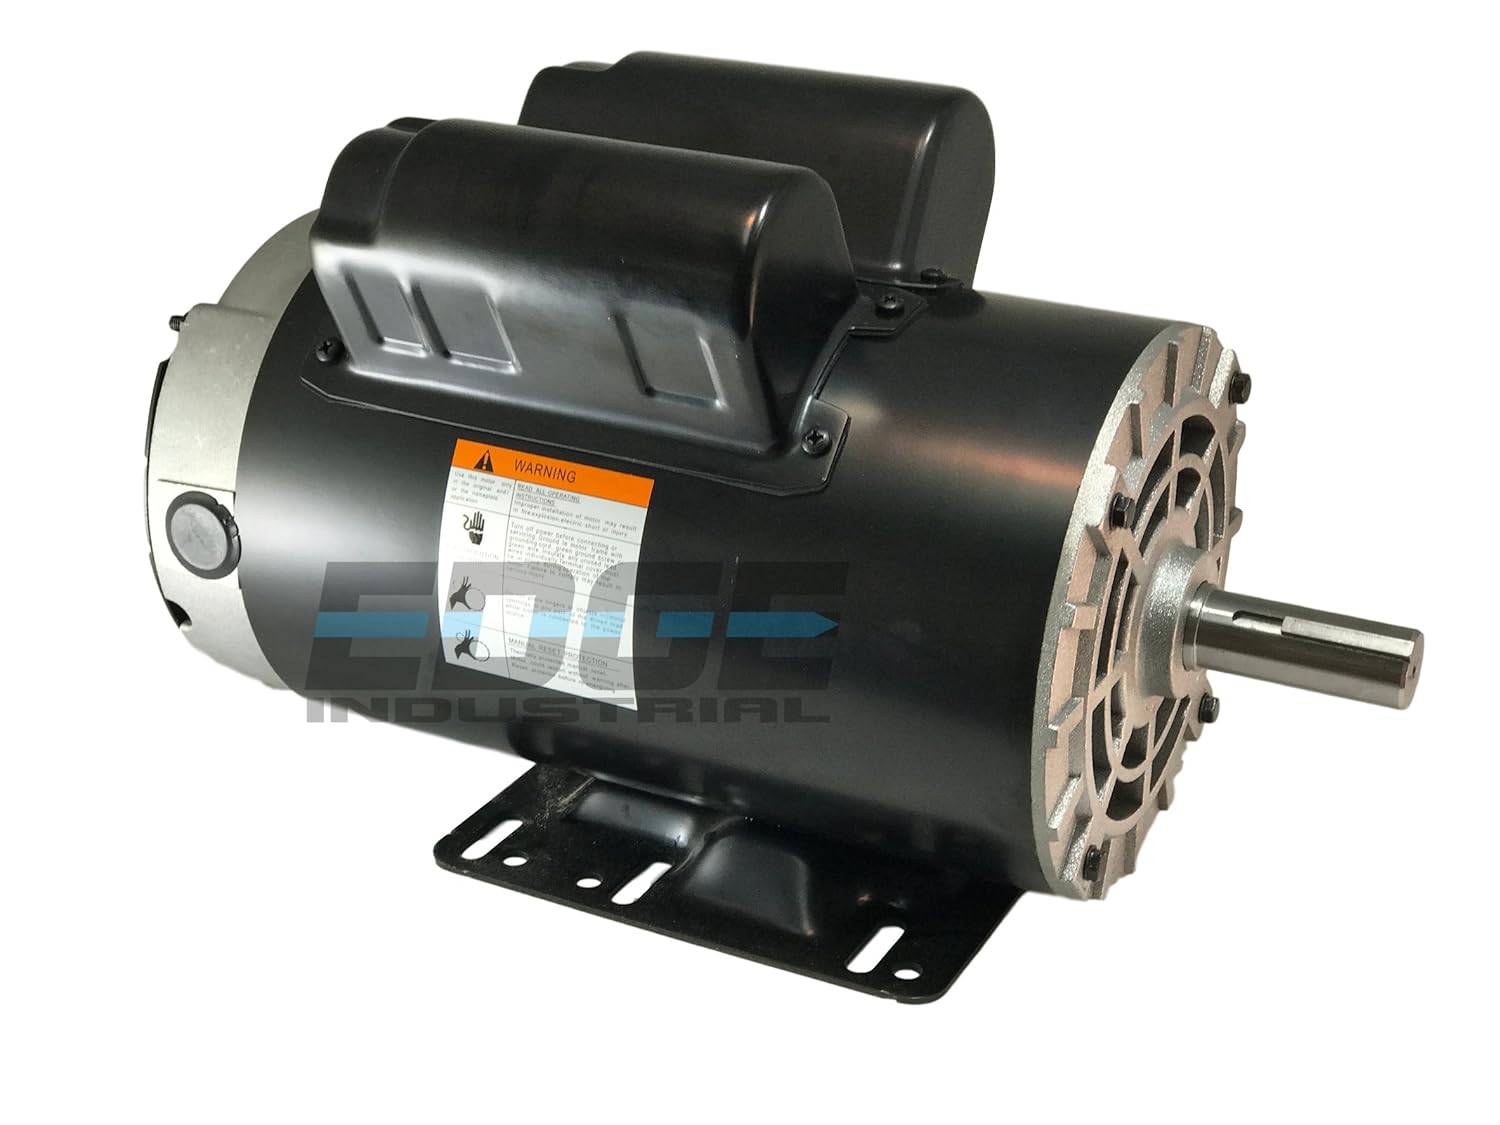
Figure 2: Side view of the motor, highlighting the warning label. Always read and adhere to all safety warnings.
3. Product Specifications
The following table details the technical specifications of the EDGE INDUSTRIAL EMZ 5HP Compressor Duty Electric Motor:

Figure 3: Close-up of the motor's nameplate, providing critical technical data.
| Specification | Value |
|---|---|
| Horsepower (HP) | 5 HP |
| Voltage | 230V (Not rated for less than 208 VAC) |
| Amperage (Full Load Amps) | 22.0 FLA at 230V |
| RPM | 3450 RPM |
| Frequency | 60 Hz |
| Shaft Diameter | 7/8" Keyed shaft |
| Shaft Length | 2.25" |
| Frame Size | 56HZ (Replaces 143T / 145T / 56 / 56H / 56HZ) |
| Rotation | CCW (Counter Clockwise) when viewed from shaft end (Non-reversible) |
| Enclosure | ODP (Open Drip Proof) |
| Service Factor | 1.0 |
| Thermal Protection | Yes, with Manual Reset |
| Phase | One / Single Phase |
| Product Dimensions | 20 x 12 x 12 inches; 40.4 Pounds |

Figure 4: Front view of the motor, illustrating the 7/8" keyed shaft.
4. Setup and Installation
Proper installation is critical for the performance and longevity of your motor. Always ensure power is disconnected before beginning installation.
- Matching Specifications: Before installation, verify that the specifications of this new motor (HP, RPM, Voltage, Frame Size, Shaft Diameter) precisely match the requirements of your existing compressor or application. Refer to the nameplate on your old motor and compare it with the specifications listed in Section 3.
- Mounting: Securely mount the motor using the provided mounting holes. Ensure the mounting surface is flat, stable, and capable of supporting the motor's weight and operational vibrations. This motor is designed to replace multiple bolt pattern configurations (143T / 145T / 56 / 56H / 56HZ).
- Shaft Alignment: When connecting to a belt-driven system, ensure precise alignment of the motor shaft with the driven component (e.g., compressor pulley). Misalignment can cause excessive wear, noise, and premature failure of bearings and belts.
- Electrical Wiring: Wiring information is shown on the motor's nameplate. This motor requires a 230V single-phase power supply. Connect the power lines to the designated terminals (LINE 1 and LINE 2). Ensure all connections are tight and insulated. Professional electrical installation is required.
- Grounding: Properly ground the motor according to local electrical codes to prevent electrical shock hazards.
5. Operating Instructions
Once installed and wired correctly, the motor is ready for operation.
- Initial Start-up: After installation, perform a brief test run to ensure smooth operation, correct rotation (CCW from shaft end), and absence of unusual noises or vibrations.
- Continuous Operation: The motor is designed for continuous duty (CONT.). Monitor the motor during initial periods of operation for any signs of overheating or malfunction.
- Thermal Protection Reset: If the motor stops unexpectedly, it may have activated its thermal overload protector due to overheating.

Figure 5: Rear view of the motor, indicating the location of the manual reset button.
Allow the motor to cool down completely (typically 20-30 minutes, or until the motor casing is cool to the touch) before pressing the red manual reset button located on the rear of the motor. If the motor repeatedly trips the thermal protector, investigate the cause (e.g., excessive load, insufficient ventilation, incorrect voltage) before resuming operation.
6. Maintenance
Regular maintenance ensures optimal performance and extends the lifespan of your electric motor.
- Cleaning: Keep the motor clean and free from dust, dirt, and debris. The ODP (Open Drip Proof) enclosure means it is protected from falling liquids and solids, but not from direct spray or immersion. Ensure ventilation openings are clear for proper airflow.
- Inspections: Periodically inspect all electrical connections for tightness and signs of corrosion. Check mounting bolts for tightness.
- Bearings: This motor uses sealed bearings (DE BRG: 6205RZ, ODE BRG: 6203RZ) which are typically maintenance-free and do not require lubrication.
- Vibration and Noise: Any unusual vibration or noise should be investigated immediately. This could indicate bearing wear, misalignment, or other mechanical issues.
7. Troubleshooting
This section provides solutions to common issues you might encounter.
| Problem | Possible Cause | Solution |
|---|---|---|
| Motor does not start | No power supply Thermal overload tripped Incorrect wiring Motor seized | Check power source and circuit breaker. Allow motor to cool, then press manual reset button. Verify wiring against nameplate diagram. Consult a professional electrician. Inspect for mechanical obstruction. |
| Motor overheats and trips thermal protector | Excessive load Insufficient ventilation Low voltage Bearing issues | Reduce load on the motor. Clear debris from ventilation openings. Ensure adequate airflow. Verify supply voltage is 230V. Do not operate below 208V. Inspect bearings for wear. |
| Excessive noise or vibration | Loose mounting bolts Misalignment of shaft/pulley Worn bearings | Tighten all mounting bolts. Check and correct shaft/pulley alignment. Consult a qualified technician for bearing inspection/replacement. |
| Motor runs but lacks power | Low voltage Incorrect wiring Partial winding failure | Verify supply voltage is 230V. Recheck wiring connections. Consult a professional for diagnosis and repair. |
8. Warranty and Support
For specific warranty terms and conditions, please refer to the documentation provided at the time of purchase or contact the seller directly. This product may be eligible for extended protection plans, which can be purchased separately.
For technical support or inquiries not covered in this manual, please contact EDGE INDUSTRIAL EMZ customer service or your authorized dealer. When contacting support, please have your motor's model number (56S34D5M) and serial number (if applicable) ready.
Manufacturer: EDGE EMZ