Introduction
Thank you for choosing the morpilot Automatic Electric Ball Pump, Model AP1. This compact and efficient device is designed to inflate various sports balls and small inflatables with ease and precision. Featuring intelligent pressure detection and an automatic stop function, it ensures optimal inflation every time. Please read this manual thoroughly before use to ensure safe and effective operation.
Package Contents
Carefully unpack your morpilot Automatic Electric Ball Pump and check for the following items:
- 1 x morpilot Automatic Electric Ball Pump
- 1 x USB Charging Cable
- 1 x Buoy Nozzle
- 1 x Ball Needle
- 1 x Air Hose
- 1 x Waterproof Storage Bag
- 1 x User Manual

Image: All components included in the morpilot Automatic Electric Ball Pump package.
Safety Information
- Do not expose the pump to extreme temperatures or direct sunlight.
- Keep out of reach of children.
- Do not attempt to disassemble or modify the pump.
- Ensure the correct nozzle is used for the item being inflated.
- Avoid over-inflating items, as this can cause damage or injury. The automatic stop feature helps prevent this.
- This pump is not suitable for inflating bicycle tires or vehicle tires.
Setup
Before first use, ensure the pump is fully charged.
Charging the Pump
The morpilot AP1 pump features an internal Lithium-ion battery and is USB rechargeable.
- Connect the provided USB charging cable to the pump's charging port.
- Connect the other end of the USB cable to a USB power source (e.g., wall adapter, power bank, computer USB port).
- The indicator light will show charging status. Once fully charged, the light will change (refer to the pump's specific indicator behavior in the manual).

Image: The pump being charged via a USB connection to a laptop.
Attaching the Nozzle/Needle
Select the appropriate inflation accessory for your item.
- Screw the air hose onto the pump's inflation port.
- Attach the ball needle or buoy nozzle to the other end of the air hose.
Operating Instructions
The morpilot AP1 features intelligent pressure detection and automatic shut-off for precise inflation.
- Connect to Ball: Insert the attached needle or nozzle firmly into the inflation valve of the ball or inflatable.
- Select Ball Type/Preset Pressure: The pump offers preset modes for different ball types. Press the mode button to cycle through options like Basketball, Football, Rugby, and Volleyball. The display will show the target pressure.
- Start Inflation: Press the power/start button to begin inflation. The pump will automatically detect the current pressure and start inflating.
- Automatic Stop: The pump will automatically stop once the preset pressure is reached. This prevents over-inflation.
- Disconnect: Carefully remove the needle/nozzle from the ball.

Image: The pump's interface showing the four selectable ball modes.

Image: Demonstrating fast inflation and automatic shut-off when desired pressure is reached.

Image: Step-by-step guide for connecting, selecting, starting, and stopping inflation.
Flashlight Function
The pump is equipped with an LED flashlight for convenience in low-light conditions.
- To turn on the flashlight, press the dedicated flashlight button (refer to the pump's specific button layout).
- Press again to turn off.
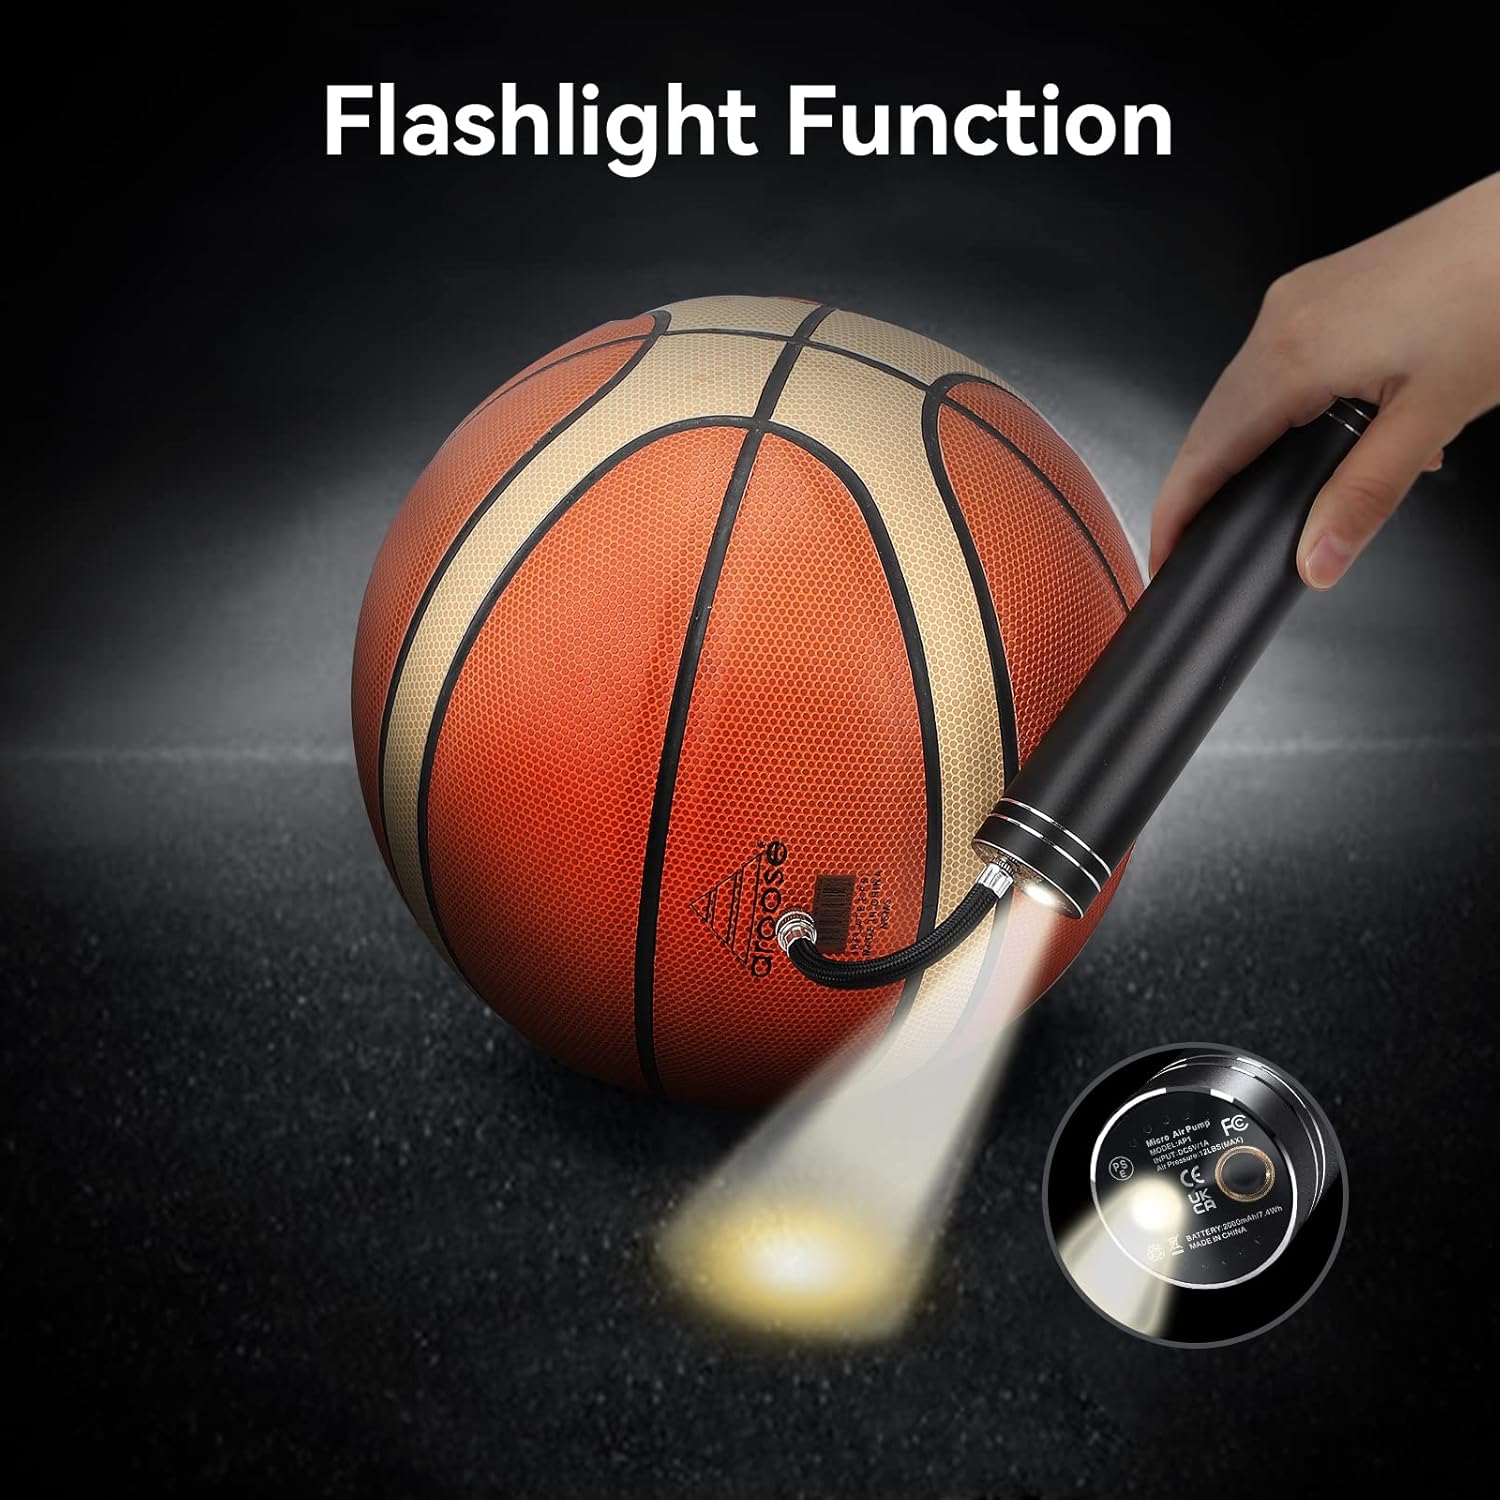
Image: The pump's integrated flashlight function in use.
Maintenance
Cleaning
Wipe the pump's exterior with a soft, dry cloth. Do not use abrasive cleaners or immerse the pump in water.
Storage
Store the pump and its accessories in the provided waterproof bag in a cool, dry place, away from direct sunlight and extreme temperatures. Ensure the pump is fully charged before long-term storage to maintain battery health.

Image: The compact design of the pump, highlighting its portability and capacity.

Image: The pump's portability, fitting easily into a pocket.
Troubleshooting
| Problem | Possible Cause | Solution |
|---|---|---|
| Pump does not turn on. | Low battery or no charge. | Charge the pump using the USB cable. |
| Pump inflates slowly or not at all. | Nozzle/needle not properly connected or blocked. | Ensure the air hose and needle are securely attached and clear of obstructions. Check ball valve for blockages. |
| Pump stops before reaching desired pressure. | Incorrect pressure setting or low battery. | Verify the correct ball mode/pressure is selected. Recharge the pump if battery is low. |
| Inaccurate pressure reading. | Needle not fully inserted or air leak. | Ensure the needle is fully inserted into the ball valve. Check for any air leaks around connections. |
Specifications
| Feature | Detail |
|---|---|
| Manufacturer | morpilot |
| Model Number | AP1 |
| Product Dimensions (L x W x H) | 16 x 3.51 x 3.51 cm |
| Weight | 185 Grams |
| Battery Type | Internal Lithium-ion |
| Power Source | Battery Powered (USB Rechargeable) |
| Air Flow Capacity | 4 Liters per minute |
| Performance | Inflates approximately 30 balls on a full charge |
| Special Features | Automatic pressure detection, auto-stop, LED flashlight, preset ball modes |
| Recommended Use | Inflating sports balls (basketball, football, volleyball, rugby) and swimming buoys. |

Image: The morpilot pump with various inflatables it can be used with.
Warranty and Support
For warranty information or technical support, please refer to the contact details provided on the product packaging or visit the official morpilot website. Keep your purchase receipt as proof of purchase.