Philips Lighting 3281031P3
Philips MyLiving CAVANAL LED Ceiling Light
Model: 3281031P3
Introduction
This user manual provides essential information for the safe and efficient installation, operation, and maintenance of your Philips MyLiving CAVANAL LED Ceiling Light. Please read this manual thoroughly before installation and keep it for future reference.
Safety Information
- Electrical Safety: Installation must be performed by a qualified electrician and in accordance with local electrical codes. Always disconnect power at the main fuse or circuit breaker before installation or maintenance.
- Handling: Handle the product with care to avoid damage. Do not drop or subject the light to strong impacts.
- Environment: This product is designed for indoor use only (IP20 rating). Do not expose to water or high humidity.
- Light Source: The LED light source is integrated and not replaceable. Do not attempt to disassemble the light fixture.
- Cleaning: Clean only with a soft, dry cloth. Do not use abrasive cleaners or solvents.
Package Contents
Verify that all components are present before beginning installation:
- Philips MyLiving CAVANAL LED Ceiling Light fixture
- Mounting hardware (screws, wall plugs)
- User Manual (this document)
Setup and Installation
Follow these steps carefully to install your ceiling light. It is recommended to have two people for installation.
- Prepare for Installation:
- Disconnect Power: Turn off the main power supply to the installation area at the circuit breaker or fuse box. Verify that power is off using a voltage tester.
- Unpack: Carefully remove the light fixture and all components from the packaging. Inspect for any damage.
- Mounting the Fixture:
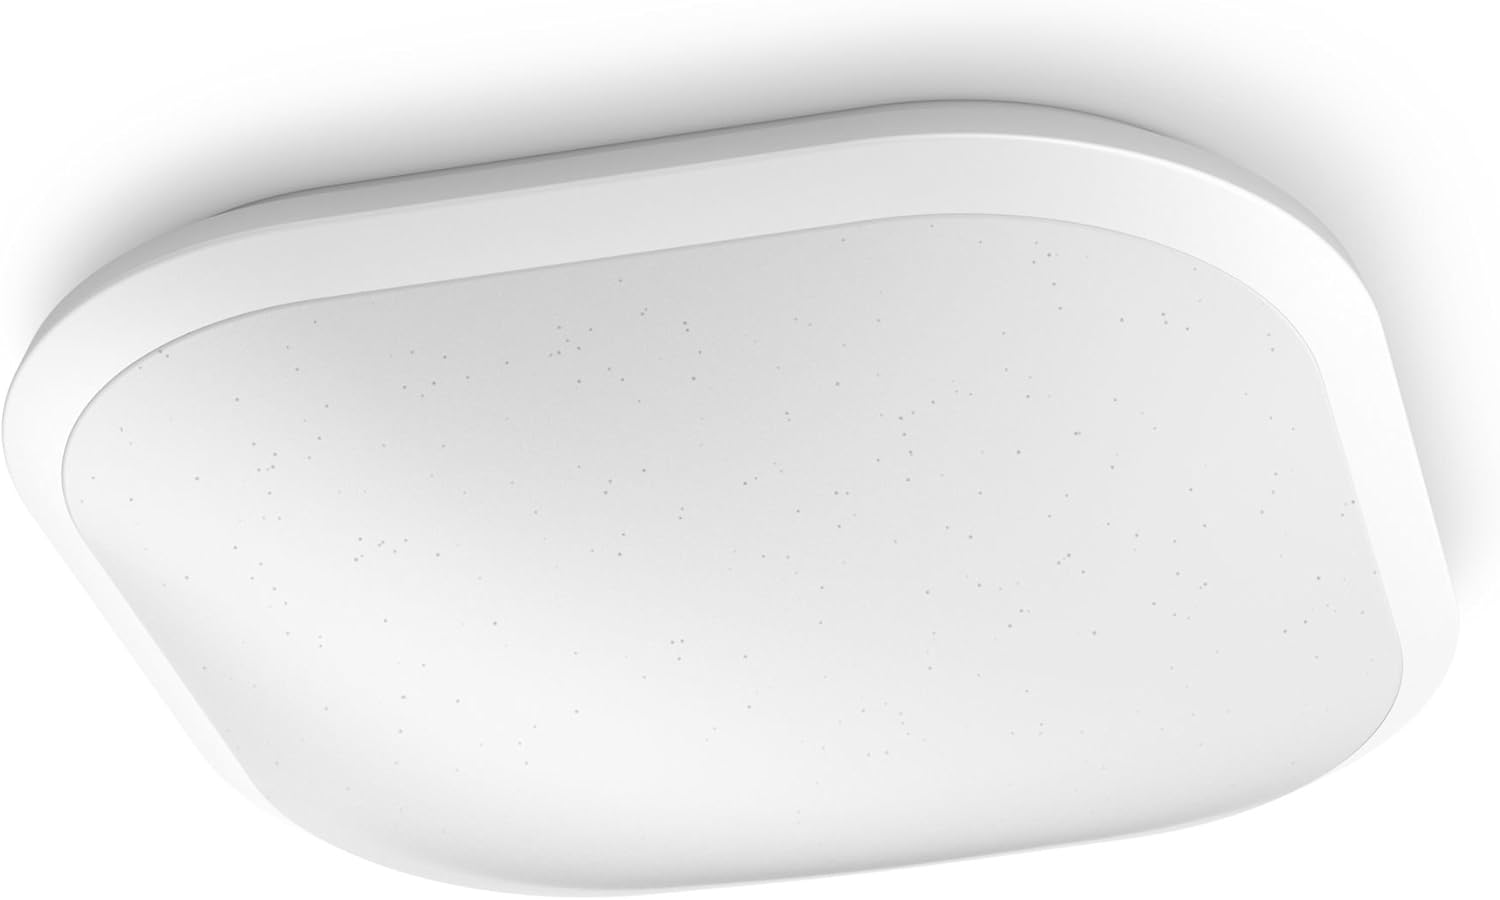 Figure 1: Philips MyLiving CAVANAL LED Ceiling Light. This image shows the square white LED ceiling light, designed for flush mounting, with a smooth, minimalist appearance.
- Mark Drilling Points: Hold the mounting bracket (if separate) or the fixture base against the ceiling at the desired installation location. Use a pencil to mark the drilling points.
- Drill Holes: Drill holes at the marked points using an appropriate drill bit for your ceiling material. Insert wall plugs if necessary.
- Secure Mounting Bracket: Attach the mounting bracket or fixture base to the ceiling using the provided screws. Ensure it is securely fastened.
- Electrical Connection:
- Connect Wires: Connect the electrical wires from the ceiling to the corresponding terminals on the light fixture. Typically, this involves connecting live (L), neutral (N), and earth (ground) wires. Ensure all connections are tight and secure. Refer to the wiring diagram if provided with the product.
- Tuck Wires: Carefully tuck all wires into the junction box or fixture base, ensuring no wires are pinched.
- Attach the Fixture:
- Secure Fixture: Align the light fixture with the mounting bracket/base and secure it using the provided screws or locking mechanism. Ensure the fixture is flush with the ceiling and stable.
- Restore Power:
- Turn On Power: Restore power at the main circuit breaker or fuse box.
- Test Light: Turn on the light switch to verify that the fixture is working correctly.
Operating Instructions
The Philips MyLiving CAVANAL LED Ceiling Light is designed for simple operation.
- Turning On/Off: Use a standard wall switch connected to the light fixture to turn the light on or off.
- Dimming Function: This light is dimmable. If connected to a compatible dimmer switch (sold separately), you can adjust the light intensity to your preference. Ensure the dimmer switch is suitable for LED lighting.
Maintenance
The Philips MyLiving CAVANAL LED Ceiling Light requires minimal maintenance.
- Cleaning: To clean the fixture, ensure the power is off. Use a soft, dry, lint-free cloth to wipe the surface. Do not use liquid or aerosol cleaners, as they may damage the finish or electrical components.
- Light Source: The integrated LED light source is designed for a long lifespan (20,000 hours) and is not user-replaceable. If the light source fails, the entire fixture must be replaced.
Troubleshooting
If you encounter issues with your Philips MyLiving CAVANAL LED Ceiling Light, refer to the following common problems and solutions:
| Problem | Possible Cause | Solution |
|---|---|---|
| Light does not turn on. | No power supply. Loose electrical connection. Faulty wall switch. | Check circuit breaker/fuse. Ensure all wires are securely connected (disconnect power first!). Test the wall switch or replace if necessary. |
| Light flickers or dims unexpectedly. | Incompatible dimmer switch. Loose connection. | Ensure dimmer switch is compatible with LED lighting. Check electrical connections (disconnect power first!). |
| Light is not as bright as expected. | Dimmer setting too low. Dust accumulation on diffuser. | Adjust dimmer to maximum brightness. Clean the light fixture with a dry cloth. |
If the problem persists after trying these solutions, please contact customer support.
Specifications
| Feature | Detail |
|---|---|
| Brand | Philips Lighting |
| Model Number | 3281031P3 |
| Product Dimensions (L x W x H) | 38.6 x 32.8 x 14 cm (15.2 x 12.9 x 5.5 inches) |
| Weight | 436 grams (0.96 lbs) |
| Ingress Protection (IP) Rating | IP20 |
| Style | Integrated LED |
| Color | White |
| Material | Plastic |
| Finish Type | White |
| Number of Light Sources | 1 |
| Maximum Wattage | 19 Watts |
| Voltage | 230 Volts |
| Special Feature | Dimmable |
| Light Source Type | LED |
| Incandescent Equivalent Wattage | 115 Watts |
| Color Rendering Index (CRI) | 80 |
| Rated Lifetime | 20,000 hours |
| Color Temperature | 4000K (Cool White) |
Warranty and Support
For warranty information and technical support, please refer to the official Philips Lighting website or contact their customer service directly.
- Official Website: www.lighting.philips.com
- Customer Support: Refer to the contact information provided on the Philips Lighting website for your region.
Keep your purchase receipt as proof of purchase for warranty claims.
Related Documents - 3281031P3
 |
Philips Smartbright Pro Downlight: Full Wattage & CCT Range, Recessed Installation Discover the Philips Smartbright Pro Downlight, offering reliable lighting performance with full wattage and CCT range, suitable for recessed installation in residential, hospitality, and retail applications. Features low flicker lighting and elegant design. |
 |
Philips TrueLine Surface Mounted Lighting: Elegant, Energy-Efficient Office Lighting Discover the Philips TrueLine surface-mounted luminaire, offering elegant lines, energy efficiency, and compliance with office lighting standards. Explore its features, benefits, technical specifications, and product variants for modern office environments. |
 |
Philips Lighting GreenUp Magnetic Flex: Flexible, Comprehensive, and Reliable Lighting Solution Discover the Philips Lighting GreenUp Magnetic Flex, a versatile and reliable lighting system designed for retail and hospitality environments. This product family offers a magnetic design for easy installation, a wide range of options, and excellent lighting quality with good glare control and color rendering. Learn about its features, benefits, technical specifications, and available models. |
 |
KeyLine Joustava Valolinja: Moderni ja Tehokas Valaistusratkaisu Philips Lightingin KeyLine-valolinjasarja tarjoaa tyylikkään, minimalistisen ja joustavan valaistuksen toimistoihin, vähittäismyymälöihin ja oppilaitoksiin. Energiatehokas, UGR19-yhteensopiva ja helppo asentaa. |
 |
Philips TrueCircle: Versatile LED Ceiling Luminaire in Round Shape Philips TrueCircle is a functional surface mount round LED luminaire with a classical design suitable for various office spaces. It offers a competitive solution with good lighting specifications, comfortable glare-free light, and uniform lighting distribution. Available in surface-mounted and suspended versions, with different sizes, light outputs, and optics, including PSP and OC options. Features include 3000K/4000K color temperatures, CRI >80, 50,000 hours lifetime, and IP40 rating. Ideal for offices, hospitality, schools, and residential applications. |
 |
Essential SmartBright Solar Flood Light | Philips Lighting - Energy Efficient Outdoor Lighting Discover the Philips Lighting Essential SmartBright Solar Flood Light. Energy-efficient, easy-to-install, and secure outdoor lighting powered by the sun. Features include LiFePO4 battery, dimming, and IP65 rating. |
Ask a question about this manual
Ask about setup, troubleshooting, compatibility, parts, safety, or missing instructions. Manuals+ will review the question and use this page’s manual context to help answer it.