Introduction
This manual provides detailed instructions for the setup, operation, and maintenance of your AcuRite Home Weather Station, Model 01201M. This system offers real-time indoor and outdoor temperature and humidity readings, along with a personalized 12-hour weather forecast. Please read this manual thoroughly before using your device to ensure optimal performance and longevity.

Image: The AcuRite Home Weather Station display unit and its accompanying wireless outdoor sensor.
Package Contents
- Digital Display Unit
- Power Adapter for Display Unit
- Wireless Outdoor Sensor
- Instruction Manual (this document)
Setup
1. Outdoor Sensor Setup
- Install Batteries: Open the battery compartment on the back of the wireless outdoor sensor. Insert two (2) AA batteries (not included). Lithium batteries are recommended for optimal performance, especially in cold climates. Ensure correct polarity (+/-). Close the battery compartment securely.
- Verify Operation: A small red indicator light on the sensor may flash briefly to confirm power.
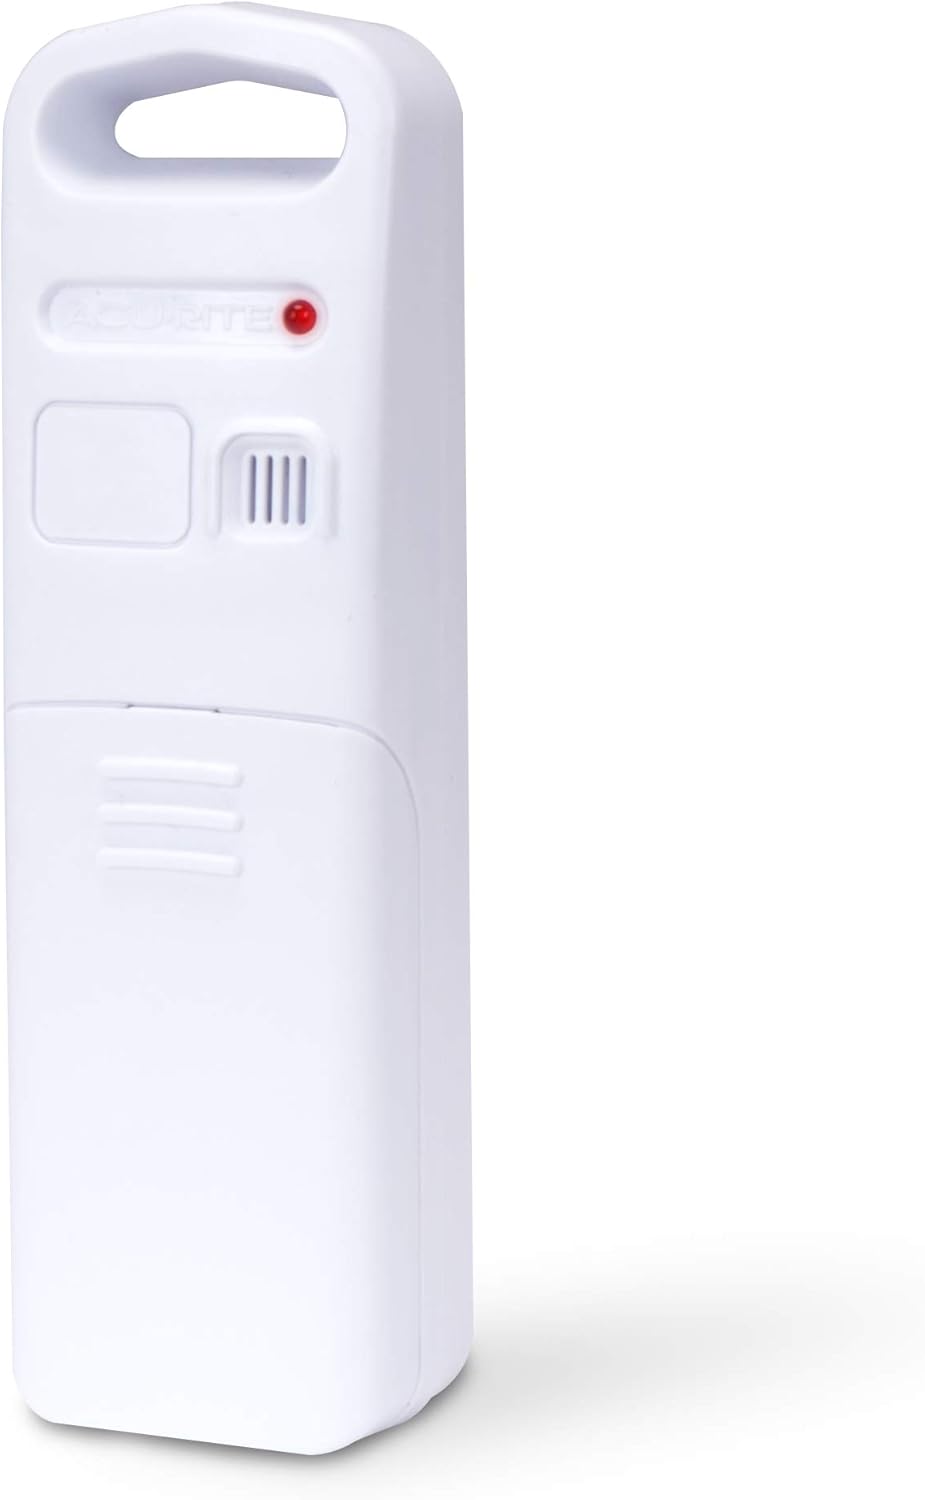
Image: A close-up view of the wireless outdoor sensor, highlighting its design.
2. Display Unit Setup
- Connect Power Adapter: Plug the included power adapter into the display unit and then into a standard electrical outlet. The display will power on.
- Install Backup Batteries (Optional): For continuous operation during power outages, open the battery compartment on the back of the display unit. Insert three (3) AAA alkaline batteries (not included). Ensure correct polarity (+/-). Close the compartment.

Image: The rear view of the display unit, illustrating the power adapter connection, battery compartment, and integrated keyhole for wall mounting.
3. Initial Synchronization
Once both the sensor and display unit are powered, the display will automatically search for the wireless signal from the outdoor sensor. This process may take a few minutes. Ensure both units are within range (up to 330 feet / 100 meters, line of sight). A successful connection will show outdoor temperature and humidity readings on the display.
Operation
Display Overview
The vertical full-color display provides a clear overview of current weather conditions and forecast information. Key information includes:
- Indoor Temperature and Humidity
- Outdoor Temperature and Humidity
- 12-Hour Weather Forecast
- Current Date and Time (Atomic Clock synchronized)
- Barometric Pressure with Trend Arrow
- Moon Phase
- Dew Point or Heat Index
- Daily and All-Time High/Low Records for Temperature and Humidity
Setting Time and Date
The display features an Atomic Self-Setting Clock and Calendar, which automatically synchronizes with the NIST radio clock for split-second precision and adjusts for Daylight Saving Time. Manual adjustments can be made if necessary through the display's settings menu.
Customizable Alerts
You can set custom high and low alerts for temperature and humidity. If a set value is met or surpassed, the display can emit an audible beep and flash on the LCD screen to notify you of changing conditions.
Viewing Records
The display tracks and shows daily and all-time high and low records for both indoor and outdoor temperature and humidity. These records can be accessed and reset through the display's controls.
Calibration
The weather station includes a manual calibration feature. This allows you to adjust the accuracy of indoor and outdoor temperature, humidity, and barometric pressure readings if environmental conditions or sensor placement are impacting data measurements. Refer to the on-screen menu for calibration steps.
Placement Guidelines
Display Unit Placement
The display unit is designed for indoor use only. It can be placed on a tabletop using its built-in kickstand or mounted on a wall using the integrated keyhole on the back.

Image: The display unit positioned on a kitchen counter, demonstrating tabletop placement.
Outdoor Sensor Placement
For accurate outdoor readings, the wireless sensor should be placed in a location that meets the following criteria:
- Shaded Area: Position the sensor in a permanently shaded area to prevent direct sunlight from affecting temperature readings.
- Well-Ventilated: Ensure good airflow around the sensor for accurate humidity readings.
- Protected from Elements: While weather-resistant, placing the sensor under an overhang or in a sheltered spot can extend its lifespan.
- Within Range: The sensor transmits data wirelessly up to 330 feet (100 meters) to the display unit. Obstructions like thick walls or large metal objects can reduce this range.
- Mounting: The sensor features an integrated hang hole for easy mounting on a nail or screw. It can also be hung from a branch using fishing line.

Image: A hand demonstrating the mounting of the outdoor sensor to a vertical surface.

Image: The outdoor sensor suspended from a tree branch, illustrating an alternative placement method.
Maintenance
Battery Replacement
- Outdoor Sensor: Replace AA batteries approximately every 12-24 months, or when the low battery indicator appears on the display.
- Display Unit: Replace AAA backup batteries annually, or when the low battery indicator appears (if using battery backup).
Always use fresh batteries of the recommended type. Dispose of old batteries responsibly according to local regulations.
Cleaning
Wipe the display unit and outdoor sensor with a soft, damp cloth. Do not use abrasive cleaners or solvents, as these may damage the surfaces or electronic components. Ensure the outdoor sensor's ventilation openings remain clear of debris.
Troubleshooting
| Problem | Possible Solution |
|---|---|
| No outdoor data on display | Ensure sensor batteries are fresh and correctly installed. Verify sensor is within range of the display unit. Try relocating the sensor closer to the display or away from large metal objects. Perform a reset by removing batteries from both units, waiting 1 minute, then reinserting batteries into the sensor first, then the display. |
| Inaccurate temperature/humidity | Ensure outdoor sensor is in a shaded, well-ventilated area. Avoid placing the display unit near heat sources or direct sunlight. Use the manual calibration feature to fine-tune readings if necessary. |
| Display is dim or blank | Check if the power adapter is securely connected and plugged into a working outlet. If using battery backup, ensure batteries are fresh. Adjust display brightness settings. |
| Atomic clock not syncing | Ensure the display unit is placed away from electronics that may cause interference. Allow up to 24 hours for synchronization. Try relocating the display unit to a different area. |
Specifications
| Feature | Detail |
|---|---|
| Model Number | 01201M |
| Display Dimensions | 1.1"D x 4.75"W x 8.75"H |
| Indoor Temperature Range | 32°F to 122°F (0°C to 50°C) |
| Outdoor Temperature Range | -40°F to 158°F (-40°C to 70°C) |
| Humidity Range | 1% to 99% RH |
| Temperature Accuracy | ±1°C |
| Wireless Range | 330 feet (100 meters) line of sight |
| Wireless Frequency | 433 MHz |
| Display Power | Power Adapter (included), 3 x AAA batteries (optional backup, not included) |
| Sensor Power | 2 x AA batteries (not included) |
| Material | Plastic |
| Special Features | Adjustable Brightness, Atomic Clock, Customizable Alerts, Large Display, Pre-Calibrated, Weather Resistant Sensor, Wireless Connectivity |
Warranty and Support
Warranty Information
This AcuRite Home Weather Station (Model 01201M) is covered by a 1-year limited manufacturer warranty from the date of purchase. This warranty covers defects in material and workmanship. For full terms and conditions, please refer to the warranty card included with your product or visit the official AcuRite website.
Customer Support
For technical assistance, troubleshooting, or warranty claims, please contact AcuRite Customer Support. Contact information can typically be found on the AcuRite website or on the product packaging. Please have your model number (01201M) and proof of purchase available when contacting support.