
1. Product Overview
The DC Innovations Ergo 3D Hopper and EZ Handle Accessory is designed to enhance the functionality of your Powermatic 2 or Powermatic 2+ electric cigarette injection machine. This bundle includes a high-capacity tobacco hopper and an ergonomic handle extension.
- Ergo 3D Hopper: Increases tobacco capacity, allowing for the production of approximately 25-30 cigarettes per fill, reducing the need for frequent refills.
- Ergo 3D EZ Handle: Extends and widens the factory handle, providing improved leverage and comfort during operation.
Important Note: The Powermatic 2 or 2+ electric cigarette injection machine is sold separately and is required for use with this accessory. The Ergo 3D Hopper requires the original factory hopper of your Powermatic machine for proper attachment. The EZ Handle is compatible only with legacy die-cast Powermatic handles and does not fit newer wide extruded aluminum handles.

Image 1.1: The Ergo 3D Hopper and EZ Handle Accessory components.
2. Setup and Installation
2.1 Ergo 3D Hopper Installation
- Prepare the Surface: Ensure the factory hopper base of your Powermatic 2 or 2+ machine is clean and dry. Any dust or residue may affect adhesion.
- Remove Protective Film: Carefully peel the red protective film from the genuine 3M VHB tape located on the bottom of the Ergo 3D Hopper.
- Position the Hopper: Align the Ergo 3D Hopper directly over your machine's original factory hopper base. Ensure it is centered and properly seated.
- Secure the Hopper: Press the Ergo 3D Hopper firmly onto the factory hopper base. Apply consistent pressure for several seconds to ensure strong adhesion.

Image 2.1: The underside of the Ergo 3D Hopper with the red protective film on the 3M VHB tape.

Image 2.2: Proper alignment of the Ergo 3D Hopper over the factory base.

Image 2.3: The Ergo 3D Hopper fully installed on the Powermatic machine's factory base.
2.2 Ergo 3D EZ Handle Installation
- Identify Handle Components: The EZ Handle consists of two pieces and a Philips-head screw.
- Assemble the Handle: Align the two handle pieces and fasten them together using the provided Philips-head screw. Tighten until secure.
- Attach to Machine: Once assembled, the EZ Handle can be attached to the existing handle of your Powermatic 2 or 2+ machine. Ensure it is firmly seated for optimal leverage.

Image 2.4: The two components of the Ergo 3D EZ Handle with the fastening screw.
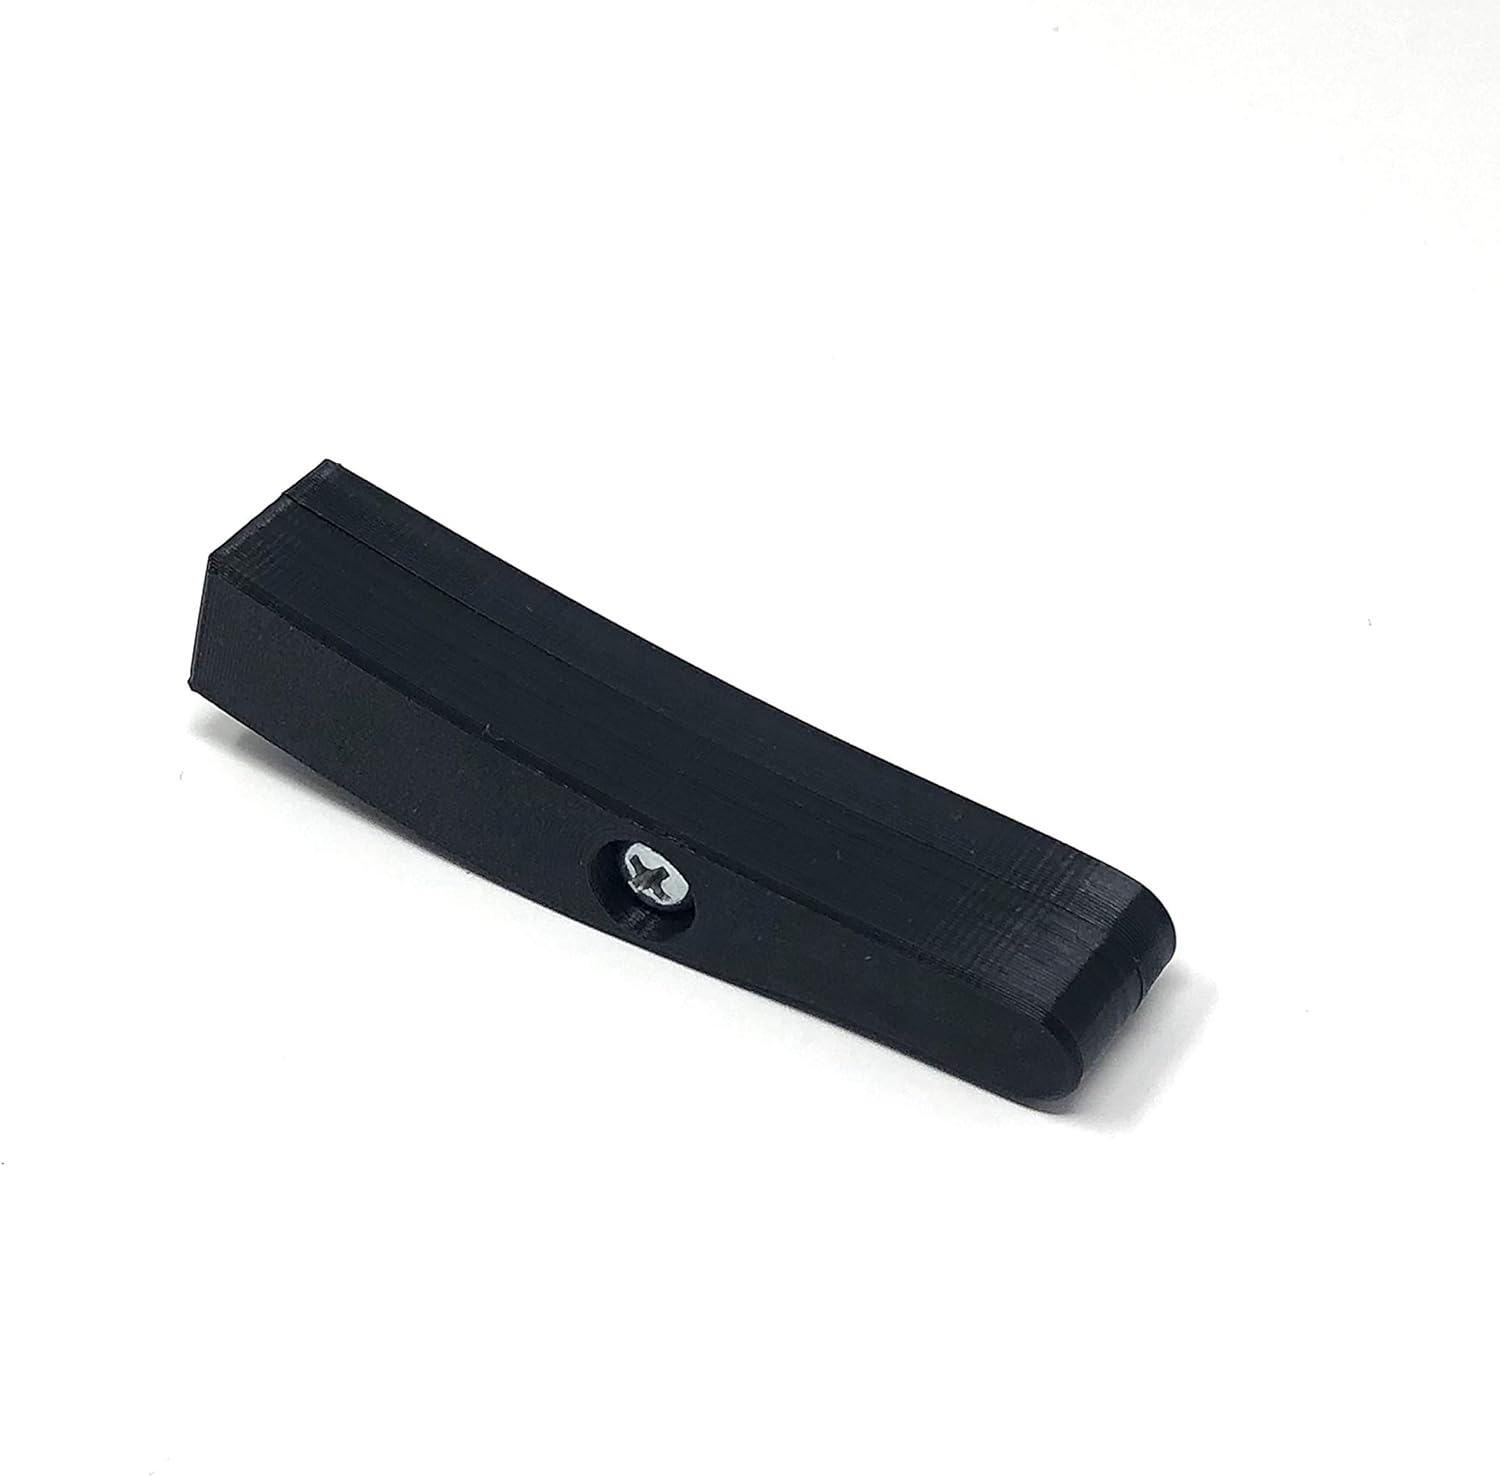
Image 2.5: The Ergo 3D EZ Handle fully assembled.
3. Operating Instructions
After installing the Ergo 3D Hopper and EZ Handle, your Powermatic machine is ready for enhanced operation.
- Fill the Hopper: Place your prepared tobacco into the Ergo 3D Hopper. The hopper is designed to hold a larger volume, reducing the frequency of refills.
- Operate the Machine: Use your Powermatic 2 or 2+ machine as directed by its original instruction manual. The EZ Handle provides a more comfortable grip and improved leverage for operating the injection mechanism.
- Tobacco Type: For optimal performance, it is recommended to use King's size cigarette tubes over 100s, as this may result in more consistent packing.
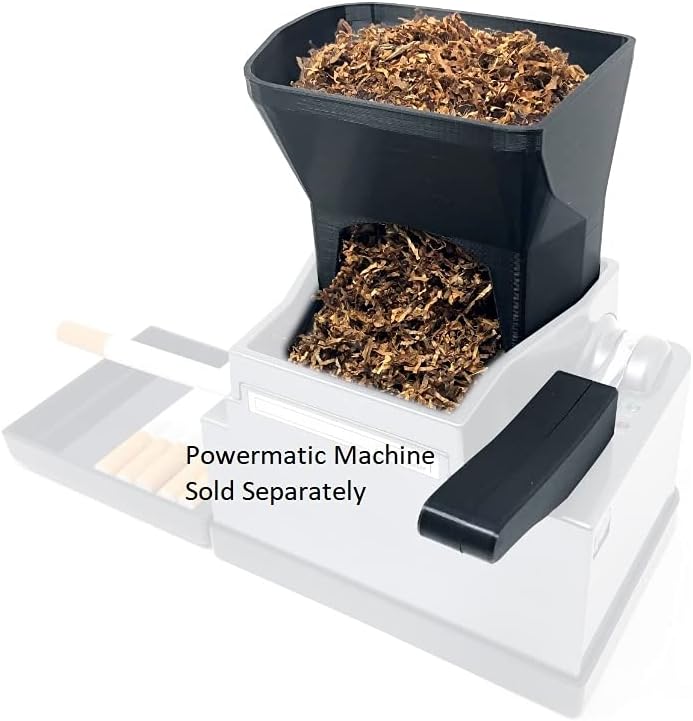
Image 3.1: The Ergo 3D Hopper filled with tobacco, ready for use.
4. Maintenance
To ensure the longevity and optimal performance of your Ergo 3D accessories, follow these maintenance guidelines:
- Cleaning the Hopper: After use, gently brush or wipe away any residual tobacco from the Ergo 3D Hopper. A soft, damp cloth can be used for cleaning, but avoid harsh chemicals or abrasive materials. Ensure the hopper is completely dry before next use.
- Cleaning the EZ Handle: Wipe the EZ Handle with a clean, damp cloth as needed.
- Storage: Store the accessories in a clean, dry environment when not in use.
5. Troubleshooting
If you encounter issues with your Ergo 3D Hopper or EZ Handle Accessory, refer to the following common solutions:
- Hopper Does Not Fit Properly:
- Ensure you are using the original factory hopper that came with your Powermatic 2 or 2+ machine. The Ergo 3D Hopper is designed to attach specifically to this component.
- Verify that the factory hopper base is clean and free of debris that might obstruct proper seating.
- EZ Handle Does Not Fit:
- Confirm that your Powermatic machine has a legacy die-cast handle. The EZ Handle is not compatible with newer wide extruded aluminum handles.
- Ensure the two pieces of the EZ Handle are correctly assembled and tightened with the screw before attempting to attach it to the machine's handle.
- Tobacco Flow Issues:
- Check the consistency of your tobacco. Tobacco that is too wet or too dry can affect flow.
- Avoid overpacking the hopper, which can impede tobacco movement into the machine's injection mechanism.
6. Specifications
- Product Dimensions: 4.25 x 3.5 x 3.5 inches
- Product Weight: 3.04 ounces
- Material: High-quality ECO plastic (environmentally friendly, non-toxic, BPA free)
- Hopper Capacity: Approximately 25-30 cigarettes per fill
- Manufacturer: DC Innovations
- Country of Origin: USA
7. Warranty and Support
Specific warranty information for the DC Innovations Ergo 3D Hopper and EZ Handle Accessory is not provided in this manual. For details regarding warranty coverage, returns, or technical support, please contact DC Innovations directly through their official channels or the retailer from whom the product was purchased.
8. Important Safety Information
Legal Disclaimer: Statements regarding dietary supplements have not been evaluated by the FDA and are not intended to diagnose, treat, cure, or prevent any disease or health condition.
This product is an accessory for tobacco-related machines. Use this product responsibly and in accordance with all applicable local, state, and federal laws and regulations. Keep out of reach of children.


