1. Introduction
This manual provides instructions for the installation, operation, and maintenance of your AIKE Automatic Wall Mount Liquid Soap Dispenser, Model AK1205. Designed for both commercial and home use, this touchless dispenser promotes hygiene and efficiency with its durable stainless steel construction and large capacity.
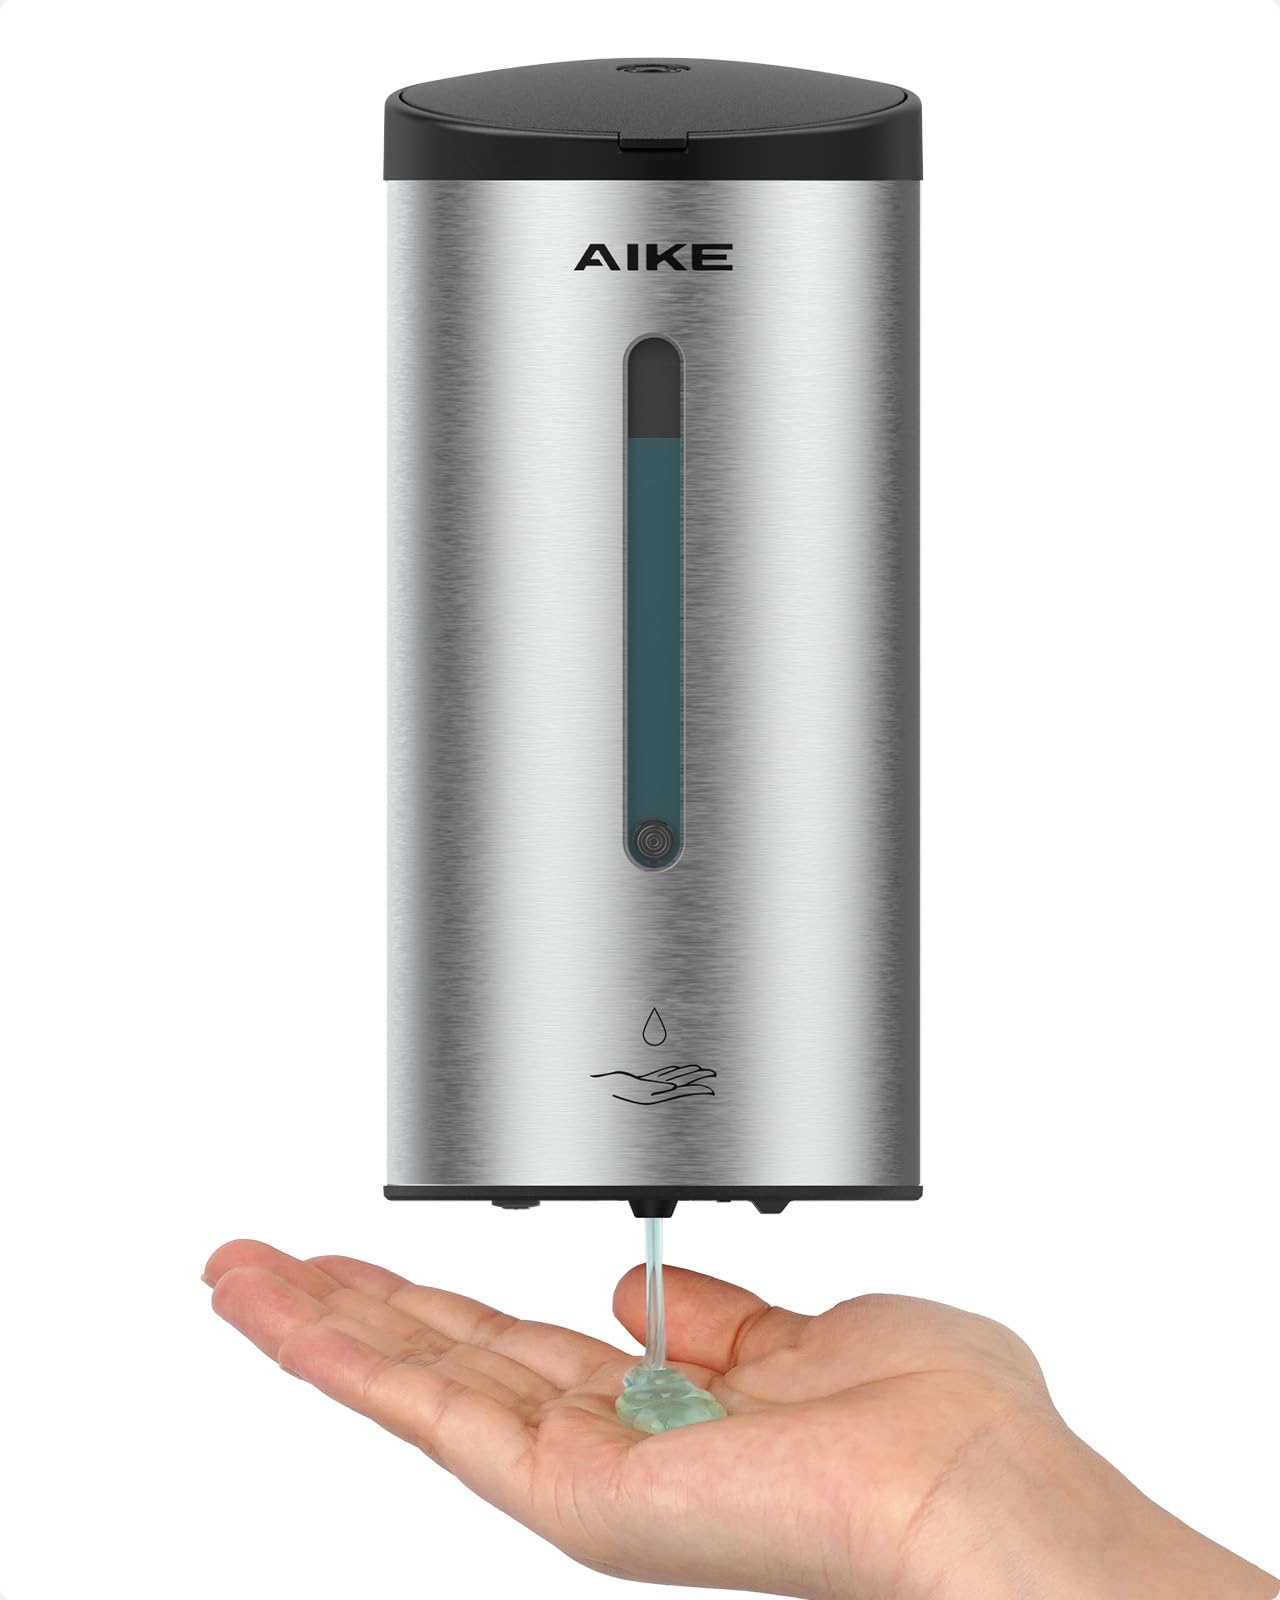
Figure 1: AIKE Automatic Wall Mount Liquid Soap Dispenser AK1205.
2. Safety Information
- Always ensure the dispenser is installed at the recommended height to prevent accidental dispensing.
- Use only liquid soap. Do not use foaming soap or abrasive liquids.
- Do not submerge the unit in water or expose it to excessive moisture.
- Keep batteries away from children. Dispose of used batteries responsibly.
- Avoid direct sunlight or strong light exposure to the sensor.
3. Package Contents
Verify that all items are present in the package:
- AIKE Automatic Liquid Soap Dispenser (x1)
- Installation Panel (x1)
- Key (x1)
- Expansion Screw (x3)
- ST4X25 Screw (x3)
- Nail-free Glue (x1)
- User Manual (x1)

Figure 2: Included components.
4. Specifications
| Feature | Detail |
|---|---|
| Model Number | AK1205S |
| Color | Brushed Stainless Steel |
| Material | Acrylonitrile Butadiene Styrene (ABS), Stainless Steel |
| Product Dimensions (L x W x H) | 4" x 4.3" x 8.86" (10.2cm x 10.9cm x 22.5cm) |
| Liquid Volume Capacity | 700 Milliliters (25 oz) |
| Power Source | 4 AA Batteries (not included) |
| Dispensing Levels | 5 levels (0.5ml - 2.5ml) |
5. Setup & Installation
5.1 Installation Distance
Ensure there are no obstructions beneath the dispenser. For optimal performance, maintain the following distances from the countertop:
- Ordinary Countertops: > 8 inches (20cm)
- Reflective Countertops: > 12 inches (30cm)
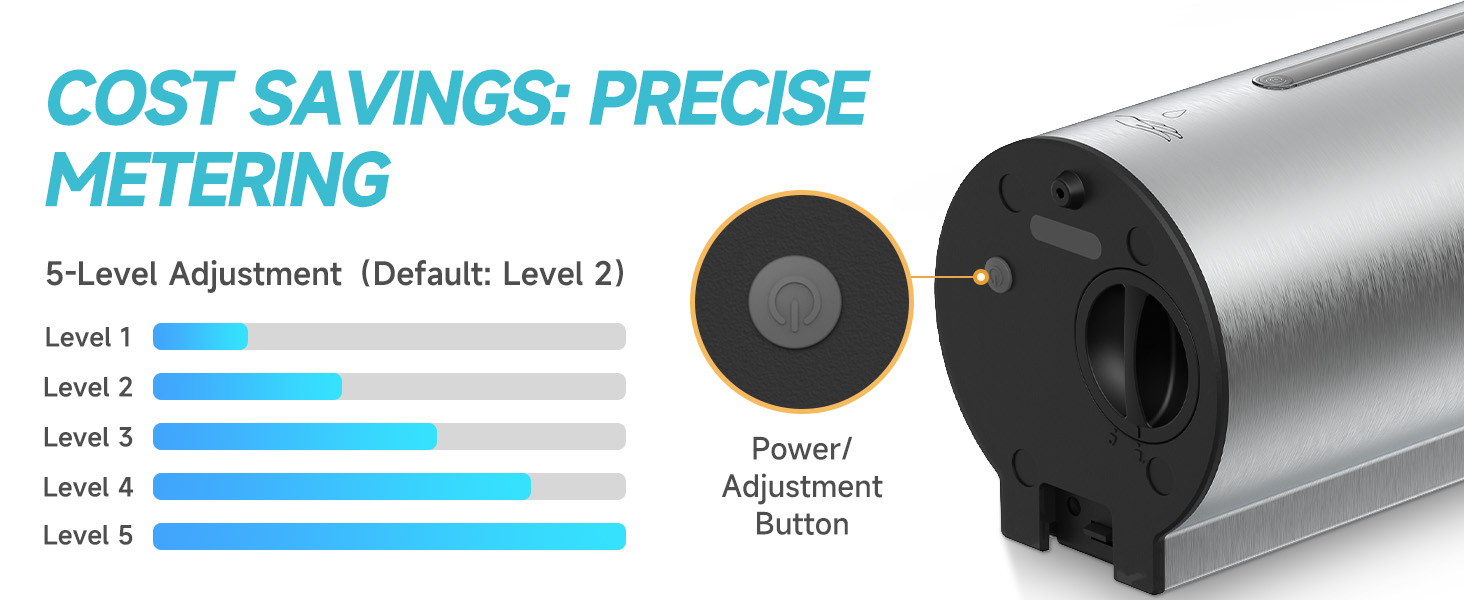
Figure 3: Recommended installation height.
5.2 Mounting Options
The dispenser offers two installation methods:
- Drill Installation: Secure the provided installation panel to the wall using the expansion screws and ST4X25 screws.
- Nail-free Glue Installation: Apply the provided nail-free glue to the back of the installation panel and firmly press it onto a clean, dry wall surface. Allow the glue to cure completely before mounting the dispenser.

Figure 4: Dual installation options.
5.3 Battery Installation
The dispenser requires 4 AA batteries (not included). The sealed waterproof cavity and battery compartment with waterproof coil ensure long standby and easy maintenance.
- Locate the battery compartment at the bottom of the dispenser.
- Open the compartment and insert 4 AA batteries, ensuring correct polarity (+/-).
- Close the battery compartment securely.

Figure 5: Battery compartment.
5.4 Filling the Dispenser
The dispenser features a 3-in-1 integrated lid-lock mechanism and a 95-degree one-piece lid to prevent liquid tipping during filling.
- Use the provided key to unlock the top lid.
- Pour liquid soap into the wide opening. Do not overfill.
- Close the lid securely and lock it if desired.

Figure 6: Refilling the dispenser.
5.5 Installation and Refill Video
Video 1: Demonstrates the installation process and how to refill the AIKE AK1205 soap dispenser.
6. Operation
6.1 Power On/Off
To turn the dispenser on or off, long press the power button (typically located on the top or bottom of the unit) for 5 seconds.
6.2 Dispensing Volume Adjustment
The dispenser offers 5 levels of liquid dispensing, from 0.5ml to 2.5ml, allowing for precise use and money-saving. The default setting is Level 2.
- With the dispenser powered on, short press the power/adjustment button.
- Each short press will cycle through the 5 dispensing levels. Select your desired volume.
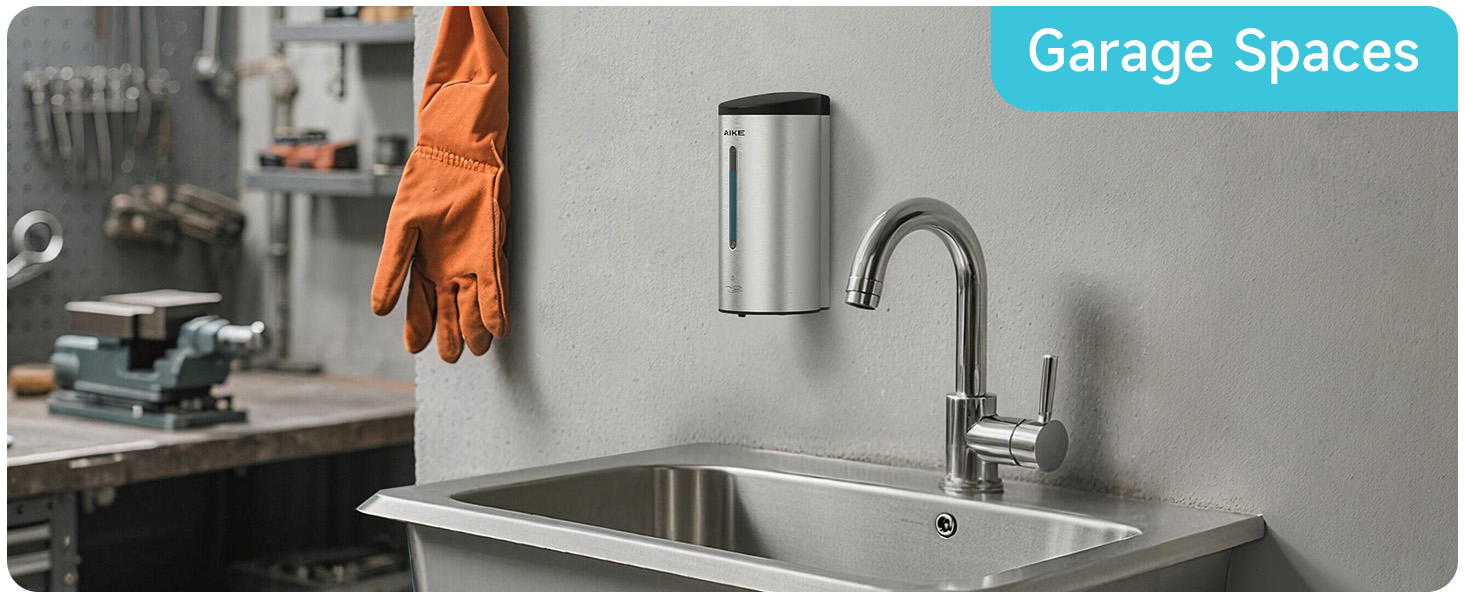
Figure 7: 5-level dispensing adjustment.
6.3 Touchless Dispensing
The touchless operation is convenient and hygienic for all family members at home and for commercial use.
- Ensure the dispenser is powered on.
- Place your hand directly under the sensor located at the bottom of the dispenser.
- The sensor will detect your hand and dispense the pre-set amount of liquid soap.
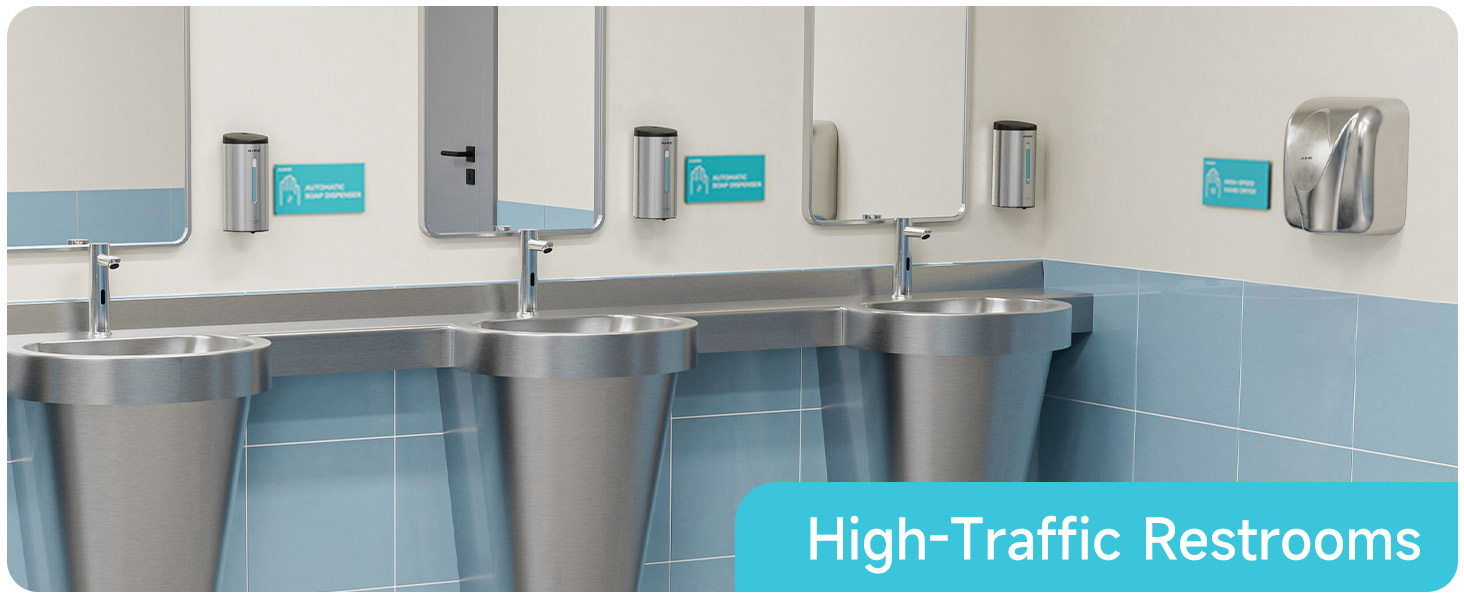
Figure 8: Touchless operation.
6.4 Basic Operation Video
Video 2: A short demonstration of the touchless dispensing function of the AIKE soap dispenser.
7. Maintenance
7.1 Refilling
Refill the dispenser with liquid soap when the level is low, visible through the transparent window on the front of the unit. Follow the steps in section 5.4.
7.2 Cleaning
To maintain the appearance and functionality of your dispenser:
- Wipe the exterior of the dispenser with a soft, damp cloth.
- Avoid using abrasive cleaners, solvents, or harsh chemicals, as these can damage the stainless steel finish.
- Periodically clean the sensor area at the bottom of the dispenser to ensure optimal responsiveness.
7.3 Battery Replacement
Replace the 4 AA batteries when the dispenser's performance diminishes (e.g., slower dispensing, weaker motor sound) or if any low battery indicator is present. Follow the steps in section 5.3.
8. Troubleshooting
- Dispenser not activating: Check battery levels and ensure they are correctly installed. Ensure there are no obstructions blocking the sensor. Verify the dispenser is powered on.
- Insufficient soap dispensed: Adjust the dispensing volume setting (see section 6.2). Check the soap level and refill if necessary. If the soap is too thick, dilute it slightly with water.
- Leaking: Ensure the top lid is securely closed and locked. Check for any visible damage to the unit.
- For further assistance, please contact AIKE support.
9. Warranty & Support
Your AIKE Automatic Wall Mount Liquid Soap Dispenser is covered by a one-year manufacturer warranty.
For any questions, concerns, or support needs, please contact AIKE directly via Amazon message or through their official support email. We value your experience with our products.