
Introduction
This manual provides essential information for the installation, maintenance, and troubleshooting of your JTEX 3M-225 Planer Drive Belt. This drive belt is designed as a replacement part for specific Bosch planer models, ensuring proper function and longevity of your power tool. Please read these instructions carefully before proceeding with installation or maintenance.
Compatibility
The JTEX 3M-225 Planer Drive Belt (part number 2604736001) is compatible with the following Bosch planer models:
- BOSCH PHO1
- BOSCH PHO100
- BOSCH PHO15-82
- BOSCH PHO16-82
- BOSCH PHO20-82
- BOSCH GHO14.4V
- BOSCH 53518 (0601595360) 18V Cordless Planer
- BOSCH 53514 (0601595460) 14.4V Cordless Planer
- BOSCH B1750 (0603272135) Planer
- BOSCH 3272A (0603272139) Planer
- BOSCH 3365 (0603365039) Planer
- BOSCH 3365 (0603365139) Planer
- BOSCH 3272 (0603272039) 3-1/4" Planer
Ensure your planer model is listed above for proper fitment. This belt is not guaranteed to fit other power tools.
Setup and Installation
Replacing a planer drive belt requires careful attention to safety and proper procedure. Always refer to your specific planer's user manual for detailed disassembly and reassembly instructions.
Safety Precautions:
- Disconnect Power: Always unplug the planer from the power source before attempting any maintenance or installation.
- Wear Protective Gear: Use appropriate personal protective equipment, such as gloves and eye protection.
- Stable Work Surface: Ensure the planer is on a stable, clean work surface.
General Installation Steps:
- Access the Belt Compartment: Locate and remove the cover that encloses the drive belt mechanism on your planer. This usually involves unscrewing a few fasteners.
- Remove Old Belt: Carefully remove the worn or broken drive belt from the pulleys. Note its orientation if it appears directional.
- Clean Pulleys: Clean any dust or debris from the pulleys to ensure optimal grip and prevent premature wear of the new belt.
- Install New Belt: Place the new JTEX 3M-225 drive belt onto the smaller pulley first, then stretch it over the larger pulley. Ensure the teeth of the belt align correctly with the grooves on the pulleys. The belt should fit snugly but not be excessively tight.
- Inspect Alignment: Rotate the pulleys manually a few times to ensure the belt is seated properly and runs smoothly without rubbing against any housing components.
- Reassemble: Replace the belt compartment cover and secure it with the fasteners.

Image 1: Two JTEX 3M-225 planer drive belts, highlighting the toothed inner surface for precise power transmission.
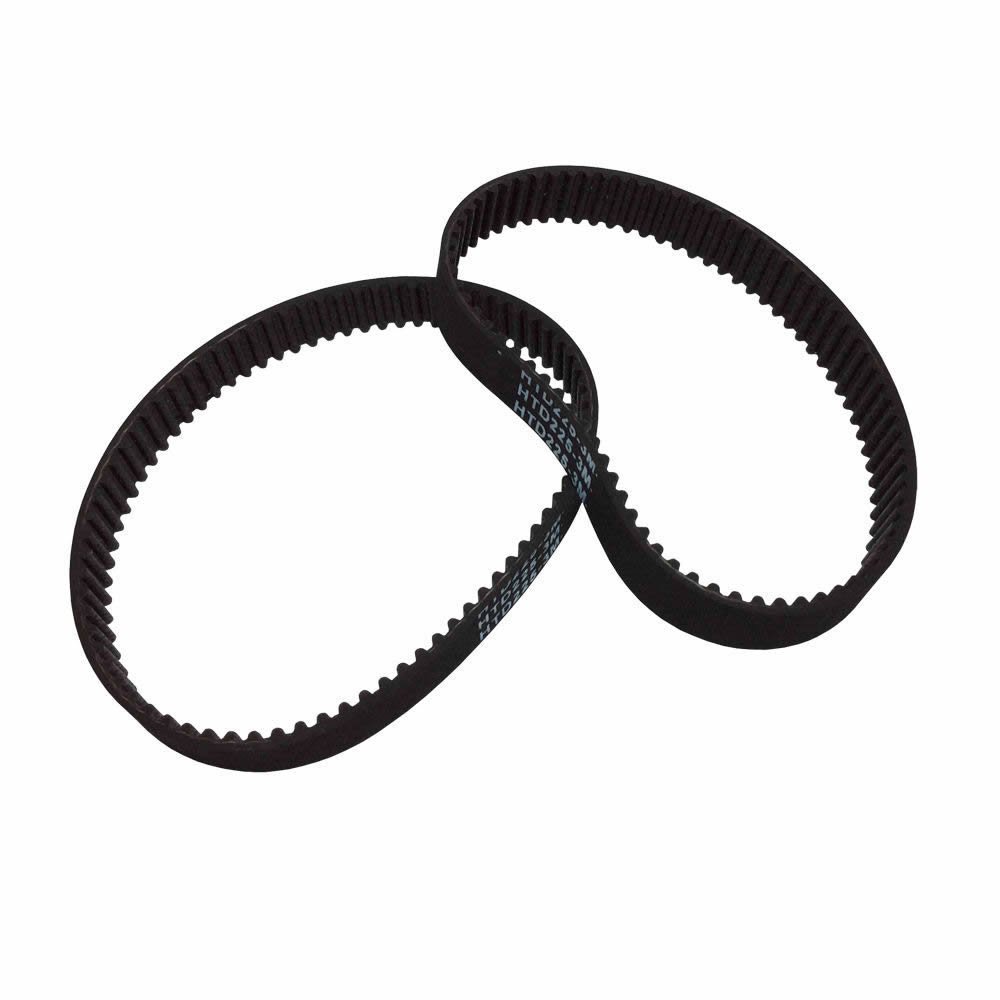
Image 2: A different perspective of two JTEX 3M-225 planer drive belts, illustrating their flexible yet durable construction.
Operating with the New Belt
After installing the new drive belt, perform a brief test run of your planer without any material to ensure the belt operates smoothly and quietly. Listen for any unusual noises or vibrations. If the belt appears to be slipping or making excessive noise, re-check the installation and ensure the belt is properly seated on both pulleys.
A properly installed drive belt is crucial for maintaining the planer's cutting efficiency and preventing damage to the motor or cutting head.
Maintenance
Regular inspection and timely replacement of the drive belt are vital for the optimal performance and longevity of your planer.
Inspection Frequency:
- Inspect the drive belt periodically, especially after extended periods of use or if you notice a decrease in planer performance.
- For professional or heavy-duty use, more frequent inspections are recommended.
Signs of Wear Requiring Replacement:
- Cracks or Fraying: Visible cracks, splits, or fraying on the belt surface.
- Missing or Damaged Teeth: Any missing, chipped, or worn teeth on the inner surface of the belt.
- Stretching or Looseness: A belt that appears stretched or loose, leading to slippage.
- Glazing: A shiny, hardened appearance on the belt surface, indicating loss of grip.
- Excessive Noise: Squealing or grinding noises during planer operation.

Image 3: A single JTEX 3M-225 planer drive belt, demonstrating its continuous loop design and toothed profile.
Troubleshooting
If you encounter issues after installing your new drive belt, consider the following:
- Belt Slipping:
- Ensure the belt is correctly seated on both pulleys.
- Check for any debris on the pulleys that might prevent proper grip.
- Verify that the belt is the correct size and tension for your planer model.
- Unusual Noise (Squealing/Grinding):
- Confirm the belt is not rubbing against the housing or other internal components.
- Inspect pulleys for damage or misalignment.
- Ensure the belt is not twisted during installation.
- Belt Breaks Prematurely:
- This can indicate excessive load on the planer, improper installation, or a defect.
- Review installation steps to ensure correct procedure.
- Check for any obstructions or binding in the planer's moving parts.
If issues persist, consult a qualified technician or refer to your planer's original service manual.
Specifications
| Model Number | 3M-225 |
| Part Number | 2604736001 (Replacement for Bosch) |
| Material | Reinforced Polymer |
| Belt Style | Timing Belt (Toothed) |
| Dimensions (Approx.) | 3.25"L x 0.25"W (Circumference x Width) |
| Compatibility | BOSCH PHO1, PHO100, PHO15-82, PHO16-82, PHO20-82, GHO14.4V, and other listed models. |
Warranty
JTEX offers a 6-month warranty on this drive belt. This warranty covers manufacturing defects and material failures under normal use. Please retain your proof of purchase for any warranty claims. For further details or to initiate a claim, please contact JTEX customer support.
Support
For additional assistance, technical inquiries, or to report an issue, please visit the official JTEX store or contact their customer service department. When contacting support, please provide the product model (3M-225) and your purchase details.
You can find more information and contact options by visiting the JTEX Store on Amazon.