Introduction
The Cooler Master MasterBox TD500 is an ATX mid-tower PC case designed for optimal airflow and aesthetic appeal. It features a unique 3D diamond-cut design on the front bezel and side panel, which enhances lighting effects from various viewing angles. This manual provides essential information for setting up, operating, and maintaining your MasterBox TD500 chassis.
Key Features
- Diamond-Cut Design: Features a distinctive 3D diamond-cut design on the front bezel and side panel for enhanced visual appeal and unique lighting effects.
- RGB Lighting System: Includes three pre-installed 120mm RGB fans and an RGB power button, controlled by an included RGB controller for customizable lighting.
- Acrylic Side Panel: A unique edge-to-edge acrylic side panel allows for a clear view of internal components and complements the lighting effects.
- Clean Build Management: An additional cable cover and ample routing options facilitate professional and tidy cable management.
- Extensive Graphics Card Support: Accommodates graphics cards up to 407mm in length, supporting high-performance system builds.
Setup Instructions
Follow these general steps for setting up your Cooler Master MasterBox TD500 PC case. Refer to your motherboard and component manuals for specific installation details.
- Prepare the Case: Unpack the case and remove the side panels. Identify the accessory box containing screws, zip ties, and the RGB controller.
- Install Motherboard: Secure your ATX motherboard onto the standoffs provided in the case. Ensure all mounting screws are tightened appropriately.
- Install Power Supply Unit (PSU): Mount the PSU in the designated bottom compartment. Route necessary cables through the cable management cutouts.
- Install Storage Drives: Install 2.5-inch SSDs or 3.5-inch HDDs into the drive bays. Connect power and data cables.
- Install Graphics Card: Insert your graphics card into the appropriate PCIe slot on the motherboard and secure it with screws. Connect the necessary power cables from the PSU.
- Connect Front Panel Cables: Connect the front panel I/O cables (USB, audio, power switch, reset switch, RGB control) to their respective headers on the motherboard.
- Cable Management: Utilize the cable routing channels and tie-down points behind the motherboard tray to organize and secure cables.
- Close the Case: Once all components are installed and cables are managed, reattach the side panels.

Image: Internal view of the Cooler Master MasterBox TD500 with the side panel removed, illustrating the spacious layout for component installation.

Image: Detailed internal view of the Cooler Master MasterBox TD500, highlighting the motherboard tray, drive bays, and cable management features.
Operating Instructions
The MasterBox TD500 is designed for straightforward operation once assembled.
- Power On/Off: Press the power button located on the top front panel to turn your system on or off.
- RGB Lighting Control: The included RGB controller manages the lighting for the three front fans and the power button. Use the dedicated RGB control button (often the reset button if repurposed) on the front panel to cycle through various lighting modes and colors. Refer to the RGB controller's specific instructions for advanced customization.
- Airflow: The mesh front intake vents and pre-installed fans ensure optimal airflow for cooling your components. Ensure no obstructions block the front, top, or rear fan vents.
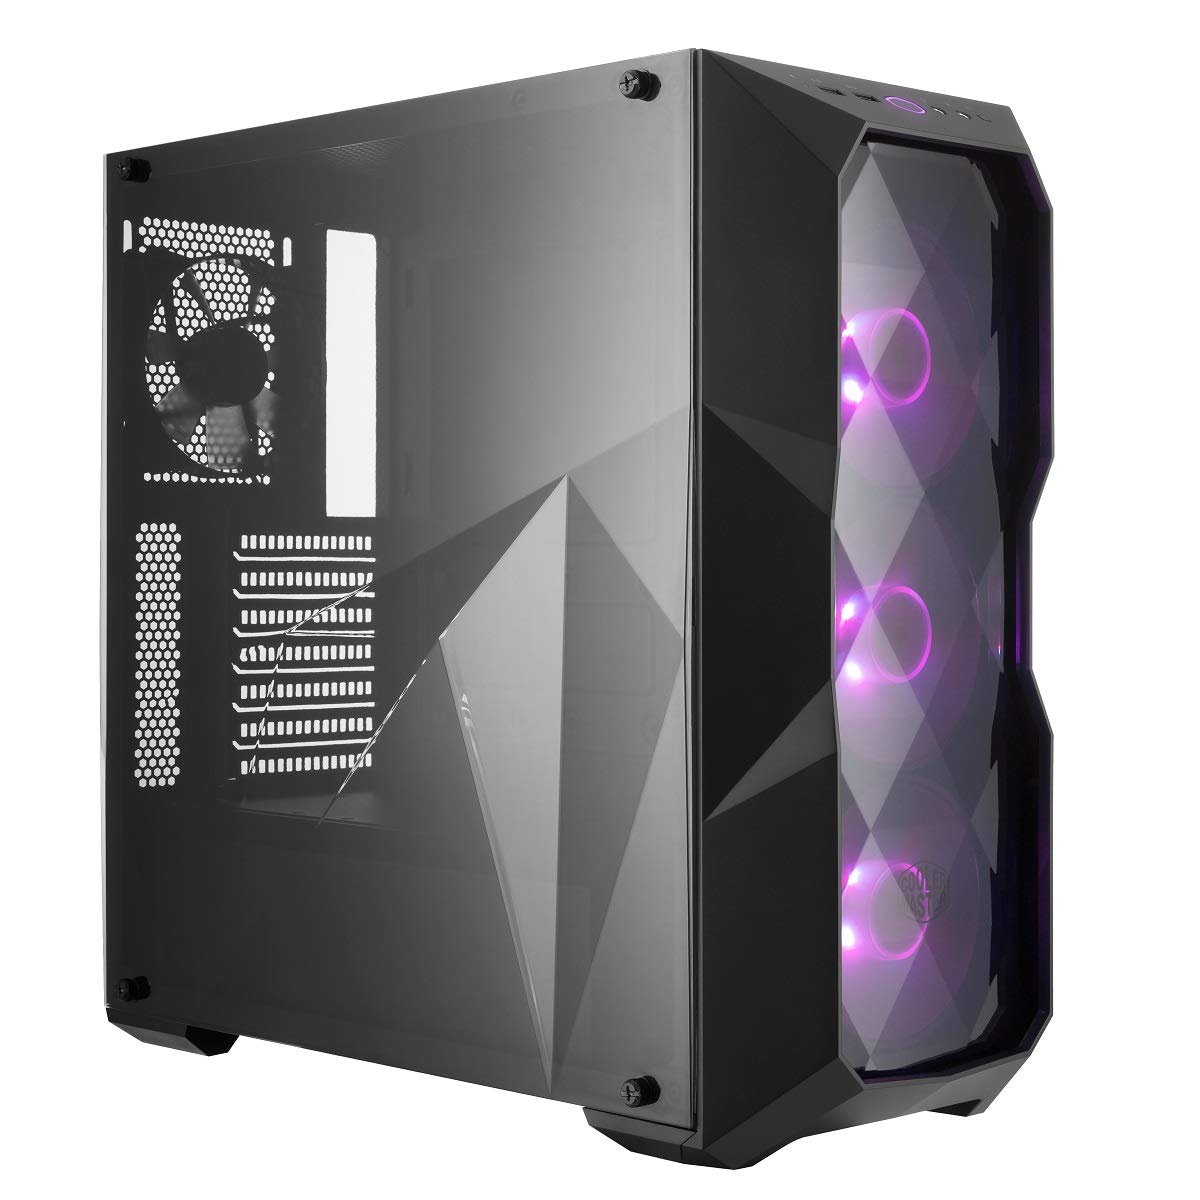
Image: Front view of the Cooler Master MasterBox TD500, showcasing the illuminated RGB fans behind the diamond-cut front panel.
Maintenance
Regular maintenance helps ensure optimal performance and longevity of your PC components.
- Dust Filter Cleaning: The MasterBox TD500 includes removable dust filters (e.g., on the top and bottom). Periodically remove and clean these filters with compressed air or water (ensure they are completely dry before reinstallation) to prevent dust buildup and maintain airflow.
- Internal Cleaning: Use compressed air to gently clean dust from internal components such as fans, heatsinks, and the interior of the case. Ensure the system is powered off and unplugged before cleaning.
- Side Panel Care: The acrylic side panel can be cleaned with a soft, damp cloth. Avoid abrasive cleaners or materials that could scratch the surface.

Image: Top view of the Cooler Master MasterBox TD500, illustrating the magnetic dust filter for easy removal and cleaning.
Troubleshooting
If you encounter issues with your MasterBox TD500, consider the following common troubleshooting steps:
- System Not Powering On:
- Ensure the PSU is switched on and properly connected to the wall outlet.
- Verify all power cables from the PSU are correctly connected to the motherboard and components.
- Check that the front panel power switch cable is correctly connected to the motherboard's front panel header.
- Fans Not Spinning/RGB Not Working:
- Confirm that the fans are properly connected to the motherboard or the included RGB controller.
- Ensure the RGB controller is receiving power and is correctly connected to the motherboard's RGB header (if applicable) or the power supply.
- Cycle through RGB modes using the front panel button to see if the lights respond.
- Overheating Components:
- Clean all dust filters and internal components as described in the Maintenance section.
- Ensure fans are oriented correctly for optimal airflow (intake at front, exhaust at rear/top).
- Verify that CPU and GPU coolers are properly seated and functioning.
Specifications
| Feature | Detail |
|---|---|
| Brand | Cooler Master |
| Model Number | MCB-D500D-KANN-S00 |
| Case Type | Mid Tower |
| Motherboard Compatibility | ATX |
| Material | Acrylic |
| Color | TD500 RGB |
| Item Weight | 12.68 pounds (5750 Grams) |
| Product Dimensions (LxWxH) | 8.54 x 19.41 x 18.43 inches |
| Pre-installed Fans | Three 120mm RGB fans (front) |
| Cooling Method | Air / Water (supports liquid cooling) |
| Power Supply Mounting Type | Bottom Mount |
| Graphics Card Length Support | Up to 407mm |
| USB 2.0 Ports | 2 |
Warranty and Support
The Cooler Master MasterBox TD500 is covered by a manufacturer's warranty. For detailed warranty information, terms, and conditions, please refer to the official Cooler Master website or the warranty card included with your product. For technical support, troubleshooting assistance, or replacement parts, please contact Cooler Master customer service directly.
Official Website: www.coolermaster.com


