DEWENWILS B07D2BVMRT
DEWENWILS Digital Outdoor Light Sensor Countdown Timer Instruction Manual
Model: B07D2BVMRT | Brand: DEWENWILS
1. Introduction
This manual provides detailed instructions for the operation and maintenance of your DEWENWILS Digital Outdoor Light Sensor Countdown Timer. Please read this manual thoroughly before using the device to ensure proper function and safety. This timer is designed to automate the control of outdoor electrical devices such as lights and pumps, offering multiple programmable modes for convenience and energy efficiency.
2. Important Safety Information
- Outdoor Use Only: This timer is designed for outdoor use. Ensure it is installed in a location protected from direct heavy rain and moisture.
- Vertical Mounting: For optimal weather resistance, mount the timer vertically with the outlets facing downwards, at least 2 feet above ground level.
- Electrical Rating: Do not exceed the maximum electrical rating of 125V, 60Hz, 1875W Resistive, 1875W General Use, 1000W Tungsten, 1/2HP, 500VA Electronic Ballast, 120VAC 8.3A Standard Ballast.
- Grounded Outlets: Always use grounded appliances with the timer's 3 grounded outlets.
- Disconnect Power: Always disconnect power before performing any maintenance or adjustments.
- Children and Pets: Keep the device out of reach of children and pets.
3. Product Overview
3.1 Key Features
- Multiple Operating Modes: Always ON/OFF, Random, Program, Dusk to Dawn, 2/8 Hours Countdown.
- 7-Day & 8 Programs: Up to 8 ON/OFF programs can be set over a 7-day period with 1-minute intervals.
- Light Sensor: Automatically turns ON at dusk and OFF at dawn based on ambient light.
- Countdown Mode: Allows devices to run for 2 or 8 hours, independent of other settings.
- Durable Construction: Features PPE+PS material and a 6-inch SJTW 14-3 grounded cord for outdoor use.
- 3 Grounded Outlets: Connect multiple devices simultaneously.
3.2 Components and Controls
Familiarize yourself with the timer's components and control buttons:

The timer features a digital display and several buttons for programming and mode selection:
- PROG Button: Used to review timer events and enter program settings.
- MODE Button: Cycles through different operating modes (AUTO, RDM, PHOTOCELL, 2H, 8H).
- +/- Buttons: Adjust time and program settings (increase/decrease).
- X Button: Clears current settings.
- Gear Icon Button: Used to move to the next part during time/program setting.
- Power Button (U): Manual override for programmed events.
- 2H/8H Buttons: Instant ON for 2 or 8 hours, then OFF.
- Reset Hole: Located on the device, used to reset all settings.

4. Setup
4.1 Initial Reset
Before programming, all settings should be reset to factory defaults. Insert a thin non-conducting object (like a toothpick) into the reset hole on the timer to clear all previous settings. The display will show '0:00' or similar, indicating a successful reset.
4.2 Setting the Current Time
- Hold down the Gear Icon button for 2 seconds to enter the current time setting mode.
- Press the + or - button to select the correct day of the week.
- Press the Gear Icon button to move to the hour setting.
- Press the + or - button to set the current hour. Ensure AM/PM is correct.
- Press the Gear Icon button to move to the minute setting.
- Press the + or - button to set the current minutes.
- Press the Gear Icon button to finish current time setting and return to normal display.
For a visual guide on setting the current time and programming, please refer to the official operation video below:
5. Operating Modes
The timer offers several operating modes. Press the MODE button to cycle through them.
5.1 AUTO Mode (Programmed ON/OFF)
In AUTO mode, the timer operates according to your set ON/OFF programs. You can set up to 8 distinct ON/OFF programs over a 7-day period.
- Press the MODE button until 'AUTO' appears on the display.
- Press the PROG button, then press the Gear Icon button to enter program setting for '1 ON'.
- Press + or - to select the desired day(s) of the week for this program. Options include individual days, weekdays, weekends, or all 7 days.
- Press the Gear Icon button to move to the hour setting.
- Press + or - to set the ON hour (ensure AM/PM is correct).
- Press the Gear Icon button to move to the minute setting.
- Press + or - to set the ON minutes.
- Press the Gear Icon button to enter OFF setting for '1 OFF'.
- Repeat steps 3-7 to set your desired OFF time for the program.
- Continue pressing PROG and Gear Icon to set up to 8 ON/OFF programs.
- Once you complete the program settings, press the Gear Icon button or wait for 15 seconds to save the current settings and return to normal display.
5.2 RDM Mode (Random ON/OFF)
In Random mode, the timer will turn ON at a random time and remain ON for approximately 15 minutes. This mode can be used to give the appearance of occupancy.
- Press the MODE button until 'RDM' appears on the display.
- The timer will now operate with random ON/OFF cycles.
5.3 PHOTOCELL Mode (Dusk to Dawn)
The Photocell mode utilizes the built-in light sensor to automatically turn connected devices ON at dusk and OFF at dawn.

- Press the MODE button until 'PHOTOCELL' appears on the display.
- Ensure the light sensor is not obstructed for accurate operation.
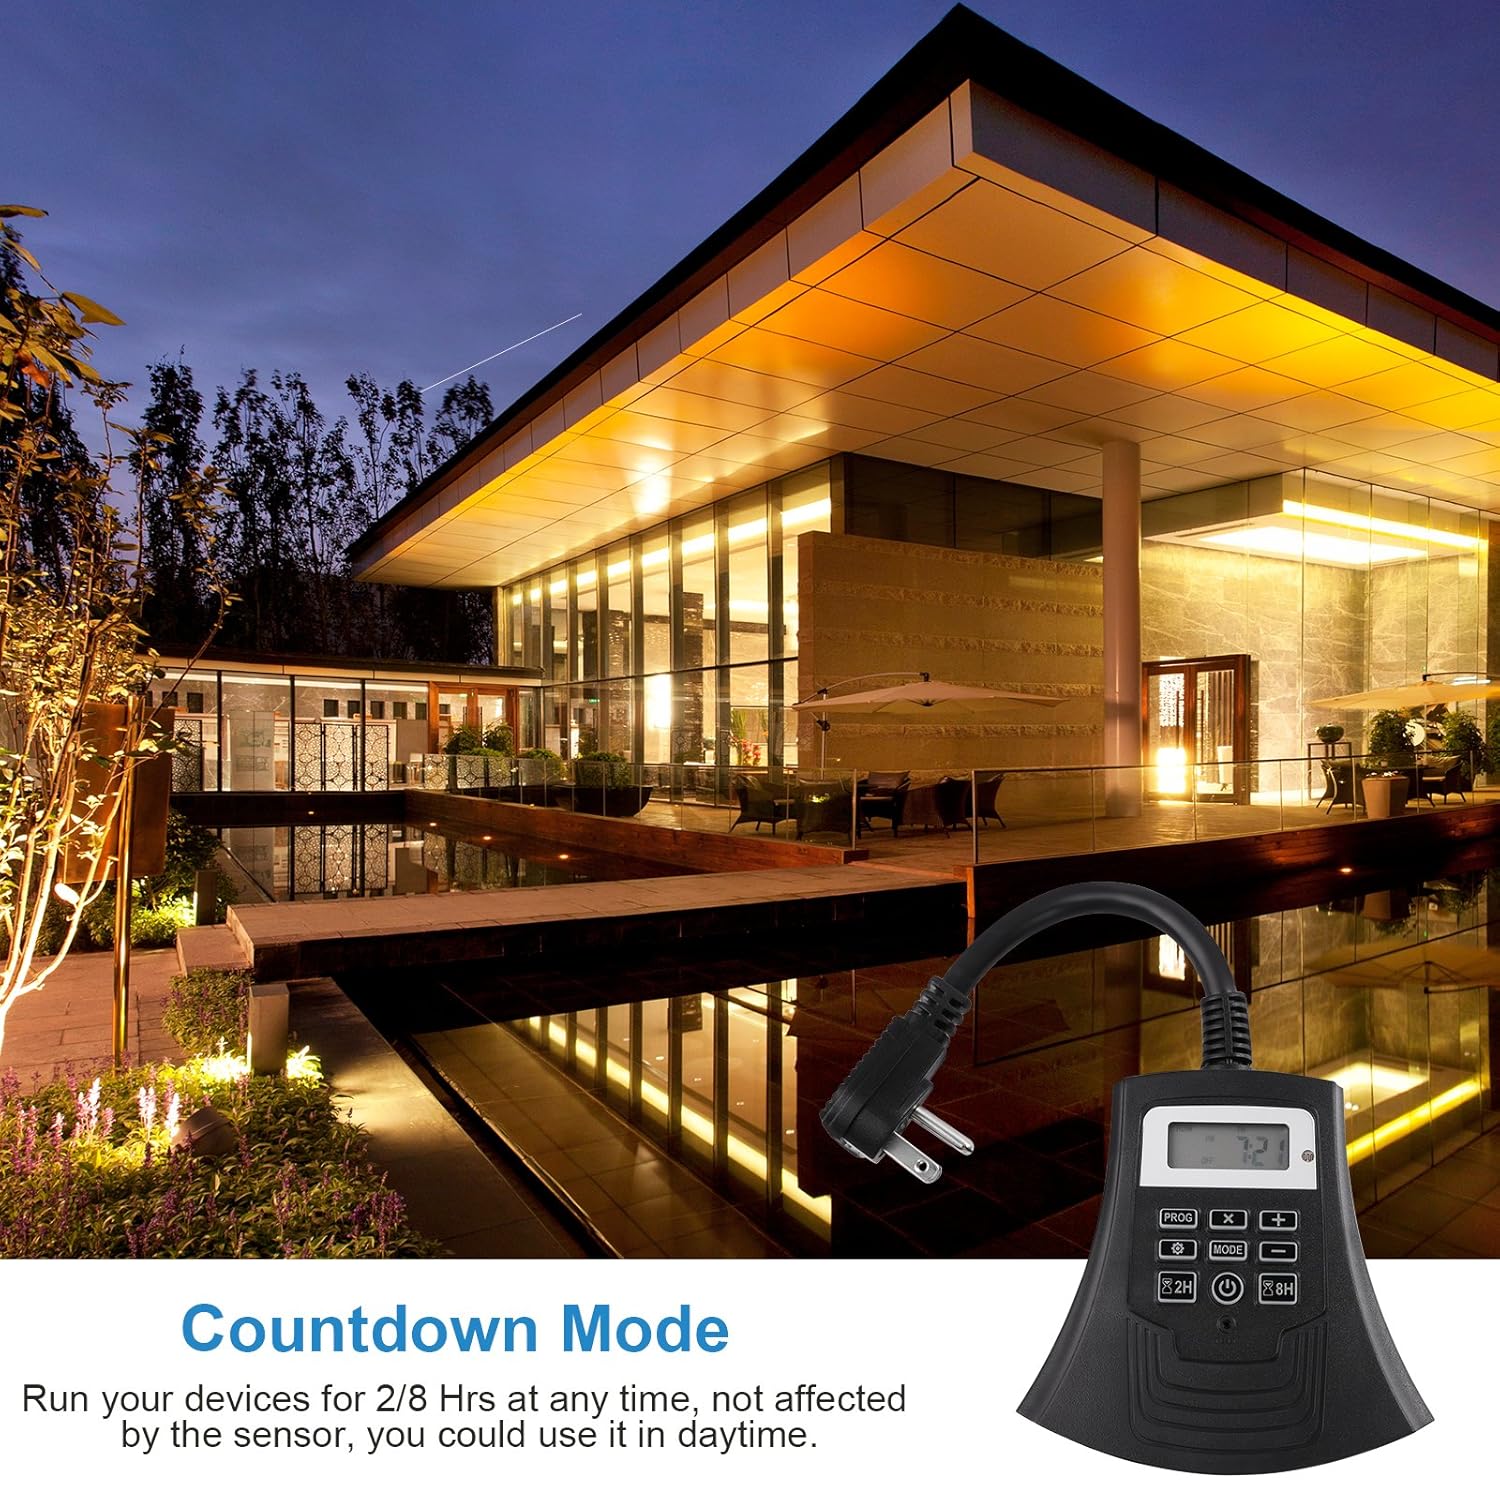
5.4 Countdown Modes (2H / 8H)
These modes allow you to turn on connected devices for a fixed duration of 2 or 8 hours, independent of other programmed settings. This is useful for temporary lighting or device operation.
- Press the 2H button for a 2-hour countdown.
- Press the 8H button for an 8-hour countdown.
- The timer will turn OFF automatically after the selected duration.
5.5 Manual ON/OFF Override
The power button (U) allows you to manually override the current programmed events, switching the timer to always ON or always OFF. To return to prior settings, switch it back to the corresponding mode.
6. Installation Guidelines
For safe and effective outdoor use, follow these installation guidelines:

- Mount the timer in a vertical position with the outlets facing downwards.
- Ensure the timer is at least 2 feet above the ground level to prevent water ingress.
- Choose a location that provides adequate protection from extreme weather conditions.
7. Maintenance
- Cleaning: Disconnect the timer from power before cleaning. Use a soft, damp cloth to wipe the exterior. Do not use harsh chemicals or abrasive cleaners.
- Storage: If not in use for extended periods, store the timer in a cool, dry place away from direct sunlight and extreme temperatures.
- Backup Battery: The timer includes a backup battery that holds settings during power outages for up to 3 months.
8. Troubleshooting
| Problem | Possible Cause | Solution |
|---|---|---|
| Timer not turning ON/OFF as programmed. | Incorrect program settings; Timer in wrong mode (e.g., Manual ON/OFF); Power outage. | Verify program settings (ON/OFF times, days). Ensure timer is in AUTO mode. Check power supply. Reset and reprogram if necessary. |
| Display is blank or unresponsive. | No power; Internal battery depleted. | Ensure timer is plugged into a live outlet. If still blank, the internal battery may need recharging (leave plugged in for 24 hours) or replacement. |
| Photocell mode not working correctly. | Light sensor obstructed; Insufficient ambient light. | Ensure the light sensor is clean and unobstructed. Relocate the timer to an area with clear access to ambient light. |
| Devices connected to outlets are not receiving power. | Timer is OFF; Program not active; Device malfunction. | Check timer mode and program status. Test the connected device directly in a wall outlet. |
9. Specifications
- Input Voltage: 125V, 60Hz
- Max Power Rating: 1875W Resistive; 1875W General Use; 1000W Tungsten; 1/2HP; 500VA Electronic Ballast; 120VAC 8.3A Standard Ballast
- Cord: SJTW 14/3C, 6-inch length
- Material: PPE+PS
- Number of Settings: 15 (referring to program slots and modes)
- Color: Black
- Model: B07D2BVMRT
- UPC: 611901252216
- Manufacturer: DEWENWILS
10. Warranty and Support
This DEWENWILS product comes with a 1-year warranty from the date of purchase. This warranty covers defects in materials and workmanship under normal use. It does not cover damage resulting from misuse, accident, modification, or unauthorized repair.
For warranty claims, technical support, or any questions regarding your product, please contact DEWENWILS customer service. Contact information can typically be found on the product packaging or the official DEWENWILS website.
Ask a question about this manual
Ask about setup, troubleshooting, compatibility, parts, safety, or missing instructions. Manuals+ will review the question and use this page’s manual context to help answer it.