1. Introduction
This manual provides detailed instructions for the installation, configuration, and operation of your HiLook By Hikvision DVR-104G Digital Video Recorder. This 4-channel DVR supports various video input formats including TVI, AHD, CVI, and CVBS, and offers HD 1080P Lite recording capabilities. It is designed for reliable surveillance recording and playback, with support for up to 6TB of storage and convenient Cloud P2P access.
2. Key Features
- DVR 4 Channels HD 1080P Lite
- Interfaces input: 4 video / 1 Audio
- Support (TVI - AHD – CVI - CVBS) video input formats
- HDMI, VGA Outputs (1920 x 1080) for display
- Support H.264+ compression for efficient storage
- 1 SATA interface supporting HDD Up to 6 TB
- Up to 1-ch 960p IP cameras input
- Support access by Cloud P2P for remote viewing
3. Product Overview
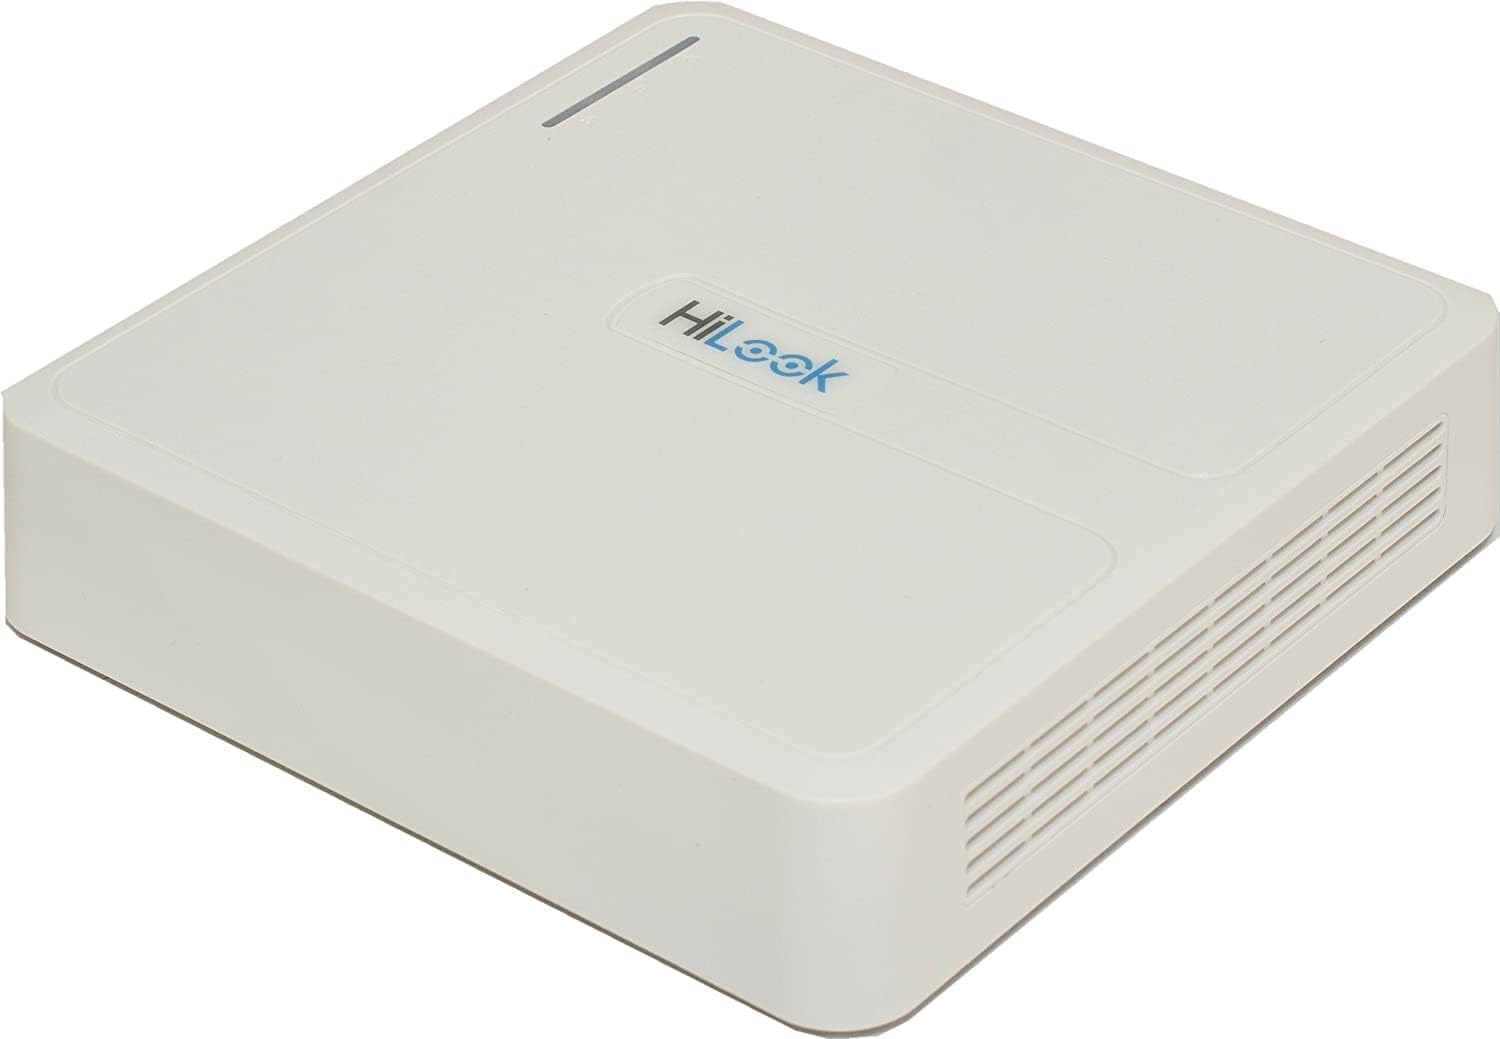
Figure 3.1: Top-down view of the HiLook DVR-104G Digital Video Recorder. The device is white with the 'HiLook' logo visible on the top surface. It features a compact, square design with ventilation grilles on the sides.
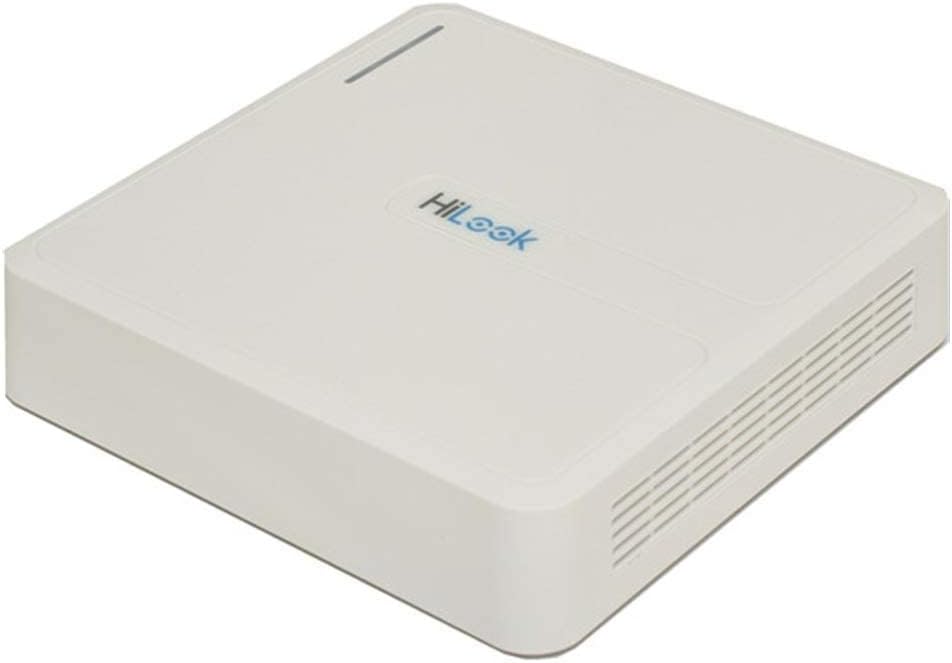
Figure 3.2: Rear panel view of the HiLook DVR-104G, illustrating the various input and output ports. These typically include video input channels, audio input/output, HDMI, VGA, Ethernet, USB ports, and the power input.

Figure 3.3: Illustrative comparison of Wide Dynamic Range (WDR) technology. The top image shows a scene with WDR OFF, where bright and dark areas are poorly balanced. The bottom image shows the same scene with WDR ON, demonstrating improved image clarity and detail in both bright and shadowed regions, crucial for effective surveillance.
4. Setup Guide
4.1 Package Contents
Before beginning installation, please verify that all items are present in the package:
- HiLook DVR-104G Unit
- Power Adapter
- USB Mouse
- SATA Cable (for HDD connection)
- Screws (for HDD mounting)
- Quick Start Guide
4.2 Hardware Installation
4.2.1 Connecting the Hard Disk Drive (HDD)
- Unscrew and remove the top cover of the DVR unit.
- Connect the SATA data cable and power cable to the HDD.
- Align the HDD with the mounting holes inside the DVR chassis and secure it with the provided screws.
- Replace and secure the top cover.
4.2.2 Connecting Cameras
Connect your TVI, AHD, CVI, or CVBS cameras to the BNC video input ports on the rear panel of the DVR. Ensure secure connections for optimal video signal quality.
4.2.3 Connecting Monitor and Power
- Connect a monitor to the HDMI or VGA output port on the DVR's rear panel.
- Connect the included USB mouse to one of the USB ports.
- Connect the power adapter to the DVR's power input and then plug it into a power outlet. The DVR will power on automatically.
4.3 Initial Configuration
Upon first boot, the DVR will typically launch a Setup Wizard. Follow the on-screen prompts to:
- Set up a strong password for the admin account.
- Configure network settings (DHCP or Static IP).
- Initialize the HDD for recording.
- Set date and time.
5. Operating Instructions
5.1 Live View
After setup, the DVR will display the live view from connected cameras on the monitor. You can switch between single-camera view and multi-camera grid view using the on-screen controls or mouse.
5.2 Recording
The DVR is configured to record continuously by default after HDD initialization. You can adjust recording schedules, enable motion detection recording, or set up alarm-triggered recording through the DVR's menu system (Configuration > Record > Schedule).
5.3 Playback
To view recorded footage:
- Right-click on the live view screen and select 'Playback'.
- Select the desired camera(s) and date/time range.
- Use the playback controls (play, pause, fast forward, rewind) to navigate through the footage.
5.4 Remote Access (Cloud P2P)
To access your DVR remotely via smartphone or computer:
- Ensure the DVR is connected to the internet.
- Enable the Cloud P2P service in the DVR's network settings (Configuration > Network > Platform Access).
- Download the official HiLook/Hik-Connect app on your mobile device or client software on your PC.
- Register an account and add your DVR by scanning the QR code or entering the serial number.
6. Maintenance
- Regular Cleaning: Keep the DVR unit clean and free from dust. Use a soft, dry cloth. Ensure ventilation openings are not blocked.
- Firmware Updates: Periodically check the official HiLook website for firmware updates. Updating firmware can improve performance, add features, and enhance security. Follow update instructions carefully.
- Data Backup: Regularly back up important recorded footage to external storage devices.
- Environmental Conditions: Operate the DVR within recommended temperature and humidity ranges to ensure longevity.
7. Troubleshooting
| Problem | Possible Cause | Solution |
|---|---|---|
| No video output on monitor | Loose cable connection, incorrect input source on monitor, DVR not powered on. | Check HDMI/VGA cable connections. Ensure monitor input source matches. Verify DVR power. |
| No image from camera | Camera not powered, faulty cable, incorrect video format. | Check camera power supply. Inspect BNC cable. Ensure camera's video format is compatible (TVI/AHD/CVI/CVBS) and matches DVR settings. |
| HDD not detected/recording | HDD not connected properly, HDD not initialized, faulty HDD. | Check SATA data and power cables. Go to DVR menu (Configuration > Storage > HDD) to initialize/format the HDD. Test with another HDD if possible. |
| Cannot access DVR remotely | Network issue, P2P service disabled, incorrect app settings. | Ensure DVR has internet access. Verify P2P status in DVR settings. Check app network settings and device addition. |
| Forgot password | Password lost. | Refer to the official HiLook support website for password reset procedures, which may involve a security code or contacting technical support. |
8. Technical Specifications
| Feature | Specification |
|---|---|
| Model Number | DVR-104G |
| Product Dimensions | 19.99 x 19.99 x 4.5 cm |
| Item Weight | 798.32 g (1.76 Pounds) |
| Number of Channels | 4 |
| Video Input | 4-ch BNC (TVI/AHD/CVI/CVBS) |
| Audio Input | 1-ch RCA |
| Video Output | 1 HDMI, 1 VGA (up to 1920x1080) |
| Compression Format | H.264+ |
| HDD Support | 1 SATA interface, up to 6 TB capacity |
| IP Camera Input | Up to 1-ch 960p |
| Connectivity Technology | VGA, HDMI |
| Wattage | 8 watts |
9. Warranty and Support
For warranty information, technical support, or service inquiries, please refer to the warranty card included with your product or visit the official HiLook website. Keep your purchase receipt as proof of purchase for warranty claims.


