Introduction
Thank you for choosing the Aquapik® PRO Water Flosser. This professional oral irrigator is designed to provide superior dental cleaning, effectively removing plaque and promoting healthy gums. It is especially beneficial for individuals with implants, braces, or sensitive gums. Please read this manual thoroughly before first use to ensure proper operation and maintenance.
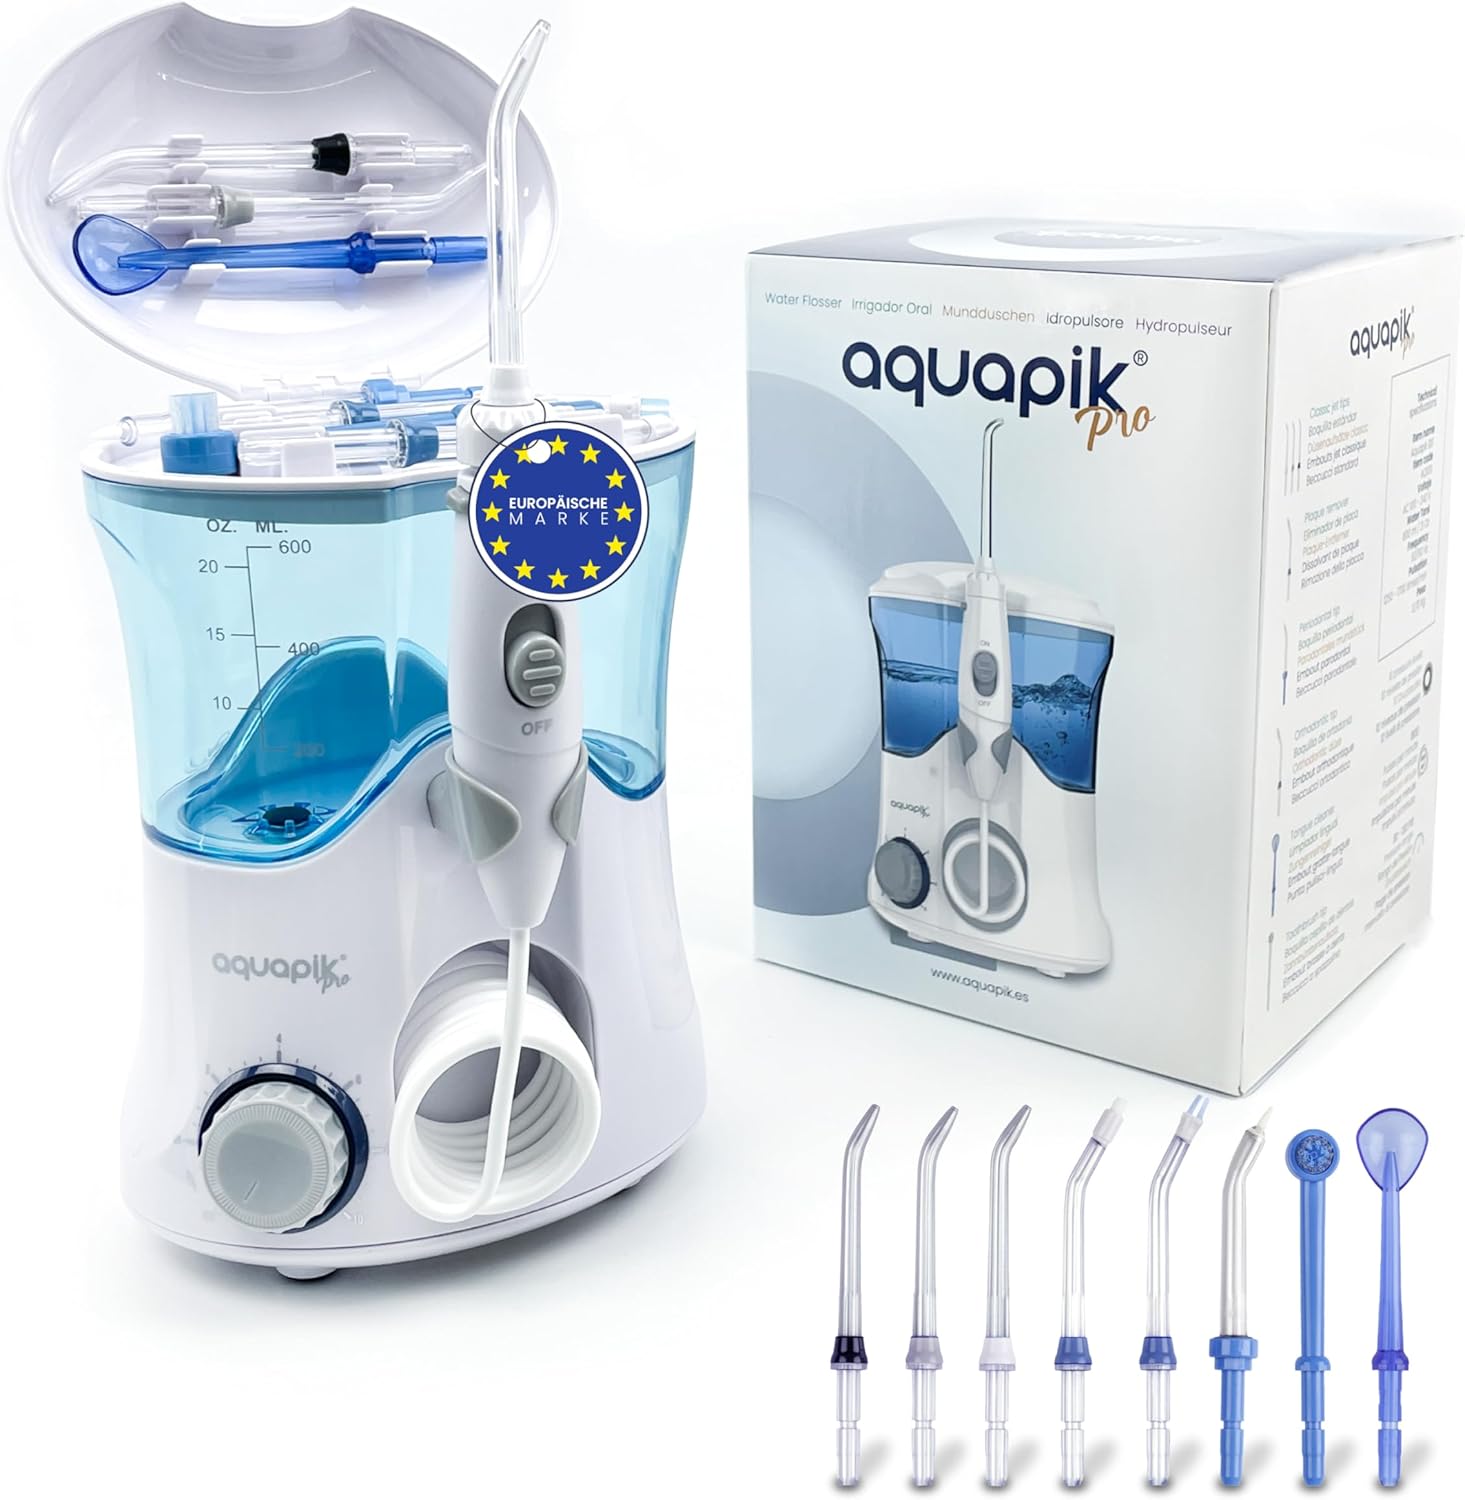
Image: The Aquapik PRO Water Flosser unit, including its various nozzles and original packaging.
Package Contents
- 1 x Aquapik® PRO Main Unit
- 1 x 600 ml Water Tank
- 8 x Specialized Nozzles (3 Standard, 1 Tongue Cleaner, 1 Plaque Remover, 1 Periodontal, 1 Orthodontic, 1 Toothbrush)
- 1 x Handle with Hose
- 1 x User Manual

Image: The Aquapik PRO Water Flosser displaying its dimensions (19cm height, 14cm width, 10cm depth) and certifications (ECO Friendly, Deutsche Recycling, UKCA, RoHS, FDA, CE FC).
Setup Guide
- Choose and Insert Nozzle: Select the desired nozzle from the 8 available options. Insert the nozzle firmly into the handle until you hear a click, ensuring it is securely in place.
- Fill Water Tank: Open the water tank lid and fill the 600 ml tank with lukewarm water. It is recommended to use only water; avoid mouthwashes or other solutions as they may impair the device's function.
- Select Pressure Level: The device offers 10 adjustable pressure levels (20 – 140 PSI). Rotate the dial on the base of the unit to select your preferred pressure setting. Start with a lower setting and gradually increase as you become comfortable.
- Positioning: Lean over a sink and place the nozzle tip into your mouth, aiming it at your gumline at a 90-degree angle.

Image: Detailed view of the Aquapik PRO Water Flosser highlighting its key components: 8 nozzles, tank lid and nozzle holder, 360° rotatable head, start button, 600ml tank capacity, extendable hose up to 100cm, OFF/ON pressure adjustment in 10 steps, and IPX7 waterproof certification.
Operating Instructions
- Start Flossing: Once positioned, switch on the water flosser using the ON/OFF switch on the handle. Allow the water to flow for approximately 2 minutes, ensuring thorough cleaning of all interdental spaces and gumlines.
- Technique: Guide the water jet along the gumline, pausing briefly between teeth. For optimal cleaning, follow the contours of your teeth and gums.
- Completion: After use, switch off the device using the ON/OFF switch on the handle.

Image: A person demonstrating the use of the Aquapik PRO Water Flosser, with icons illustrating its benefits: removes plaque, protects gums, cares for implants, cleans braces, cleans between teeth, and provides fresh breath.
Official Product Videos
How to Use the Aquapik Pro Water Flosser
Video: A comprehensive guide demonstrating the correct steps to use the Aquapik Pro Water Flosser for effective oral hygiene.
Unboxing the Aquapik 100
Video: An unboxing video showcasing the contents and initial setup of the Aquapik 100, providing a first look at the product.
Aquapik Pro Professional Oral Irrigator
Video: A detailed overview of the Aquapik Pro, highlighting its professional features and benefits for advanced oral hygiene.
Aquapik Pro Water Flosser with 8 Nozzles
Video: This video demonstrates the Aquapik Pro Water Flosser and showcases the variety of 8 specialized nozzles included for different oral care needs.
Maintenance and Care
- Daily Cleaning: After each use, empty any remaining water from the tank. Rinse the tank and the nozzle under running water.
- Deep Cleaning (Weekly/Bi-weekly): For thorough cleaning, fill the water tank with warm water and add 2 tablespoons of white vinegar. Run the solution through the unit until the tank is empty. Rinse by running a full tank of clean water through the unit.
- Nozzle Replacement: Nozzles should be replaced every 3-6 months, or sooner if they show signs of wear.
- Storage: Store the unit in a dry place away from direct sunlight. Ensure the water tank is empty and dry before storage.
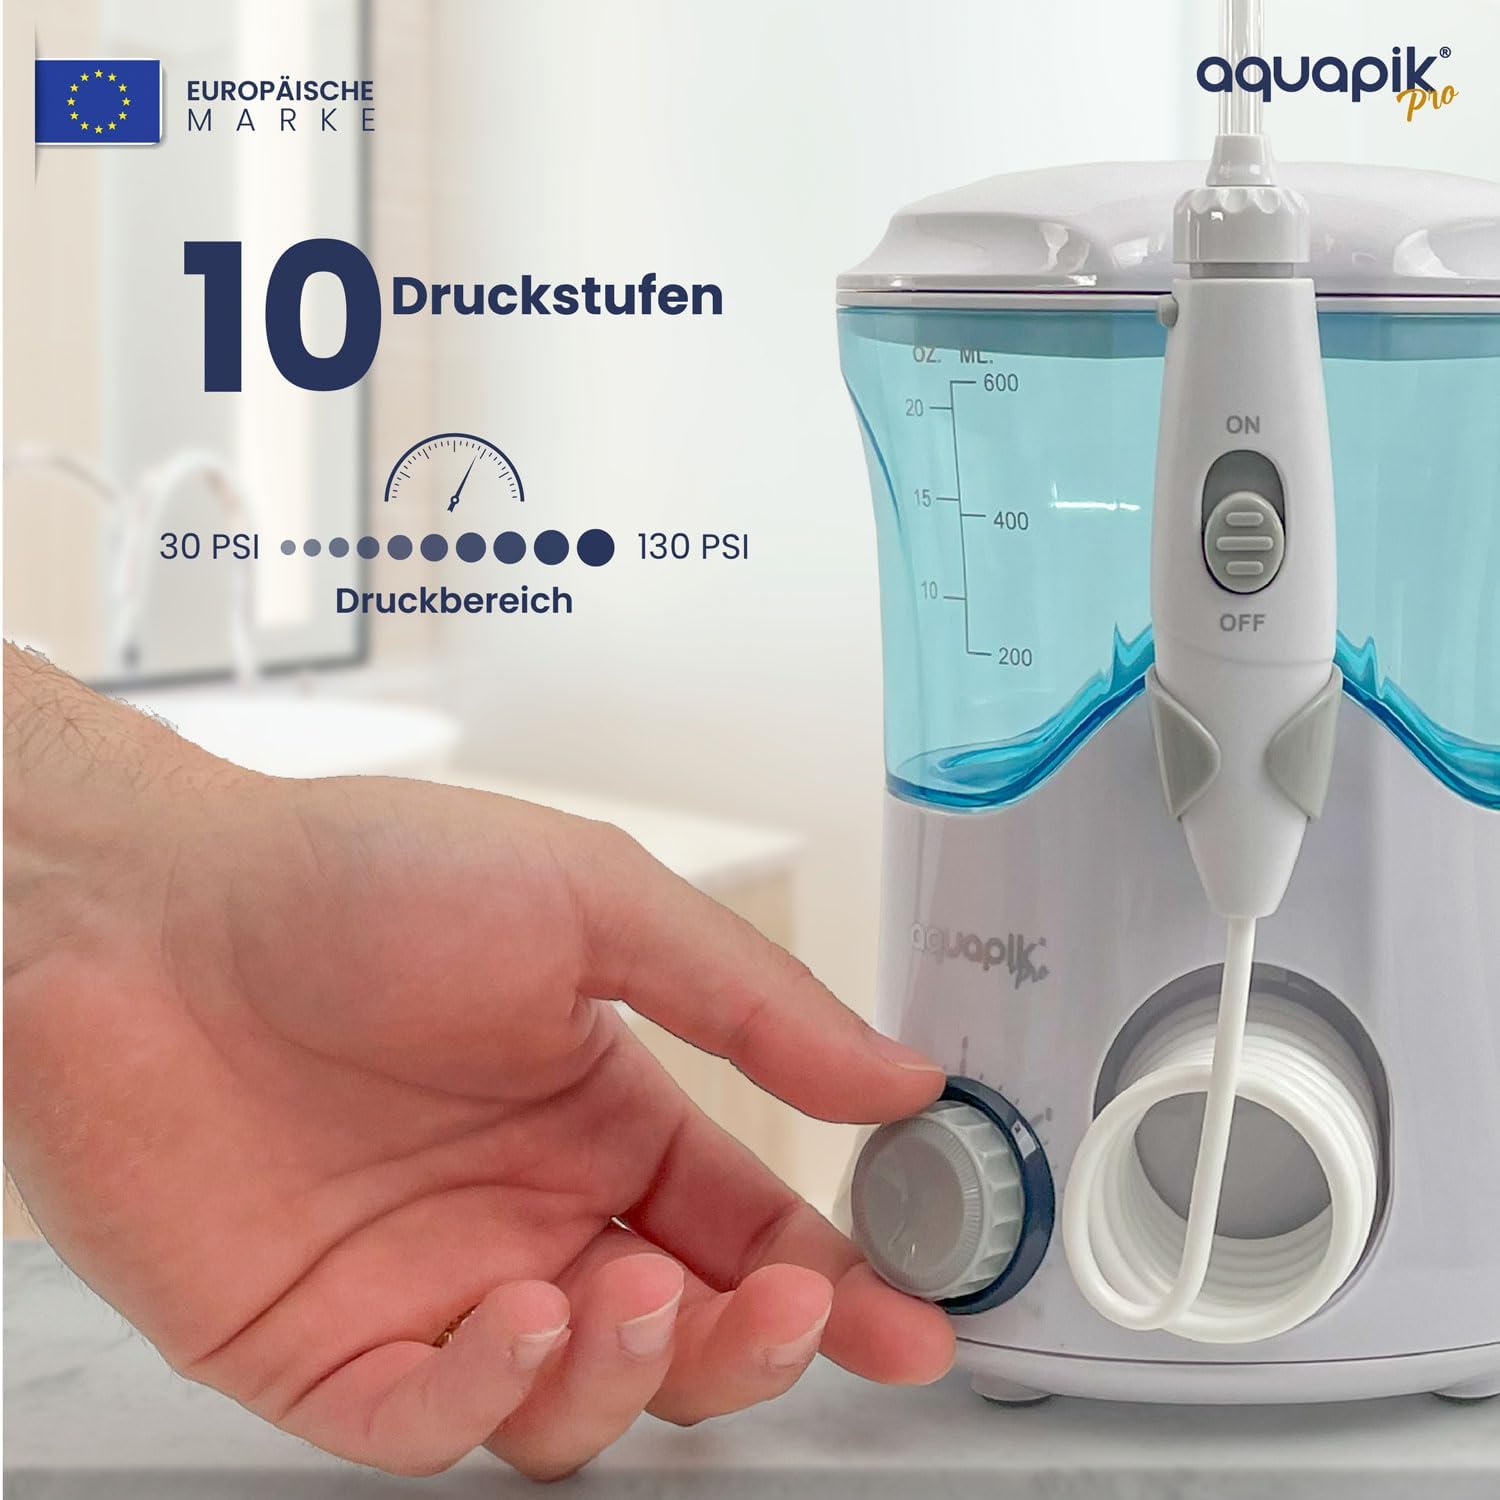
Image: Close-up of the Aquapik PRO Water Flosser showing the pressure adjustment dial, indicating 10 pressure levels ranging from 30 PSI to 130 PSI.
Troubleshooting
| Problem | Possible Cause | Solution |
|---|---|---|
| No water flow | Water tank empty; Nozzle not properly inserted; Hose kinked; Mineral deposits. | Refill tank; Reinsert nozzle until it clicks; Straighten hose; Perform deep cleaning with vinegar solution. |
| Weak water pressure | Low pressure setting; Clogged nozzle; Mineral deposits in unit. | Increase pressure setting; Clean or replace nozzle; Perform deep cleaning with vinegar solution. |
| Device not turning on | Not plugged in; Power switch off. | Ensure power cord is securely plugged into an outlet; Turn ON/OFF switch to ON position. |
Product Specifications
- Model: AQPRO
- Brand: Boston Tech
- Dimensions: 19 x 14 x 20 cm
- Weight: 940 grams
- Water Tank Capacity: 600 ml
- Pressure Levels: 10 (20 – 140 PSI)
- Nozzles Included: 8
- Certifications: CE, FDA, RoHS, IPX7
- Power Source: Corded Electric

Image: A collection of the 8 specialized nozzles included with the Aquapik PRO Water Flosser, designed for various oral hygiene needs.
Warranty and Support
The Aquapik® PRO Water Flosser comes with a 2-year warranty from the date of purchase, covering manufacturing defects. For warranty claims, technical support, or any inquiries, please contact Boston Tech customer service through their official website or the retailer where you purchased the product.
Contact Information:
- Brand Store: Boston Tech Amazon Store
- Manufacturer: Boston Tech