X-Sense SD13
X-Sense SD13 Photoelectric Smoke Detector User Manual
Model: SD13 | Brand: X-Sense
Introduction
This manual provides important information regarding the installation, operation, and maintenance of your X-Sense SD13 Photoelectric Smoke Detector. Please read this manual thoroughly before installation and keep it for future reference.
The X-Sense SD13 is designed to detect smoke and alert occupants to potential fire hazards, providing early warning for enhanced safety. It features a photoelectric sensor, a 10-year sealed lithium battery, and is certified to EN14604 standards, ensuring high quality and reliability.
Important Safety Information
- This smoke alarm is designed for indoor use only.
- Do not paint the smoke alarm. Paint may clog the openings and prevent the alarm from functioning properly.
- Do not attempt to repair this unit. Refer to the "Troubleshooting" section for common issues.
- Test the smoke alarm weekly to ensure proper operation.
- This device is not intended to replace proper fire safety practices, including regular inspections of heating appliances, chimneys, and electrical systems.
- In case of an alarm, evacuate immediately and call emergency services.
Package Contents
- 1 × Smoke Detector
- 1 × Mounting Base
- 2 × Screws
- 2 × Anchor Plugs
- 1 × User Manual
Product Overview
The X-Sense SD13 smoke detector features a compact, circular design with a test/silence button and an LED indicator. It is constructed from environmentally friendly, fire-retardant ABS material.

Figure 1: Front view of the X-Sense SD13 smoke detector.

Figure 2: Side view highlighting the insect-proof design of the smoke detector.
Setup and Installation
Proper placement and installation are crucial for the effective operation of your smoke detector.
Recommended Placement
- Install smoke alarms on every level of your home, including basements.
- Place alarms inside and outside of sleeping areas.
- For best protection, install a smoke alarm in every room, especially bedrooms.
- Mount the alarm on the ceiling or high on a wall (within 15 cm of the ceiling).
- Avoid placing alarms near windows, doors, or air vents where drafts might interfere with smoke detection.
- Keep alarms at least 10 cm away from corners.
- Avoid placing alarms in kitchens, bathrooms, or garages where cooking fumes, steam, or exhaust might cause false alarms.

Figure 3: Example of ceiling installation in a living space.
Mounting Instructions
- Choose a suitable mounting location according to the recommended placement guidelines.
- Use the mounting base as a template to mark the two drill holes on the ceiling or wall.
- Drill two holes at the marked positions.
- Insert the anchor plugs into the drilled holes.
- Secure the mounting base to the ceiling/wall using the provided screws.
- Align the smoke detector with the mounting base and twist clockwise until it locks into place.
- Test the alarm immediately after installation.

Figure 4: Step-by-step installation guide.
Operating Instructions
Initial Activation
The smoke detector activates automatically when attached to the mounting base.
Testing the Alarm
It is recommended to test your smoke alarm weekly to ensure its proper functioning. The detector also performs continuous self-checks.
- Press and hold the Test/Silence button on the front of the alarm.
- The alarm will sound three long beeps, followed by a pause, and then three more long beeps. The LED indicator will flash red.
- Release the button. The alarm will stop.
- If the alarm does not sound, refer to the "Troubleshooting" section.
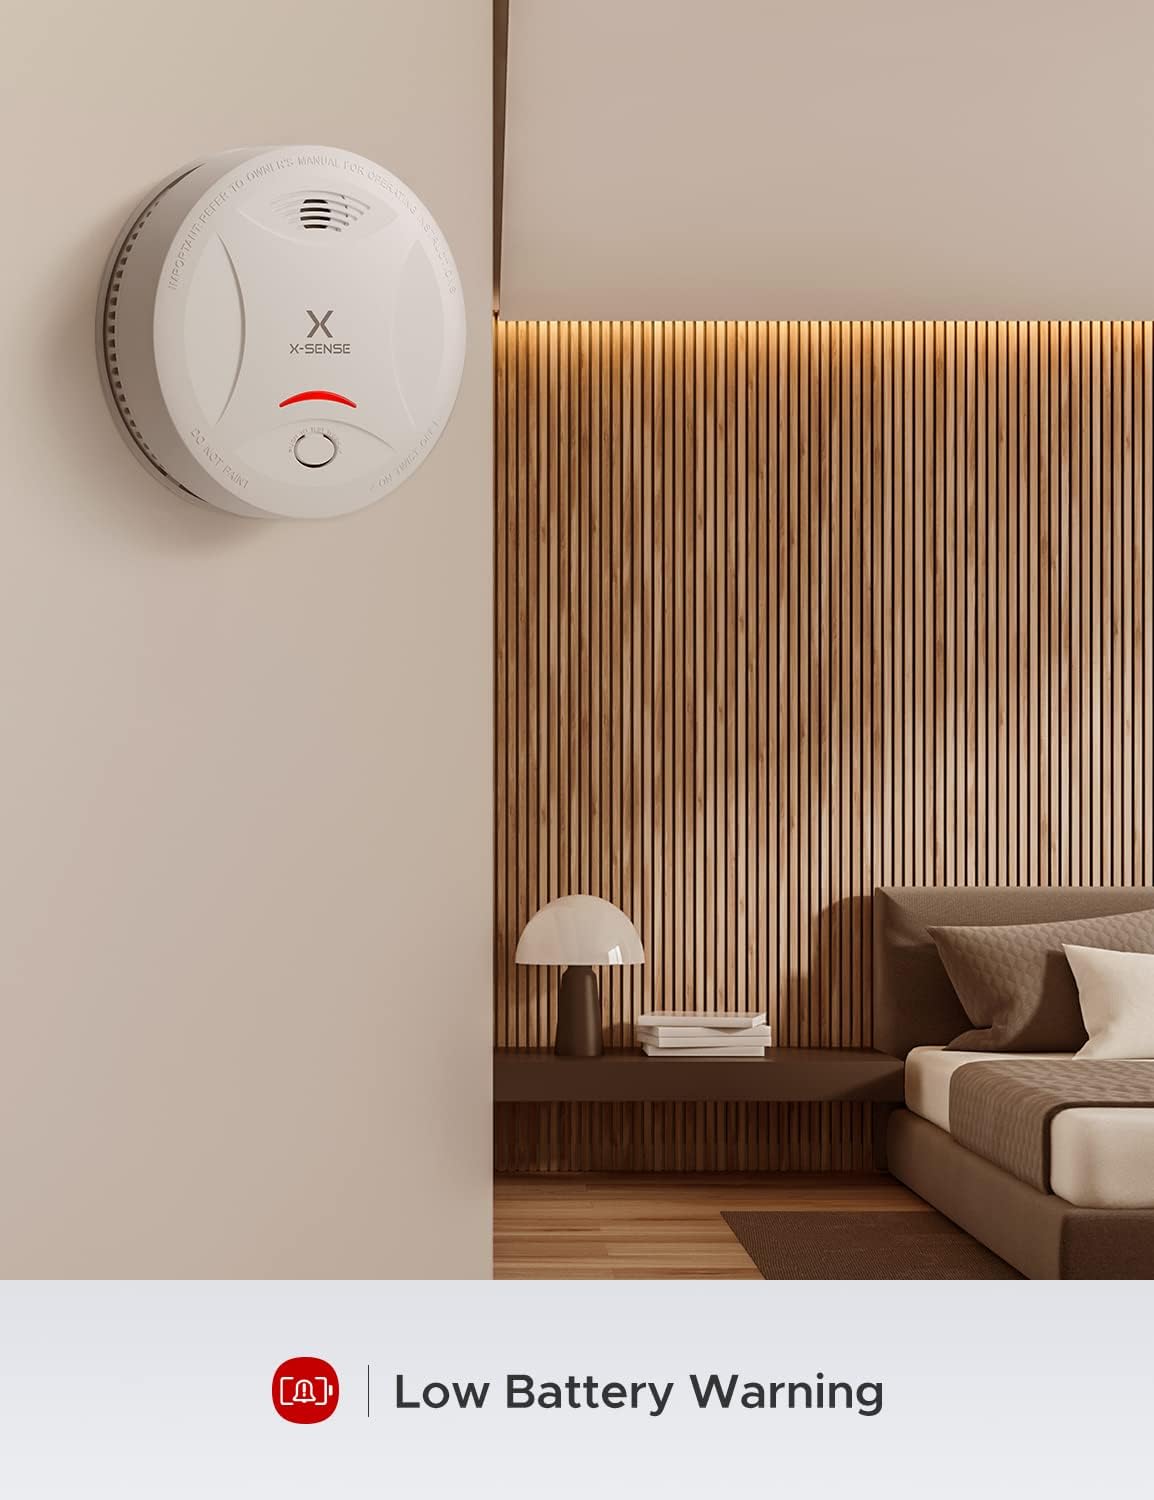
Figure 5: Testing the alarm by pressing the test/silence button.
Silencing the Alarm
If a non-emergency alarm occurs (e.g., from cooking fumes), you can temporarily silence the alarm.
- Press the Test/Silence button once.
- The alarm will enter a temporary silence mode for approximately 9 minutes. The red LED will flash every 5 seconds.
- After the silence period, if smoke is still present, the alarm will reactivate.
Warning:
Do not silence the alarm in a real fire emergency. Evacuate immediately.
Maintenance
Cleaning Your Smoke Alarm
Clean your smoke alarm at least once a month to remove dust and debris. This helps maintain its sensitivity and prevents false alarms.
- Gently vacuum the alarm's cover and vents using a soft brush attachment.
- Do not use cleaning solvents or sprays directly on the alarm.
Battery Information
The X-Sense SD13 is equipped with a sealed 10-year lithium battery. This battery is designed to last the entire lifespan of the alarm and is not replaceable. This ensures uninterrupted protection 24/7.
When the battery is low, the alarm will chirp once every 60 seconds and the red LED will flash, indicating that the unit needs to be replaced. The detector constantly self-monitors and informs you in a timely manner about any errors or low battery levels for reliable use.

Figure 6: Low battery warning indicator.
Troubleshooting
| Problem | Possible Cause | Solution |
|---|---|---|
| Alarm does not sound during test. | Unit not properly activated or faulty. | Ensure the alarm is fully twisted onto the mounting base. If still no sound, replace the unit. |
| Alarm chirps once every 60 seconds. | Low battery. | The sealed battery is nearing the end of its life. Replace the entire smoke alarm unit. |
| False alarms. | Dust, steam, cooking fumes, or improper placement. | Clean the alarm. Relocate the alarm away from sources of steam or fumes. Use the silence feature for temporary non-emergency alarms. |
| Alarm sounds continuously without smoke. | Sensor contamination or unit malfunction. | Clean the alarm. If the issue persists, the unit may be faulty and needs replacement. |
Specifications
| Feature | Detail |
|---|---|
| Model Number | SD13 |
| Sensor Type | Photoelectric |
| Power Source | Sealed Lithium Battery |
| Battery Life | 10 years |
| Battery Description | CR123A (integrated) |
| Alarm Loudness | 85 dB |
| Dimensions (L x W x H) | 12.2 x 12.2 x 4.5 cm |
| Weight | 178 Grams |
| Material | ABS (Fire-retardant) |
| Certification | TÜV and EN14604 compliant |
| Coverage Area | 20 to 40 m² |
| Installation Method | Screws or magnetic mount (Ø70mm) |
Warranty and Support
The X-Sense SD13 smoke detector comes with a 5-year warranty.
For technical support or warranty claims, please contact X-Sense customer service. Our team is ready and willing to help you. Refer to the contact information provided in the original product packaging or on the official X-Sense website.
Ask a question about this manual
Ask about setup, troubleshooting, compatibility, parts, safety, or missing instructions. Manuals+ will review the question and use this page’s manual context to help answer it.