1. Introduction
This manual provides detailed instructions for the installation, operation, and maintenance of your YaeCCC C-266 Car 4 Channel Power Amplifier. Please read this manual thoroughly before attempting to install or operate the amplifier to ensure proper function and safety. Keep this manual for future reference.
2. Safety Information
Observe the following safety precautions during installation and operation:
- Always disconnect the vehicle's battery negative terminal before starting any electrical work.
- Ensure all wiring is correctly routed and secured to prevent damage or short circuits.
- Use appropriate gauge wiring for power and ground connections to handle the amplifier's current draw.
- Install the amplifier in a location that allows for adequate ventilation to prevent overheating.
- This amplifier is designed for 12V DC automotive electrical systems only.
- The amplifier features built-in protection circuits for current/amperage overload, short circuits, thermal overload, and DC offset. If a protection circuit is activated, the amplifier may temporarily shut down.
3. Package Contents
Verify that all items are present in the package:
- YaeCCC C-266 Car Audio Amplifier
- English User Manual (this document)
- Replacement Fuse
- Mounting Screws (4 pieces)

Image: Contents of the YaeCCC C-266 amplifier package, showing the amplifier unit, user manual, a spare fuse, and four mounting screws.
4. Product Features
The YaeCCC C-266 Car 4 Channel Power Amplifier offers the following key features:
- 4 Channel High-Power Output: Provides robust audio performance for an enhanced in-car entertainment experience.
- Durable Construction: Made from high-quality aluminum alloy for longevity and efficient heat dissipation.
- Comprehensive Protection: Equipped with safeguards against current/amperage overload, short circuits, thermal overload, and DC offset.
- Easy Installation: Designed for straightforward, non-destructive installation.
- Optimized for Subwoofers: Delivers energetic and strong power, making it suitable for driving subwoofers.
- 360° Round Sound: Engineered to provide immersive audio output.
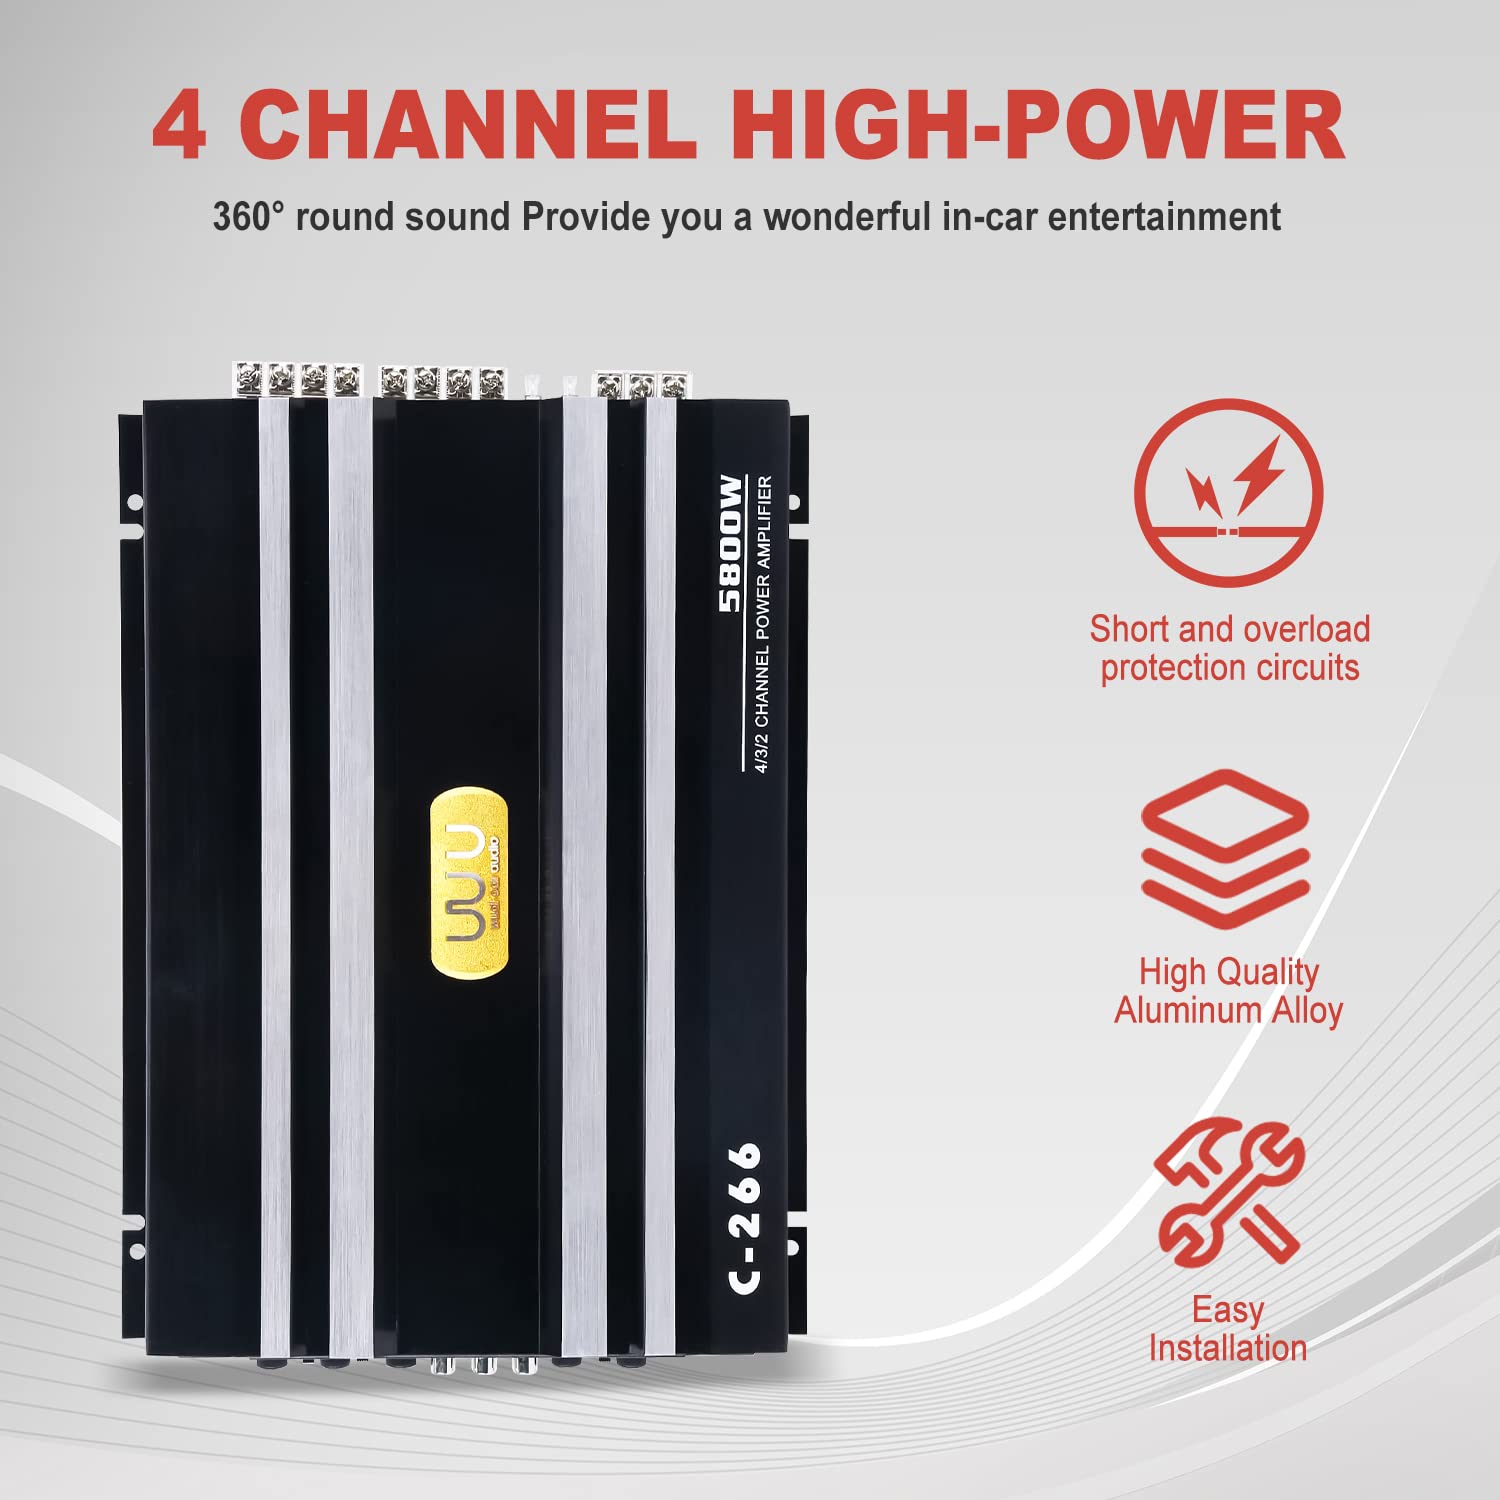
Image: Visual representation of the YaeCCC C-266 amplifier's main features, highlighting its 4-channel high-power capability, integrated protection circuits, durable aluminum alloy construction, and ease of installation.
5. Product Overview and Dimensions
The YaeCCC C-266 amplifier features a sleek, low-profile design, making it suitable for various installation locations within a vehicle, including under seats.

Image: A clear top-down view of the YaeCCC C-266 Car 4 Channel Power Amplifier, displaying its overall design and aesthetic.
Dimensions:
- Length: Approximately 12.59 inches (32 cm)
- Width: Approximately 9.44 inches (24 cm)
- Height: Approximately 1.77 inches (4.5 cm)

Image: A perspective view of the YaeCCC C-266 amplifier with callouts for its length (12.59 inches), width (9.44 inches), and height (1.77 inches), illustrating its compact form factor.
6. Setup and Installation
Proper installation is crucial for optimal performance and safety. If you are unsure about any steps, consult a professional car audio installer.
6.1 Mounting the Amplifier
The YaeCCC C-266 is designed for car mount installation. Choose a location that is:
- Secure and free from vibrations.
- Well-ventilated to prevent overheating.
- Protected from moisture and direct sunlight.
- Accessible for wiring and adjustments.
The amplifier's ultra-thin volume allows for installation under a seat without damage, helping to save space and hide wires.
6.2 Wiring Connections
Refer to the diagrams below for proper wiring of power, ground, remote, and speaker connections.

Image: An overhead view of the YaeCCC C-266 amplifier, detailing the layout of its various connection points, including RCA audio inputs, power supply terminals, and speaker output terminals.

Image: A detailed close-up of the power input and speaker output terminals on the YaeCCC C-266 amplifier, clearly showing the connections for Ground (GND), Remote turn-on (REMOTE), Battery positive (B+), the fuse holder, and the front and rear speaker outputs.
Power Connections:
- B+ (Battery Positive): Connect to the positive terminal of the car battery via a fused power cable. The fuse should be located within 18 inches of the battery.
- GND (Ground): Connect to a clean, unpainted metal surface of the vehicle chassis. Ensure a good electrical connection.
- REMOTE (Remote Turn-On): Connect to the remote output of your head unit. This turns the amplifier on and off with your car stereo.
Audio Input Connections:
The amplifier supports both RCA (low-level) inputs and high-level speaker line inputs. Speaker line inputs are known as high-level inputs and can be used if your head unit does not have RCA outputs. Connect the outputs properly as shown in the manual.
Speaker Output Connections:
Connect your speakers to the 'SPEAKER FRONT' and 'SPEAKER REAR' terminals. Observe correct polarity (+ to + and - to -) for each speaker. The amplifier supports bridged mode for higher power output to subwoofers (refer to specific wiring diagrams for bridging).
7. Operation and Adjustments
Once installed, you can fine-tune the amplifier's settings using the control panel.
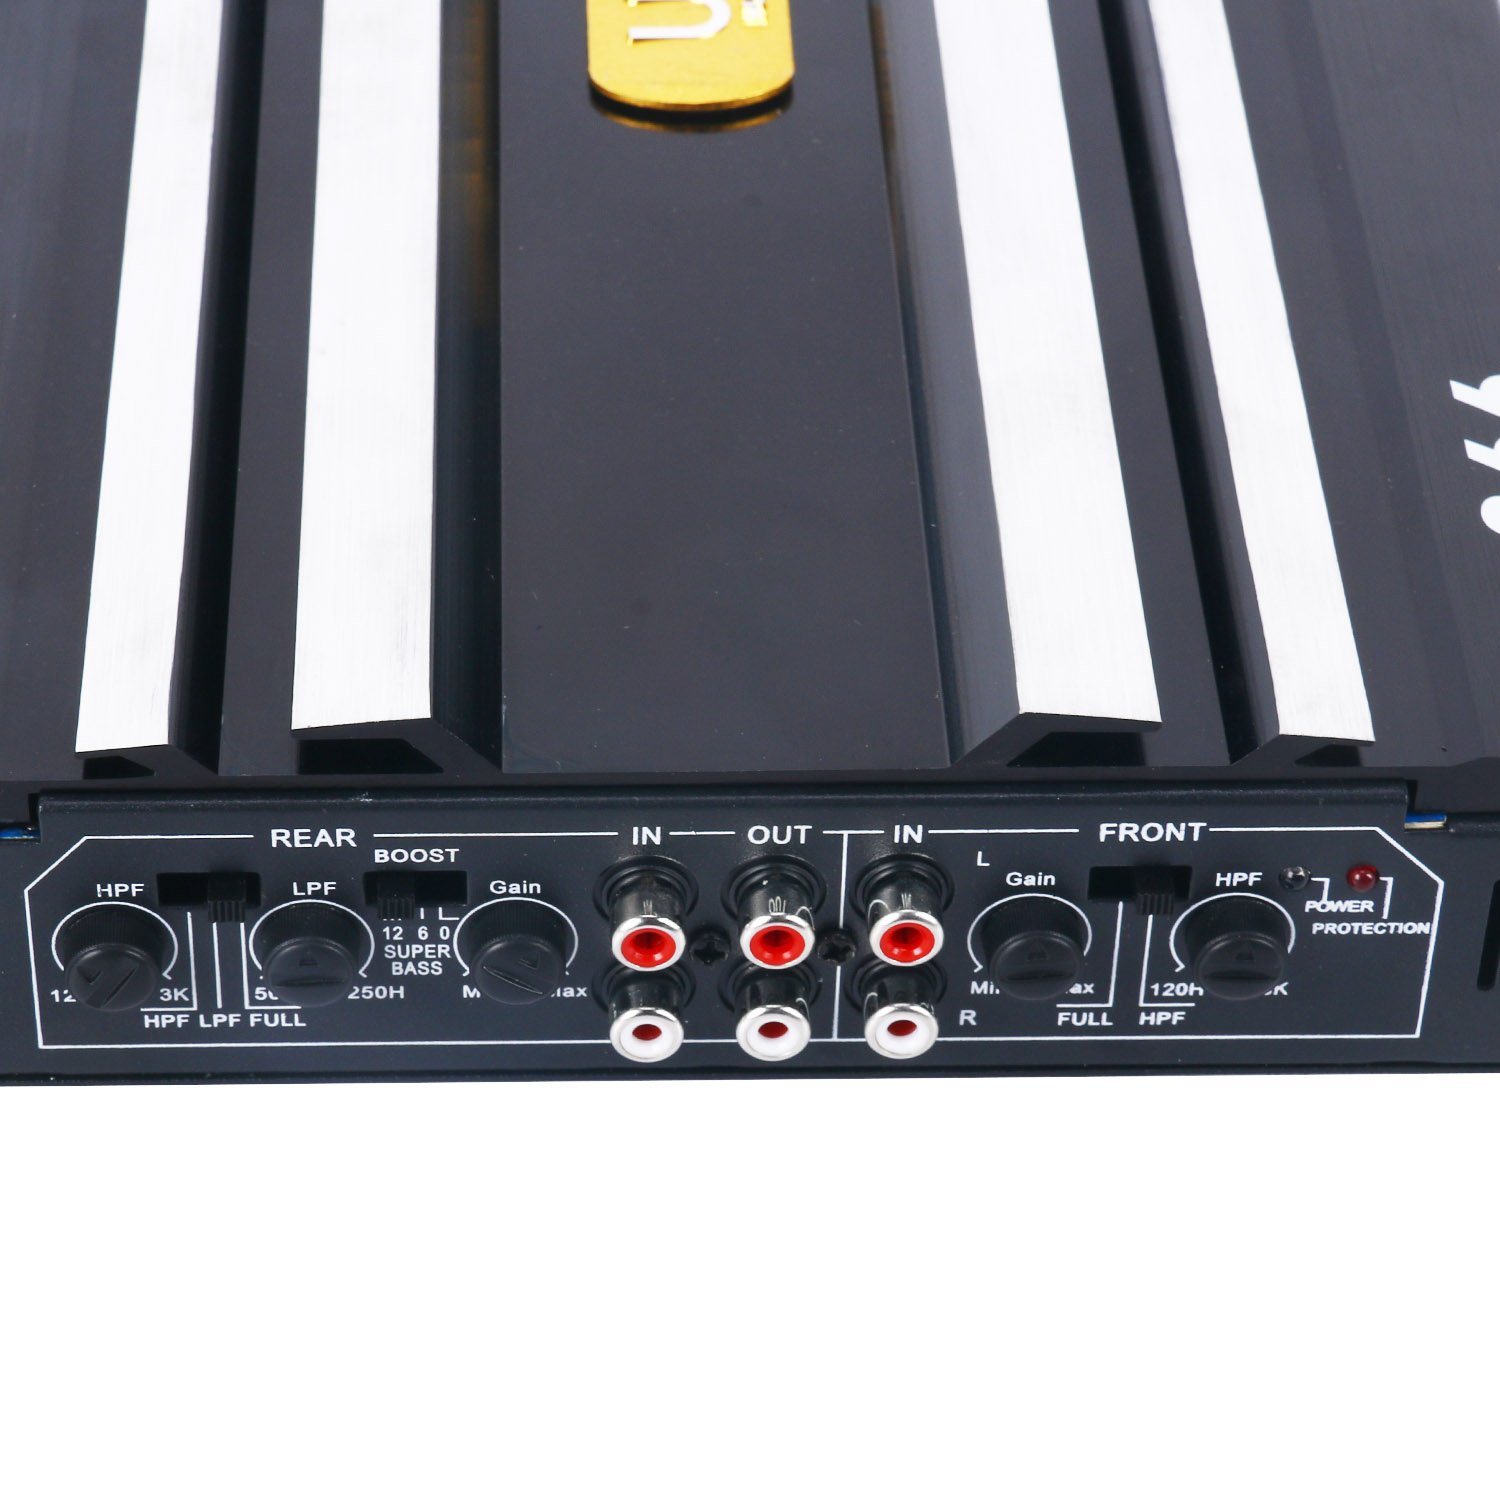
Image: A detailed view of the YaeCCC C-266 amplifier's control panel, illustrating the various adjustable settings such as High-Pass Filter (HPF), Low-Pass Filter (LPF), Bass Boost (BOOST), and Gain controls for both front and rear audio channels.
- GAIN (Input Level): Adjusts the input sensitivity of the amplifier to match the output level of your head unit. Start with the gain at minimum and slowly increase until desired volume is achieved without distortion.
- HPF (High-Pass Filter): Allows frequencies above the set point to pass through to the speakers. Useful for protecting smaller speakers from low bass frequencies.
- LPF (Low-Pass Filter): Allows frequencies below the set point to pass through. Typically used for subwoofers to reproduce only bass frequencies.
- BOOST (Bass Boost): Increases the output level of specific bass frequencies. Use sparingly to avoid distortion.
- FULL: Bypasses the filters, allowing the full frequency range to pass through.
8. Maintenance
To ensure the longevity and optimal performance of your amplifier, follow these simple maintenance guidelines:
- Keep the amplifier clean and free from dust and debris. Use a soft, dry cloth for cleaning.
- Ensure that the ventilation fins are not obstructed to allow for proper heat dissipation.
- Periodically check all wiring connections for tightness and corrosion. Loose connections can lead to poor performance or damage.
- Avoid exposing the amplifier to extreme temperatures or moisture.
9. Troubleshooting
If you experience issues with your amplifier, consult the following table before seeking professional assistance:
| Problem | Possible Cause | Solution |
|---|---|---|
| No Power / Amplifier does not turn on | Blown fuse Loose power or ground connection No remote turn-on signal | Check and replace fuse Verify all power, ground, and remote connections are secure Check remote wire connection to head unit and ensure head unit is on |
| No Sound Output | Muted head unit Loose RCA or speaker connections Incorrect gain settings Amplifier in protection mode | Check head unit volume and mute settings Verify all audio input and speaker output connections Adjust gain settings appropriately Turn off amplifier, check wiring for shorts, and restart |
| Distorted Sound | Gain set too high Improper filter settings (HPF/LPF) Poor quality audio source Damaged speakers | Reduce gain setting Adjust HPF/LPF settings for optimal sound Test with a different audio source Inspect speakers for damage |
| Amplifier Overheating | Insufficient ventilation Improper impedance load Gain set too high | Ensure adequate airflow around the amplifier Verify speaker impedance matches amplifier specifications Reduce gain setting |
10. Specifications
Technical specifications for the YaeCCC C-266 Car 4 Channel Power Amplifier:
| Specification | Value |
|---|---|
| Model Number | C-266 (Item model number: 8541763287) |
| Channels | 4 Channel |
| Voltage | 12 Volts (DC) |
| Maximum Supply Voltage | 12 Volts (DC) |
| Minimum Supply Voltage | 12 Volts |
| Mounting Type | Car Mount |
| Package Dimensions | 16.9 x 12.9 x 3.3 inches |
11. Warranty and Support
For warranty information or technical support, please refer to the documentation provided at the time of purchase or contact Yaeccc customer service. Keep your purchase receipt as proof of purchase for any warranty claims.