Introduction
The Acer SB220Q bi 21.5" Widescreen LCD IPS display offers a 1920 x 1080 Full HD resolution, combining ultra-thin design with vibrant visuals. Featuring an incredible 100,000,000:1 contrast ratio and a rapid 4ms response time, this monitor is designed for a high-definition viewing experience. It includes multiple input options for broad compatibility and a Kensington lock slot for security.
What's in the Box
- Display Unit
- Monitor Stand
- VGA Cable
Setup Guide
1. Monitor Assembly
Carefully remove all components from the packaging. Attach the monitor stand to the display unit. Ensure the connection is secure. The stand is designed for easy, tool-free assembly.

Figure 1: Side profile illustrating the ultra-thin design of the monitor.

Figure 2: Diagram highlighting the ultra-thin aspect of the monitor.
2. Connecting to a Device
The Acer SB220Q bi monitor supports both HDMI and VGA connections. Choose the appropriate cable for your device (computer, laptop, etc.).
- HDMI Connection: Connect one end of an HDMI cable to the HDMI port on the monitor and the other end to the HDMI output port on your computer.
- VGA Connection: Connect one end of the provided VGA cable to the VGA port on the monitor and the other end to the VGA output port on your computer.
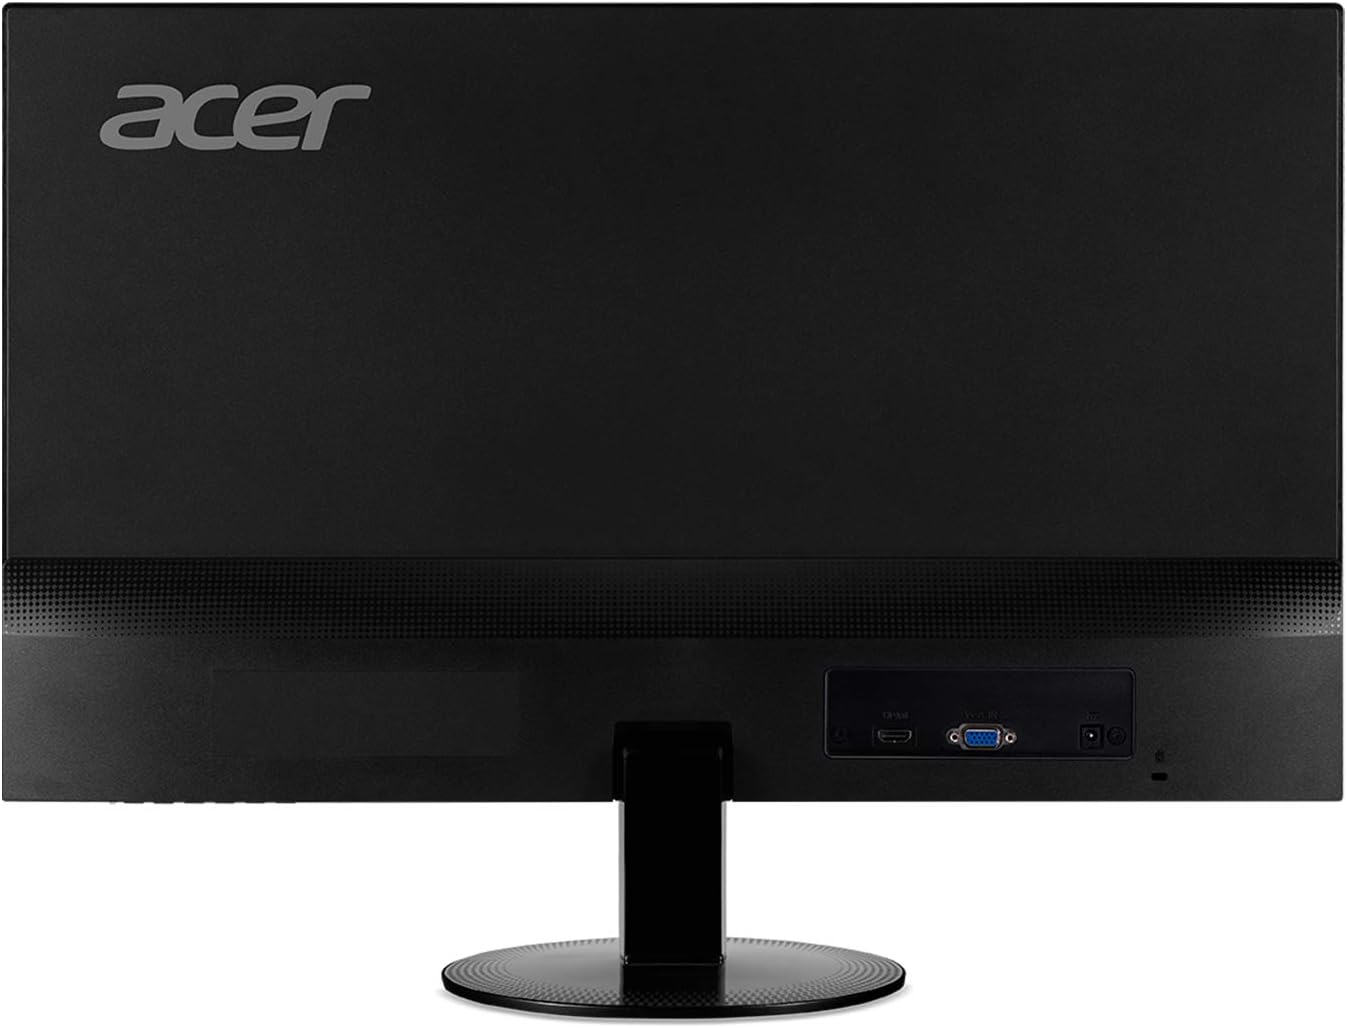
Figure 3: Rear view of the monitor displaying the HDMI and VGA input ports.
Once connected, ensure your computer's display settings are configured to output to the external monitor.
3. Power Connection
Connect the power adapter to the monitor's power input port. Plug the other end of the power adapter into a standard electrical outlet. The monitor will typically power on automatically or can be turned on using the power button located on the bottom bezel.
Operating Instructions
1. Power On/Off
Press the power button located on the bottom right side of the monitor to turn it on or off. A small LED indicator will show the power status.
2. Adjusting Display Settings
The monitor features intuitive controls on the bottom bezel to access the On-Screen Display (OSD) menu. From here, you can adjust various settings:
- Brightness & Contrast: Optimize the display's luminosity and color depth.
- Color Settings: Fine-tune color temperature, gamma, and saturation for accurate color reproduction.
- Input Selection: Manually switch between HDMI and VGA inputs if auto-detection does not occur.
- Gaming Features: Enable features like AMD Radeon FreeSync for tear-free gaming (when connected to a compatible AMD graphics card) and adjust response time.
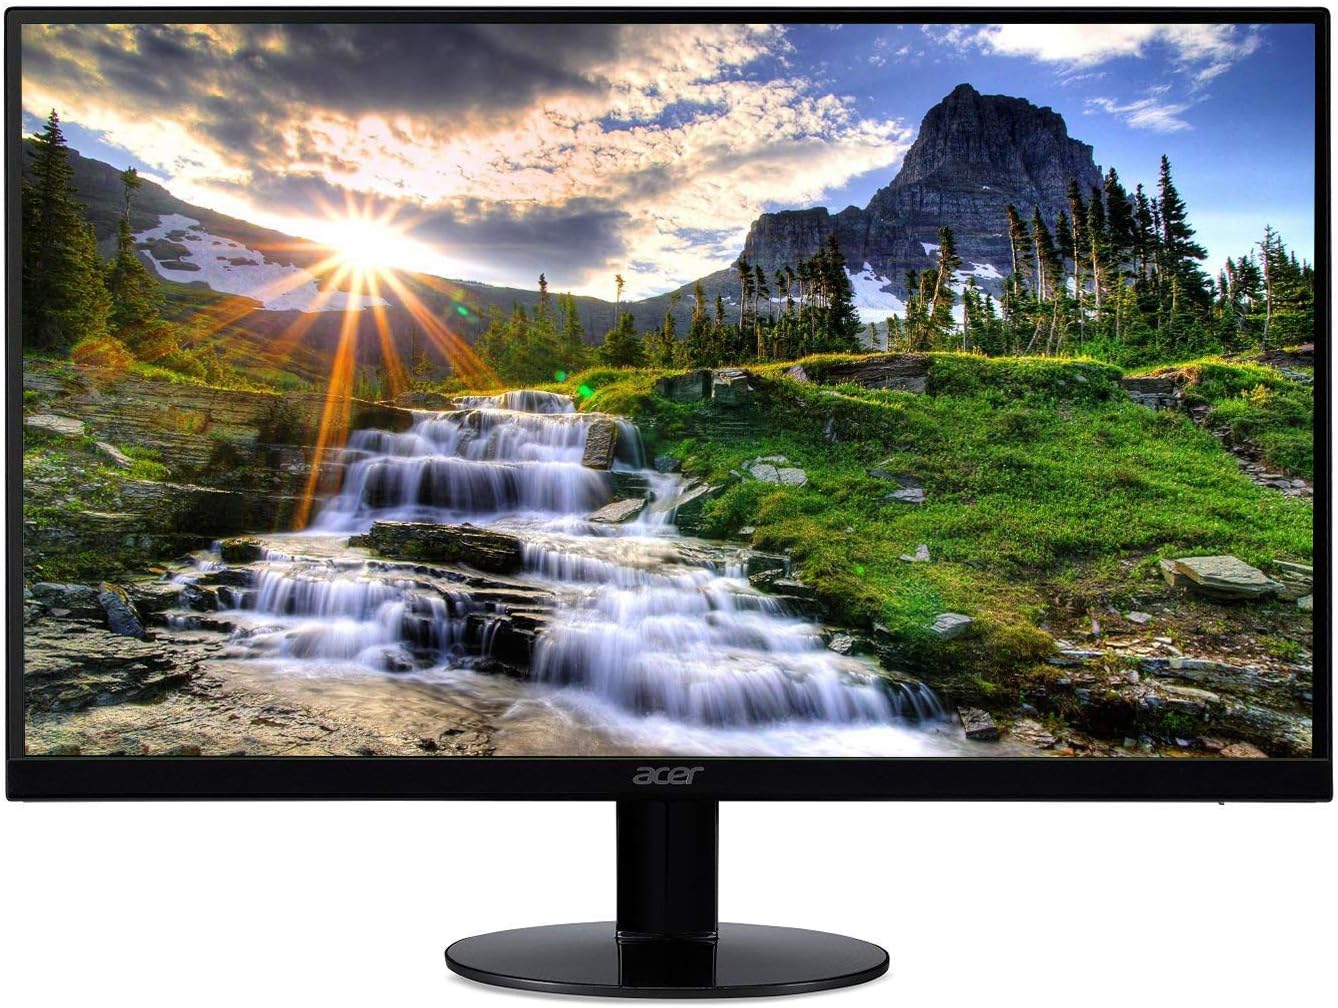
Figure 4: The Acer monitor showcasing its Full HD IPS display.
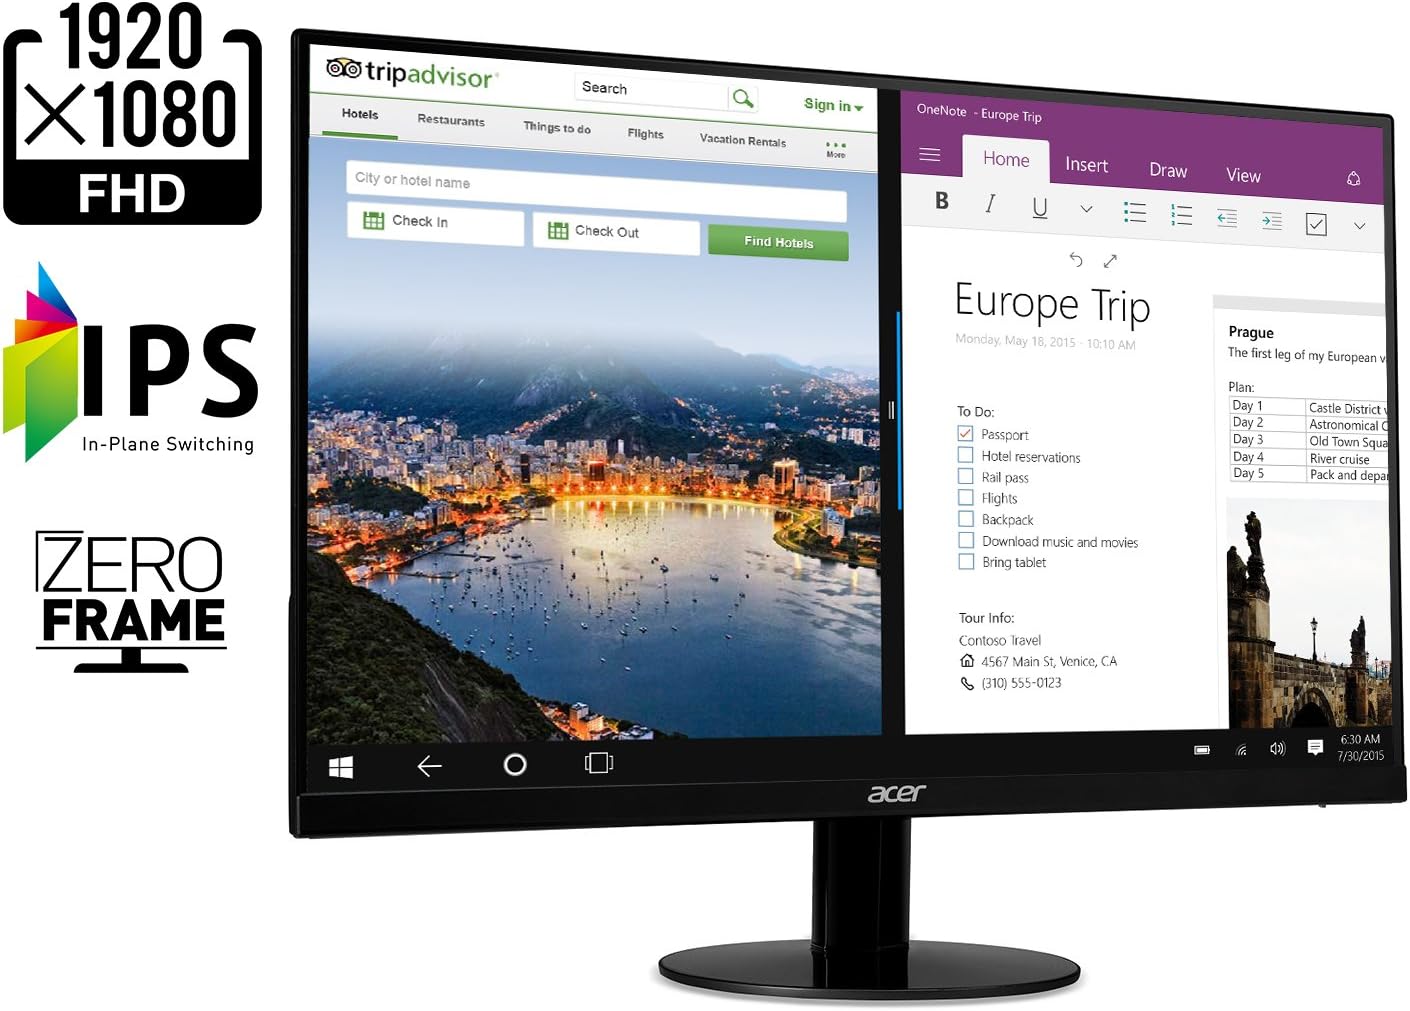
Figure 5: The monitor's IPS panel provides wide viewing angles and vibrant colors, complemented by its Zero Frame design for an immersive experience.
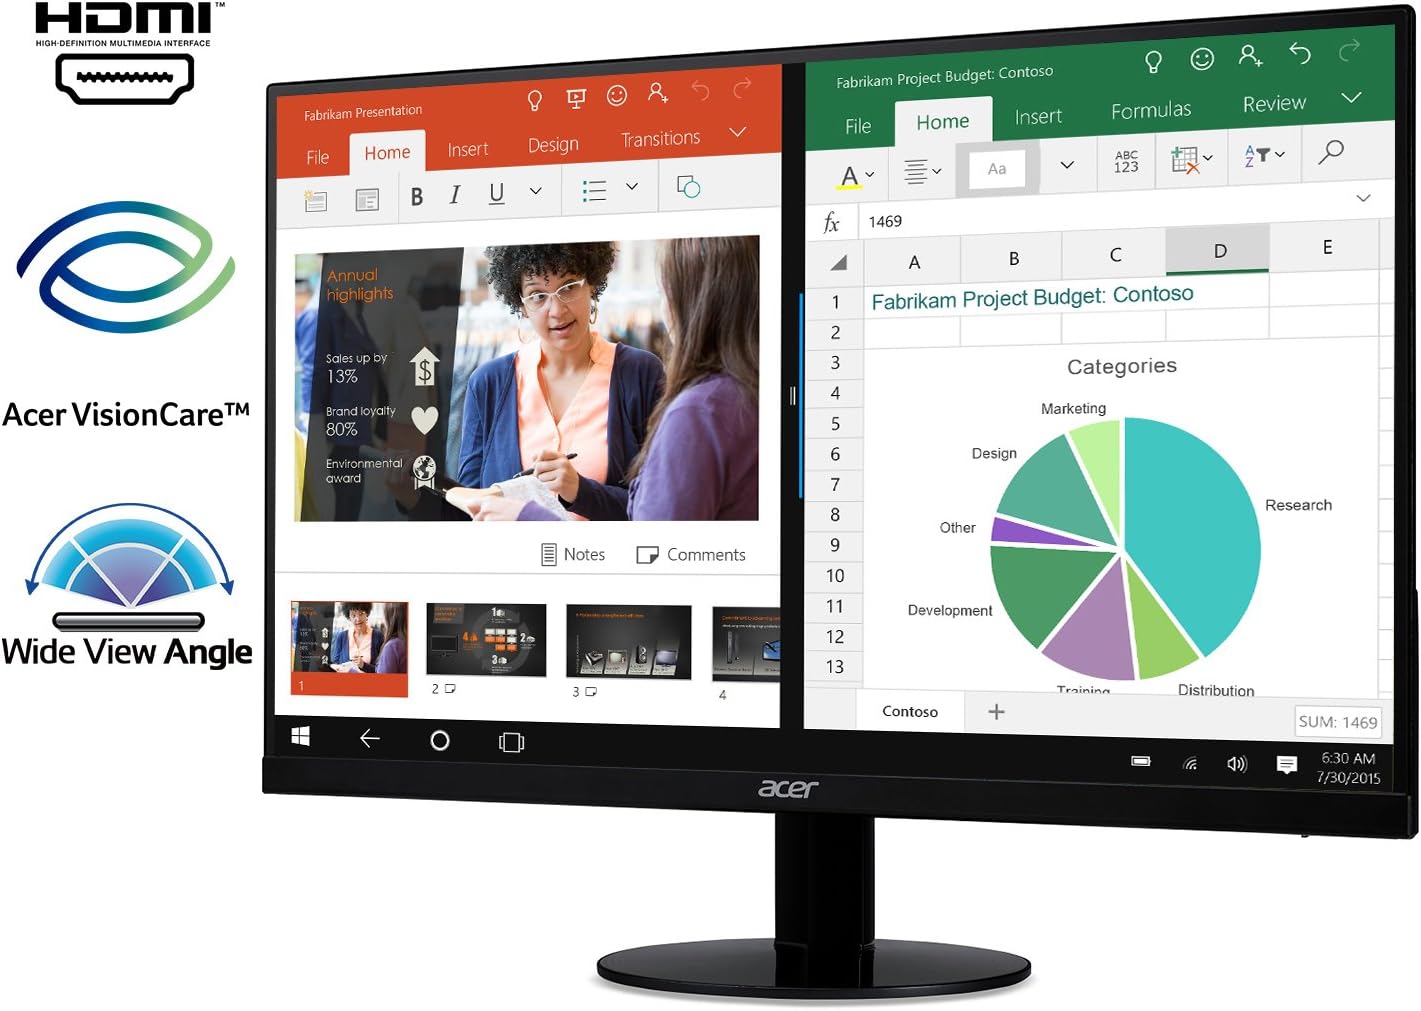
Figure 6: The monitor's wide viewing angle ensures consistent image quality from various positions, ideal for collaborative work.
Maintenance
To ensure the longevity and optimal performance of your Acer monitor, follow these maintenance guidelines:
- Cleaning the Screen: Use a soft, lint-free cloth slightly dampened with water or a non-abrasive screen cleaner. Avoid harsh chemicals or abrasive materials.
- Cleaning the Casing: Wipe the monitor's casing with a soft, dry cloth.
- Ventilation: Ensure the monitor's ventilation openings are clear and not obstructed to prevent overheating.
- Power Off When Not in Use: Turn off the monitor when not in use for extended periods to conserve energy and prolong its lifespan.
Troubleshooting
If you encounter issues with your Acer monitor, refer to the following common troubleshooting steps:
| Problem | Possible Cause | Solution |
|---|---|---|
| No image on screen / "Cable Not Connected" message | Loose or incorrect cable connection; incorrect input selected. | Ensure HDMI or VGA cable is securely connected to both the monitor and the computer. Use the OSD menu to select the correct input source. |
| Power LED is off | Monitor is not receiving power. | Check if the power cable is securely connected to the monitor and the electrical outlet. Verify the outlet is functional. |
| Image is blurry or distorted | Incorrect resolution; faulty cable; graphics driver issue. | Set the display resolution to 1920 x 1080. Try a different cable. Update your computer's graphics drivers. |
| Screen flickering | Refresh rate mismatch; interference. | Ensure the refresh rate is set to 75Hz (via HDMI). Check for nearby electronic devices causing interference. |
Specifications
| Feature | Detail |
|---|---|
| Standing Screen Display Size | 21.5 Inches |
| Screen Resolution | 1920x1080 (Full HD) |
| Max Screen Resolution | 1920 x 1080 Pixels |
| Series | SB220Q |
| Item Model Number | SB220Q bi |
| Item Weight | 5.6 pounds |
| Product Dimensions | 8.3 x 19.6 x 15.1 inches |
| Color | IPS 75Hz |
| Voltage | 110 |
| Refresh Rate | 75 Hertz (via HDMI) |
| Response Time | 4ms |
| Panel Type | IPS |
| Ports | 1 x HDMI & 1 x VGA |
| Aspect Ratio | 16:9 |
| Color Supported | 16.7 Million Colors |
| Brightness | 250 nit |
| Tilt Angle | -5 degrees to 15 degrees |
| Viewing Angle | 178 degrees (Horizontal/Vertical) |
| Special Features | Zero-Frame Design, Ultra-Thin, AMD Radeon FreeSync Technology |
Warranty and Support
For detailed warranty information and technical support, please refer to the official Acer documentation.
An electronic version of the User Manual can be found here.
For further assistance, visit the Acer Store on Amazon.