1. Introduction
This manual provides detailed instructions for the installation, operation, and maintenance of your BESTTEN Dimmer Light Switch. This dimmer is designed to provide smooth, full-range dimming performance for compatible dimmable LED, CFL, halogen, and incandescent bulbs. Please read this manual thoroughly before installation and use to ensure proper function and safety.
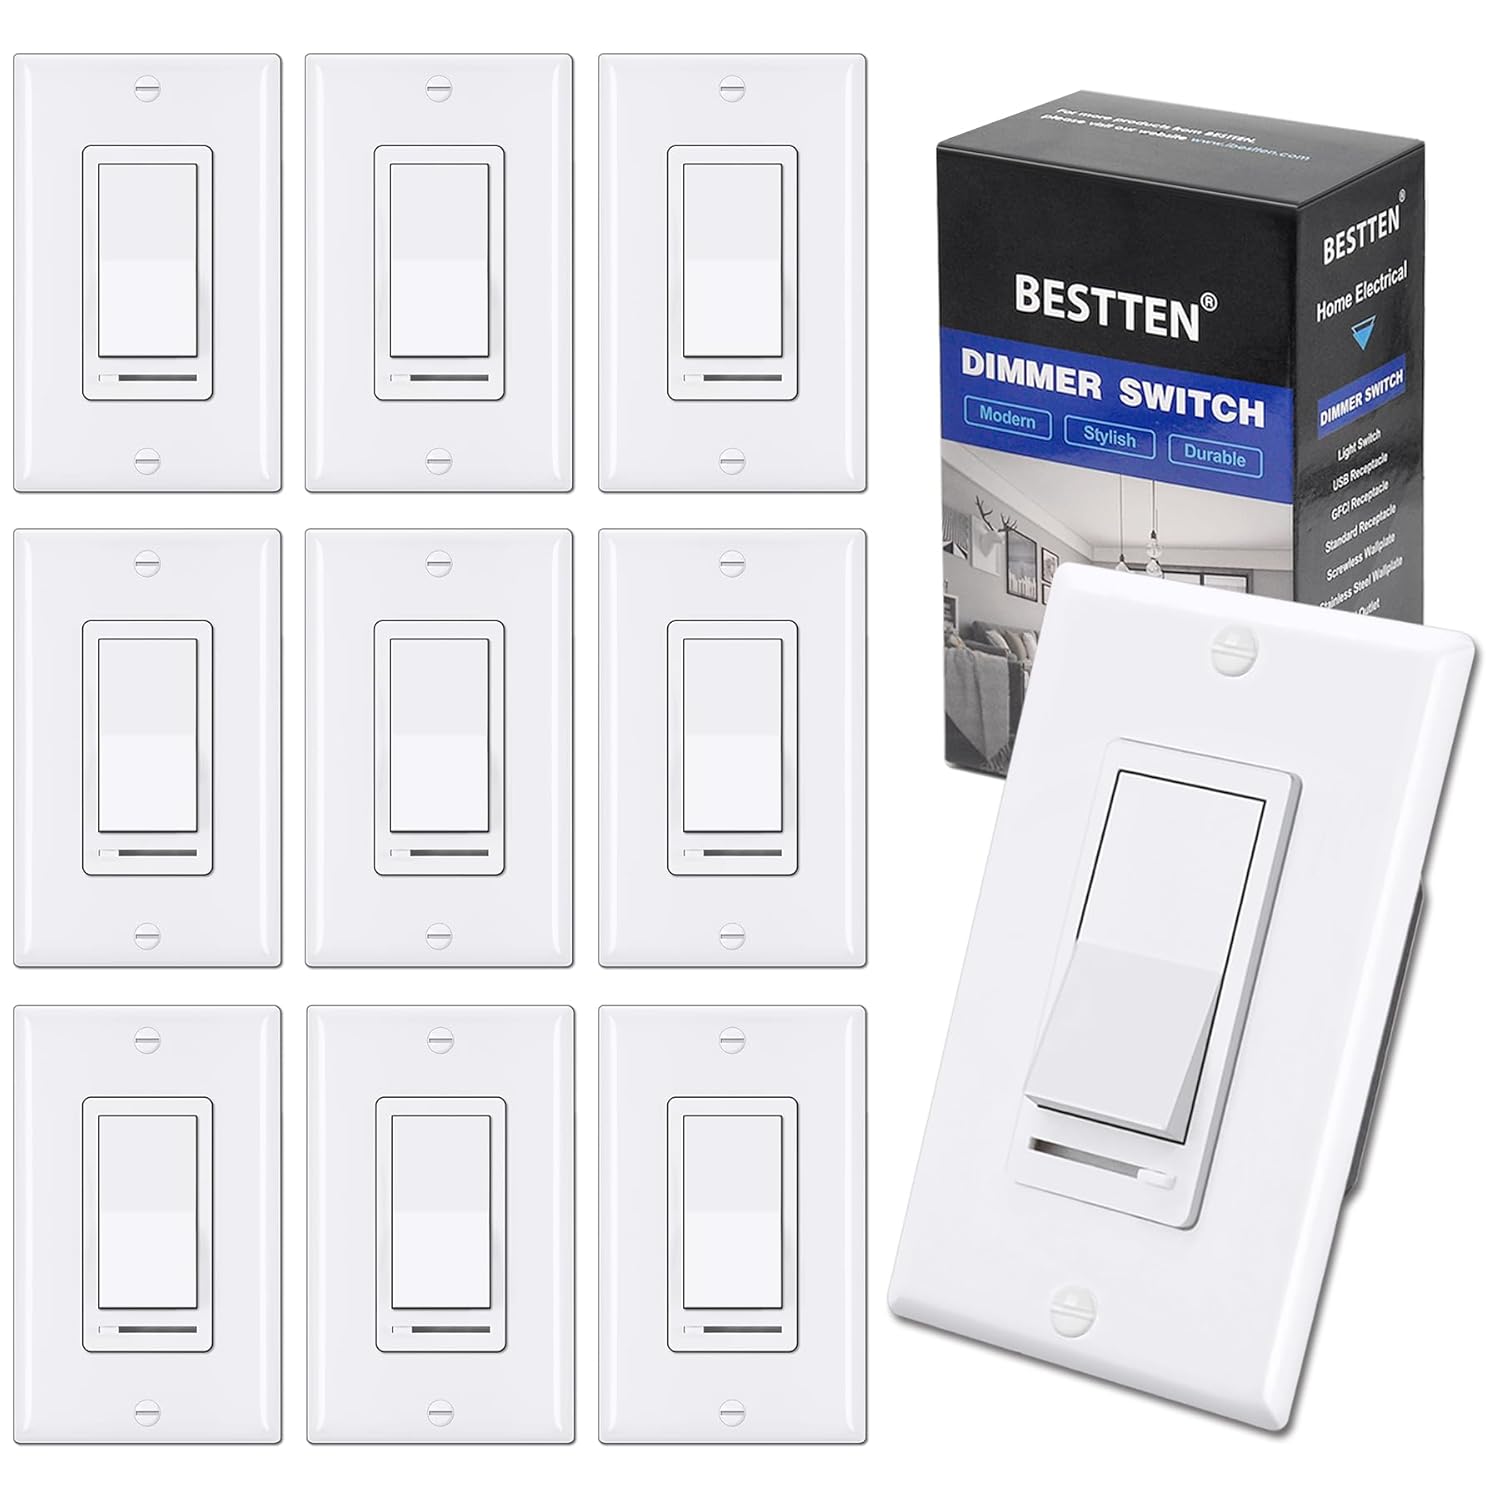
Image: A pack of BESTTEN Dimmer Light Switches with one switch and its packaging prominently displayed.
2. Safety Information
WARNING: To avoid fire, shock, or death; turn off power at circuit breaker or fuse and test that power is off before wiring! This device must be installed in accordance with all national and local electrical codes.
- For use with dimmable LED, CFL, incandescent, and halogen bulbs only.
- Maximum load: 150 watts for dimmable LED/CFL lamps or 600 watts for incandescent bulbs. Minimum load for LED lights: 3W.
- This dimmer switch supports single-pole or 3-way applications. In a 3-way circuit, only one dimmer switch can be installed.
- Do not use with fans or non-dimmable lighting.
- UL Listed for safety and quality assurance.
3. Package Contents
Verify that all components are present before beginning installation:
- BESTTEN Dimmer Light Switch(es)
- Decorator Wall Plate(s)
- Mounting Screws
- Wire Nuts (typically included, though not explicitly listed in "whats_in_the_box", it's standard for electrical components)
4. Installation
Important: Turn off power at the circuit breaker before installation. This dimmer switch does not require a neutral wire, making it suitable for older electrical systems.
4.1. Single-Pole Wiring
For single-pole installations, the dimmer controls the light from one location.
- Turn off power at the circuit breaker.
- Remove the existing switch from the wall box.
- Connect the Hot (Black) wire from the wall box to the black wire on the dimmer.
- Connect the Load (Black) wire to the red wire on the dimmer.
- Connect the Ground (Green or bare copper) wire from the wall box to the green wire on the dimmer.
- Secure the dimmer into the wall box and attach the wall plate.
- Restore power at the circuit breaker.

Image: Wiring diagram showing connections for both single-pole and 3-way dimmer switch installations. The single-pole diagram shows connections for Hot, Load, and Ground wires.
4.2. 3-Way Wiring
For 3-way installations, the dimmer controls the light from two locations. Only one dimmer switch can be installed in a 3-way circuit; the other switch should be a standard 3-way switch.
- Turn off power at the circuit breaker.
- Identify the common wire (often black) on your existing 3-way switch. This will be your line or load wire. Mark it for future reference.
- Identify the two traveler wires (often red). Mark them.
- Remove the existing switch from the wall box.
- Connect the common (line or load) wire to the black wire on your new dimmer.
- Connect the two traveler wires to the two red wires on your new dimmer.
- Connect the Ground (Green or bare copper) wire from the wall box to the green wire on the dimmer.
- Secure the dimmer into the wall box and attach the wall plate.
- Restore power at the circuit breaker.

Image: A detailed diagram illustrating the 3-way wiring connections for the BESTTEN dimmer switch, showing hot, traveler, and ground wires.
5. Operation
The BESTTEN Dimmer Light Switch features an on/off rocker switch and a horizontal slider for dimming control.
- On/Off Control: Press the top or bottom of the large rocker switch to turn the lights on or off.
- Dimming Control: Use the small horizontal slider located below the rocker switch to adjust the brightness level. Slide it to the left for dimmer light and to the right for brighter light.
- Memory Function: The dimmer remembers the last dimmed light setting and will turn on to that exact light level when activated.

Image: Illustrates different lighting moods (Sleeping, Relaxing, Working) achieved by adjusting the dimmer to 10%, 50%, and 90% brightness levels.
6. Compatibility
This dimmer is universally compatible with a wide range of dimmable bulbs:
- Dimmable LED bulbs (3W-150W, 120V/60Hz)
- Dimmable CFL bulbs (3W-150W, 120V/60Hz)
- Incandescent bulbs (15W-600W, 120V/60Hz)
- Halogen bulbs (15W-600W, 120V/60Hz)

Image: Displays various compatible bulb types including incandescent, dimmable CFL, and dimmable LED, along with their respective wattage ratings.
7. Troubleshooting
7.1. Eliminating Flickering
If your lights flicker, hum, or buzz, especially with LED or CFL bulbs, the dimming range may need adjustment. This dimmer has an adjustable dimming range to optimize performance.
- Turn on the switch and move the slide dimmer to the lowest (leftmost) setting.
- Rotate the SIDE ADJUSTMENT WHEEL (Sensitivity Dial) counter-clockwise all the way up.
- Slowly rotate the SIDE ADJUSTMENT WHEEL (Sensitivity Dial) clockwise down until the preferred lowest light level is achieved and the lights are no longer flickering.
Note: If the dial stops in either direction, do not continue to turn it. For best compatibility and to minimize flickering, use high-quality, brand-name dimmable bulbs and fixtures.

Image: Close-up view of the dimmer switch showing the rocker switch, slider, and the side adjustment wheel (sensitivity dial) with instructions on how to rotate it for dimming range setting.
8. Specifications
| Feature | Detail |
|---|---|
| Brand | BESTTEN |
| Model Number | USP3-LS02-10PK |
| Operation Mode | ON-OFF, Dimming |
| Current Rating | 5 Amps |
| Operating Voltage | 120 Volts |
| Contact Type | Wires |
| Connector Type | Crimp |
| Terminal | Screw |
| Item Dimensions (L x W x H) | 2.76 x 4.57 x 1.33 inches |
| Circuit Type | Single-Pole or 3-way |
| Mounting Type | Wall Mount |
| Compatibility | Dimmable LED, CFL, Incandescent, Halogen Bulbs |
| Max Load (LED/CFL) | 150 Watts |
| Max Load (Incandescent/Halogen) | 600 Watts |
| Min Load (LED) | 3 Watts |
| Certifications | UL Listed |
9. Maintenance
The BESTTEN Dimmer Light Switch requires minimal maintenance. To clean the surface, gently wipe with a soft, damp cloth. Do not use abrasive cleaners or solvents, as these may damage the finish. Ensure power is off before cleaning.
10. Warranty and Support
For warranty information and technical support, please refer to the official BESTTEN website or contact their customer service. Keep your purchase receipt for warranty claims.
You can also find additional resources and contact information by visiting the BESTTEN Store on Amazon.