1. Introduction
The Blix Marble Run - 1 is a non-motorized, 118-piece construction set designed to provide an engaging and educational play experience. This set allows users to design and build their own intricate marble tracks, fostering creativity and problem-solving skills. It introduces fundamental principles of physics, such as gravity, acceleration, and kinetic energy, through hands-on construction and observation.
This manual provides comprehensive instructions for assembling, operating, and maintaining your Blix Marble Run - 1 set. Please read through all sections carefully before beginning assembly.
2. Components Overview
The Blix Marble Run - 1 set includes 118 pieces made from high-quality Acrylonitrile Butadiene Styrene (ABS) plastic. These components are designed for durability and easy assembly, allowing for a wide variety of track configurations.
Included Parts:
- Various track segments (straight, curved, ramps)
- Support pillars and connectors
- Base plates for stable construction
- Marbles
The Blix Marble Run - 1 set includes 118 pieces for building various marble tracks. The image shows the product packaging alongside a completed track design, illustrating the components and potential complexity.
3. Setup and Assembly
Follow these steps to assemble your Blix Marble Run - 1. Creativity is encouraged; feel free to experiment with different designs once you understand the basic construction principles.
3.1 Basic Assembly Steps:
- Unpack Components: Carefully remove all pieces from the packaging and verify that all 118 pieces are present.
- Prepare the Base: Place the base plates on a flat, stable surface. These plates provide the foundation for your marble run.
- Build Support Structures: Use the support pillars and connectors to create vertical structures. Ensure these are firmly connected to the base plates and to each other for stability.
- Attach Track Segments: Connect the various track pieces (straight, curved, ramps) to the top of the support structures. Ensure all track connections are secure and aligned to allow marbles to roll smoothly without getting stuck.
- Test Your Design: Before adding multiple marbles, test your track with one marble to identify any areas where it might get stuck or fall off. Adjust connections and slopes as needed.

This image illustrates the process of connecting track pieces and support structures to form a marble run. Ensure all connections are secure for stability.

A close-up view demonstrating how to connect the track segments and support pillars. Proper connection ensures a stable and functional marble run.
3.2 Assembly Video Guide:
For a visual guide on assembly and design ideas, please refer to the video below:
This video provides a comprehensive overview of the Blix Marble Run - 1, including unboxing, assembly demonstrations, and various marble track designs in action. It illustrates the creative possibilities and dynamic play of the set.
4. Operating the Marble Run
Once your Blix Marble Run - 1 is fully assembled and stable, operating it is simple:
- Place Marbles: Gently place one or more marbles at the designated starting points or highest points of your track.
- Observe the Flow: Watch as gravity guides the marbles through the various twists, turns, and drops of your custom-built track.
- Experiment: Try different starting points, observe how multiple marbles interact, or even introduce marbles of different sizes (if compatible and safe) to see variations in speed and trajectory.

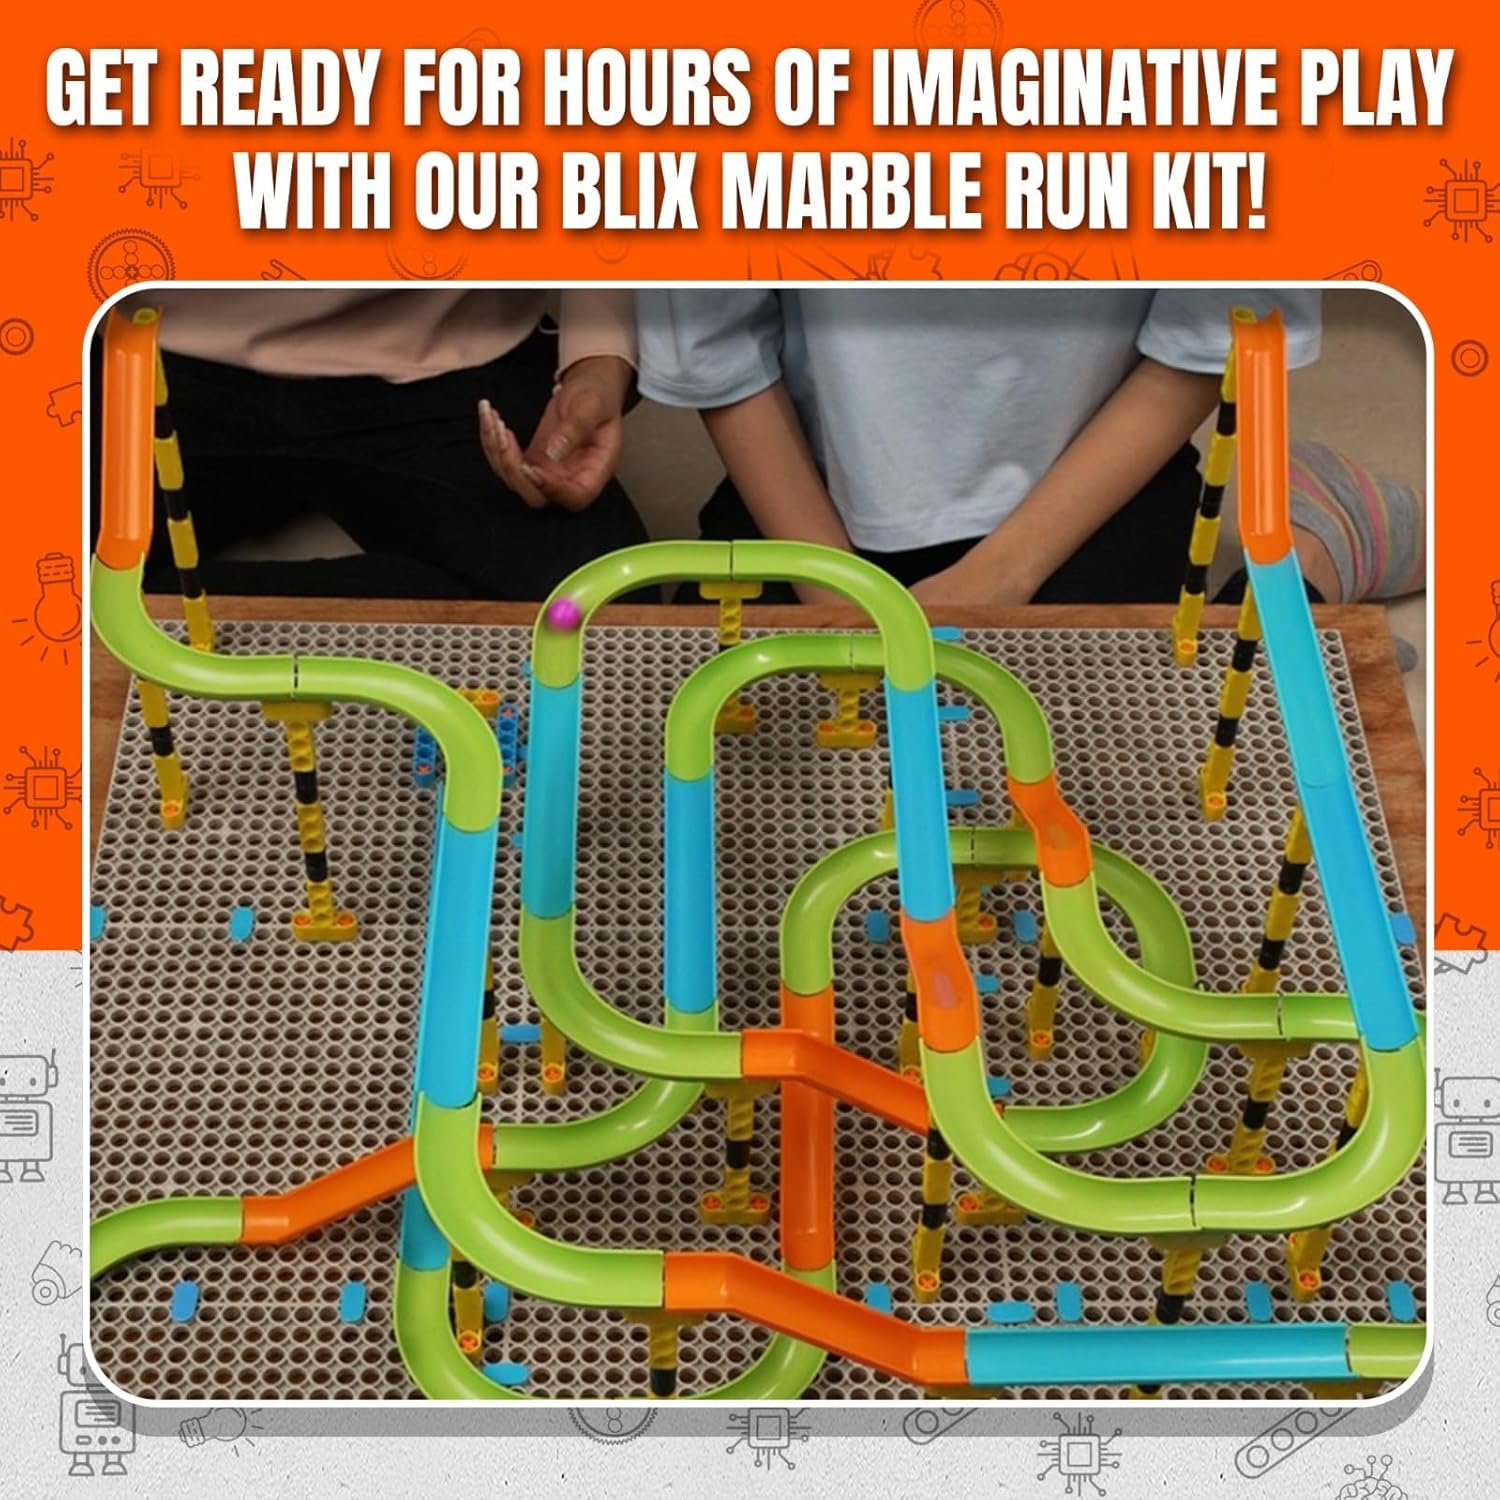
This image shows an assembled Blix Marble Run track with marbles actively moving through its various paths, demonstrating the product in use.
4.1 Dynamic Play Demonstration:
See the Blix Marble Run - 1 in action with various complex designs:
This video showcases multiple intricate marble run designs, demonstrating the flow of marbles through various tracks, loops, and drops. It also includes segments on connecting pieces and adjusting the structure.
5. Maintenance
Proper care will ensure the longevity of your Blix Marble Run - 1 set:
- Cleaning: Wipe plastic components with a soft, damp cloth. Avoid harsh chemicals or abrasive cleaners, as these can damage the plastic.
- Storage: When not in use, disassemble the marble run and store all components in a dry, cool place, preferably in its original packaging or a designated storage container, to prevent loss or damage.
- Inspection: Periodically inspect all pieces for any signs of wear or damage. Replace any broken or cracked parts to maintain safe operation.
6. Troubleshooting
If you encounter issues with your Blix Marble Run - 1, consider the following common solutions:
| Problem | Possible Cause | Solution |
|---|---|---|
| Marbles get stuck or stop mid-track. | Loose connections, insufficient slope, or misaligned track pieces. | Ensure all track pieces are securely connected. Adjust the height of support pillars to create a steeper slope where needed. Check for any obstructions. |
| The structure is unstable or collapses. | Supports are not firmly attached to the base or each other, or the design is top-heavy. | Verify that all support pillars are securely clicked into the base plates and connected firmly. Distribute weight evenly and ensure the base is on a flat surface. |
| Marbles fall off the track. | Track pieces are not properly aligned or are too steep at curves. | Re-align track pieces to ensure a smooth path. Reduce the slope on sharp curves if marbles are gaining too much speed. |
7. Specifications
| Feature | Detail |
|---|---|
| Model Number | 64802 |
| Number of Pieces | 118 |
| Material Type | Acrylonitrile Butadiene Styrene (ABS) |
| Product Dimensions (LxWxH) | 25 x 5 x 15 cm |
| Item Weight | 660 g |
| Recommended Age | 5 years and up |
| Assembly Required | Yes |
| Batteries Required | No |
| Country of Origin | India |
8. Safety Information
- Choking Hazard: This product contains small parts (marbles and small connectors) and is not suitable for children under 3 years of age due to choking hazards. Adult supervision is recommended for all users, especially those at the lower end of the recommended age range.
- Adult Supervision: Always ensure children are supervised during play to prevent misuse or accidental ingestion of small parts.
- Proper Assembly: Ensure all parts are correctly and securely assembled before use to prevent the structure from collapsing or parts from detaching during play.
- Intended Use: Use only the marbles provided or other marbles of appropriate size and weight to prevent damage to the tracks or unexpected behavior.
9. Warranty and Support
For any questions, concerns, or to inquire about replacement parts, please contact BLIX customer support. While specific warranty details are not provided in this manual, BLIX is committed to customer satisfaction.
Please retain your proof of purchase for any warranty claims or support inquiries.


