Important Safety Information
Please read and understand all instructions before installing and operating this product. Failure to follow these instructions may result in electric shock, fire, or other hazards that could cause injury or property damage.
- Ensure the mounting surface is structurally sound and can support the weight of the fixture.
- Do not mix old and new batteries. Do not mix alkaline, standard (carbon-zinc), or rechargeable (nickel-cadmium) batteries.
- Dispose of batteries properly according to local regulations.
- This product is designed for outdoor use. Ensure all seals and covers are properly secured to maintain water resistance.
- Do not look directly into the LED light source when illuminated.
- Keep out of reach of children.
Package Contents
Verify that all components are present before beginning installation.
- 1x Link2Home EM-BL268B Dual-Head Sensor Floodlight
- Mounting Hardware (screws, wall anchors)
- Batteries (as specified)
- Instruction Manual

Image: Front view of the Link2Home EM-BL268B Dual-Head Sensor Floodlight, showing the two adjustable light heads and the motion sensor below.
Product Features
The Link2Home EM-BL268B floodlight offers advanced features for reliable outdoor security lighting.
- 330 Lumen LED Output: Provides bright illumination for security and visibility.
- Battery Operated: Cordless design for flexible installation without wiring.
- Adjustable Dual-Heads: Two light heads can be independently adjusted to cover desired areas.
- 140° Motion Sensor: Detects movement up to 40 feet away.
- Photocell Technology: Ensures the light only activates in low-light conditions to conserve battery life.
- Water Resistant: Designed for outdoor use in various weather conditions.
- Adjustable Run Time: Light duration can be set from 3 seconds to 7 minutes after motion detection.
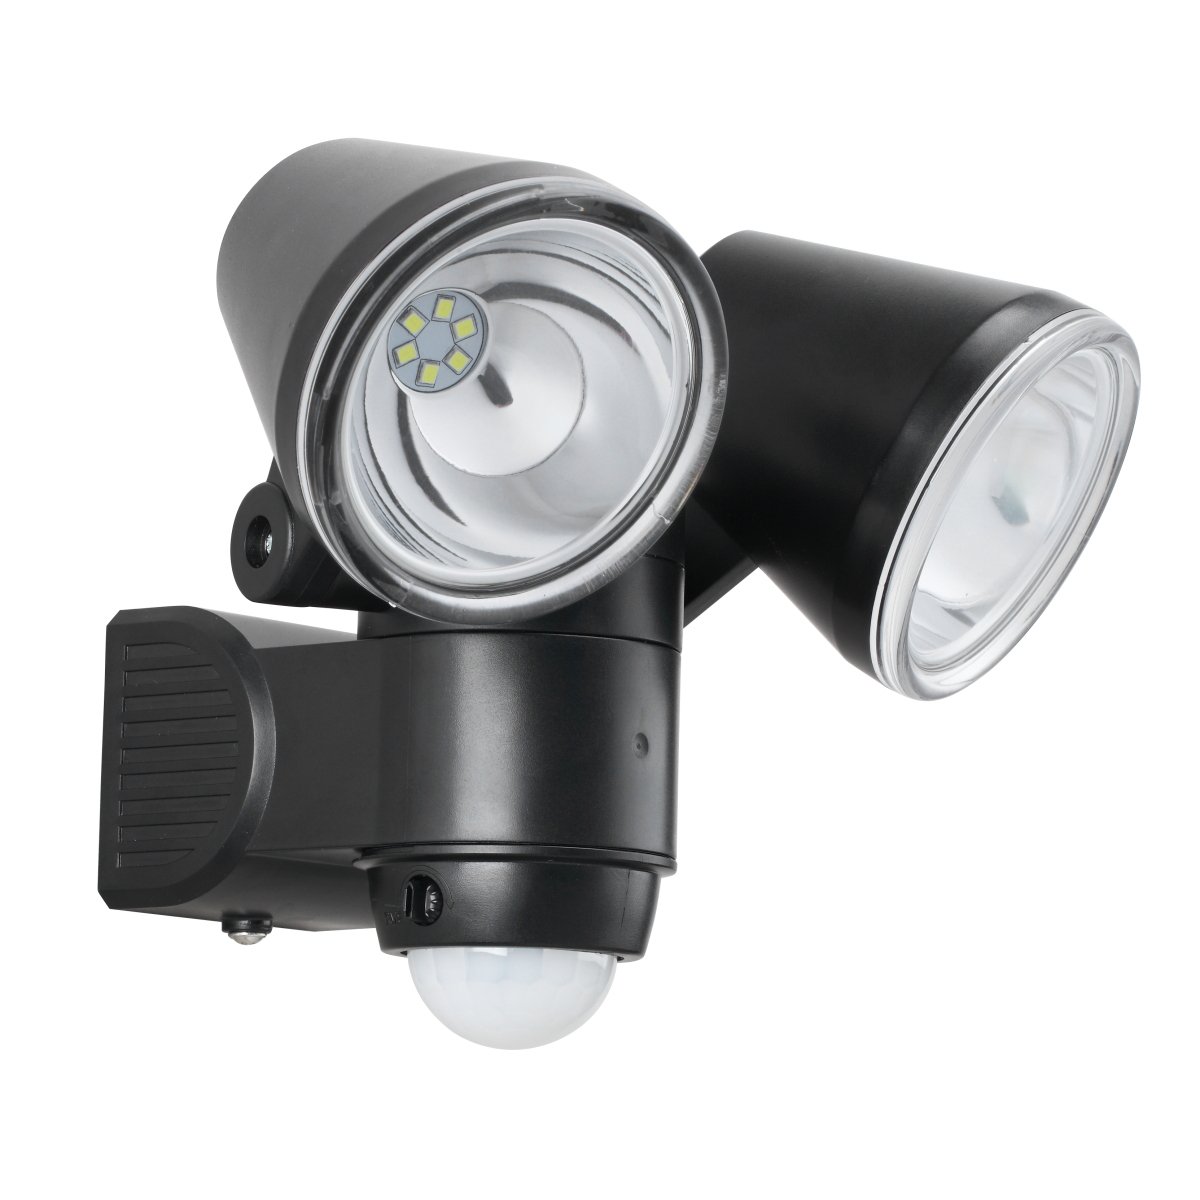
Image: The Link2Home EM-BL268B floodlight with icons highlighting its key features: 140° motion sensor (max 40 ft), 330 lumens, water resistance, 2 lux light sensitivity, and adjustable run time (3s-7mins).
Setup and Installation
1. Battery Installation
- Locate the battery compartment on the back or bottom of the floodlight unit.
- Open the compartment cover.
- Insert the required batteries (typically 4x D-cell, refer to product packaging for exact type) ensuring correct polarity (+/-).
- Securely close the battery compartment cover to maintain water resistance.
2. Mounting the Floodlight
The floodlight is designed for flush mount installation on a wall or other flat surface.
- Choose a suitable mounting location that provides the desired coverage and is within the motion sensor's range. Ensure the surface is stable.
- Use the mounting bracket (if separate) or the base of the unit as a template to mark the drill holes on the wall.
- Drill pilot holes at the marked locations. Insert wall anchors if mounting into drywall or masonry.
- Align the floodlight with the holes and secure it using the provided screws. Do not overtighten.

Image: Side view of the Link2Home EM-BL268B floodlight, illustrating the mounting base and the adjustable light heads.
3. Adjusting Light Heads and Sensor
Once mounted, adjust the light heads and sensor for optimal performance.
- Light Heads: Manually pivot each light head up, down, and sideways to direct the light beam to your desired area.
- Motion Sensor: The motion sensor is typically located at the bottom of the unit. It can often be tilted or rotated to adjust its detection angle.
- Settings Dials: Look for small dials on the sensor unit. These typically control:
- TIME: Adjusts how long the light stays on after motion is detected (e.g., 3 seconds to 7 minutes).
- LUX/DAYLIGHT: Adjusts the ambient light level at which the sensor becomes active. Set to a lower LUX for activation only in darker conditions, or higher for activation in brighter conditions.
- SENSITIVITY/RANGE: Adjusts the detection range of the motion sensor (up to 40 feet).

Image: The Link2Home EM-BL268B floodlight from an angle, highlighting the adjustable light heads and the motion sensor with its control dials.
Operating Instructions
The Link2Home EM-BL268B floodlight operates automatically based on its sensor settings.
- Automatic Activation: Once batteries are installed and settings are configured, the floodlight will automatically turn on when motion is detected within its range, provided the ambient light level is below the set LUX threshold.
- Duration: The light will remain on for the duration set by the TIME dial. If motion is continuously detected, the light will reset its timer and stay on until no motion is detected for the set period.
- Photocell Function: The integrated photocell prevents the light from activating during daylight hours, conserving battery power. The light will only become active when the surrounding light level drops sufficiently (as determined by the LUX setting).

Image: The Link2Home EM-BL268B floodlight mounted on a brick wall during the day, demonstrating its inactive state due to sufficient ambient light.

Image: The Link2Home EM-BL268B floodlight mounted on a brick wall at night, showing its bright illumination when activated by motion in low-light conditions.
Maintenance
- Battery Replacement: When the light output becomes dim or the unit stops activating, it is time to replace the batteries. Follow the battery installation steps in the Setup section. Always replace all batteries at once with new ones of the same type.
- Cleaning: Periodically wipe the light fixture and sensor lens with a soft, damp cloth to remove dirt, dust, or debris. Do not use abrasive cleaners or solvents. Ensure the sensor lens is clear for optimal detection.
- Inspection: Regularly check the mounting screws and the fixture for any signs of wear or damage.
Troubleshooting
| Problem | Possible Cause | Solution |
|---|---|---|
| Light does not turn on. |
|
|
| Light stays on continuously. |
|
|
| Light turns on during the day. |
|
|
| Detection range is poor. |
|
|
Specifications
- Model: EM-BL268B
- Brand: Link2Home
- Light Source: LED
- Lumen Output: 330 Lumens
- Power Source: Battery Powered (e.g., 4x D-cell, 6 Volts total)
- Wattage: 1.5 Watts
- Motion Sensor Detection Angle: 140°
- Motion Sensor Detection Range: Up to 40 ft (12 meters)
- Adjustable Run Time: 3 seconds to 7 minutes
- Photocell Activation: Approx. 2 Lux
- Indoor/Outdoor Usage: Outdoor
- Installation Type: Flush Mount
- Color: Black
- Product Dimensions (LxWxH): 16.51 x 14.48 x 16.51 cm (6.5 x 5.7 x 6.5 inches)
- Item Weight: 535 g (1.18 lbs)
Warranty and Support
This Link2Home product is covered by a manufacturer's warranty. Please refer to the warranty card included with your purchase or visit the official Link2Home website for detailed warranty terms and conditions.
For technical support, troubleshooting assistance, or to inquire about replacement parts, please contact Link2Home customer service. Contact information can typically be found on the product packaging or the official brand website.
Website: www.link2home.com (Example, verify actual website)


