1. Product Overview
The M9 Plus Wireless WiFi Display Receiver is a versatile device designed to mirror content from your smartphone, tablet, or PC to a larger display such as an HDTV, monitor, or projector. It supports various wireless display protocols including Miracast, DLNA, and Airplay, enabling seamless streaming of videos, photos, music, and documents.
This compact and portable dongle offers a 1080P resolution output, making it ideal for home entertainment, business presentations, and educational purposes. Its low power consumption ensures efficient operation.

Image: The M9 Plus Wireless WiFi Display Receiver, a compact black dongle with an HDMI connector.
2. Key Features
- Wireless Display: Supports Miracast, DLNA, and Airplay for screen mirroring.
- High Resolution: Outputs video in 1080P Full HD.
- Broad Compatibility: Compatible with iOS, Android, Mac OS, and Windows devices.
- Versatile Use: Ideal for e-learning, business meetings, home entertainment, and gaming.
- Compact Design: Portable and easy to carry.
- Low Power Consumption: Designed for energy efficiency and low heat generation.
- Multi-format Support: Plays various video (MPEG2, MPEG4, AVI, WMV, MKV, MOV, RM, RMVB) and audio (MP3, WMA, WAV, OGG, AAC, FLAC, 3GP) formats.
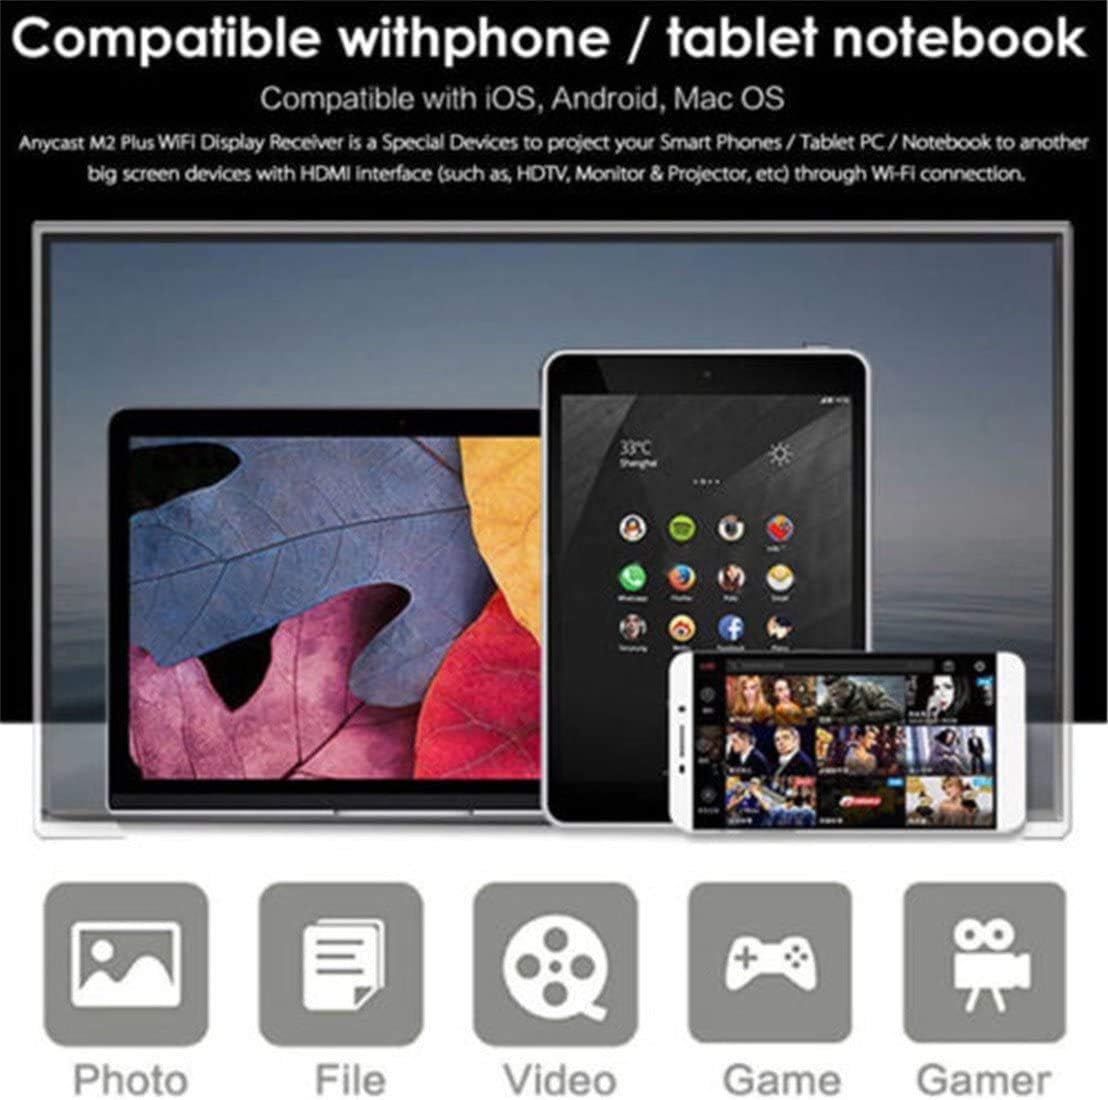
Image: Illustration showing the M9 Plus's compatibility with phones, tablets, and notebooks, supporting photos, files, videos, and games.
3. Setup Guide
3.1 Initial Connection
- Connect to Display: Plug the M9 Plus dongle into an available HDMI port on your TV, monitor, or projector.
- Power On: Connect the USB power cable to the M9 Plus and then to a USB power adapter (5V/1A recommended) or a USB port on your display device. The device will power on and display its main screen on your display.
- Select HDMI Input: Use your display's remote control to select the correct HDMI input source corresponding to the port where the M9 Plus is connected.

Image: The M9 Plus dongle connected to a television, demonstrating a smartphone wirelessly mirroring its screen content to the TV.
3.2 Connecting to Wi-Fi Network
Once the M9 Plus is powered on and displayed on your screen, you will see instructions to connect your device to the dongle's Wi-Fi network.
- Find Dongle's SSID: On your smartphone, tablet, or computer, go to your Wi-Fi settings and search for available networks. You will find an SSID (network name) typically starting with "AnyCast-" or "M9Plus-".
- Connect to Dongle: Connect to this Wi-Fi network. The password will usually be displayed on the screen connected to the M9 Plus.
- Access Web Interface: Open a web browser on your connected device and enter the IP address displayed on the M9 Plus screen (e.g., 192.168.49.1). This will open the dongle's web configuration page.
- Connect to Home Wi-Fi: On the web configuration page, select "Internet" or "Wi-Fi Setup" and choose your home Wi-Fi network from the list. Enter your home Wi-Fi password and confirm. The M9 Plus will then connect to your home network.

Image: Detailed visual guide showing the steps to connect iOS, Android, and Mac OS mobile devices to the M9 Plus for screen mirroring, including Wi-Fi settings and AirPlay/Miracast activation.
4. Operating Instructions
4.1 Screen Mirroring (Miracast/Airplay)
After connecting the M9 Plus to your home Wi-Fi network, you can initiate screen mirroring from your device.
- For Android Devices (Miracast): Navigate to your device's "Cast," "Screen Mirroring," "Smart View," or "Wireless Display" settings. Select the M9 Plus from the list of available devices to begin mirroring.
- For iOS Devices (Airplay): Swipe down from the top-right corner (or up from the bottom for older models) to open Control Center. Tap "Screen Mirroring" or "AirPlay Mirroring" and select the M9 Plus.
- For Windows Devices: Press Windows key + P, then select "Connect to a wireless display" and choose the M9 Plus.
- For Mac OS Devices: Click the AirPlay icon in the menu bar and select the M9 Plus.
4.2 DLNA Mode
DLNA (Digital Living Network Alliance) allows you to stream media content from your device to the M9 Plus without mirroring your entire screen. Many media player apps support DLNA.
- Ensure your device and the M9 Plus are connected to the same Wi-Fi network.
- Open a DLNA-compatible application (e.g., a video player or gallery app) on your device.
- Look for a "Cast," "Share," or "DLNA" icon within the app. Select the M9 Plus as the playback device.

Image: Diagram illustrating the M9 Plus as a central wireless display receiver connecting to various devices such as projectors, laptops, smartphones, and tablets.
5. Maintenance
To ensure the longevity and optimal performance of your M9 Plus Wireless WiFi Display Receiver, follow these maintenance guidelines:
- Cleaning: Use a soft, dry cloth to clean the device. Do not use liquid cleaners or aerosols, as they may damage the internal components.
- Storage: Store the device in a cool, dry place away from direct sunlight and extreme temperatures.
- Handling: Handle the device with care. Avoid dropping it or subjecting it to strong impacts.
- Power Supply: Always use a stable 5V/1A USB power supply. Using an inadequate power source may affect performance or damage the device.
6. Troubleshooting
If you encounter issues with your M9 Plus, refer to the following common troubleshooting steps:
- No Display on Screen:
- Ensure the M9 Plus is properly connected to the HDMI port and receiving power.
- Verify that your display device is set to the correct HDMI input source.
- Try a different HDMI port or power adapter.
- Cannot Connect to Dongle's Wi-Fi (SSID):
- Restart the M9 Plus by unplugging and re-plugging its power cable.
- Ensure your device's Wi-Fi is enabled and scanning for networks.
- Confirm you are entering the correct password displayed on the M9 Plus screen.
- Screen Mirroring Lag or Disconnections:
- Ensure your M9 Plus is connected to a strong and stable Wi-Fi network.
- Reduce the distance between your mirroring device, the M9 Plus, and your Wi-Fi router.
- Minimize interference from other wireless devices.
- Check for firmware updates for the M9 Plus via its web interface.
- Difficulty Connecting to Wi-Fi or Obtaining MAC Address:
If you are unable to connect directly via Wi-Fi or need the MAC address for network configuration, follow these steps:
- Connect the M9 Plus to your TV or monitor.
- Use a Windows-based Wi-Fi enabled laptop to connect to the M9 Plus's SSID (e.g., "AnyCast-XXXX").
- Once connected, open Command Prompt on your laptop.
- Type
ping 192.168.xx.x(replace192.168.xx.xwith the default IP address displayed on the M9 Plus screen) and press Enter to confirm successful communication. - Then, type
arp -aand press Enter. The MAC address will be listed next to the device's IP address. Use this MAC address for network configuration if required.
7. Specifications
| Attribute | Detail |
|---|---|
| Model | M9plus |
| Color | Black |
| Signal Transmission | 2.4GHz |
| Interface | HDMI-compatible/USB |
| Functions | Miracast, DLNA, Airplay |
| Resolution | 1080P Full HD |
| Supported OS | iOS, Android, Mac OS, Windows |
| Item Weight | 2.39 ounces |
| Product Dimensions | 6.3 x 3.94 x 0.79 inches |
| Supported Video Formats | MPEG2, MPEG4, AVI, WMV, MKV, MOV, RM, RMVB |
| Supported Audio Formats | MP3, WMA, WAV, OGG, AAC, FLAC, 3GP |
8. Warranty Information
Please refer to the product packaging or the retailer's website for specific warranty terms and conditions. Typically, electronic devices come with a limited manufacturer's warranty covering defects in materials and workmanship for a specified period from the date of purchase.
Keep your proof of purchase (receipt or invoice) as it will be required for any warranty claims.
9. Customer Support
For technical assistance, troubleshooting beyond this manual, or warranty inquiries, please contact the retailer or manufacturer directly. Contact information can usually be found on the product packaging, the manufacturer's official website, or the online marketplace where the product was purchased.
When contacting support, please have your product model (M9plus) and purchase details ready to facilitate a quicker resolution.


