1. Introduction
Welcome to the user manual for your new Whirlpool Whitemagic Classic 652 SD Fully-Automatic Top Loading Washing Machine. This manual provides essential information for the safe and efficient operation, installation, maintenance, and troubleshooting of your appliance. Please read this manual thoroughly before using the washing machine and keep it for future reference.
Your Whirlpool washing machine is equipped with 6th Sense 1-2-3 Technology, designed for ease of use and optimal washing performance.
2. Important Safety Instructions
To reduce the risk of fire, electric shock, or injury when using your appliance, follow these basic precautions:
- Read all instructions before using the appliance.
- Ensure the washing machine is properly grounded to prevent electric shock.
- Do not allow children to play on or in the appliance. Close supervision is necessary when the appliance is used near children.
- Do not operate the appliance if it has a damaged cord or plug, or if it is not working properly or has been dropped or damaged.
- Do not install or store this appliance where it will be exposed to the weather or freezing temperatures.
- Do not wash articles that have been previously cleaned in, washed in, soaked in, or spotted with gasoline, dry-cleaning solvents, or other flammable or explosive substances.
- Always disconnect the appliance from the power supply before attempting any service or cleaning.
3. Product Overview
3.1 Key Features
- Fully-automatic top load washing machine: Offers great wash quality and ease of use.
- Capacity 6.5 kg: Suitable for families with 3 to 4 members.
- 740 rpm: Higher spin speed for faster drying time.
- 8 Wash Programs: Variety of options for different fabric types and soil levels.
- 6th Sense 1-2-3 Technology: Simplifies operation with three easy steps.
- 4 Water Levels: Allows selection based on load size.
- Auto Restart: Resumes operation after power interruptions.
- Power Scrub Technology: Unique agipeller design with three surfaces for effective scrubbing.
- Spa Drum: Features 50% fewer perforated holes than ordinary wash drums, providing a gentle massage to clothes and reducing lint.
- Special Features: Auto tub clean, Child Lock, Magic Lint Filter.
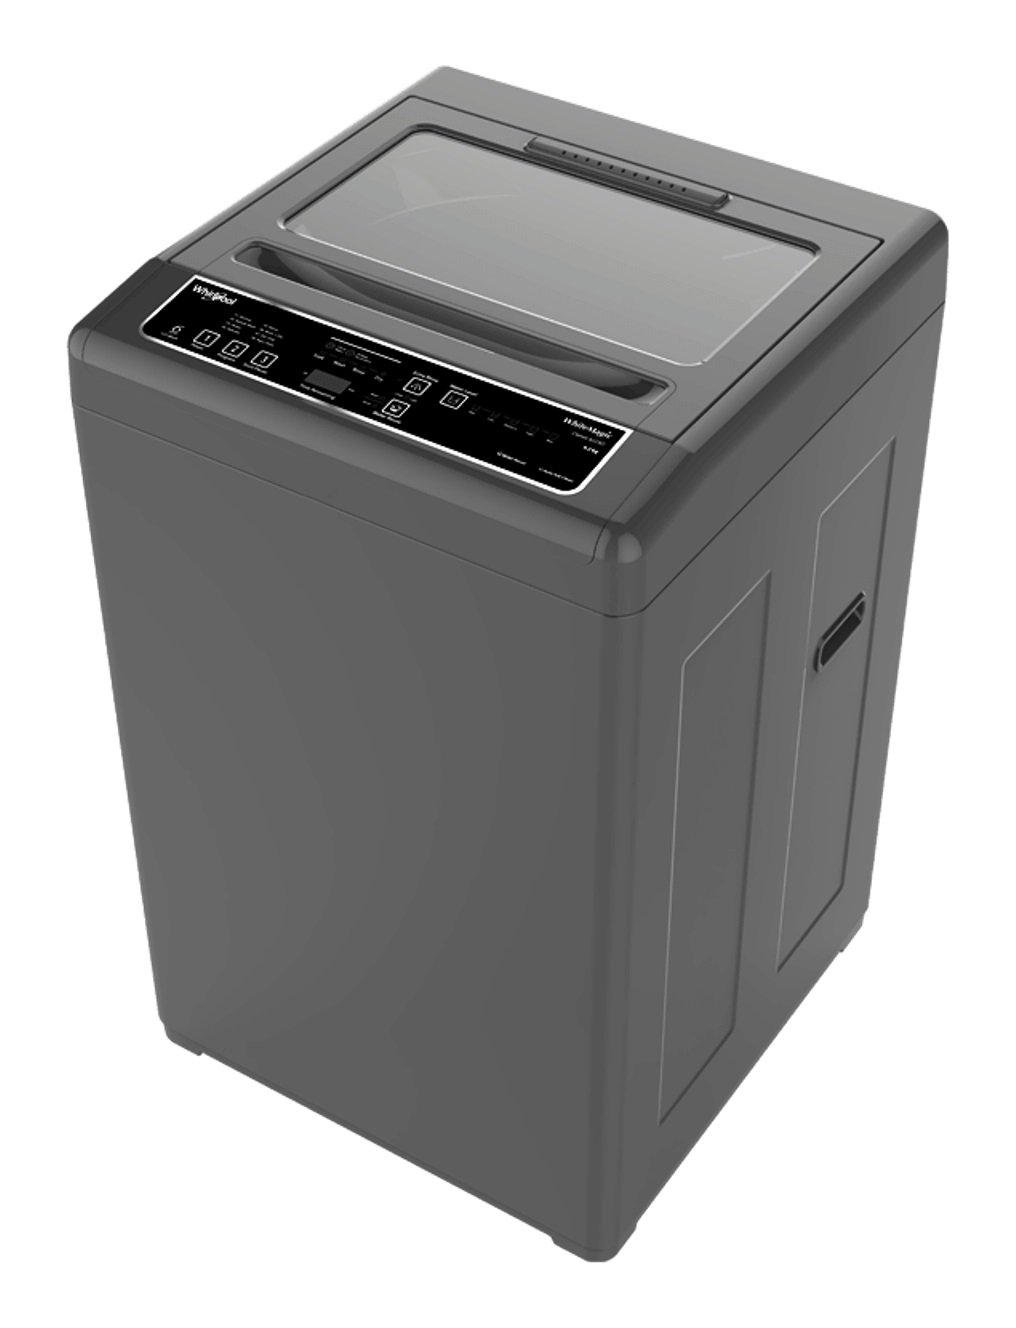
3.2 Components
Familiarize yourself with the main components of your washing machine:


4. Installation and Setup
4.1 Unpacking
Carefully remove all packaging materials. Ensure all components, including the user manual and hose pipe (1.5 mm dimension), are present. Keep packaging materials away from children.
4.2 Location Requirements
- Place the washing machine on a firm, level surface to minimize vibration and noise during operation.
- Ensure there is adequate space around the machine for ventilation and maintenance.
- Avoid direct sunlight or heat sources.
4.3 Connecting Water and Drain Hoses
Connect the water inlet hose to a cold water tap with sufficient water pressure. Ensure all connections are tight to prevent leaks. Position the drain hose securely into a standpipe or laundry tub, ensuring it is not kinked or blocked.
4.4 Power Connection
Plug the power cord into a properly grounded electrical outlet. Ensure the voltage matches the specifications of the washing machine (230 Volts). Do not use extension cords or adapters.


5. Operating Your Washing Machine
5.1 Before Each Wash
- Sort laundry by fabric type, color, and soil level.
- Check all pockets for small items like coins, keys, or tissues.
- Close zippers, hooks, and fasteners to prevent damage to clothes and the drum.
5.2 Loading Laundry
Open the lid and evenly distribute the clothes inside the drum. Do not overload the machine; leave enough space for clothes to move freely during the wash cycle.
5.3 Adding Detergent
Add the appropriate amount of detergent suitable for top-loading washing machines into the detergent dispenser. Refer to your detergent packaging for recommended quantities based on load size and water hardness.
5.4 Using the 6th Sense 1-2-3 Technology
The 6th Sense 1-2-3 operation simplifies your laundry process:
- Press 'Power' button: Turn on the washing machine.
- Select desired 'Program': Choose from the available wash programs (P1-P8) based on your laundry needs.
- Press 'Start/Pause' button: Begin the wash cycle. The machine's intelligence will take over to deliver the perfect wash.
5.5 Wash Programs
Your washing machine offers 8 distinct wash programs:
| Program | Description |
|---|---|
| P1 Normal | For daily laundry with normal soil. |
| P2 Speedy Wash | Quick wash for lightly soiled clothes. |
| P3 Heavy | For heavily soiled items. |
| P4 Delicate | Gentle wash for delicate fabrics. |
| P5 Whites | Optimized for white garments. |
| P6 Rinse + Dry | Rinsing followed by a spin cycle. |
| P7 Dry Only | Spin cycle only to remove excess water. |
| P8 Aqua Store | Stores water for later use. |
5.6 Additional Functions
- Extra Rinse: Adds an additional rinse cycle to ensure thorough detergent removal.
- Water Level: Manually adjust the water level (Min, Low, Medium, High) if desired.
- Child Lock: Prevents accidental changes to settings during operation. Activate by pressing and holding the designated button.
- Auto Tub Clean: A dedicated program to clean the washing machine drum.
6. Care and Maintenance
Regular maintenance ensures the longevity and optimal performance of your washing machine.
6.1 Cleaning the Exterior
Wipe the exterior surfaces with a soft, damp cloth. Avoid using abrasive cleaners or solvents that could damage the finish.
6.2 Cleaning the Drum
Utilize the 'Auto Tub Clean' feature periodically to clean the inner drum and prevent odor buildup. Follow the instructions on the control panel for this cycle.
6.3 Cleaning the Magic Lint Filter
The Magic Lint Filter collects lint and debris during washing. Remove and clean the filter regularly (after every few washes) to maintain efficient operation. Rinse it under running water and reinsert it properly.
6.4 Winterizing (for cold climates)
If the washing machine is to be left in an unheated area subject to freezing temperatures, drain all water from the machine to prevent damage. Consult a qualified technician if unsure.
7. Troubleshooting Guide
Before contacting customer service, refer to this table for common issues and their solutions.
| Problem | Possible Cause | Solution |
|---|---|---|
| Machine does not start | Power cord unplugged Lid not closed properly 'Start/Pause' button not pressed | Check power connection Ensure lid is fully closed Press 'Start/Pause' button |
| Water not filling | Water tap is off Water inlet hose kinked or blocked Water pressure too low | Open water tap Straighten hose, clear blockage Check household water pressure |
| Machine vibrates excessively | Machine not level Load unbalanced Shipping bolts not removed | Adjust leveling feet Redistribute laundry evenly Ensure all shipping bolts are removed (during installation) |
| Water not draining | Drain hose kinked or blocked Drain pump filter clogged | Check and clear drain hose Clean the drain pump filter (refer to specific instructions in full manual) |
| Detergent residue on clothes | Too much detergent used Insufficient rinse cycles | Reduce detergent quantity Select 'Extra Rinse' option |
8. Technical Specifications
Below are the technical specifications for the Whirlpool Whitemagic Classic 652 SD washing machine:
| Specification | Detail |
|---|---|
| Brand | Whirlpool |
| Model | Whitemagic Classic 652 SD |
| Capacity | 6.5 Kilograms |
| Maximum Rotational Speed | 740 RPM |
| Installation Type | Freestanding |
| Form Factor | Top-Loading |
| Special Features | Auto Restart, Auto tub clean, Child Lock, Magic Lint Filter, Power Scrub Technology |
| Colour | Grey |
| Control Console | Fully Automatic |
| Number of Option Cycles | 8 |
| Access Location | Top Load |
| Voltage | 230 Volts |
| Material | Stainless Steel (Drum) |
| Item Weight | 28 kg |
| Item Dimensions (LxWxH) | 56 x 54 x 90 Centimeters |
| Included Components | Product, User Manual, Hose Pipe (Dimension 1.5 mm) |
9. Warranty and Customer Support
9.1 Warranty Information
Your Whirlpool Whitemagic Classic 652 SD washing machine comes with a warranty of 2 years on the product and 2 years on the motor from the date of purchase. Please retain your purchase receipt for warranty claims.
9.2 Customer Support
For any service requests, technical assistance, or further inquiries, please contact Whirlpool customer support. Refer to the contact information provided in your warranty card or visit the official Whirlpool website for details.


