Motorola TALKABOUT T62
Motorola TALKABOUT T62 Walkie-Talkie Instruction Manual
Model: TALKABOUT T62
Introduction
The Motorola TALKABOUT T62 walkie-talkie is designed to keep you connected during outdoor activities and everyday use. This manual provides essential information for setting up, operating, and maintaining your device.
It features a backlit LCD display, 16 channels, 121 privacy codes, and a range of up to 8 km. The T62 supports both rechargeable NiMH batteries (included) and standard AA alkaline batteries, with convenient USB charging.
What's in the Box
- 2 x Motorola TALKABOUT T62 Walkie-Talkies
- 2 x Belt Clips
- 1 x Mains Charger with 2 Micro USB Plugs
- 2 x NiMH Rechargeable Battery Packs
- 16 x Personalization Stickers
- 1 x Instruction Manual (this document)
Setup
1. Battery Installation
The TALKABOUT T62 can use either the included rechargeable NiMH battery pack or three standard AA alkaline batteries. For optimal performance, use the NiMH pack.
- Ensure the radio is turned off.
- Remove the battery compartment cover on the back of the radio.
- Insert the NiMH battery pack, aligning the contacts. If using AA batteries, ensure correct polarity (+/-).
- Replace the battery compartment cover, ensuring it clicks securely into place.

Image: Rear view of the TALKABOUT T62, illustrating the battery compartment area and belt clip attachment.
2. Charging the Battery
Charge the NiMH battery pack before first use. A full charge can take up to 8 hours.
- Connect the micro USB plug from the mains charger to the micro USB charging port on the side of the radio.
- Plug the mains charger into a wall outlet.
- The battery indicator on the LCD will show charging status.
- Once fully charged, disconnect the charger.
Note: The TALKABOUT T62 is also compatible with a drop-in charging dock (sold separately).

Image: Side view of the TALKABOUT T62, highlighting the micro USB charging port for battery replenishment.
3. Attaching the Belt Clip
Slide the belt clip onto the designated slot on the back of the radio until it locks into place.

Image: Side view of the TALKABOUT T62, demonstrating the attached belt clip for convenient carrying.
Operating Instructions
1. Power On/Off
Press and hold the Power/Menu button ( ) until the radio turns on or off.
Image: Front view of the TALKABOUT T62, displaying the LCD screen and various control buttons, including the power button.
2. Channel Selection
The T62 has 16 channels. To change channels:
- With the radio on, press the Menu button once. The channel number will flash.
- Use the Up (+) or Down (-) buttons to select your desired channel.
- Press the Menu button again or wait a few seconds to confirm.
3. Privacy Codes
The T62 supports 121 privacy codes (38 CTCSS codes and 83 DCS codes) to minimize interference from other users on the same channel.
- Press the Menu button twice. The privacy code number will flash.
- Use the Up (+) or Down (-) buttons to select your desired privacy code.
- Press the Menu button again or wait a few seconds to confirm.
Note: For successful communication, both radios must be on the same channel and privacy code.
4. Transmitting and Receiving
- To Transmit: Press and hold the Push-to-Talk (PTT) button on the side of the radio. Speak clearly into the microphone. Release the PTT button to listen.
- To Receive: Ensure the PTT button is not pressed. The radio will automatically receive signals on the selected channel and privacy code.
5. Easy Pairing
The easy pairing feature allows quick setup of all radios in a group to the same channel and privacy code.
- Choose one radio to be the "master" radio. Set its channel and privacy code.
- On all other radios, press and hold the Easy Pairing button until you hear a tone. The radio will automatically adjust to the master radio's settings.
6. Hands-Free Operation (VOX/iVOX)
The T62 supports hands-free communication. When VOX/iVOX is enabled, the radio transmits automatically when it detects your voice.
- Press the Menu button until the VOX/iVOX icon flashes.
- Use the Up (+) or -) buttons to select the sensitivity level (L1-L3, L3 being most sensitive) or turn it off (OF).
- Press the Menu button to confirm.
Note: For best results, use a compatible headset with the 2.5 mm headset jack.
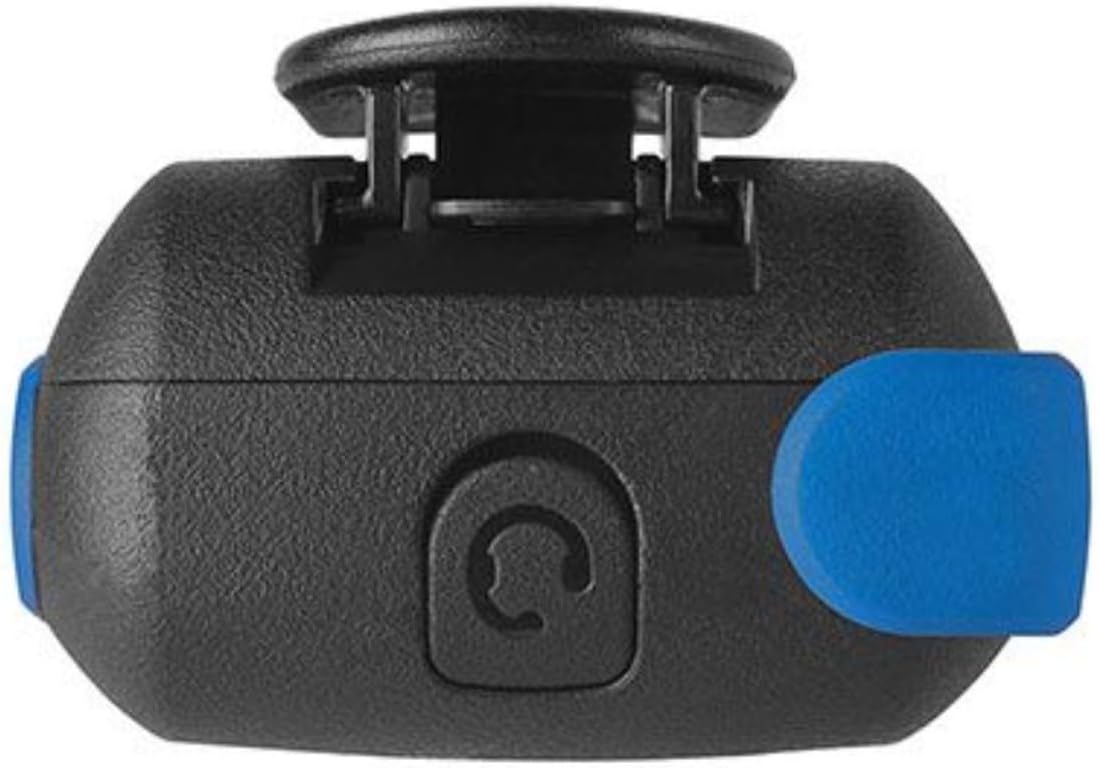
Image: Top view of the TALKABOUT T62, illustrating the 2.5 mm headset jack for hands-free communication.
7. Scan / Monitor
- Scan: Press the Scan button to scan all channels for activity. The radio will stop on an active channel.
- Monitor: Press the Monitor button to temporarily disable the privacy code and listen to all activity on the current channel.
8. Call Tones
The T62 offers 20 call tones to alert other users that you are calling.
- Press the Menu button until the call tone icon flashes.
- Use the Up (+) or -) buttons to cycle through the tones.
- Press the Menu button to confirm.
- To send a call tone, briefly press the Call Tone button.
9. Keypad Lock
To prevent accidental button presses, you can lock the keypad.
- Press and hold the Lock button until the lock icon appears on the display.
- To unlock, press and hold the Lock button again.
10. Roger Beep
The Roger Beep is a tone transmitted when you release the PTT button, signaling to the other party that you have finished speaking.
- Press the Menu button until the Roger Beep icon flashes.
- Use the Up (+) or -) buttons to turn it On or Off.
- Press the Menu button to confirm.
Maintenance
- Cleaning: Clean the radio with a soft, damp cloth. Do not use abrasive cleaners or solvents.
- Battery Care: For long-term storage, remove the NiMH battery pack. Store batteries in a cool, dry place. Recharge NiMH batteries every 3 months if not in use to maintain battery health.
- Storage: Store the radio in a dry, dust-free environment away from extreme temperatures.
- Water Resistance: The Motorola TALKABOUT T62 is not water resistant. Avoid exposure to rain, splashes, or submersion.
Troubleshooting
| Problem | Possible Solution |
|---|---|
| No power | Check battery installation. Recharge NiMH battery pack or replace AA batteries. |
| Poor range or static | Ensure both radios are on the same channel and privacy code. Move to an open area away from obstructions (buildings, hills). Check battery level. |
| Cannot hear other radios | Verify channel and privacy code settings. Adjust volume. Ensure the other radio is transmitting. |
| Radio transmits continuously | Check if the PTT button is stuck. If VOX/iVOX is enabled, reduce sensitivity or disable it. |
| Keypad is unresponsive | Check if Keypad Lock is enabled. Press and hold the Lock button to unlock. |
Specifications
| Feature | Detail |
|---|---|
| Model | TALKABOUT T62 |
| Frequency Band | PMR446 (446.0-446.2 MHz) |
| Tx Power | 500mW |
| Bandwidth | 12.5Khz |
| Channels | 16 + 121 privacy codes |
| Weight (with belt clip & battery) | 161 g (approx. 5.6 ounces) |
| Range | Up to 8 km (5 miles) *Actual range may vary depending on terrain and conditions. |
| Dimensions (WxHxD) | 5.4 x 16.5 x 3.1 cm (2.13 x 6.5 x 1.22 inches) |
| Power Source | Rechargeable NiMH pack (included) or 3 x AA alkaline batteries (not included) |
| Battery Life (NiMH 800 mAH) | Up to 18 hours |
| Charging | Micro USB charger (included), compatible with drop-in charging dock (sold separately) |
| Headset Jack | 2.5 mm |
| Special Features | Easy pairing, Backlit LCD display, Hands-free (VOX/iVOX), Scan/Monitor, 20 Call Tones, Keypad Lock, Roger Beep, Personalization stickers |
| Water Resistance | Not Water Resistant |
Warranty Information
Motorola products typically come with a limited warranty. For specific warranty terms and conditions applicable to your TALKABOUT T62 walkie-talkie, please refer to the warranty card included in your product packaging or visit the official Motorola support website.
Support
For further assistance, technical support, or to purchase accessories, please visit the official Motorola support website or contact their customer service. You can often find FAQs, software updates, and additional resources online.
Disclaimer: Product specifications and features are subject to change without notice. Always refer to the latest information provided by the manufacturer.
Ask a question about this manual
Ask about setup, troubleshooting, compatibility, parts, safety, or missing instructions. Manuals+ will review the question and use this page’s manual context to help answer it.