HERTZ ML-Power-5
Hertz Mille Legend Series ML-Power-5 Amplifier User Manual
Model: ML-Power-5
1. Introduction
Thank you for choosing the Hertz Mille Legend Series ML-Power-5 D-Class 5-Channel Amplifier. This high-performance amplifier is designed to deliver exceptional sound quality and power for your car audio system. This manual will guide you through the proper installation, setup, and operation to ensure you get the best possible experience from your new amplifier. Please read this manual thoroughly before installation and use, and keep it for future reference.

Figure 1.1: Front view of the Hertz ML-Power-5 Amplifier, showcasing its sleek design and top panel.
2. Safety Information
Always observe the following safety precautions during installation and operation:
- Professional Installation Recommended: Installation should be performed by a qualified professional to prevent damage to the amplifier or vehicle.
- Disconnect Battery: Always disconnect the vehicle's negative battery terminal before starting any electrical work.
- Proper Wiring: Use appropriate gauge wiring for power, ground, and speaker connections as specified in this manual. Incorrect wiring can lead to overheating, fire, or damage to components.
- Ventilation: Ensure the amplifier is mounted in a location with adequate ventilation to prevent overheating. Do not cover the amplifier or block its cooling fins.
- Avoid Moisture: Do not expose the amplifier to moisture or water.
- Secure Mounting: Mount the amplifier securely to prevent it from becoming a projectile in the event of a sudden stop or collision.
- Fuse Protection: The amplifier is equipped with internal fuses. Do not bypass or replace them with fuses of a different rating. The amplifier uses 2 x 40 A fuses.
3. Package Contents
Verify that all items are present in the package:
- Hertz ML-Power-5 D-Class 5-Channel Amplifier
- User Manual (this document)
- Mounting Hardware (screws, washers)
- Remote Bass Control (if included with your specific model)
- Connection Terminals/Adapters (if applicable)
4. Installation
4.1 Mounting Location
Choose a mounting location that:
- Provides adequate ventilation for heat dissipation.
- Is protected from moisture and direct sunlight.
- Allows for secure fastening to a solid surface.
- Is easily accessible for wiring and adjustments.
Common mounting locations include under seats, in the trunk, or behind trim panels.
4.2 Power Connections
Proper power connections are crucial for amplifier performance and safety.
- Battery (BATT+) Connection: Run a power cable directly from the vehicle's positive battery terminal to the amplifier's BATT+ terminal. Install an in-line fuse holder within 18 inches (45 cm) of the battery. The fuse rating should match the amplifier's total fuse rating (80A for ML-Power-5).
- Ground (GND) Connection: Connect a ground cable of the same gauge as the power cable from the amplifier's GND terminal to a clean, unpainted metal surface on the vehicle's chassis. Ensure a solid electrical connection.
- Remote (REM) Turn-On Connection: Connect a remote turn-on wire from your head unit's remote output to the amplifier's REM terminal. This wire signals the amplifier to turn on when the head unit is active. The ML-Power-5 features Automatic Remote Turn-Off.
4.3 Audio Input Connections
Connect your head unit's RCA outputs to the amplifier's RCA inputs. The ML-Power-5 is a 5-channel amplifier, typically requiring front, rear, and subwoofer RCA inputs from your head unit.
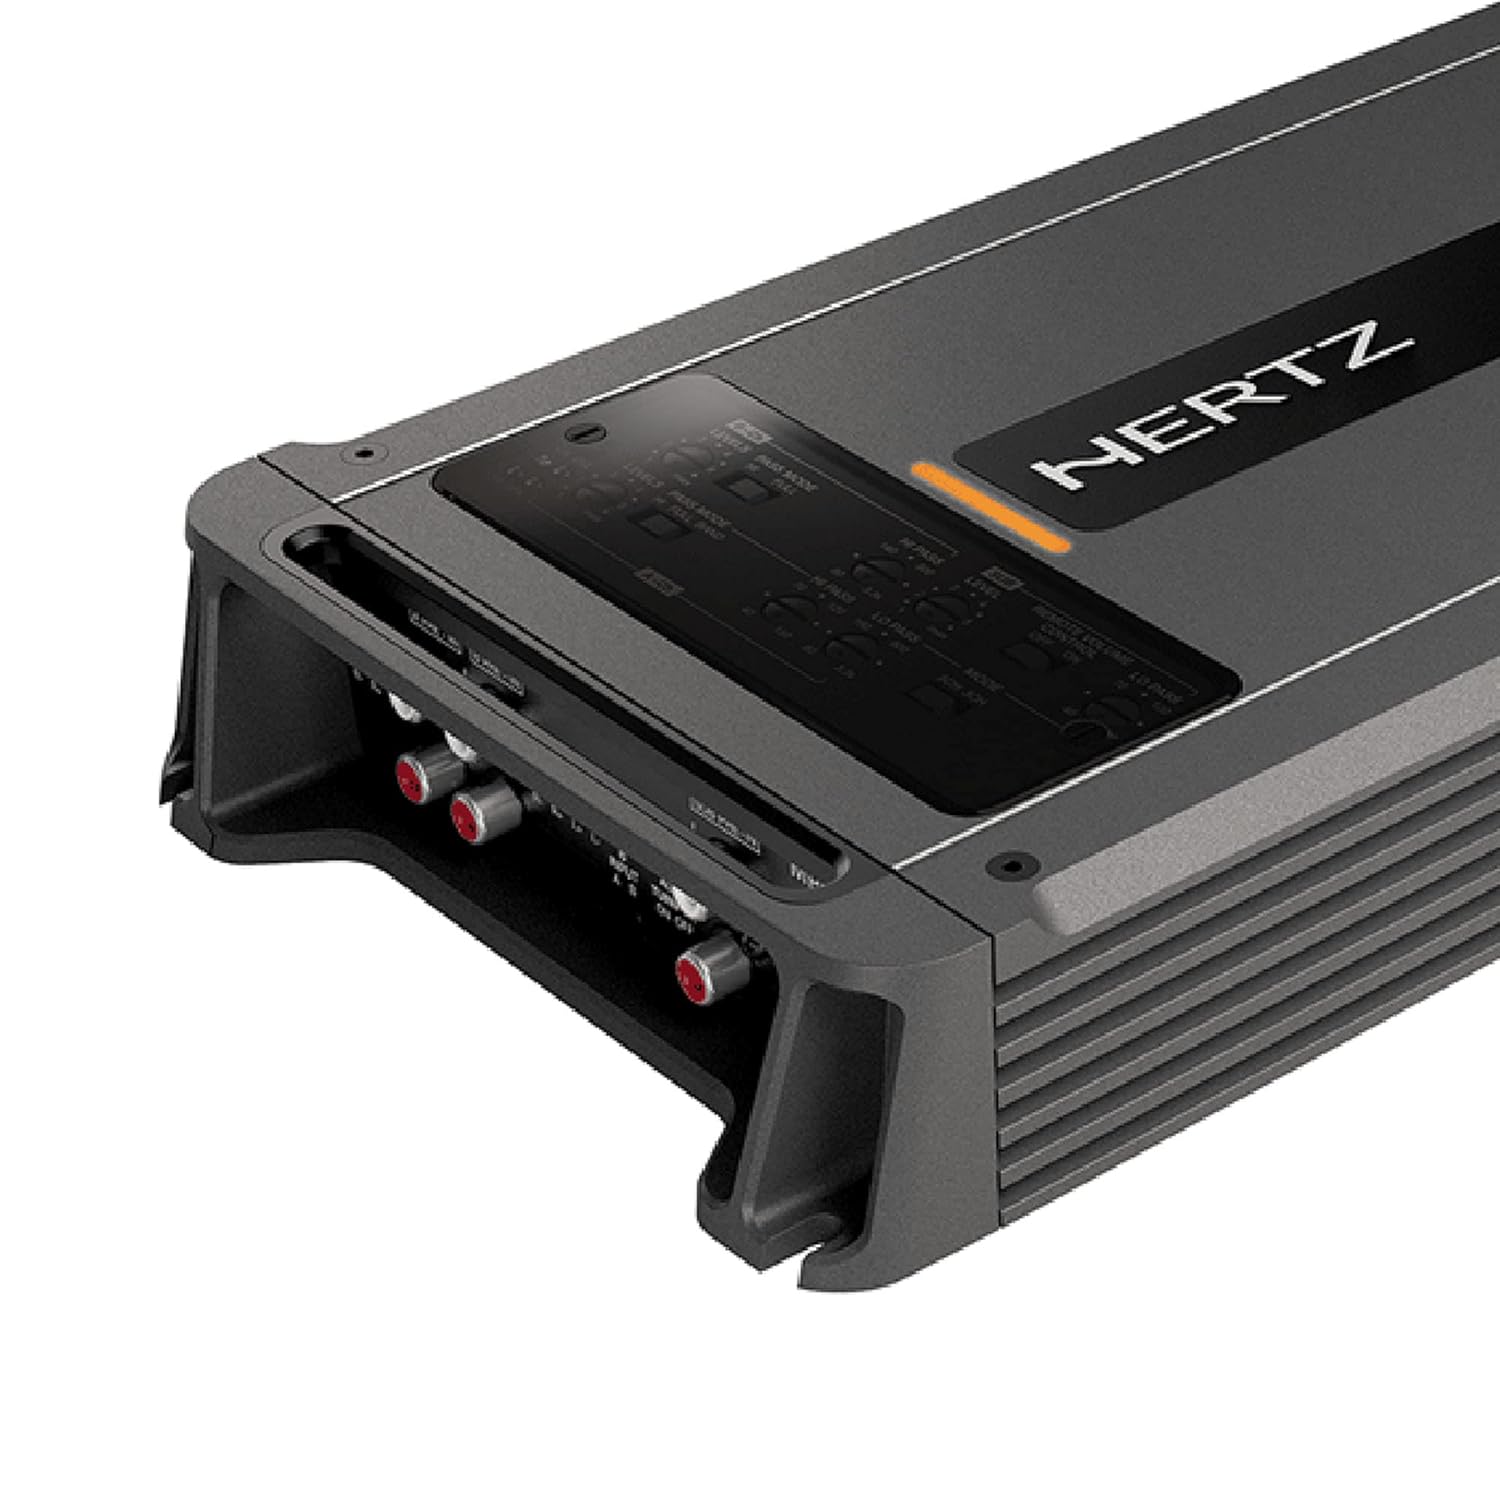
Figure 4.1: Detailed view of the input and output connections on the Hertz ML-Power-5 Amplifier, including RCA inputs and power terminals.
4.4 Speaker Connections
Connect your speakers to the amplifier's speaker output terminals. Pay close attention to polarity (+ and -) for each speaker. The ML-Power-5 supports various speaker configurations for its 5 channels (4 full-range channels + 1 subwoofer channel).
5. Operating
5.1 Initial Power-Up
After all connections are made and verified, reconnect the vehicle's negative battery terminal. Turn on your head unit. The amplifier should power on, indicated by an LED indicator.
5.2 Gain Adjustment
The gain control matches the amplifier's input sensitivity to the output voltage of your head unit. It is not a volume control. To set the gain:
- Turn the amplifier's gain controls to their minimum (fully counter-clockwise) setting.
- Play a familiar piece of music with a strong signal.
- Increase the head unit's volume to about 75-80% of its maximum.
- Slowly increase the amplifier's gain control until you hear slight distortion, then back off slightly until the sound is clear.
5.3 Crossover Settings
The ML-Power-5 features built-in crossovers (High-Pass Filter - HPF, Low-Pass Filter - LPF) to direct specific frequency ranges to your speakers and subwoofer. Adjust these settings to optimize sound quality and protect your speakers.
- HPF (High-Pass Filter): Used for full-range speakers to block low frequencies that they cannot reproduce effectively.
- LPF (Low-Pass Filter): Used for subwoofers to block high frequencies, allowing only bass to pass through.
5.4 Remote Bass Control
If your amplifier came with a remote bass control, connect it to the designated port on the amplifier. This allows for convenient adjustment of the subwoofer level from the driver's seat.

Figure 5.1: The optional remote bass control knob, providing convenient subwoofer level adjustment.
6. Maintenance
To ensure the longevity and optimal performance of your amplifier:
- Cleaning: Periodically clean the amplifier's exterior with a soft, dry cloth. Do not use harsh chemicals or abrasive cleaners.
- Ventilation: Ensure that the cooling fins remain free of dust and debris. Use compressed air to clear any blockages if necessary.
- Cable Inspection: Regularly inspect all power, ground, and speaker cables for any signs of wear, fraying, or loose connections. Tighten any loose terminals.
- Environmental Protection: Avoid exposing the amplifier to extreme temperatures, humidity, or direct sunlight for extended periods.
7. Troubleshooting
If you encounter issues with your amplifier, refer to the following common problems and solutions:
| Problem | Possible Cause | Solution |
|---|---|---|
| No Power / Amplifier does not turn on | Blown fuse, loose power/ground/remote wire, faulty head unit remote output. | Check amplifier fuses (2 x 40 A). Verify all power, ground, and remote connections are secure. Test remote wire for 12V when head unit is on. |
| No Sound Output | Loose RCA cables, incorrect gain setting, speaker wires disconnected, amplifier in protection mode. | Ensure RCA cables are securely connected. Re-adjust gain. Check speaker wire connections and polarity. If protection light is on, check for short circuits or overheating. |
| Distorted Sound | Gain set too high, incorrect crossover settings, poor ground connection, speaker impedance mismatch. | Reduce gain setting. Adjust crossover frequencies. Verify ground connection is solid. Ensure speaker impedance matches amplifier's capabilities. |
| Amplifier Overheats | Insufficient ventilation, low impedance load, prolonged high volume use. | Ensure adequate airflow around the amplifier. Check speaker impedance. Reduce volume or allow amplifier to cool down. The amplifier has Thermal Protection. |
8. Specifications
Key technical specifications for the Hertz ML-Power-5 Amplifier:
| Feature | Detail |
|---|---|
| Model Number | ML-Power-5 |
| RMS Power Output (Channels 1-4) | 100 WRMS x 4 at 2-Ohm |
| RMS Power Output (Channel 5) | 550 WRMS x 1 at 2-Ohm |
| Amplifier Class | D-Class |
| Fuse Rating | 2 x 40 A |
| Weight | 6.8 lbs |
| Product Dimensions (L x W x H) | 5.91 x 3.94 x 3.94 inches |
| Voltage | 14.4 Volts (Nominal) |
| Maximum Supply Voltage | 14.4 Volts (DC) |
| Minimum Supply Voltage | 11 Volts (DC) |
| Thermal Protection | Yes |
| Automatic Remote Turn-Off | Yes |
| CEA Compliant | Yes |

Figure 8.1: Technical drawing illustrating the top-down dimensions of the ML-Power-5 Amplifier.

Figure 8.2: Technical drawing illustrating the side dimensions of the ML-Power-5 Amplifier.
9. Warranty and Support
Hertz products are designed and manufactured to the highest quality standards. For information regarding warranty coverage, terms, and conditions, please refer to the warranty card included with your product or visit the official Hertz website. For technical support, service, or replacement parts, please contact your authorized Hertz dealer or the customer support department listed on the official website.
Please retain your proof of purchase for warranty claims.
Ask a question about this manual
Ask about setup, troubleshooting, compatibility, parts, safety, or missing instructions. Manuals+ will review the question and use this page’s manual context to help answer it.