1. Safety Information
WARNING: Read all safety information before use.
- Handle with care.
- Do not use with flammable or explosive materials.
- Keep away from heat and open flames.
- Wear appropriate personal protective equipment, including gloves and eye/face protection, when handling and operating paint spraying equipment.
- Do not dispose of in regular trash; follow local regulations for chemical waste disposal.
- Always ensure the paint sprayer is depressurized and disconnected from power before installing, removing, or cleaning the tip guard.
2. Product Overview
The Bedford 33-7002 Hand-Tight Reversible Tip Guard is designed to protect the spray tip and prevent accidental contact with the high-pressure spray stream during paint application. Its hand-tight design allows for easy installation and removal without tools, and the reversible feature aids in clearing tip clogs efficiently.
This tip guard is a quality replacement part compatible with OEM part numbers GRACO 243-263 and TITAN 661-015. It is assembled in the USA, ensuring reliable performance.
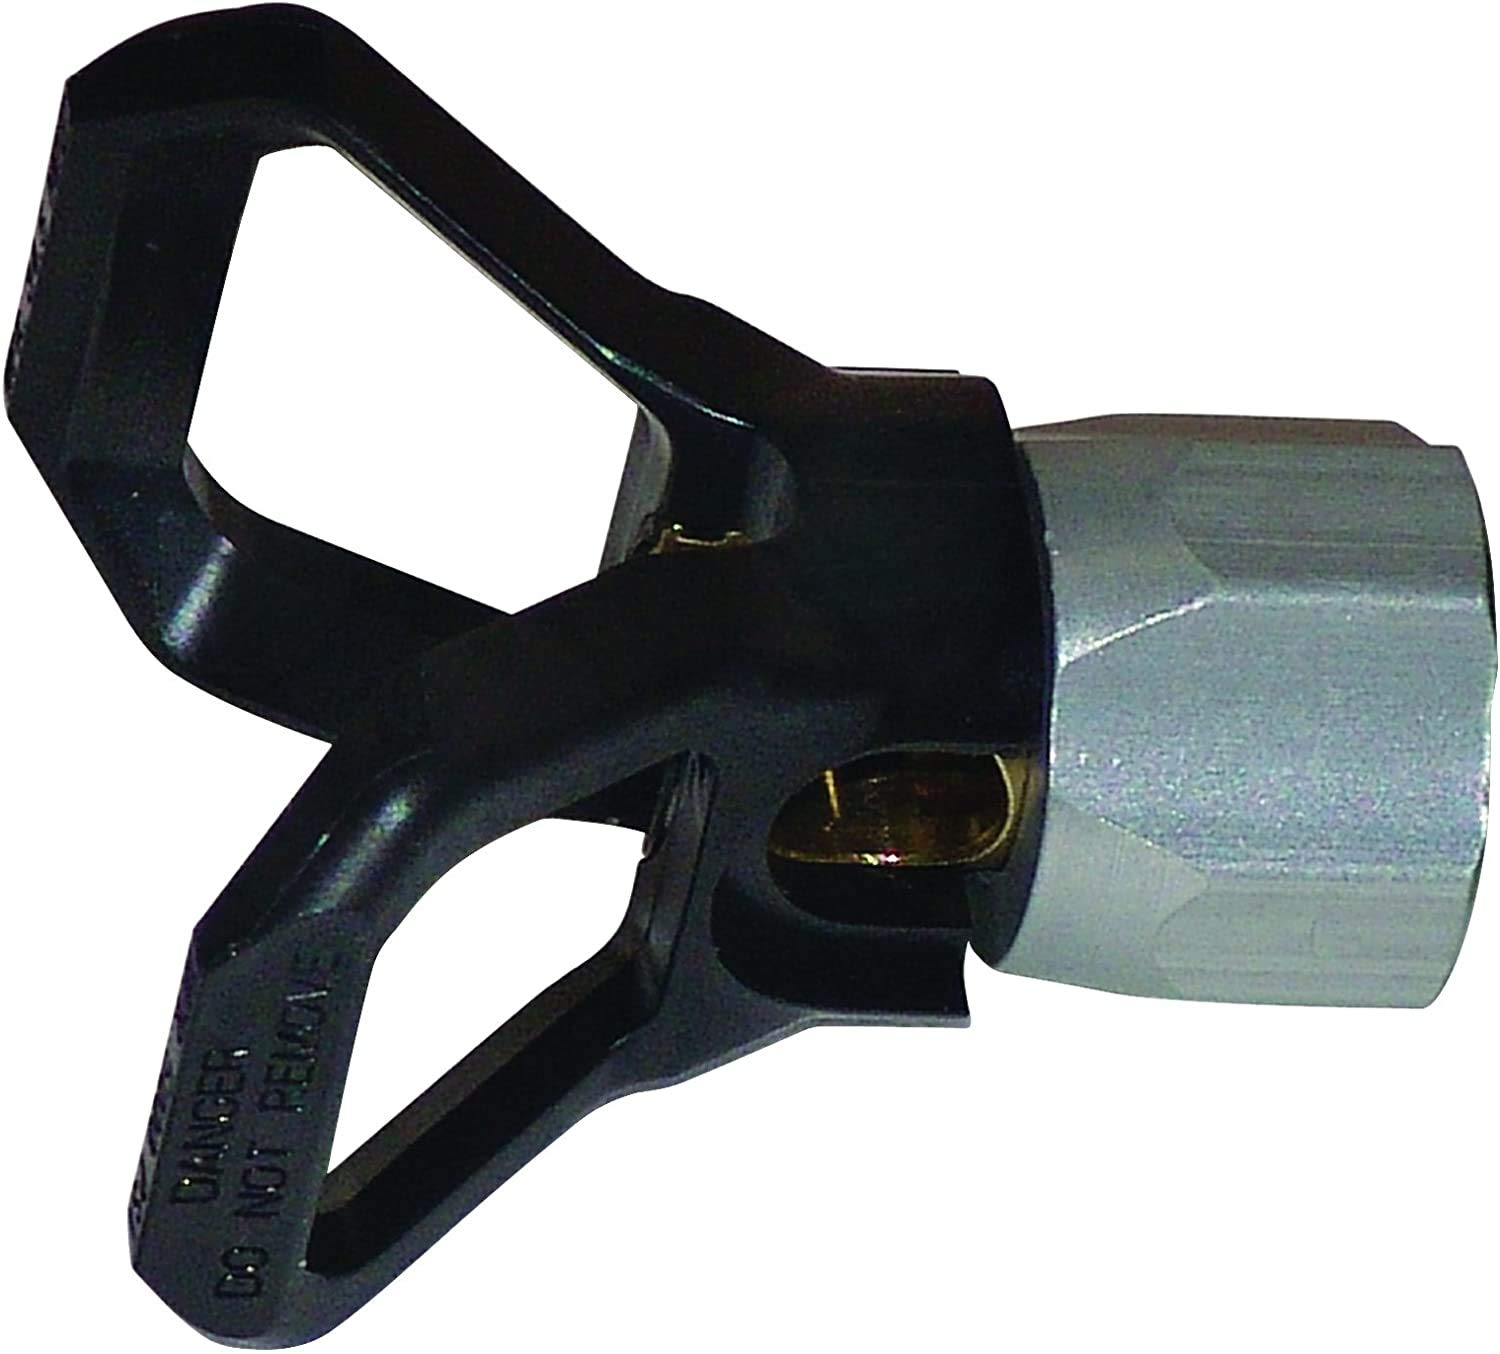
Figure 1: Bedford 33-7002 Hand-Tight Reversible Tip Guard. This image shows the metal tip guard with its threaded connection and opening for a spray tip.
Key Features:
- Hand-Tight Reversible Tip Guard, 11/16"-F thread.
- Direct replacement for Graco 243-263 and Titan 661-015.
- Ensures quality and trouble-free performance.
- Assembled in USA.
3. Setup and Installation
This tip guard is designed for easy, tool-free installation on compatible paint sprayers. Ensure your sprayer is equipped with an 11/16" male thread for tip guard attachment.
- Safety First: Before beginning, ensure the paint sprayer is completely depressurized and disconnected from its power source (e.g., unplugged from electrical outlet or air compressor).
- Prepare Sprayer: If a previous tip guard or tip is installed, carefully remove it. Clean any paint residue from the sprayer's tip housing threads.
- Attach Tip Guard: Align the Bedford 33-7002 Hand-Tight Reversible Tip Guard with the sprayer's tip housing threads. Turn the guard clockwise by hand until it is securely tightened. No tools should be required for this step.
- Install Spray Tip: Insert your desired spray tip into the tip guard. Ensure it is seated correctly.
- Test Connection: After installation, reconnect the sprayer to its power source and prime it with water or a compatible solvent (not paint) to check for leaks before beginning actual painting.
Note: This tip guard is compatible with sprayers featuring 11/16" diffuser threads, such as the Wagner Power Painter 500.
4. Operation
The Bedford 33-7002 Hand-Tight Reversible Tip Guard functions as a protective housing for your spray tip during operation. Its primary purpose is to shield the tip from damage and to prevent accidental contact with the high-pressure paint stream.
Reversible Tip Functionality:
One of the key features of this guard is its compatibility with reversible spray tips. If your spray tip becomes clogged during operation:
- Depressurize: Always engage the trigger lock and depressurize the sprayer system before attempting to clear a clog.
- Reverse Tip: Rotate the spray tip 180 degrees within the guard.
- Clear Clog: Point the sprayer at a waste container and briefly engage the trigger to force paint through the reversed tip, clearing the obstruction.
- Resume Spraying: Depressurize the system again, rotate the tip back to its original spraying position, and resume work.
Always maintain a safe distance from the spray tip and wear appropriate personal protective equipment during operation.
5. Maintenance
Proper maintenance of your Bedford 33-7002 Hand-Tight Reversible Tip Guard will ensure its longevity and continued performance.
- Cleaning After Use: After each use, remove the tip guard from the sprayer (after depressurizing the system). Thoroughly clean the guard, inside and out, with a compatible cleaning solution or water, depending on the type of paint used. Remove all paint residue to prevent buildup.
- Inspection: Regularly inspect the tip guard for any signs of wear, damage, or cracks. Pay close attention to the threads and the opening where the spray tip sits. A damaged guard can compromise safety and spray quality.
- Storage: Store the clean and dry tip guard in a safe place, away from extreme temperatures and direct sunlight, to prevent material degradation.
6. Troubleshooting
This section addresses common issues you might encounter with the tip guard.
Issue: Leaks from the tip guard connection.
Possible Cause: The tip guard is not tightened sufficiently, or the threads are damaged.
Solution: Ensure the tip guard is hand-tightened securely. Inspect the threads on both the guard and the sprayer for damage. If threads are damaged, replacement may be necessary.
Issue: Spray tip frequently clogs.
Possible Cause: Paint is too thick, paint is not properly strained, or the tip itself is worn.
Solution: Utilize the reversible feature of the tip guard to clear clogs as described in the "Operation" section. Ensure paint is properly thinned and strained before use. If clogging persists, the spray tip may need replacement.
Issue: Tip guard difficult to remove or install.
Possible Cause: Paint buildup on threads, or cross-threading during installation.
Solution: Clean threads thoroughly after each use. Always align the guard carefully before tightening by hand to avoid cross-threading. Do not use tools to force the guard on or off, as this can damage threads.
7. Specifications
| Attribute | Detail |
|---|---|
| Manufacturer | Bedford Precision |
| Part Number | 33-7002 |
| Item Model Number | 33-7002 |
| Product Dimensions | 6.99 x 5.08 x 12.7 cm |
| Item Weight | 59 g |
| Material | Metal |
| Style | Handheld (Accessory) |
| Power Source | Hand Powered (Accessory) |
| Recommended Use | Painting |
| Maximum Pressure | 5000 Pound per Square Inch (when used with compatible sprayer) |
| UPC | 663547070020 |
| Compatibility | Graco 243-263, Titan 661-015 (OEM replacement) |
8. Warranty and Support
The Bedford 33-7002 Hand-Tight Reversible Tip Guard is a brand new tool part and comes with the manufacturer's warranty. For specific warranty terms and conditions, please refer to the documentation provided with your purchase or contact Bedford Precision directly.
For technical support, replacement parts, or warranty claims, please contact Bedford Precision Parts Corp. through their official website or customer service channels. When contacting support, please have your product model number (33-7002) and purchase information readily available.