1. Introduction
Thank you for choosing the Trumpeter 1:700 USS Ticonderoga CV-14 Aircraft Carrier Plastic Model Kit. This kit allows you to construct a detailed replica of the iconic USS Ticonderoga (CV-14) in 1:700 scale. This manual provides essential instructions for assembly, painting, and care to help you achieve a high-quality finished model.
This kit is designed for adult modelers and requires assembly, painting, and the use of adhesives and tools (not included unless specified). Please read all instructions carefully before beginning assembly.
2. Safety Information
WARNING: CHOKING HAZARD - Small parts. Not for children under 3 years.
- Always work in a well-ventilated area, especially when using paints, glues, and thinners.
- Keep all modeling tools (knives, clippers, files) out of reach of children. Tools can be sharp.
- Avoid inhaling paint fumes. Use a respirator if necessary.
- Wear appropriate eye protection when cutting or sanding parts.
- Dispose of waste materials responsibly according to local regulations.
- Read and follow the safety instructions provided with any glues, paints, or other chemicals used with this kit.
3. Kit Contents
Before starting, verify that all components are present. This kit includes:
- 523 plastic parts (unassembled)
- 32 sprues (frames holding the parts)
- Instruction manual (this document)
- Decal sheet
- Note: Glue and paint are not included in the kit unless specified on the packaging.
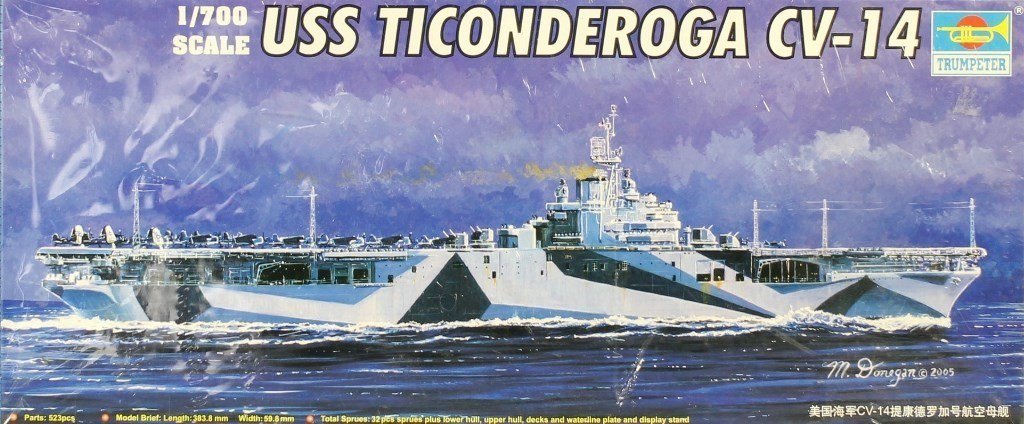
Image: The Trumpeter 1:700 USS Ticonderoga CV-14 Aircraft Carrier Plastic Model Kit box art, showing the unassembled components and the finished model representation.
4. Assembly Instructions
Follow the numbered steps in the included diagrammatic instructions carefully. Use appropriate modeling tools and adhesives for best results.
- Preparation: Carefully remove parts from the sprues using a hobby knife or sprue cutters. Clean any flash or mold lines with a file or sandpaper. Dry-fit parts before applying glue to ensure proper alignment.
- Hull Assembly: Assemble the main hull sections. Ensure they are perfectly aligned and clamped while the glue dries.
- Deck and Superstructure: Attach the main deck and begin assembling the superstructure components. Work in sub-assemblies where possible (e.g., island, radar masts) before attaching them to the main deck.
- Aircraft and Details: Assemble the small aircraft and other intricate details. These can often be painted separately before final attachment.
- Final Assembly: Attach all sub-assemblies to the main hull and deck. Ensure all small parts, such as railings, antennas, and weaponry, are securely fastened.
- Drying Time: Allow adequate drying time for all glued parts before handling or proceeding to the next step. Refer to your adhesive's instructions for specific drying times.
5. Painting Guide
Painting is crucial for a realistic finish. Refer to historical references or the box art for color schemes. The kit is made of plastic and is designed for acrylic paints.
- Cleaning: Wash all plastic parts with mild soap and water to remove mold release agents. Allow to dry completely.
- Priming: Apply a thin, even coat of primer suitable for plastic models. This helps paint adhere better and provides a uniform base.
- Base Coats: Apply base colors according to the recommended scheme. Apply multiple thin coats rather than one thick coat to avoid obscuring detail.
- Detail Painting: Use fine brushes for intricate details, such as aircraft markings, deck equipment, and small structures.
- Weathering (Optional): For an aged or battle-worn look, consider weathering techniques such as washes, dry-brushing, and pigments.
- Protective Coat: Once painting is complete and decals are applied, apply a clear matte or satin topcoat to protect the paintwork and decals.
6. Decal Application
Decals add important markings and details. Follow these steps for best results:
- Ensure the surface where the decal will be applied is smooth and glossy (a gloss clear coat can be applied if the base paint is matte).
- Cut out the desired decal close to its edge.
- Dip the decal in lukewarm water for 10-20 seconds until it slides freely on its backing paper.
- Carefully slide the decal from the backing paper onto the model surface using tweezers or a soft brush.
- Position the decal correctly. Use a damp cotton swab to gently press out any air bubbles or excess water.
- Apply a decal setting solution (optional, but recommended) to help the decal conform to surface details and eliminate silvering.
- Allow decals to dry completely before applying a final clear coat.
7. Display and Care
To maintain the appearance of your finished model:
- Display your model in a cool, dry place away from direct sunlight to prevent fading and warping.
- Keep it away from excessive dust. A display case is recommended.
- Clean gently with a soft, dry brush or a very lightly damp cloth. Avoid harsh chemicals.
- Handle the model by its base or sturdy sections to avoid damaging delicate parts.
8. Troubleshooting
| Problem | Possible Cause | Solution |
|---|---|---|
| Parts do not fit together | Excess flash, warped part, incorrect part | Clean flash with a hobby knife/file. Gently heat and reshape warped parts (use caution). Double-check part numbers against instructions. |
| Paint is peeling or not adhering | Surface not clean, no primer, incompatible paint | Ensure parts are washed and dry. Use a suitable primer. Use paints designed for plastic models. |
| Decals "silvering" (white film under decal) | Air trapped under decal, surface not smooth | Apply decals to a glossy surface. Use decal setting solution to help conform and remove air. |
| Small parts break easily | Excessive force, brittle plastic | Handle delicate parts with care. Use appropriate tools. Re-glue broken parts with plastic cement. |
9. Specifications
- Brand: Trumpeter
- Model: USS Ticonderoga CV-14 (05736)
- Scale: 1:700
- Material: Plastic
- Number of Parts: 523
- Recommended Age: Adult
- Assembly Required: Yes
- Paint Type: Acrylic (recommended)
10. Warranty and Support
Trumpeter model kits are manufactured to high standards. If you encounter any issues with missing or defective parts, please contact your retailer or the manufacturer directly. Please have your kit's model number (05736) and proof of purchase available.
For further assistance or inquiries, please visit the official Trumpeter website or contact their customer support.
Note: This kit is an unassembled and unpainted model. The manufacturer is not responsible for issues arising from improper assembly, painting, or use of incompatible materials.