Product Overview
This manual provides instructions for the Timegyro Small Digital LED Travel Alarm Clock, Model CRS6B. This compact, battery-operated clock features an LED display, adjustable brightness, and an alarm with snooze functionality. It is designed for portability and ease of use in various indoor environments.

Front view of the Timegyro digital alarm clock, showing the time 12:54 PM on its red LED display. The top panel includes control buttons and a large snooze button.
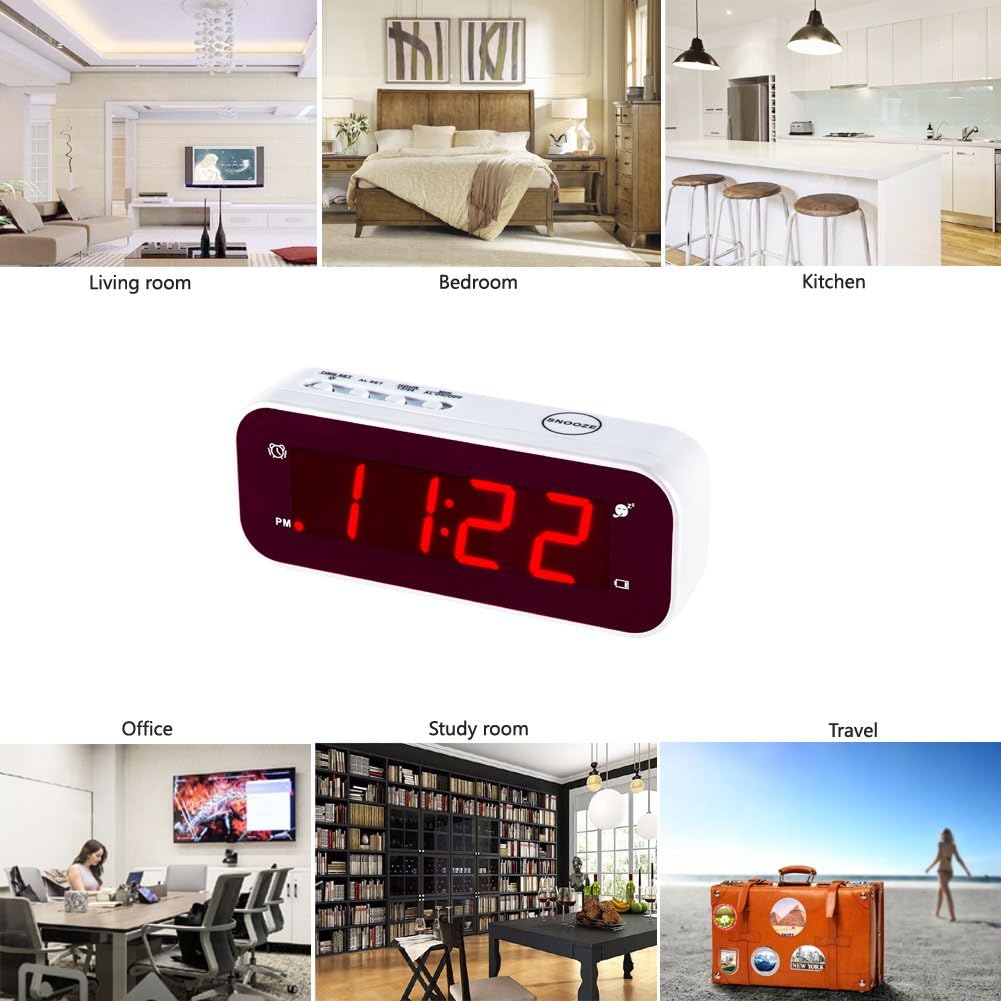
The Timegyro clock is depicted in various settings, including a living room, bedroom, kitchen, office, study room, and a travel scenario, highlighting its versatility.
Setup Instructions
1. Unpacking and Contents
Carefully remove all items from the packaging. Ensure the following components are present:
- Timegyro Digital LED Alarm Clock
- User Manual

The image displays the Timegyro clock, its user manual, and the brown cardboard packaging box.
2. Battery Installation
The clock requires 2 AA batteries (not included) for operation.
- Locate the battery compartment on the back of the clock.
- Slide the battery compartment cover downwards to open it.
- Insert two AA batteries, ensuring correct polarity (+ and -) as indicated inside the compartment.
- Replace the battery compartment cover by sliding it upwards until it clicks into place.

The battery compartment is shown open, with two AA batteries correctly inserted, illustrating the proper orientation.
3. Initial Power On
Once batteries are installed, the clock display will illuminate, typically showing a default time. If the display does not light up, verify battery installation and charge.
4. Setting the Time
The control buttons are located on the top of the clock.

A top-down view of the clock highlights the 'TIME SET', 'AL SET', 'HOUR', 'MIN', 'AL ON/OFF' buttons, and the large 'SNOOZE' button.
- Press and hold the TIME SET button until the hour digits begin to flash.
- Press the HOUR button to adjust the hour. Pay attention to the PM indicator if using 12-hour format.
- Press the MIN button to adjust the minutes.
- Press TIME SET again to confirm the time and exit time setting mode.
5. 12/24 Hour Format Selection
To switch between 12-hour and 24-hour (military) time formats:
- In normal time display mode, press the 12/24Hr button (often combined with the HOUR button) to toggle between the two formats.
Operating Instructions
1. Adjusting Display Brightness
The clock features three brightness levels (low, medium, high) and an automatic dimming function.
- To manually adjust brightness, press and hold the TIME SET button for 2 seconds. The brightness level will cycle through low, medium, and high. Release the button at your desired level.
- The clock automatically dims to the lowest brightness level between 8:00 PM and 6:00 AM to conserve battery power and reduce light disturbance. Manual brightness adjustment is not available during this auto-dim period.

This split image demonstrates the clock's display in both bright and dim environments, showcasing its adjustable brightness feature for optimal visibility.
2. Setting the Alarm
- Press and hold the AL SET button until the alarm hour digits begin to flash.
- Press the HOUR button to set the desired alarm hour.
- Press the MIN button to set the desired alarm minutes.
- Press AL SET again to confirm the alarm time and exit alarm setting mode.
3. Activating/Deactivating the Alarm
- Press the AL ON/OFF button to toggle the alarm on or off. An alarm icon will appear on the display when the alarm is active.
4. Snooze Function
When the alarm sounds:
- Press the large SNOOZE button located on the top of the clock. The alarm will pause for 7 minutes and then sound again.
- You can repeat the snooze function up to 3 times.
- To stop the alarm completely, press any other button on the top of the clock. The alarm will reset and sound at the same time the following day.
Maintenance
1. Cleaning
To clean the clock, gently wipe the surface with a soft, dry cloth. Do not use abrasive cleaners, solvents, or chemical sprays, as these may damage the clock's finish or internal components.
2. Battery Replacement
When the display becomes dim or the clock functions erratically, it is time to replace the batteries. Follow the battery installation steps outlined in the Setup section. Always replace both AA batteries simultaneously with new ones for optimal performance.
Troubleshooting
- Problem: Display is dim or unreadable.
- Solution:
- Check the battery level and replace batteries if necessary.
- Adjust the brightness manually by pressing and holding the TIME SET button.
- Ensure the clock is not placed in direct sunlight or excessively bright conditions, which can make the red LED display difficult to see.
- Problem: Alarm does not sound.
- Solution:
- Verify that the alarm is activated (alarm icon visible on display). Press the AL ON/OFF button to toggle.
- Check battery level and replace if low.
- Ensure the alarm time is set correctly.
- Problem: Clock does not keep accurate time.
- Solution:
- Replace both AA batteries with new ones. Low battery power can affect timekeeping accuracy.
Product Specifications
| Feature | Detail |
|---|---|
| Brand | Timegyro |
| Model Number | CRS6B |
| Display Type | Digital LED |
| Display Color | Red |
| Power Source | Battery Powered (2 AA batteries required, not included) |
| Product Dimensions | 4.72"W x 1.77"H |
| Item Weight | 3.2 ounces |
| Special Features | Cordless, Adjustable Brightness, Snooze Function, 12/24Hr Format |
| Material | Acrylonitrile Butadiene Styrene (Plastic) |
| Indoor/Outdoor Usage | Indoor |
| UPC | 606015961987 |
| Additional Identifier | X000TQ7MLX |

The product packaging displays key information including the model number and UPC.
Warranty and Support
This Timegyro product is covered by a standard manufacturer's warranty. For specific warranty details, claims, or technical support, please refer to the documentation included with your purchase or visit the official Timegyro brand store.
For further assistance, you may visit the Timegyro Store on Amazon.

