
Introduction
This manual provides essential information for the safe and efficient use of your PRIMECOM Level 2 Electric Vehicle (EV) Charger. Please read these instructions carefully before installation and operation to ensure proper functionality and to prevent damage or injury. This portable EVSE is designed to provide Level 2 charging for electric vehicles using 220V/240V outlets.
Safety Information
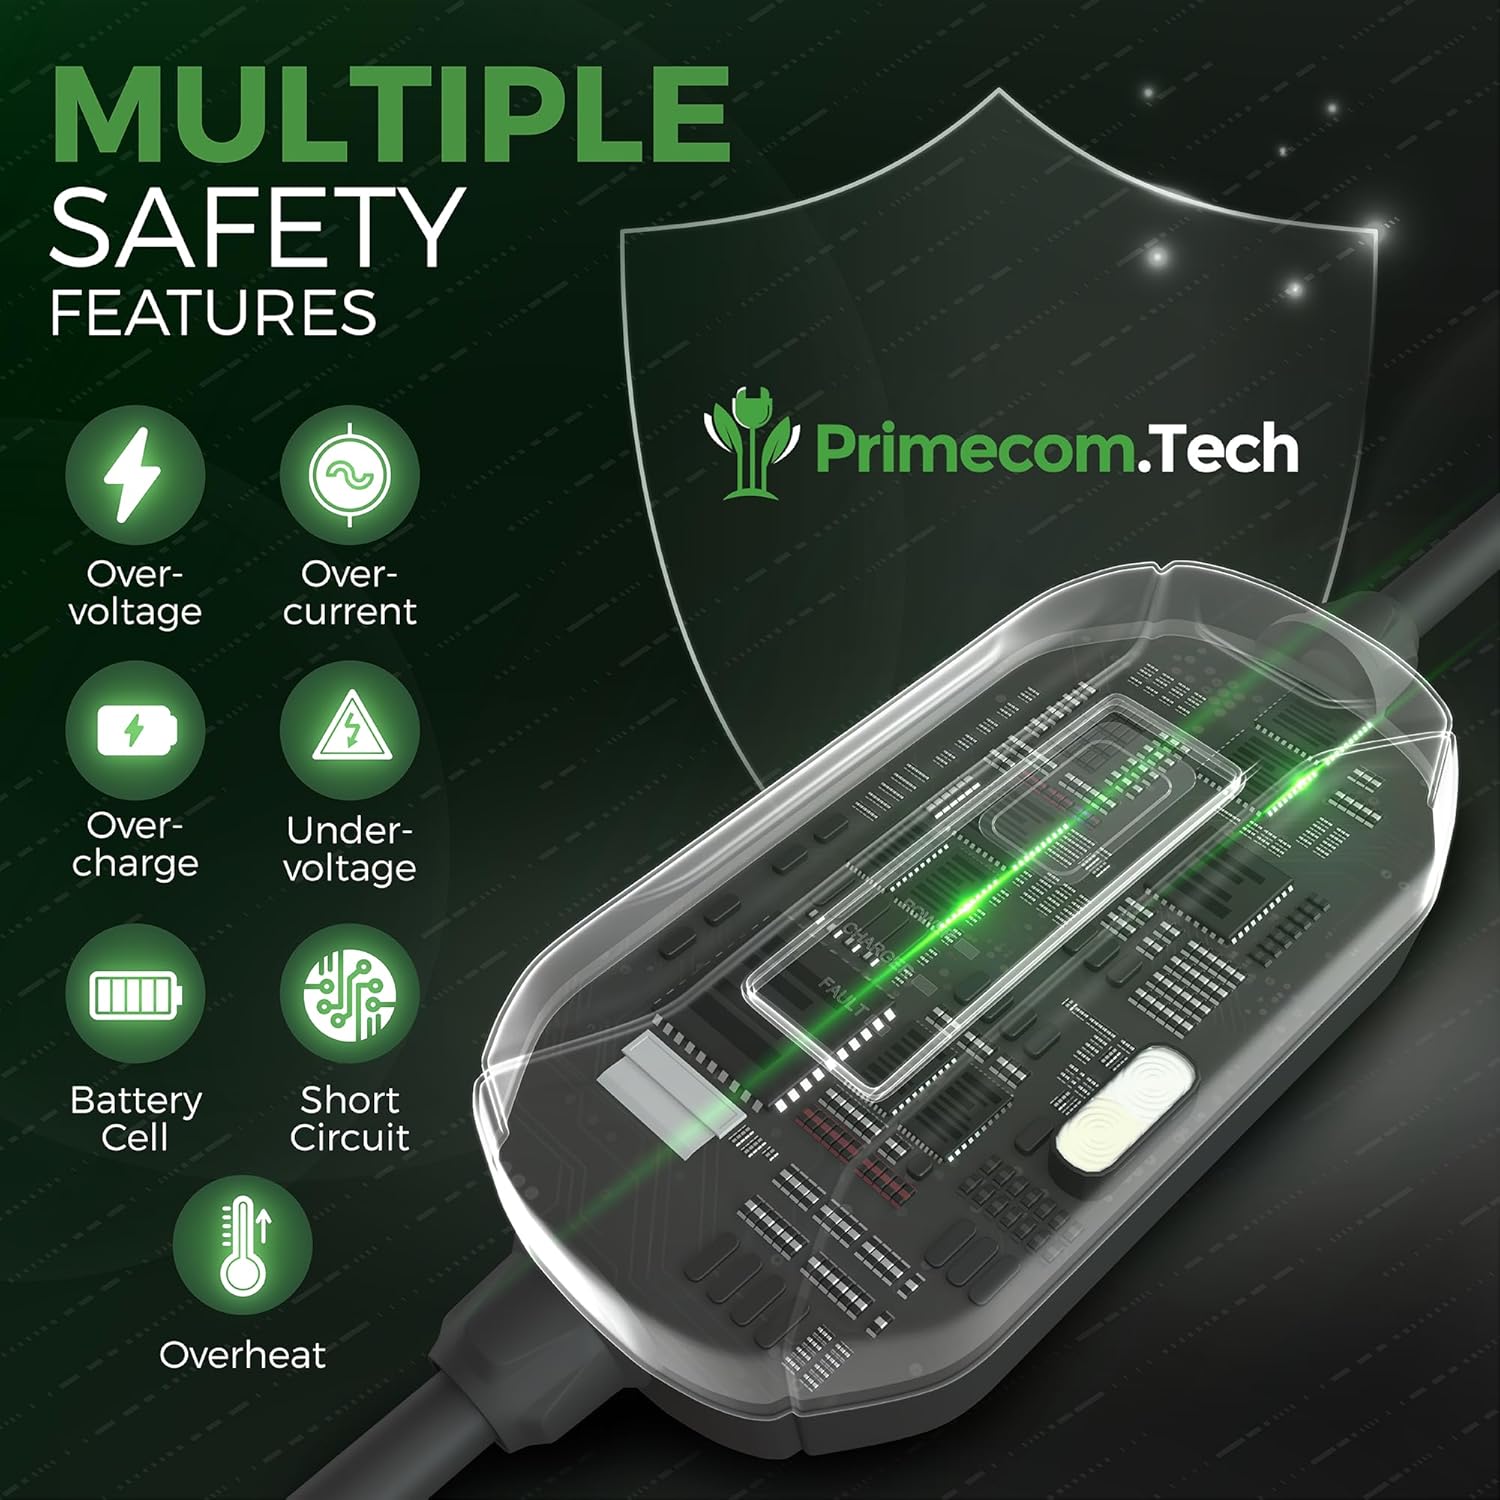
Your PRIMECOM Level 2 Charger is equipped with multiple safety features and certifications to ensure reliable operation. Adhere to all local electrical codes and safety regulations during installation and use.
- Certifications: The charger has TÜV German Equipment and Product Safety Certification and CE certifications.
- Built-in Safety Features: Includes lightning-proof, leakage protection, overvoltage protection, overheat protection, and overcurrent protection.
- Environmental Protection: Rated IP55 for water and dust resistance, suitable for outdoor use.
- Always ensure the charging cable is not damaged before use.
- Do not use the charger if the control box or cable shows signs of damage.
- Keep children and pets away from the charging area during operation.
What's in the Box
Verify that all components are present upon unpacking:
- PRIMECOM Level 2 EV Charging Station
- Control Box with LED Charge Status Indicators
- Charging Cable (available in 30, 35, 40, or 50 feet lengths, specific to your purchase)
Setup Instructions
The PRIMECOM EV Charger is designed for 'Plug and Play' convenience, utilizing existing 220V/240V outlets. No complex wiring is typically required.
1. Choose Your Outlet Type
Ensure you have selected the appropriate NEMA outlet type that matches your home's electrical infrastructure. Common compatible types include:
- NEMA 10-30P
- NEMA 10-50P
- NEMA 14-30P
- NEMA 14-50P (This model)
- NEMA 6-20P
- NEMA 6-30P
- NEMA 6-50P
- NEMA L14-30P
- NEMA L6-30P
- European

2. Cable Length
The charger is available with cable lengths of 30, 40, or 50 feet to accommodate different parking configurations and distances to your power outlet.

3. Installation
- Mount the control box securely on a wall near your chosen 220V/240V outlet, ensuring it is within reach of your EV.
- Plug the charger's power cord into the appropriate NEMA outlet.
- Ensure the charging cable can reach your vehicle's charging port without being overly stretched or creating a tripping hazard.
Operating Instructions
The PRIMECOM EV Charger features an intelligent chip for optimized charging and universal compatibility.
1. Intelligent Charging
The charger's intelligent chip communicates with your EV via the data connection port. It gathers data such as ambient and battery temperature, current battery level, and battery capacity to automatically adjust the voltage, optimizing battery life expectancy.
2. Universal Compatibility
This charger is universally compatible with all EV cars that use the J1772 charging standard. For Tesla vehicles, a J1772 adapter (not included) is required.

3. Charging Process
- Plug the charging connector into your EV's charging port. Ensure a secure connection.
- The control box's LED indicators will illuminate to show the charging status.
- The charger will begin delivering Level 2 power, providing up to 15 miles of range per hour of charging at 16 Amps (3.8 kW/hour).
- Once charging is complete, safely disconnect the charging connector from your EV.

4. LED Screen Description
The control box features an LED screen that displays real-time charging information:
- Control Box Temperature: Displays the internal temperature of the control box.
- Amperage Limit: Shows the set amperage limit for charging.
- Charging Status: Icons indicate 'Not Connected', 'Charging', or 'Fully Charged'.
- Transferred Energy (kWh): Displays the total energy transferred during the current charging session.
- Charging Time: Shows the duration of the current charging session.
- Actual Charging Voltage: Real-time voltage being supplied.
- Actual Charging Amperage: Real-time amperage being drawn.
- Actual Charging Power (kW): Real-time power output.

Maintenance
Proper maintenance ensures the longevity and safe operation of your EV charger.
- Cleaning: Wipe the control box and cable with a dry or slightly damp cloth. Do not use harsh chemicals or abrasive cleaners.
- Cable Management: When not in use, coil the charging cable neatly and hang it on a wall bracket or store it in a safe place. Avoid leaving the cable coiled tightly while actively charging, as this can lead to heat buildup.
- Weather Protection: The charger has an IP55 rating, making it weather-proof and adaptable to rain and snow. However, avoid submerging the unit in water.
- Regular Inspection: Periodically inspect the cable, plug, and connector for any signs of wear, cuts, or damage. If damage is found, discontinue use and contact support.

Troubleshooting
If you encounter issues with your PRIMECOM EV Charger, refer to the following common problems and solutions:
- Charger Not Activating / No Power:
- Ensure the charger is securely plugged into a functioning 220V/240V outlet.
- Check your home's circuit breaker to ensure it hasn't tripped. Reset if necessary.
- Ground Fault Detected (Red Light on Control Box):
- This can occur after minor power outages. Reset the circuit breaker connected to the charger's outlet.
- If the issue persists, unplug the charger and inspect the outlet and plug for any visible damage.
- Charging Connector Not Fitting Vehicle Port:
- Ensure the vehicle's charging port is clean and free of obstructions.
- Verify that your vehicle uses the J1772 standard. If it's a Tesla, confirm you are using a compatible J1772 adapter.
- If the connector appears bent or damaged, do not force it. Contact customer support.
- Slow Charging:
- Ensure your vehicle is set to accept the maximum charge rate from a Level 2 charger.
- Verify the charger's display shows the expected amperage (16A).
- Environmental factors like extreme cold can affect charging speed.
- Locking Hook Issues:
- If the locking hook on the connector is bent, it may prevent a secure connection. Gently attempt to bend it back into its original position. If unsuccessful or if the hook breaks, contact customer support for assistance.
If these steps do not resolve the issue, please contact PRIMECOMTECH customer support.
Specifications
| Feature | Detail |
|---|---|
| Model Number | DEV-10 |
| Input Voltage | 220V / 240V |
| Output Amperage | 16 Amp |
| Output Power | 3.8 kW/hour |
| Connector Type | J1772 (adapter required for Tesla) |
| Cable Lengths Available | 30, 35, 40, 50 Feet |
| NEMA Plug Type (Current Model) | 14-50P |
| Product Dimensions (Control Box) | 2"D x 4"W x 7"H |
| Item Weight | 9 Pounds |
| IP Rating | IP55 (Water and Dust Resistant) |
| Certifications | TÜV, CE |
Warranty and Support
Warranty Information
The PRIMECOM Level 2 EV Charger comes with a 1-year parts and labor warranty from the date of purchase. This warranty covers defects in materials and workmanship under normal use. It does not cover damage caused by misuse, accidents, unauthorized modifications, or improper installation.
Customer Support
For any questions, technical assistance, or warranty claims, please contact PRIMECOMTECH customer support. Our US-based support team is available 7 days a week to assist you.
Please refer to the contact information provided with your product packaging or visit the official PRIMECOMTECH website for current support details.