Introduction
The Vonyx CM650 is a high-quality large diaphragm condenser microphone designed for a wide range of vocal and instrument applications. Its broad frequency response and low distortion ensure excellent sound reproduction, making it suitable for both studio and live environments. This microphone features an attractive black and gold finish and requires 48V DC phantom power for operation. It can connect directly to a PC via a 3.5mm jack or through an XLR connection to an audio interface or mixer.
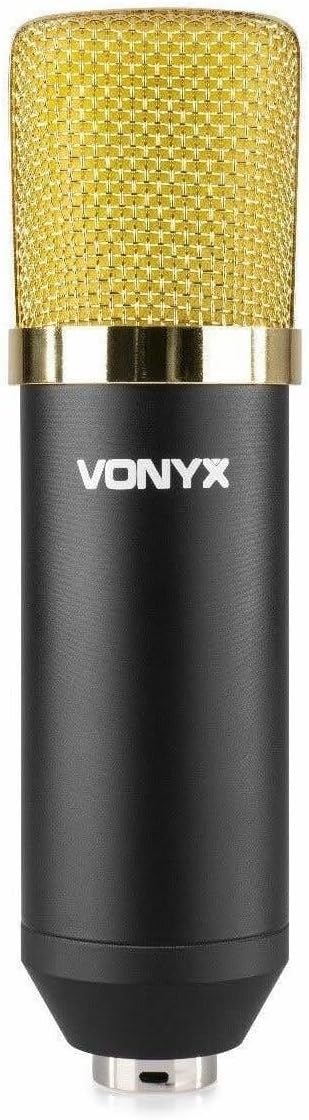
Figure 1: The Vonyx CM650 large diaphragm condenser microphone, showcasing its black body and gold grille.
Safety Instructions
- Read all instructions carefully before using the microphone.
- Keep this manual for future reference.
- Do not expose the microphone to rain or moisture to prevent electric shock.
- Avoid placing the microphone near heat sources such as radiators, heat registers, stoves, or other apparatus that produce heat.
- Only use attachments/accessories specified by the manufacturer.
- Disconnect the microphone during lightning storms or when unused for long periods.
- Refer all servicing to qualified service personnel. Servicing is required when the apparatus has been damaged in any way.
- Ensure proper ventilation and do not block any ventilation openings.
Package Contents
Verify that all components are present in the package:
- Vonyx CM650 Large Diaphragm Condenser Microphone
- Shockmount
- 3/8" to 5/8" Thread Adapter
- Microphone Cable (XLR to 3.5mm Jack, 2.5m length)
- Foam Windscreen

Figure 2: All included components: the microphone, shockmount, cable, thread adapter, and foam windscreen.
Setup
1. Attaching the Shockmount and Microphone
- Secure the shockmount to a microphone stand. If your stand has a different thread size, use the provided 3/8" to 5/8" adapter.
- Carefully insert the Vonyx CM650 microphone into the shockmount. Ensure it is held firmly by the elastic bands to minimize handling noise and vibrations.

Figure 3: The shockmount and thread adapter, essential for mounting the microphone securely.
2. Connecting the Microphone
The Vonyx CM650 requires 48V DC phantom power to operate. There are two primary connection methods:
- To an Audio Interface/Mixer with Phantom Power: Connect the XLR end of a standard XLR cable (not included, as the provided cable is XLR to 3.5mm) to the microphone's XLR output. Connect the other end of the XLR cable to an audio interface or mixer that provides 48V phantom power. Activate the phantom power on your device.
- Direct to PC (with external phantom power supply): The included cable has an XLR connector on one end and a 3.5mm jack on the other. This cable is designed for direct connection to a PC's microphone input. However, please note that condenser microphones like the CM650 require 48V phantom power. If your PC's microphone input does not provide phantom power (which is typical), you will need an external 48V phantom power supply unit connected between the microphone and the PC. Connect the microphone to the phantom power supply via an XLR cable, and then connect the phantom power supply's output to your PC's 3.5mm input using the provided cable.

Figure 4: The included microphone cable with an XLR connector on one end and a 3.5mm jack on the other, for PC connection.
Important: Always ensure phantom power is turned off before connecting or disconnecting the microphone to prevent damage to the microphone or connected equipment.
Operating Instructions
1. Microphone Placement
The placement of the microphone significantly impacts sound quality. Experiment with different distances and angles to find the optimal position for your specific recording needs. For vocals, a distance of 6-12 inches (15-30 cm) from the sound source is a common starting point. For instruments, placement will vary depending on the instrument and desired sound.
2. Using the Foam Windscreen
Place the foam windscreen over the microphone's grille to reduce plosive sounds (P's and B's) and protect the capsule from dust and moisture. This is especially useful for vocal recordings.

Figure 5: The Vonyx CM650 microphone with the foam windscreen installed, ready for use.
3. Gain Settings
Adjust the gain (input level) on your audio interface or mixer to achieve a strong signal without clipping (distortion). Monitor your levels carefully during recording. The CM650 has high SPL capabilities, allowing it to handle loud sound sources without distortion.
Maintenance
- Cleaning: Use a soft, dry cloth to clean the microphone body. Do not use liquid cleaners or solvents. The foam windscreen can be gently hand-washed with mild soap and water, then air-dried completely before re-use.
- Storage: When not in use, store the microphone in a dry, dust-free environment, preferably in its original packaging or a protective case.
- Handling: Avoid dropping or subjecting the microphone to strong impacts, as this can damage the sensitive internal components.

Figure 6: The foam windscreen, which helps protect the microphone and reduce plosive sounds.
Troubleshooting
| Problem | Possible Cause | Solution |
|---|---|---|
| No sound output |
|
|
| Low or weak sound |
|
|
| Distorted sound |
|
|
| Humming or buzzing noise |
|
|
Specifications
| Model Number | CM400B (VONYX 173.404) |
| Microphone Type | Large Diaphragm Condenser |
| Frequency Response | Wide frequency range (up to 15 kHz) |
| Sensitivity | -37 dB |
| Impedance | 200 Ohm |
| Power Requirement | 12-48V DC Phantom Power |
| Connector Type | XLR (microphone), Auxiliary, 3.5mm Jack (cable) |
| Cable Length | 2.5 meters |
| Dimensions (Microphone) | 170 x 47 mm |
| Weight (Item) | 550 g |
| Hardware Platform | PC |
Note: Specifications are subject to change without notice.
Warranty and Support
For warranty information and technical support, please refer to the documentation provided with your purchase or contact your retailer or the manufacturer directly. Keep your proof of purchase for any warranty claims.
Manufacturer: Tronios BV