1. Introduction
Thank you for choosing the Steren CLK-950 Fingerprint Time Clock. This device provides an efficient and secure solution for time and attendance management, utilizing fingerprint recognition and RF card identification. It features network connectivity for remote data management and a robust internal battery for backup power. This manual will guide you through the installation, setup, and operation of your new time clock.
2. Product Overview
2.1. Components

The Steren CLK-950 package includes the main fingerprint time clock unit, a mounting bracket, screws and wall anchors for installation, a power adapter, and five RF identification cards for administrator use.
2.2. Device Features

- Digital Display: Clear screen for time, date, and operational prompts.
- Keypad: Numeric and function keys for navigation and data entry.
- Fingerprint Scanner: Biometric sensor for secure user identification.
- Network Connectivity: Allows remote download of attendance data.
- User Capacity: Supports up to 500 registered users.
- Record Capacity: Stores up to 50,000 attendance records.
- Backup Battery: Provides approximately 1 hour of operation during power outages.
- RF Card Support: Includes 5 RF cards for administrator access and identification.
- USB Data Download: Option to download information via USB.
3. Setup
3.1. Mounting the Device
- Choose a suitable location on a wall, ensuring it is at an accessible height for all users.
- Use the included mounting bracket as a template to mark the drilling points on the wall.
- Drill holes at the marked positions and insert the wall anchors.
- Secure the mounting bracket to the wall using the provided screws.
- Carefully attach the Steren CLK-950 time clock to the mounted bracket.
3.2. Power Connection
Connect the provided power adapter to the device's power input port and then plug it into a standard electrical outlet. The device will power on automatically.
3.3. Initial Configuration
- Upon first power-up, the device may prompt you to set the date and time. Follow the on-screen instructions using the keypad.
- Access the administrator menu to configure network settings. This typically involves entering an administrator password or using an assigned RF card.
- Configure network parameters such as IP address, subnet mask, and gateway to enable remote data download. Refer to your network administrator for specific settings.
- Register administrator fingerprints and RF cards for secure access to device settings.
4. Operation
4.1. Registering Users
- Access the administrator menu.
- Navigate to the "User Management" or "Enroll" section.
- Select "Add User" and enter the user's ID.
- Prompt the user to place their finger on the scanner multiple times for accurate fingerprint registration.
- Optionally, assign an RF card to the user if card-based identification is also desired.
- Save the user's profile.
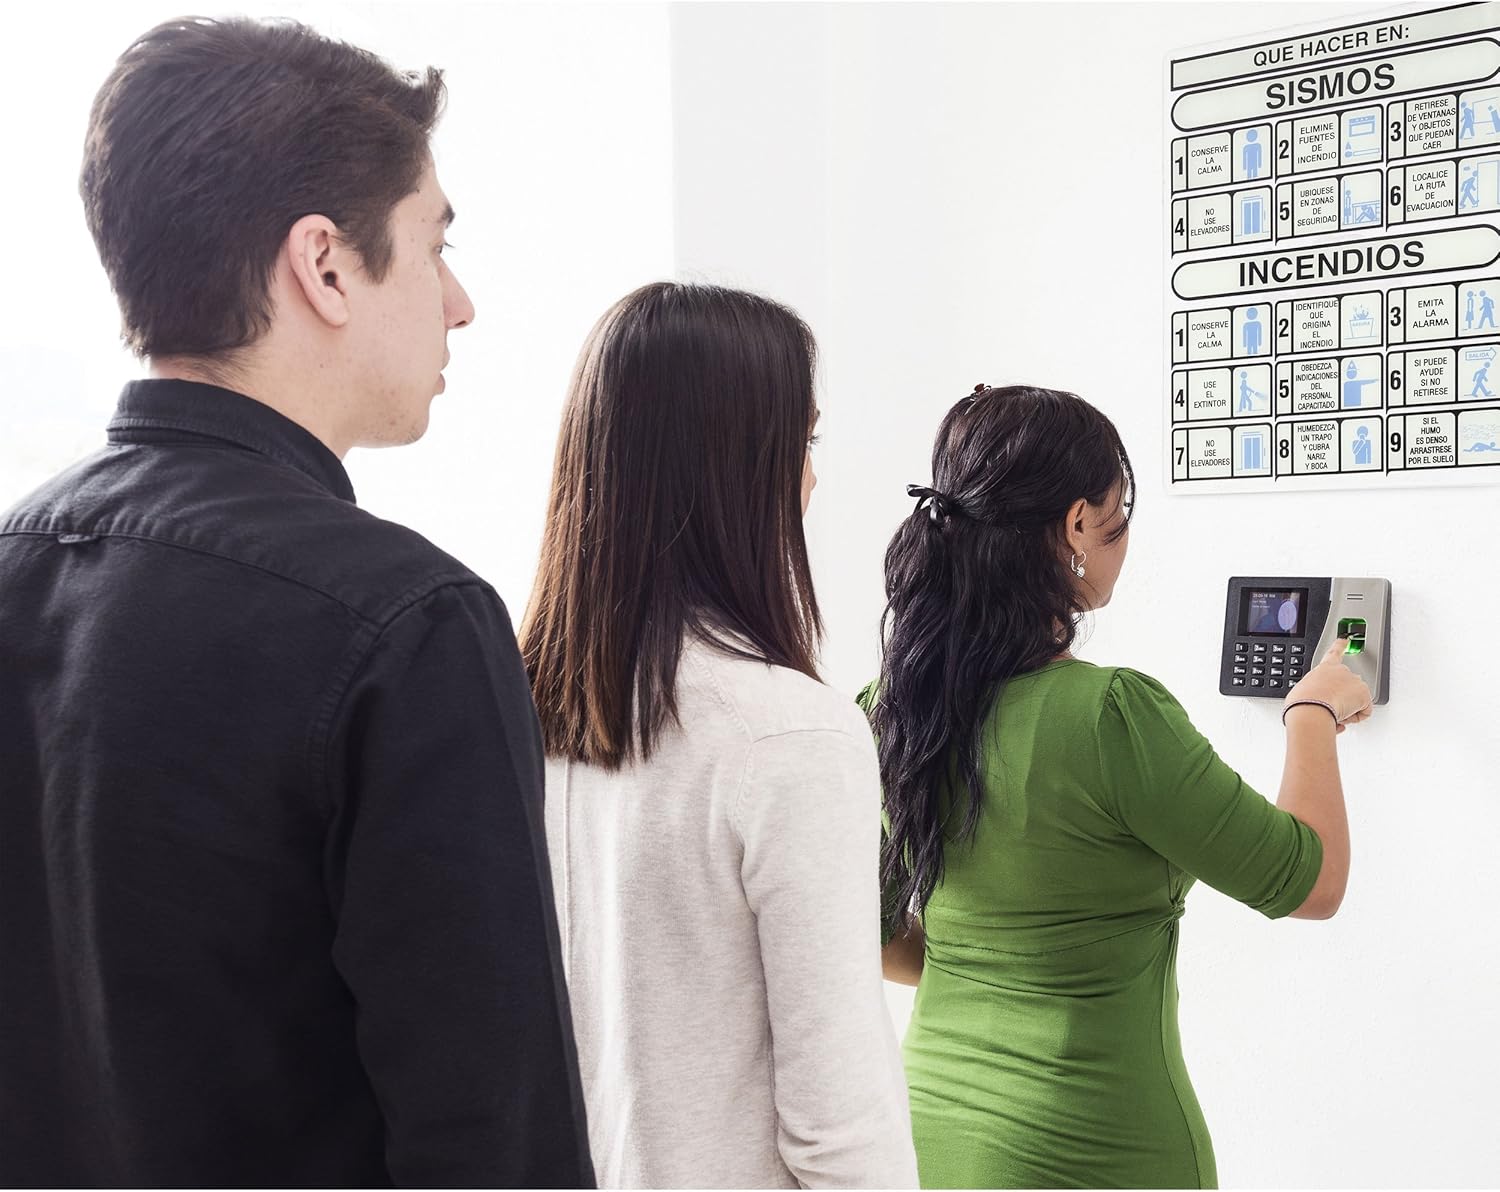
Image: Users interacting with the Steren CLK-950 for attendance recording.
4.2. Recording Attendance
To record attendance (clock-in or clock-out), users simply place their registered finger on the fingerprint scanner. The device will confirm successful identification on the display. Alternatively, if RF cards are assigned, users can tap their card on the designated reader area.
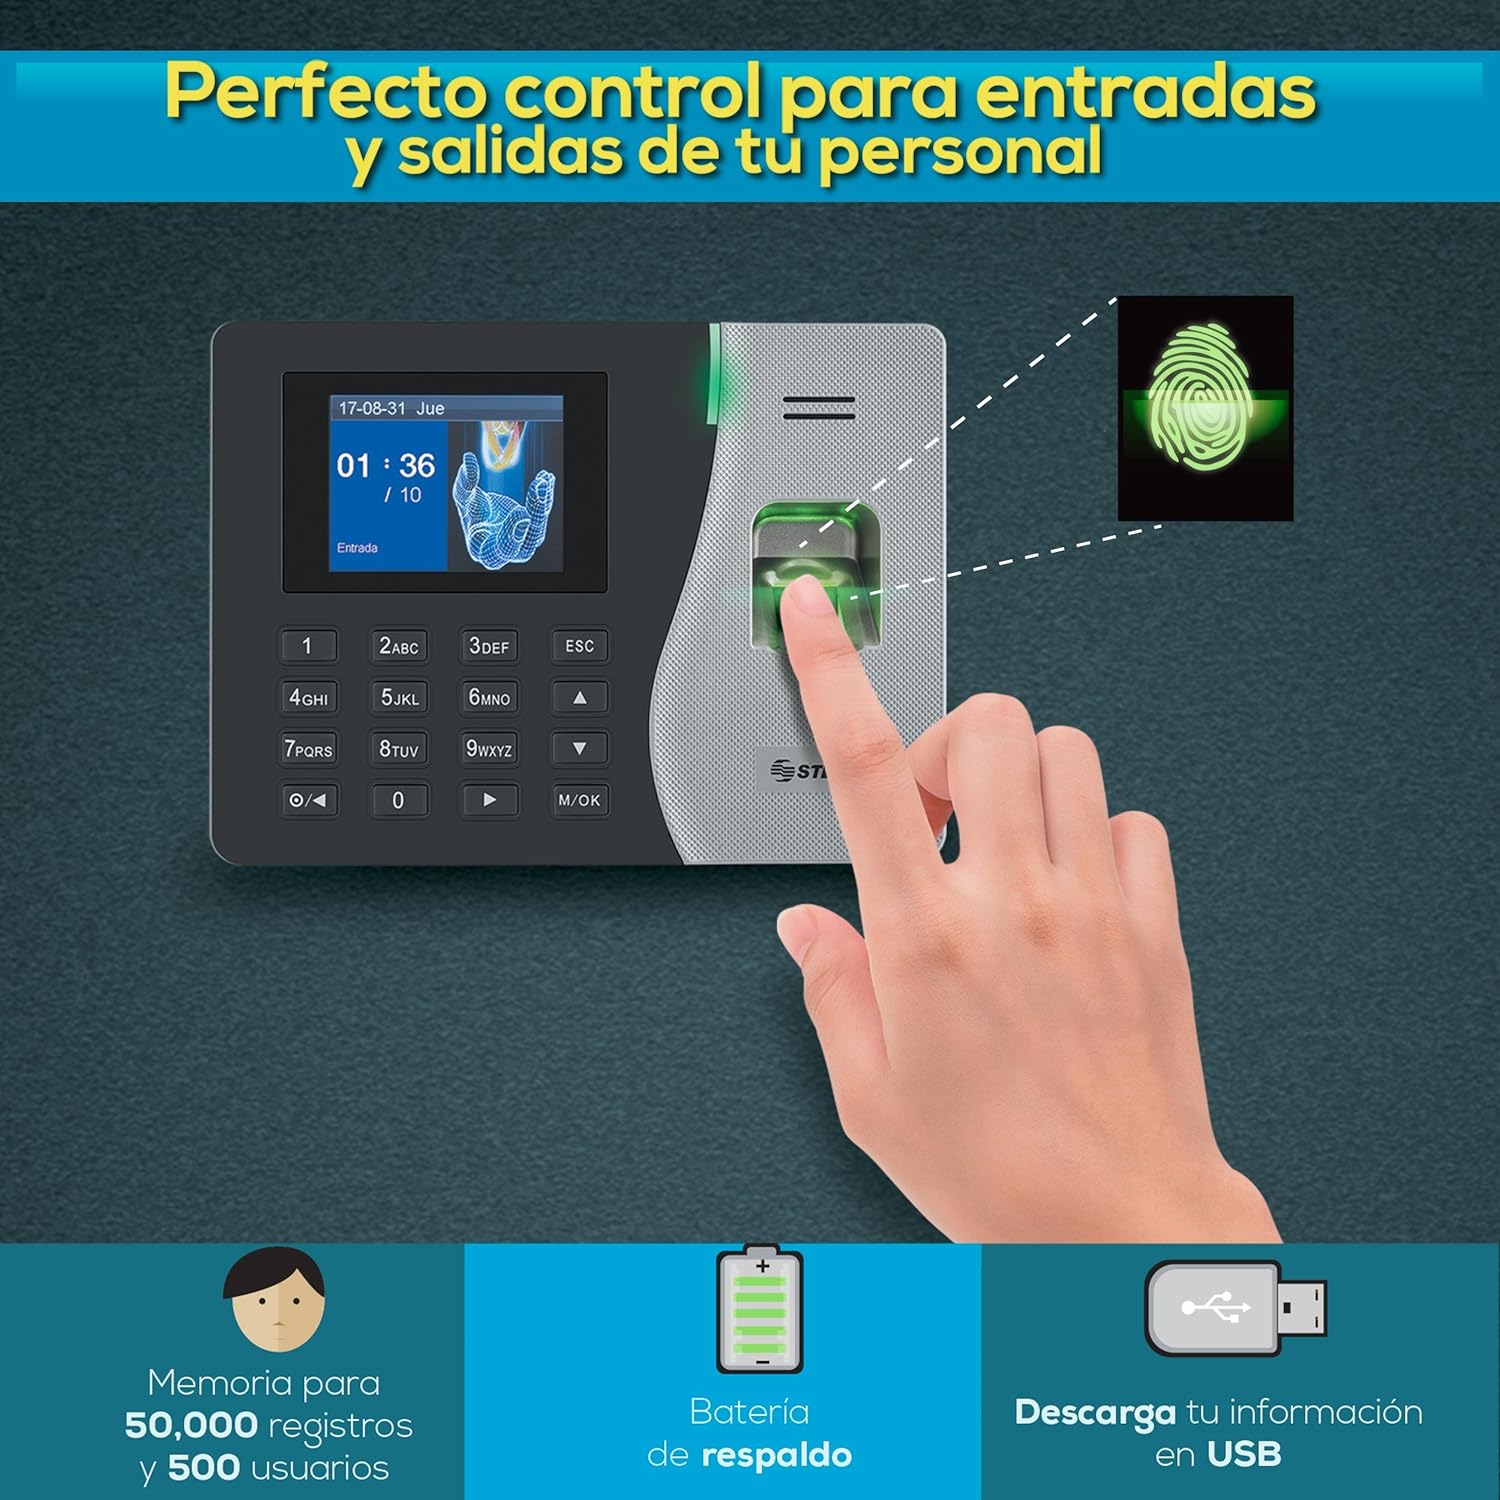
Image: Visual representation of the CLK-950's key features, including fingerprint recognition and data management.
4.3. Downloading Data
- Via Network: Use the provided software (if applicable, or access via web interface if supported) on a networked computer to connect to the CLK-950 and download attendance logs.
- Via USB: Insert a USB flash drive into the device's USB port. Navigate to the "Data Management" menu and select "Download Data to USB". The attendance records will be saved to the USB drive.
5. Maintenance
- Cleaning: Regularly wipe the fingerprint scanner and display screen with a soft, dry, lint-free cloth. Avoid using abrasive cleaners or solvents.
- Software Updates: Check the Steren official website for any available firmware or software updates to ensure optimal performance and security.
- Data Backup: Periodically download and back up attendance data to an external storage device or server to prevent data loss.
- Battery Check: While the internal battery provides backup, ensure the device is primarily connected to a stable power source. The battery is designed for temporary power outages, not continuous operation.
6. Troubleshooting
| Problem | Possible Cause | Solution |
|---|---|---|
| Device does not power on. | No power supply or faulty adapter. | Check power connection. Ensure adapter is plugged in and functional. |
| Fingerprint not recognized. | Finger is dirty, wet, or improperly placed; fingerprint not registered. | Ensure finger is clean and dry. Place finger flat on the scanner. Re-register fingerprint if necessary. |
| Cannot connect to network. | Incorrect network settings; network cable disconnected. | Verify network cable connection. Check IP address, subnet mask, and gateway settings. Consult network administrator. |
| Data download fails. | Network issue; USB drive not recognized; insufficient storage. | Check network connection. Ensure USB drive is properly formatted and has sufficient space. Try a different USB drive. |
7. Specifications
| Feature | Detail |
|---|---|
| Model Number | CLK-950 |
| Brand | STEREN |
| User Capacity | 500 users |
| Record Capacity | 50,000 records |
| Display Type | Digital |
| Power Source | Power Adapter (with internal backup battery) |
| Backup Battery Life | Approximately 1 hour |
| Connectivity | Network (Ethernet), USB |
| Dimensions (L x W x H) | 20 x 20 x 20 cm |
| Weight | 2 kg |
| Included Accessories | Mounting bracket, screws, wall anchors, power adapter, 5 RF cards |
8. Warranty and Support
For warranty information and technical support, please refer to the official Steren website or contact their customer service directly. Keep your purchase receipt as proof of purchase for warranty claims.
Steren Official Website: www.steren.com.mx
Note: Product specifications and features are subject to change without prior notice.