Product Overview
The Moen S6701BN 90 Degree Lavatory Faucet features a modern design with geometric forms and straight lines, suitable for contemporary bathroom aesthetics. This single-handle faucet is designed for easy water adjustment and single-hole mounting.
Key features include:
- Single-handle lever for convenient water temperature and flow control.
- LifeShine® finish for enhanced durability, resistant to tarnishing, corrosion, and flaking.
- Single-hole mount design for a clean countertop appearance.
- Low flow rate of 1.0 GPM, complying with LEED standards for water efficiency.

Image 1: Moen S6701BN 90 Degree Lavatory Faucet in Brushed Nickel. This image displays the complete faucet unit with its single handle and flat spout design, showcasing the brushed nickel finish.
Safety Information
Please read all instructions carefully before installation and use. Failure to follow these instructions may result in property damage or personal injury.
- Always turn off the main water supply before beginning any plumbing work.
- Wear appropriate personal protective equipment, such as safety glasses, during installation.
- Ensure all connections are secure and watertight to prevent leaks.
- Do not overtighten connections, as this can damage components.
- If you are unsure about any part of the installation process, consult a qualified plumber.
Package Contents
Verify that all components are present before beginning installation:
- Lavatory Faucet Assembly
- Plug button kit
- Handle kit
- Handle hub kit
- Lift rod
- Pop-up plug and seat
- Mounting hardware
- Installation instructions
Specifications
| Feature | Detail |
|---|---|
| Brand | Moen |
| Model Number | S6701BN |
| Finish Type | Brushed Nickel |
| Material | Metal |
| Mounting Type | Deck Mount, Single Hole |
| Number of Handles | 1 |
| Flow Rate | 1.0 Gallons Per Minute (GPM) |
| Spout Reach | 4.25 Inches |
| Valve Type | Compression Valve |
Setup and Installation
This section provides general guidelines for installing your Moen S6701BN lavatory faucet. For detailed, step-by-step instructions, please refer to the included installation guide or consult the official Moen website.
Tools and Materials Required (Not Included):
- Adjustable wrench
- Phillips screwdriver
- Plumber's putty or silicone sealant
- Flashlight (optional)
Installation Steps:
- Prepare the Area: Turn off the water supply to the sink at the shut-off valves. Clear the area under the sink.
- Remove Old Faucet (if applicable): Disconnect water supply lines and mounting nuts from the old faucet. Remove the old faucet.
- Install New Faucet:
- Apply plumber's putty or silicone sealant to the underside of the faucet base plate.
- Insert the faucet body through the single hole in the sink or countertop.
- From underneath the sink, secure the faucet with the provided mounting hardware (washer and nut). Hand-tighten, then use a wrench for a final snug turn.
- Connect Water Supply Lines: Attach the hot and cold water supply lines from the faucet to the corresponding shut-off valves. Ensure connections are tight but do not overtighten.
- Install Drain Assembly: Follow the instructions for installing the pop-up drain assembly, including the lift rod.
- Test for Leaks: Turn on the main water supply slowly and check all connections for leaks. Operate the faucet to ensure proper hot and cold water flow.
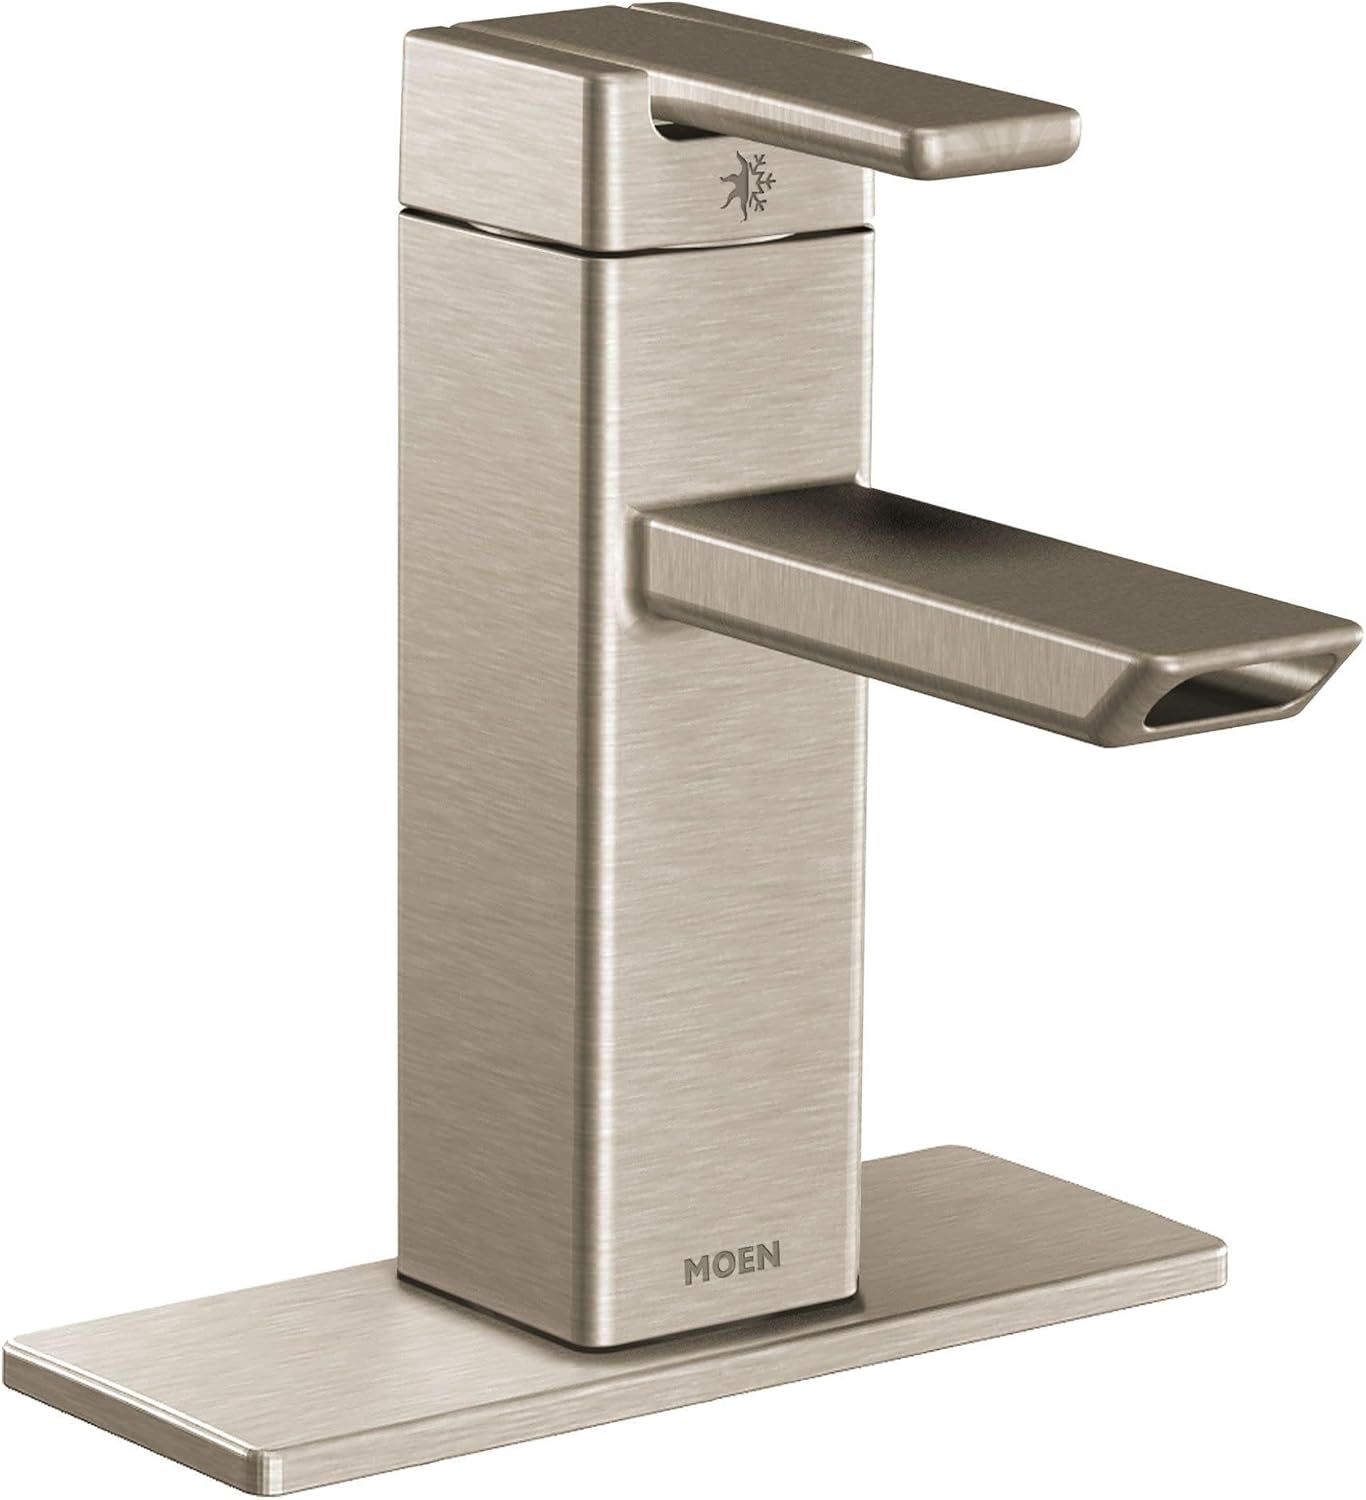
Image 2: Dimensional drawing of the Moen S6701BN faucet. This image provides key measurements and clearances for installation, including spout reach and overall height.

Image 3: Side view of the Moen S6701BN faucet. This perspective highlights the single lever handle and the angle of the spout, useful for understanding operational mechanics.

Image 4: Exploded view or close-up of Moen S6701BN faucet components. This image illustrates the internal parts and assembly points, which can be helpful during installation or repair.
Operating Instructions
The Moen S6701BN faucet features a single lever handle for controlling both water flow and temperature.
- To Turn On/Off: Lift the lever handle upwards to turn on the water. Push the lever handle downwards to turn off the water.
- To Adjust Water Flow: The further the lever is lifted, the greater the water flow.
- To Adjust Water Temperature:
- Move the lever to the left for hotter water.
- Move the lever to the right for colder water.
- Position the lever in the center for a mixed temperature.
Maintenance
Proper care and maintenance will ensure the longevity and appearance of your Moen faucet.
- Cleaning the Finish:
- Clean the faucet regularly with a soft, damp cloth.
- Use mild soap and water if necessary.
- Avoid abrasive cleaners, harsh chemicals, or scouring pads, as these can damage the LifeShine® finish.
- Rinse thoroughly and dry with a soft cloth to prevent water spots.
- Aerator Maintenance: Periodically unscrew the aerator from the end of the spout and clean any debris or mineral buildup. Rinse and reattach.
- Leak Prevention: Check connections periodically for any signs of leaks. Tighten gently if necessary.
Troubleshooting
This section addresses common issues you might encounter with your faucet.
| Problem | Possible Cause | Solution |
|---|---|---|
| Low Water Flow |
|
|
| Leaking from Spout |
|
|
| Water Temperature Issues |
|
|
Warranty Information
The Moen S6701BN Lavatory Faucet is backed by a Limited Lifetime Warranty. This warranty covers defects in material and manufacturing workmanship for the original consumer purchaser. For full details regarding warranty coverage, terms, and conditions, please refer to the official Moen warranty documentation included with your product or visit the Moen website.
The LifeShine® finish is also guaranteed not to tarnish, corrode, or flake off for the lifetime of the product.
Support and Contact Information
For technical assistance, replacement parts, or warranty claims, please contact Moen customer support:
- Website: www.moen.com
- Phone: Refer to the Moen website for regional contact numbers.
- Online Resources: Product registration, FAQs, and additional installation guides may be available on the official website.
Official Product Video
Watch the official Moen brand story video for more information about Moen products and their commitment to quality.
Video 1: "Must Be A Moen - Leg Shaver - Brand Story". This video highlights various Moen products in different household scenarios, emphasizing their design and functionality for everyday use. It showcases the brand's versatility and user-centric approach.