Introduction
This manual provides comprehensive instructions for the safe operation, setup, maintenance, and troubleshooting of the Groz 61970 1/2 inch Pneumatic Ratchet Wrench. Please read this manual thoroughly before initial use and retain it for future reference. Understanding these instructions will ensure optimal performance and extend the lifespan of your tool.
Safety Information
General Safety Warnings
- Always wear ANSI-approved eye protection during operation to prevent eye injuries.
- Wear hearing protection, such as earmuffs or earplugs, especially during prolonged use, to prevent hearing damage.
- Ensure the air supply is disconnected and the tool is depressurized before changing accessories, performing maintenance, or when the tool is not in use.
- Keep hands, loose clothing, and long hair away from moving parts of the tool to avoid entanglement.
- Do not exceed the maximum recommended operating air pressure of 90 PSI (6.2 bar). Exceeding this pressure can lead to tool damage or personal injury.
- Use only clean, dry, regulated compressed air. Moisture or contaminants in the air supply can damage internal components.
- Inspect the tool for any damage before each use. Do not operate a damaged tool. Contact an authorized service center for repairs.
- Maintain a firm grip on the tool and be aware of your surroundings to prevent loss of control.
Product Overview
The Groz 61970 is a robust 1/2 inch pneumatic ratchet wrench designed for efficient fastening and loosening of nuts and bolts. Its durable aluminum housing and heat-treated ratchet head ensure reliability in demanding applications. The tool features a chrome molybdenum anvil for high performance and a throttle lever for precise speed control.
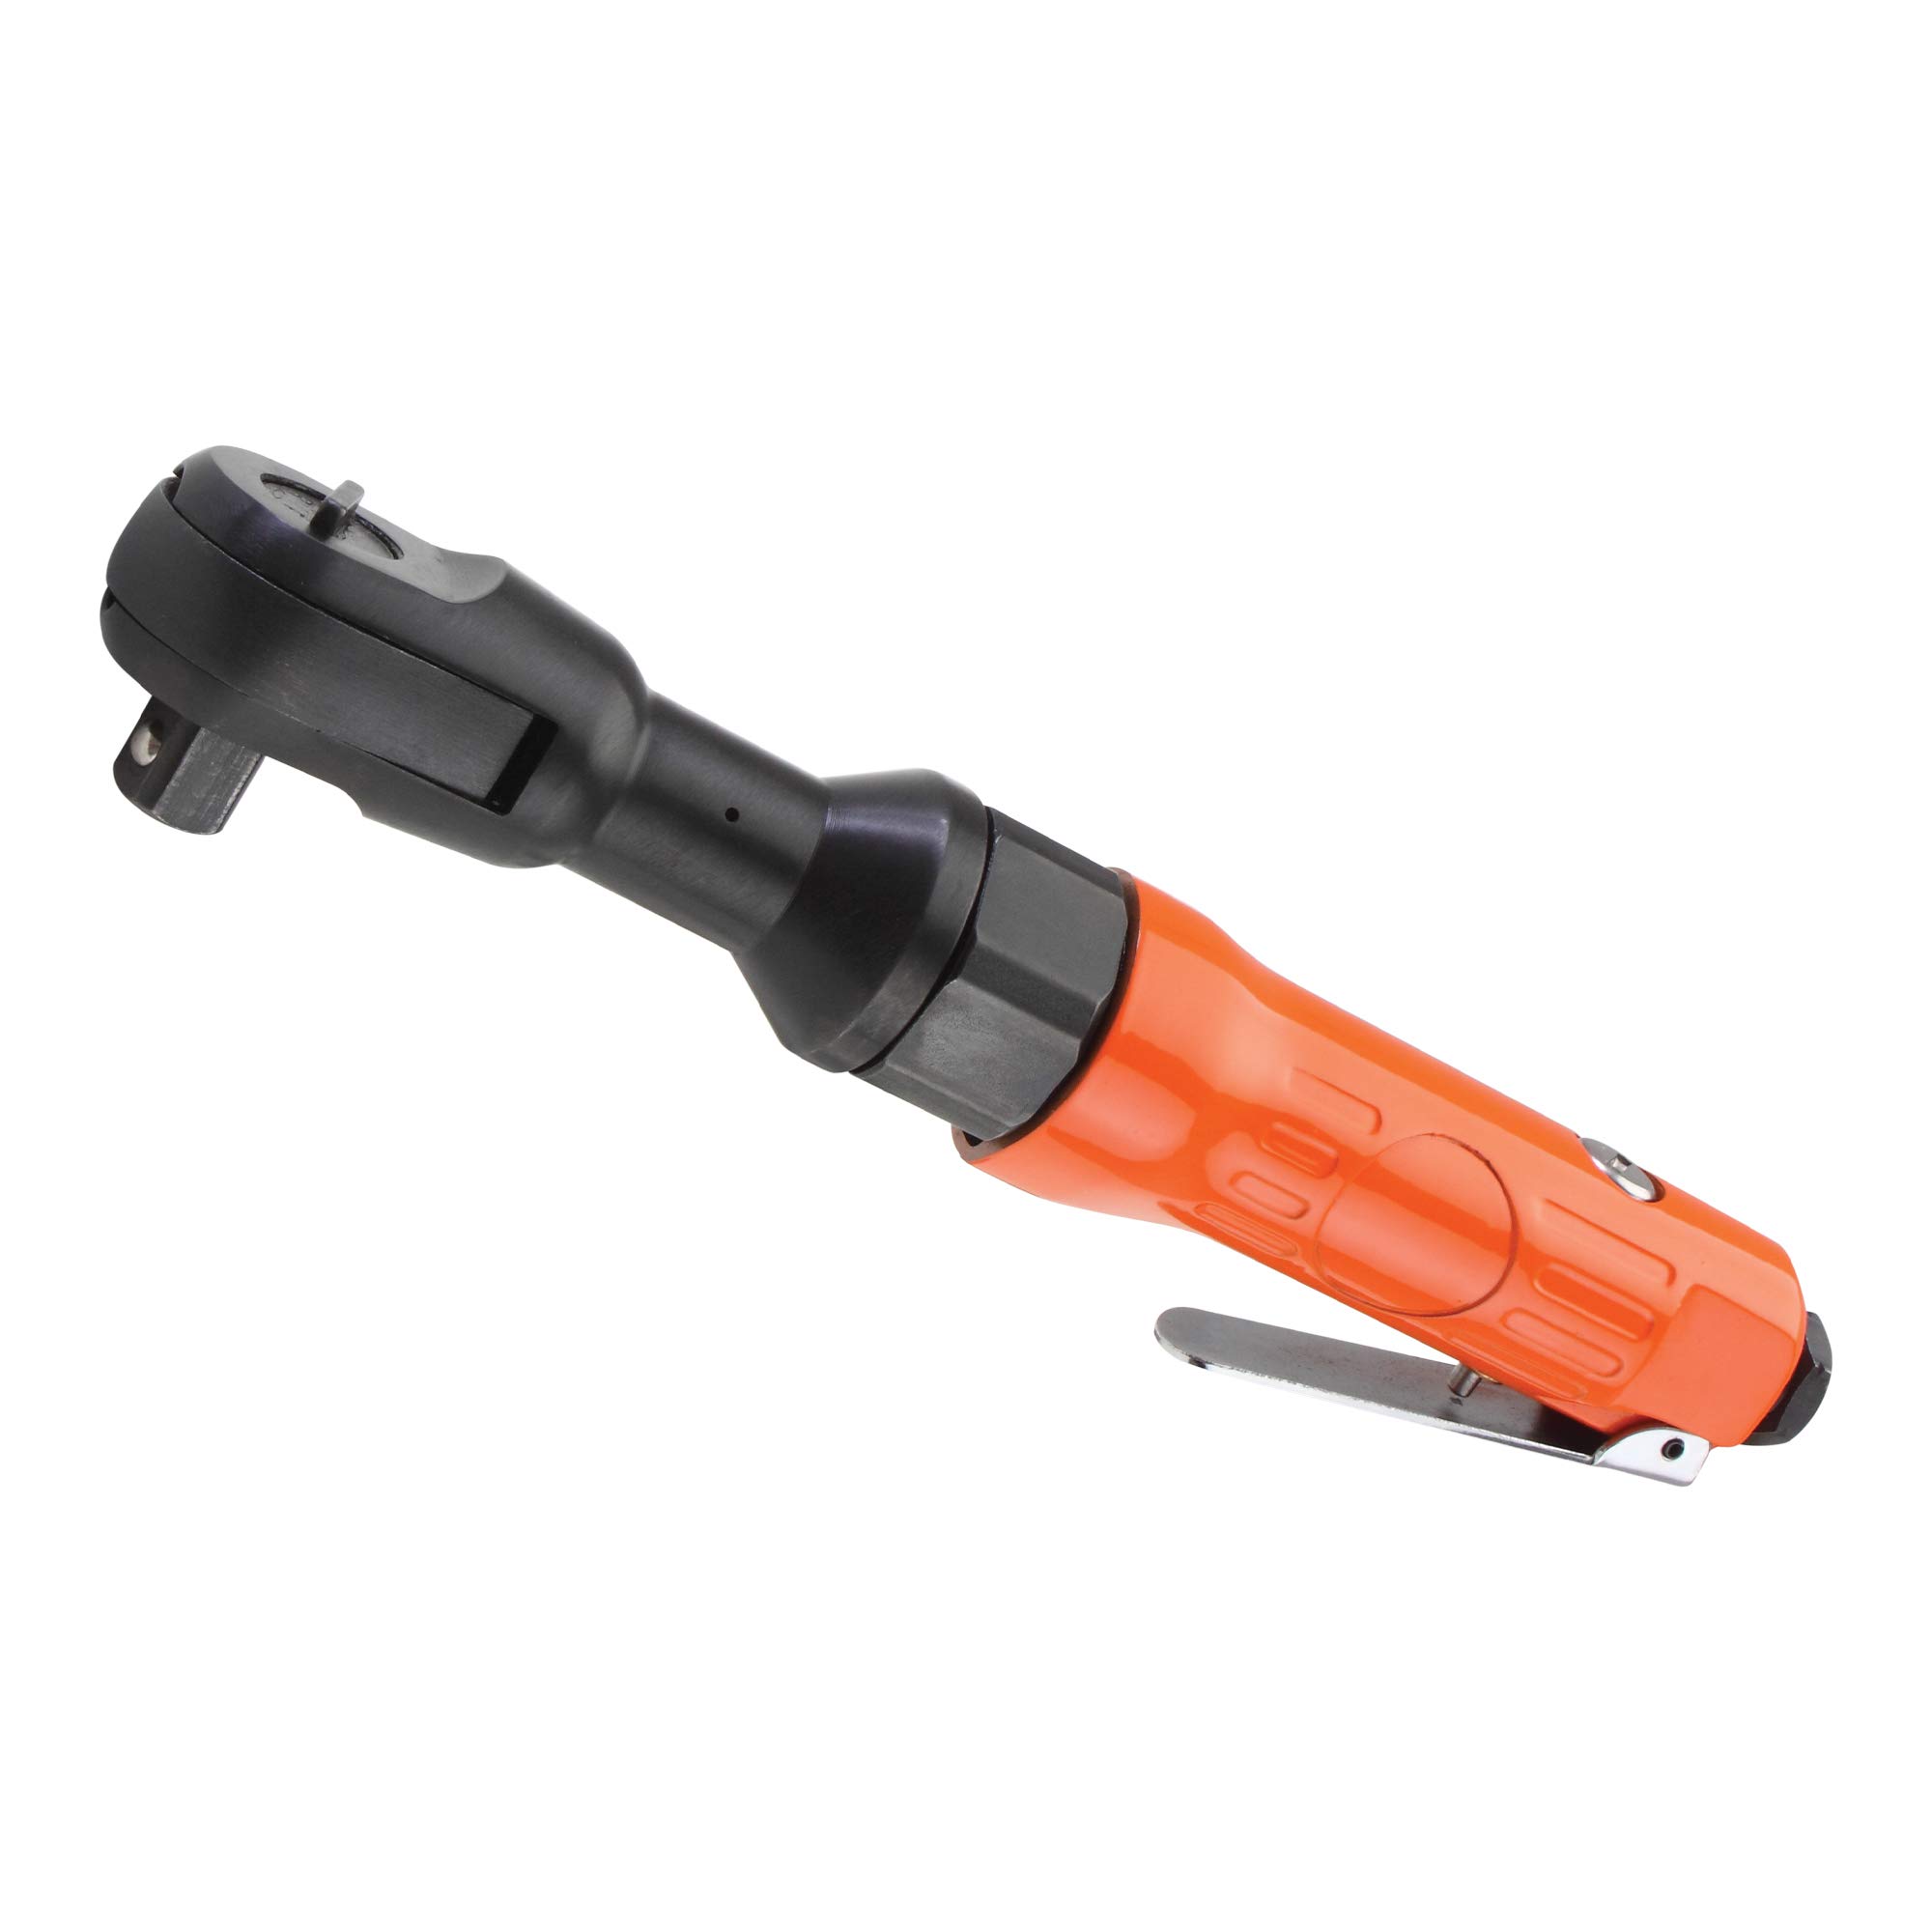
Image: The Groz 61970 1/2 inch Pneumatic Ratchet Wrench, showcasing its compact design and robust aluminum body.

Image: A person holding the Groz 61970 1/2 inch Pneumatic Ratchet Wrench, demonstrating its ergonomic grip during operation.
Setup
Air Supply Connection
- Ensure your air compressor is turned off and completely depressurized before making any connections.
- Connect an air hose (minimum 3/8 inch inner diameter) to the air inlet of the ratchet wrench. Use appropriate thread sealant on all connections to prevent leaks.
- Install an in-line air filter/lubricator unit as close to the tool as possible. This unit is crucial for filtering moisture and debris from the air supply and providing necessary lubrication to the tool's internal mechanisms.
- Set the air pressure regulator on your compressor to the recommended operating pressure, typically 90 PSI (6.2 bar).
- Turn on the air compressor and carefully check all connections for air leaks. Tighten any leaking fittings.
Socket Installation
Select the appropriate 1/2 inch drive socket for your application. Align the square drive of the socket with the anvil of the ratchet wrench and push it firmly until it locks into place. To remove the socket, pull back the detent ball or pin (if applicable) and pull the socket off the anvil.
Operating Instructions
Starting the Tool
With the air supply connected and regulated, position the socket onto the fastener. Press the throttle lever to activate the ratchet wrench. The speed of rotation can be controlled by varying the pressure applied to the throttle lever.
Direction Control
The direction of rotation (forward for tightening, reverse for loosening) is controlled by a switch or lever located on the ratchet head. Move this control to the desired position before operating the tool.
Applying Torque
Ensure the socket is fully engaged with the fastener. Press the throttle lever to begin rotation. For final tightening or loosening of stubborn fasteners, manual force may be applied to the wrench handle after the air motor has stopped, using the tool as a standard ratchet.
Stopping the Tool
Release the throttle lever to stop the tool. Always disconnect the air supply when the tool is not in active use or when changing sockets.
Maintenance
Lubrication
- Daily: Add a few drops of high-quality air tool oil into the air inlet before and after each use. If an in-line lubricator is installed, ensure it is regularly filled with the appropriate air tool oil.
- Weekly: Inspect the ratchet head for signs of wear. If necessary, apply a small amount of lithium-based grease to the gears and moving parts within the ratchet head to ensure smooth operation and reduce wear.
Cleaning
Keep the tool clean and free from dirt, dust, and debris. Wipe down the aluminum body with a clean, dry cloth. Avoid using harsh solvents, as they may damage the tool's finish or internal seals and components.
Storage
When not in use, store the pneumatic ratchet wrench in a dry, clean, and secure environment. Always disconnect it from the air supply before storage.
Troubleshooting
| Problem | Possible Cause | Solution |
|---|---|---|
| Tool does not operate or operates slowly. | Low air pressure; insufficient air supply (small hose diameter); clogged air filter; lack of lubrication. | Check air compressor pressure and regulator setting; ensure air hose is minimum 3/8 inch I.D.; clean or replace air filter; lubricate the tool as per maintenance instructions. |
| Loss of power or reduced torque. | Worn internal components; low air pressure; improper lubrication. | Contact an authorized service center for inspection and repair; verify air pressure and supply; ensure proper lubrication. |
| Air leaks from tool or connections. | Loose fittings; damaged O-rings or seals; damaged air hose. | Tighten all air fittings; replace any damaged O-rings, seals, or air hoses. |
| Ratchet head binds or slips. | Lack of lubrication in ratchet head; worn gears or pawls. | Apply grease to ratchet head gears; if problem persists, contact service center for replacement of worn parts. |
Specifications
| Feature | Detail |
|---|---|
| Model Number | 61970 |
| Drive Size | 1/2 inch |
| Operation Mode | Pneumatic |
| Body Material | Aluminum |
| Maximum Torque | 50 ft./lbs |
| Item Weight | 2.94 Pounds |
| Package Dimensions | 11.4 x 2.76 x 2.36 inches |
| Ratchet Head Design | Heat Treated |
| Anvil Material | Chrome Molybdenum |
| Throttle Control | Lever Design |
Warranty and Support
For detailed warranty information, technical assistance, or to locate an authorized service center, please refer to the official Groz website or contact their customer service department directly. It is recommended to keep your purchase receipt as proof of purchase for any warranty claims.
Groz Official Website: www.groz-tools.com


