1. Introduction
Thank you for choosing the SECULINK F6-N80 4K POE Security Camera. This manual provides essential information for the proper installation, operation, and maintenance of your camera. Please read this manual thoroughly before use and retain it for future reference.
The SECULINK F6-N80 is a high-performance 8MP (4K) POE-compatible IP camera designed for both indoor and outdoor surveillance. It features advanced capabilities such as color night vision, intelligent human and vehicle detection, and robust IP66 weatherproofing, ensuring reliable security monitoring.
2. Safety Information
- Electrical Safety: Ensure all power connections comply with local electrical codes. Use only approved power adapters (DC 12V) or POE switches/NVRs that meet IEEE802.3af/at standards.
- Installation: Install the camera in a secure location where it cannot be easily tampered with. Ensure mounting surfaces are strong enough to support the camera's weight.
- Water and Moisture: While the camera is IP66 weatherproof, avoid submerging it in water or exposing it to high-pressure water jets.
- Temperature: Operate the camera within its specified temperature range (e.g., -22°F to 140°F / -30°C to 60°C).
- Cleaning: Disconnect power before cleaning. Use a soft, dry cloth. Avoid harsh chemicals.
3. Package Contents
Please check the package contents upon receipt. If any items are missing or damaged, contact your retailer.
- SECULINK F6-N80 4K POE Security Camera
- Mounting Screw Kit
- Waterproof Connector for Ethernet Cable
- Quick Start Guide / Instruction Manual (this document)
4. Product Overview
The SECULINK F6-N80 camera is designed for robust surveillance with its 8MP resolution and POE capability. Its durable metal housing ensures longevity in various environments.

Figure 4.1: POE Functionality. This image shows a network video recorder (NVR) or switch with multiple POE ports connected to a security camera, illustrating how a single Ethernet cable provides both power and data.
Key Features:
- 8MP Super HD Resolution: Captures video at 3840 x 2160 pixels for clear, detailed images.
- POE (Power over Ethernet): Simplifies installation by delivering power and data through a single Ethernet cable (IEEE802.3af/at compatible).
- IP66 Weatherproof: Constructed with a solid aluminum body, ensuring reliable operation outdoors in various weather conditions.
- Advanced Night Vision: Features premium LEDs and a smart IR cut filter for clear visibility up to 30m, including advanced color night vision.
- Intelligent Detection: Supports human and vehicle motion detection to reduce false alarms.
- Built-in Microphone: For audio input.
- H.265+ Video Compression: Optimizes bandwidth and storage efficiency for longer recording times.
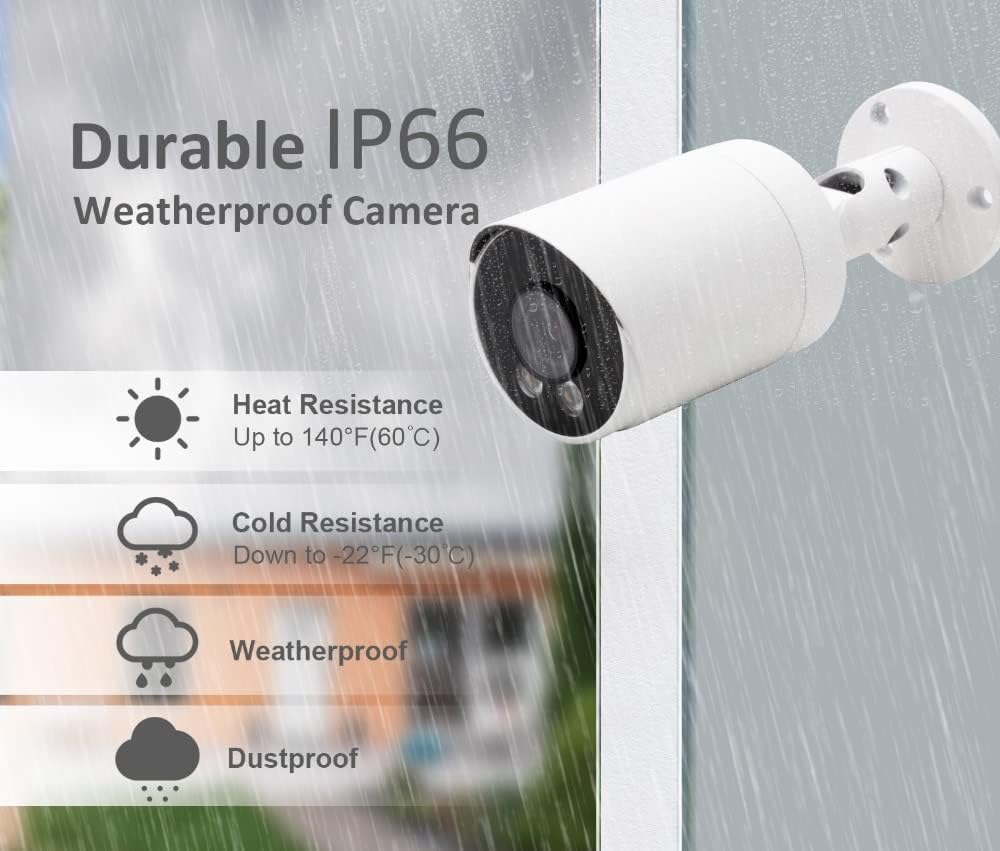
Figure 4.2: IP66 Weatherproof Rating. This image highlights the camera's durability against heat, cold, rain, and dust, making it suitable for outdoor installation.
5. Setup
5.1 Physical Installation
- Choose a Location: Select a suitable location for installation, ensuring a clear field of view and proximity to your POE network device. The camera is designed for wall mounting.
- Mounting: Use the provided mounting screw kit to securely attach the camera to the desired surface. Drill pilot holes if necessary.
- Adjust Angle: Loosen the adjustment screws on the camera bracket to set the desired viewing angle. Tighten the screws once the angle is set.
5.2 POE Connection
The camera supports Power over Ethernet (POE), simplifying wiring by combining power and data transmission into a single Ethernet cable.
- Connect Ethernet Cable: Connect one end of an Ethernet cable to the camera's RJ45 port. Use the waterproof connector for outdoor installations to protect the connection.
- Connect to POE Device: Connect the other end of the Ethernet cable to a POE port on your POE-enabled NVR (Network Video Recorder) or POE switch. Ensure the POE device supports IEEE802.3af/at standards.
- Alternative Power (Optional): If not using POE, connect a DC 12V power adapter (not included) to the camera's power input port.
5.3 Network Configuration
After physical connection, the camera will power on. You will need to configure it through your NVR or a dedicated mobile application/PC software.
- NVR Connection: If connected to an NVR, the camera should be automatically detected or can be added manually through the NVR's interface. Refer to your NVR's manual for specific instructions.
- Software/App Setup: For direct access or advanced settings, download the manufacturer's recommended software or mobile application. Follow the in-app instructions to add and configure your camera. This typically involves scanning a QR code or manually entering the camera's IP address.
6. Operating Instructions
6.1 Viewing Live Feed
Access the live video feed through your connected NVR, PC software, or mobile application. This allows real-time monitoring of the camera's view.
6.2 Motion Detection
The camera features programmable motion detection, including intelligent human and vehicle detection, to minimize false alarms.

Figure 6.1: Motion Detection Workflow. This image illustrates how the camera transitions from standby to recording mode upon detecting motion and returns to standby when motion ceases.
- Configuration: Access the camera settings via your NVR or application to configure motion detection zones, sensitivity levels, and detection types (human, vehicle, general motion).
- Alerts: Set up real-time alerts via email, push notifications to your smartphone, or an audible buzzer when motion is detected.
- Recording: Motion detection can trigger automatic recording, saving storage space by only recording relevant events.

Figure 6.2: Human and Vehicle Detection. This image shows the camera's ability to distinguish between human and vehicle movement, triggering specific alerts.

Figure 6.3: Intelligent Human Detection. This image demonstrates the camera's capability to accurately identify human activity while ignoring irrelevant movements like pets or shadows.
6.3 Night Vision
The camera provides clear visibility in low-light conditions and complete darkness.

Figure 6.4: Clear Night Vision. This image compares a scene with floodlights on (color) and off (black and white), showcasing the camera's effective night vision.
- IR-Cut Filter: Automatically switches between day and night mode for optimal image quality.
- LED Illuminators: Built-in LEDs provide infrared light for black and white night vision up to 30m.
- Color Night Vision: In certain low-light conditions, the camera can provide color images using its advanced sensor and premium LEDs.
6.4 Recording and Playback
The camera supports continuous recording, scheduled recording, and motion-triggered recording. Recordings are typically stored on an NVR or a compatible storage device.
- H.265+ Compression: Utilizes advanced video compression to reduce file sizes without compromising video quality, extending storage capacity.
- Playback: Access recorded footage through your NVR or application.
6.5 Audio Input
The built-in microphone captures audio from the camera's vicinity, which can be recorded along with video footage.
7. Maintenance
- Cleaning: Regularly clean the camera lens and housing with a soft, damp cloth to remove dust and dirt. Avoid abrasive cleaners.
- Firmware Updates: Check the manufacturer's website periodically for firmware updates. Keeping your camera's firmware updated ensures optimal performance and security.
- Cable Inspection: Periodically inspect all cables for wear or damage, especially for outdoor installations. Ensure waterproof connectors are sealed properly.
- Environmental Checks: Ensure the camera's environment remains within its specified operating temperature and humidity ranges.
8. Troubleshooting
- No Power:
- Verify the POE switch/NVR is powered on and the Ethernet cable is securely connected to a POE port.
- If using a DC 12V adapter, ensure it is properly connected and the power outlet is functional.
- No Video Feed:
- Check network connectivity. Ensure the camera and NVR/PC are on the same network.
- Verify the camera's IP address and network settings are correct.
- Restart the camera and the connected NVR/POE switch.
- Motion Detection Not Working:
- Ensure motion detection is enabled in the camera's settings.
- Adjust sensitivity levels and detection zones.
- Check if alert notifications (email, push) are correctly configured and enabled.
- Poor Image Quality:
- Clean the camera lens.
- Ensure there are no obstructions in the camera's field of view.
- Check network bandwidth if experiencing lag or pixelation.
9. Specifications
| Feature | Specification |
|---|---|
| Model Number | F6-N80 |
| Image Sensor | 8MP CMOS |
| Max Resolution | 3840 x 2160 (4K) |
| Frame Rate | 20 fps |
| Lens | 2.8mm F1.6 |
| Viewing Angle | 90-100 degrees |
| Night Vision | IR-Cut, LED, up to 30m range, Color Night Vision |
| Audio Input | Built-in Microphone |
| Weatherproof Rating | IP66 |
| Ethernet | RJ45 |
| POE Standard | 802.3af/802.3at, 48V |
| Power Supply | POE or DC 12V (9 watts) |
| Material | Metal |
| Form Factor | Bullet |
| Installation Method | Screw-in, Wall Mount |
| Dimensions (Package) | 17.53 x 8.13 x 7.62 cm |
| Weight (Product) | 386 g |
10. Warranty and Support
For warranty information and technical support, please refer to the SECULINK official website or contact your authorized dealer. Keep your purchase receipt as proof of purchase.