Girmi G1007400
Girmi G10074 Il Moro 28 Electric Ventilated Oven
User Instruction Manual
Model: G1007400 | Brand: Girmi
1. Introduction
Thank you for choosing the Girmi G10074 Il Moro 28 Electric Ventilated Oven. This manual provides essential information for the safe and efficient operation, maintenance, and troubleshooting of your new appliance. Please read these instructions carefully before first use and keep them for future reference.
2. Important Safety Instructions
When using electrical appliances, basic safety precautions should always be followed to reduce the risk of fire, electric shock, and injury to persons, including the following:
- Read all instructions before using the oven.
- Do not touch hot surfaces. Use handles or knobs.
- To protect against electric shock, do not immerse cord, plugs, or the appliance in water or other liquid.
- Close supervision is necessary when any appliance is used by or near children.
- Unplug from outlet when not in use and before cleaning. Allow to cool before putting on or taking off parts.
- Do not operate any appliance with a damaged cord or plug or after the appliance malfunctions or has been damaged in any manner.
- The use of accessory attachments not recommended by the appliance manufacturer may cause injuries.
- Do not use outdoors.
- Do not let cord hang over edge of table or counter or touch hot surfaces.
- Do not place on or near a hot gas or electric burner, or in a heated oven.
- Extreme caution must be used when moving an appliance containing hot oil or other hot liquids.
- Always attach plug to appliance first, then plug cord into the wall outlet. To disconnect, turn any control to "off", then remove plug from wall outlet.
- Do not use appliance for other than intended use.
- A fire may occur if the oven is covered or touching flammable material, including curtains, draperies, walls, and the like, when in operation.
- Do not place any non-oven safe materials in the oven.
- Do not clean with metal scouring pads. Pieces can break off the pad and touch electrical parts, creating a risk of electric shock.
- Do not store any materials, other than manufacturer's recommended accessories, in this oven when not in use.
- Do not place cardboard, plastic, paper, or similar materials in the oven.
- Do not cover crumb tray or any part of the oven with metal foil. This will cause overheating of the oven.
3. Product Overview
The Girmi G10074 Il Moro 28 is a versatile electric ventilated oven designed for various cooking needs. It features a 28-liter capacity, internal lamp, double glass for thermal insulation, and multiple cooking functions.


Key Features:
- Capacity: 28 liters
- Rear Curvature: Increased internal volume, fits a 31cm diameter plate.
- Ventilation: For even heat distribution.
- Internal Lamp: For easy monitoring of cooking progress.
- Double Glass Door: Enhanced thermal insulation.
- Timer: 60-minute timer with acoustic signal.
- Adjustable Thermostat: From 100°C to 230°C.
- Heating Elements: 4 armored steel heating elements.
- Cooking Functions: Base, grill, combined.
4. Setup
- Unpacking: Carefully remove the oven and all accessories from the packaging. Retain packaging for future storage or transport.
- Placement: Place the oven on a stable, heat-resistant, and level surface. Ensure there is adequate clearance (at least 10-15 cm) on all sides for proper ventilation. Do not place it directly against a wall or under cabinets that are not heat-resistant.
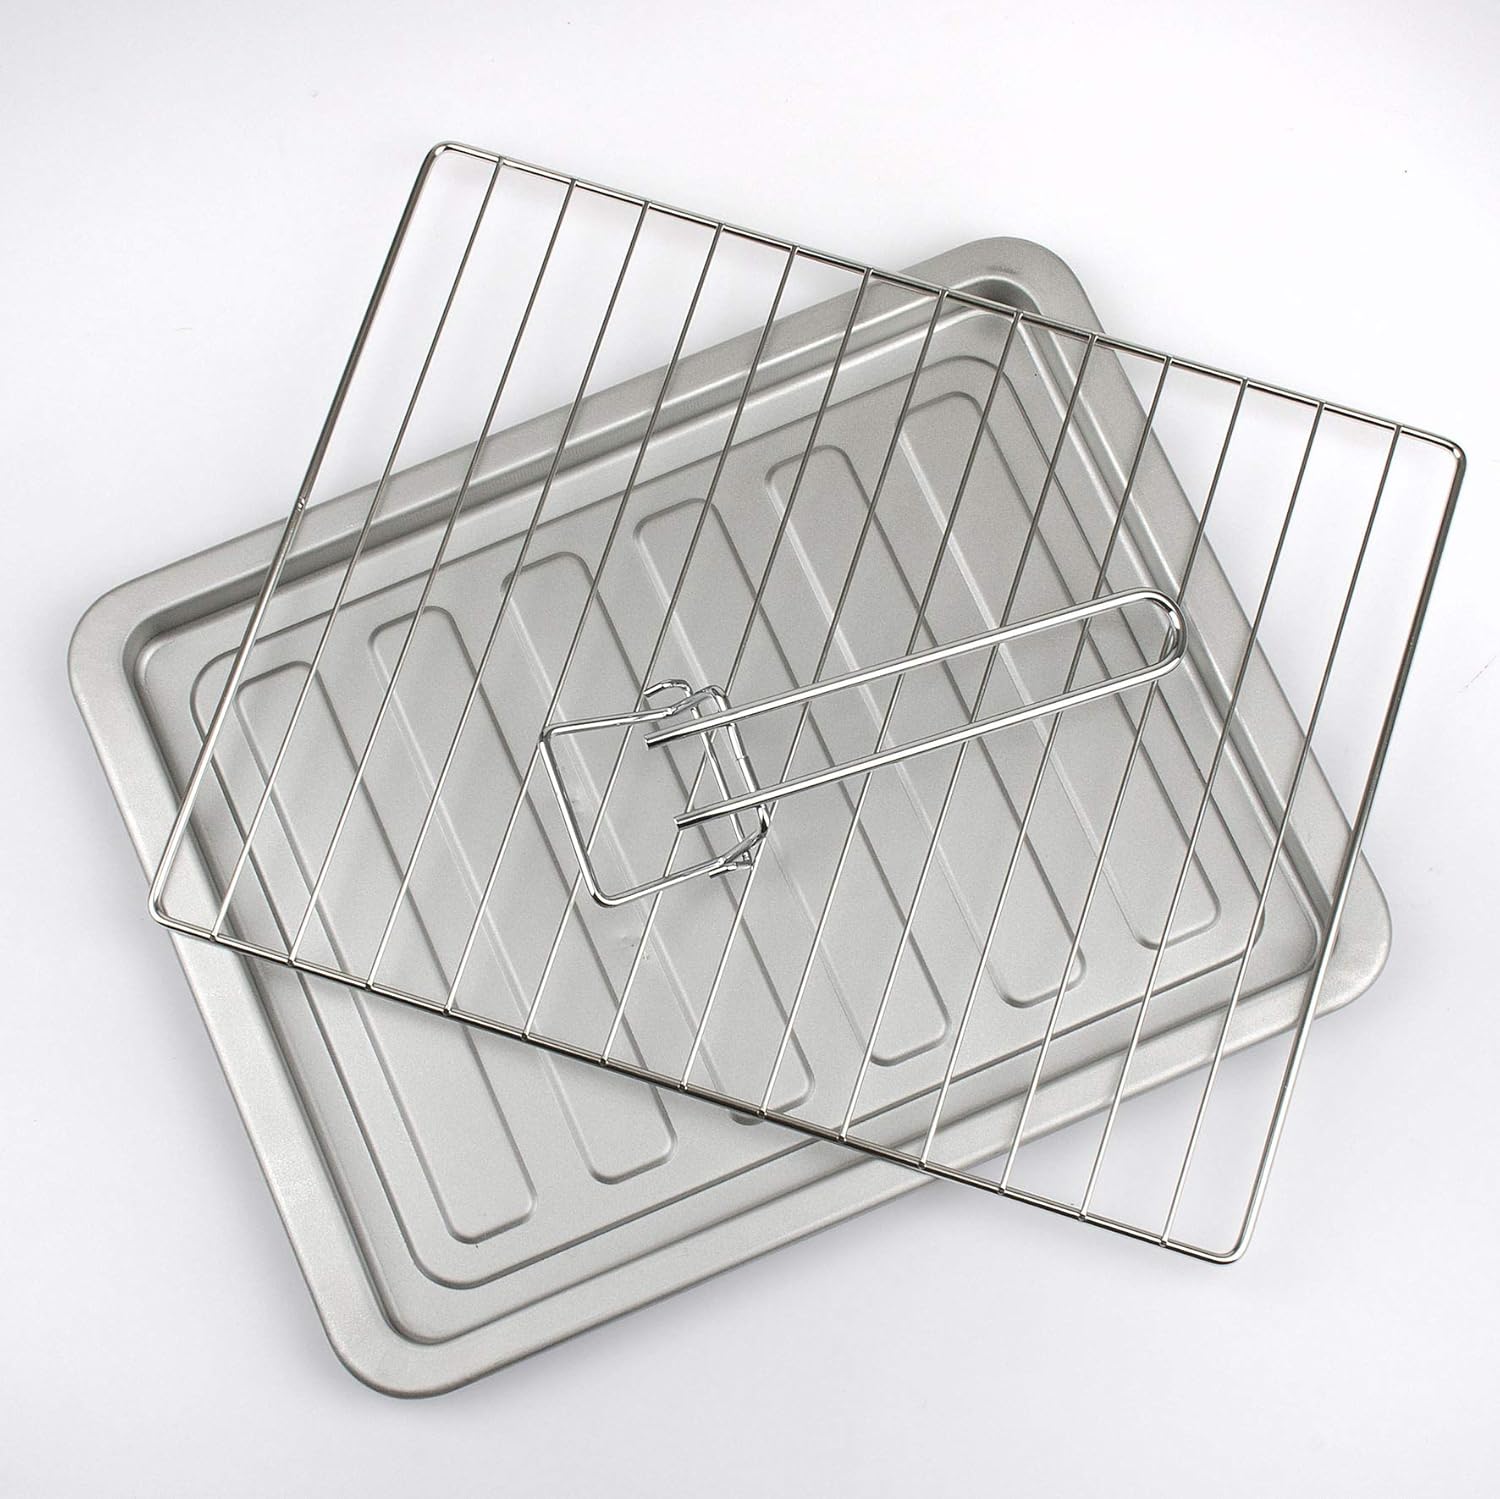
- Initial Cleaning: Before first use, wipe the interior and exterior of the oven with a damp cloth. Wash the wire rack and baking tray with warm, soapy water, rinse thoroughly, and dry.
- First Use (Burn-Off): To eliminate any manufacturing odors, operate the oven empty for approximately 15 minutes at the maximum temperature (230°C) using the combined heating function. Ensure the room is well-ventilated during this process. A slight odor or smoke is normal during this initial burn-off.
- Power Connection: Plug the oven into a grounded electrical outlet. Ensure the voltage matches the specifications of the appliance (230V).
5. Operating Instructions
Familiarize yourself with the control knobs before operation:
- Temperature Dial: Adjusts the internal temperature from 100°C to 230°C.
- Cooking Function Dial: Selects the desired heating mode (Base, Grill, Combined).
- Timer Dial: Sets the cooking time up to 60 minutes. The oven will automatically turn off and emit an acoustic signal when the timer reaches zero. For continuous operation, turn the timer past the '0' mark to the 'stay on' position (if available).
Cooking Functions:
- Base Heating: Activates the lower heating elements, ideal for baking cakes, pizzas, or dishes requiring heat from below.
- Grill: Activates the upper heating elements, perfect for grilling, toasting, or browning the top of dishes.
- Combined Heating: Activates both upper and lower heating elements, suitable for most general baking and roasting tasks, ensuring even cooking.
- Ventilation (Convection): The fan circulates hot air for faster and more even cooking, reducing hot spots. This function is typically active with combined heating or can be selected separately if indicated on the dial.
General Operation Steps:
- Place the wire rack or baking tray with your food inside the oven.
- Close the oven door securely.
- Set the desired temperature using the Temperature Dial.
- Select the appropriate cooking function using the Cooking Function Dial.
- Set the cooking time using the Timer Dial. The oven will begin heating. The internal lamp will illuminate during operation.
- When the cooking time expires, the oven will turn off automatically and signal with a chime.
- Carefully remove the cooked food using oven mitts.
6. Maintenance and Cleaning
Regular cleaning and maintenance will ensure the longevity and optimal performance of your oven.
Before Cleaning:
- Always unplug the oven from the power outlet.
- Allow the oven to cool completely before cleaning any part of it.
Cleaning the Interior:
- Wipe the interior walls, bottom, and glass door with a damp cloth and mild detergent.
- For stubborn stains, use a non-abrasive cleaner specifically designed for oven interiors. Avoid harsh chemicals or abrasive pads that could damage the surface.
- Ensure all detergent residue is wiped away with a clean, damp cloth.
Cleaning the Exterior:
- Wipe the exterior surfaces with a soft, damp cloth.
- Do not use abrasive cleaners or scouring pads, as they may scratch the finish.
- Ensure no water enters the control panel or electrical components.
Cleaning Accessories:
- The wire rack and baking tray can be washed in warm, soapy water or placed in a dishwasher.
- Dry all accessories thoroughly before returning them to the oven.
7. Troubleshooting
If you encounter issues with your oven, refer to the following common problems and solutions:
| Problem | Possible Cause | Solution |
|---|---|---|
| Oven does not turn on. | Not plugged in; power outage; timer not set. | Ensure plug is securely in outlet; check household circuit breaker; set the timer to the desired cooking duration. |
| Oven not heating properly. | Temperature dial not set; wrong cooking function selected; door not closed completely. | Adjust temperature dial; select appropriate cooking function; ensure door is fully closed. |
| Food cooking unevenly. | Improper rack position; overcrowding the oven; ventilation not active. | Adjust rack position; avoid overcrowding; ensure ventilation function is selected for even cooking. |
| Smoke or odor during first use. | Manufacturing residues burning off. | This is normal for initial use. Ensure good ventilation. It should dissipate after a few uses. |
| Timer not working. | Timer dial not engaged correctly. | Ensure the timer dial is turned past the '0' mark to engage the timer mechanism. |
If the problem persists after trying these solutions, please contact customer support.
8. Specifications
| Feature | Specification |
|---|---|
| Brand | Girmi |
| Model | G1007400 |
| Color | Black / Red |
| Product Dimensions (L x W x H) | 50.5 x 39 x 30.7 cm |
| Internal Dimensions (L x W x H) | 34.5 x 31.5 x 25.5 mm |
| Volume Capacity | 28 Liters |
| Weight | 7 Kilograms |
| Voltage | 230V |
| Automatic Shutoff | Yes (via timer) |
| Energy Efficiency Class | A to G |
| Temperature Control Type | Knob Control |
| Special Features | Internal lamp, Ventilation, Double glass door, Rear curvature for larger volume |
9. Warranty and Support
This product is covered by a standard manufacturer's warranty against defects in materials and workmanship. Please refer to the warranty card included with your purchase for specific terms and conditions, including the warranty period and coverage details.
For technical assistance, spare parts, or warranty claims, please contact Girmi customer support through their official website or the retailer from whom you purchased the product. Keep your proof of purchase for warranty validation.
For more information, you may visit the official Girmi store: Girmi Store on Amazon.it
Ask a question about this manual
Ask about setup, troubleshooting, compatibility, parts, safety, or missing instructions. Manuals+ will review the question and use this page’s manual context to help answer it.