Introduction
The EWK Klutch Paintless Car Body Repair Kit with Pneumatic Slide Hammer is designed for efficient and effective removal of dents from vehicle body panels without damaging the original paint finish. This tool utilizes pneumatic power to generate strong suction and a sliding hammer mechanism for precise dent pulling.
Key features include:
- Requires no painting skills or significant effort for repair.
- The pneumatic dent puller generates much stronger force than adhesive tools.
- Removes dents without damaging the original paint, which provides superior and longer protection due to its special coating.
- No welding or drilling of the car is required, avoiding additional painting costs.
- Repairs dents completely with minimal effort.
Product Components and Specifications
Familiarize yourself with the components of your EWK Klutch Paintless Car Body Repair Kit.

This diagram illustrates the main components of the EWK Pneumatic Dent Puller kit, including the sliding hammer, 1/4 inch air inlet, various rubber pad sizes (75mm, 100mm, 125mm), and the hook attachment.
The kit typically includes:
- Sliding Hammer
- Pneumatic Handle with 1/4" Air Inlet
- Rubber Pads (75mm, 100mm, 125mm)
- Hook Attachment
General Specifications:
- Manufacturer: EWK
- Model Number: EB0258
- Item Weight: 4.37 Kilograms
- Product Dimensions (L x W x H): 61.19 x 23.8 x 8.71 cm
- Maximum Pull Force: 250 lbs (when used with appropriate air compressor)
Applicable Dent Types and Limitations
This tool is effective for a range of dents, but certain types are not suitable for repair.
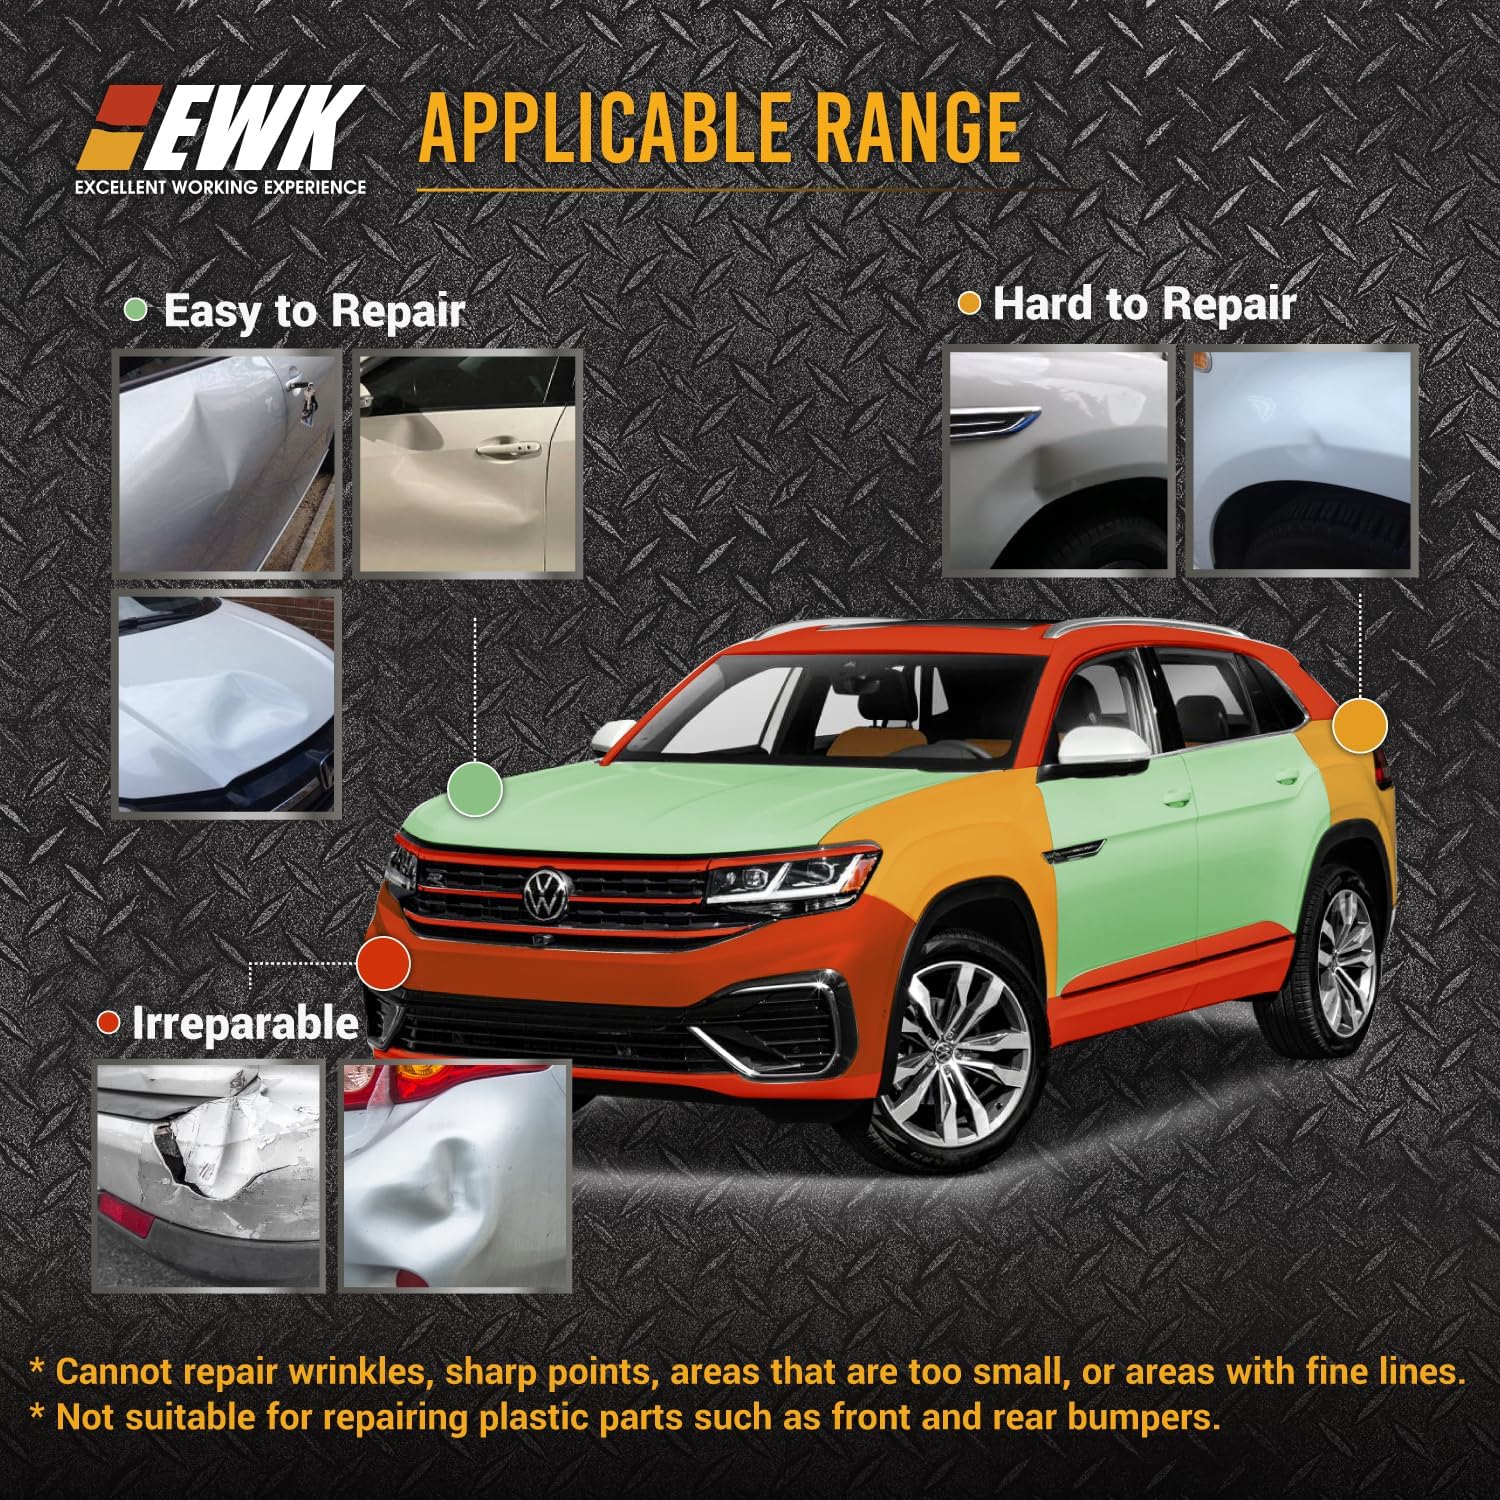
This image demonstrates the types of dents suitable for repair with this tool (easy to repair, hard to repair) and those that are irreparable, such as wrinkles, sharp points, very small areas, areas with fine lines, or plastic parts like bumpers.
The tool is generally suitable for:
- Most common dents on metal body panels.
- Dents where the paint is not cracked or severely damaged.
Limitations:
- Cannot repair wrinkles, sharp points, areas that are too small, or areas with fine lines.
- Not suitable for repairing plastic parts such as front and rear bumpers.
Setup
Proper setup is crucial for effective dent removal.
Air Compressor Requirements:

This graphic outlines the air compressor requirements for optimal performance: 29+ gallons for continuous use, 7-28 gallons for intermittent use, and 1-6 gallons is not recommended. The tool provides a maximum pull force of 250 lbs.
- Continuous Use: Requires an air compressor with 29+ gallons capacity.
- Intermittent Use: Suitable for air compressors with 7-28 gallons capacity.
- Not Recommended: Air compressors with 1-6 gallons capacity are generally insufficient for this tool.
Preparation Steps:
- Clean the Dent Area: Thoroughly clean the surface around the dent to ensure the suction cup can form a strong seal. Remove any dirt, dust, wax, or debris.
- Select Appropriate Rubber Pad: Choose the rubber pad size (75mm, 100mm, or 125mm) that best covers the dent. The pad should be larger than the dent itself.
- Connect Air Compressor: Attach your air compressor hose to the 1/4" air inlet on the pneumatic handle. Ensure a secure connection.
- Inspect Tool: Before use, check all components for any damage or wear. Ensure the sliding hammer moves freely.
Operating Instructions
Follow these steps for effective dent removal:
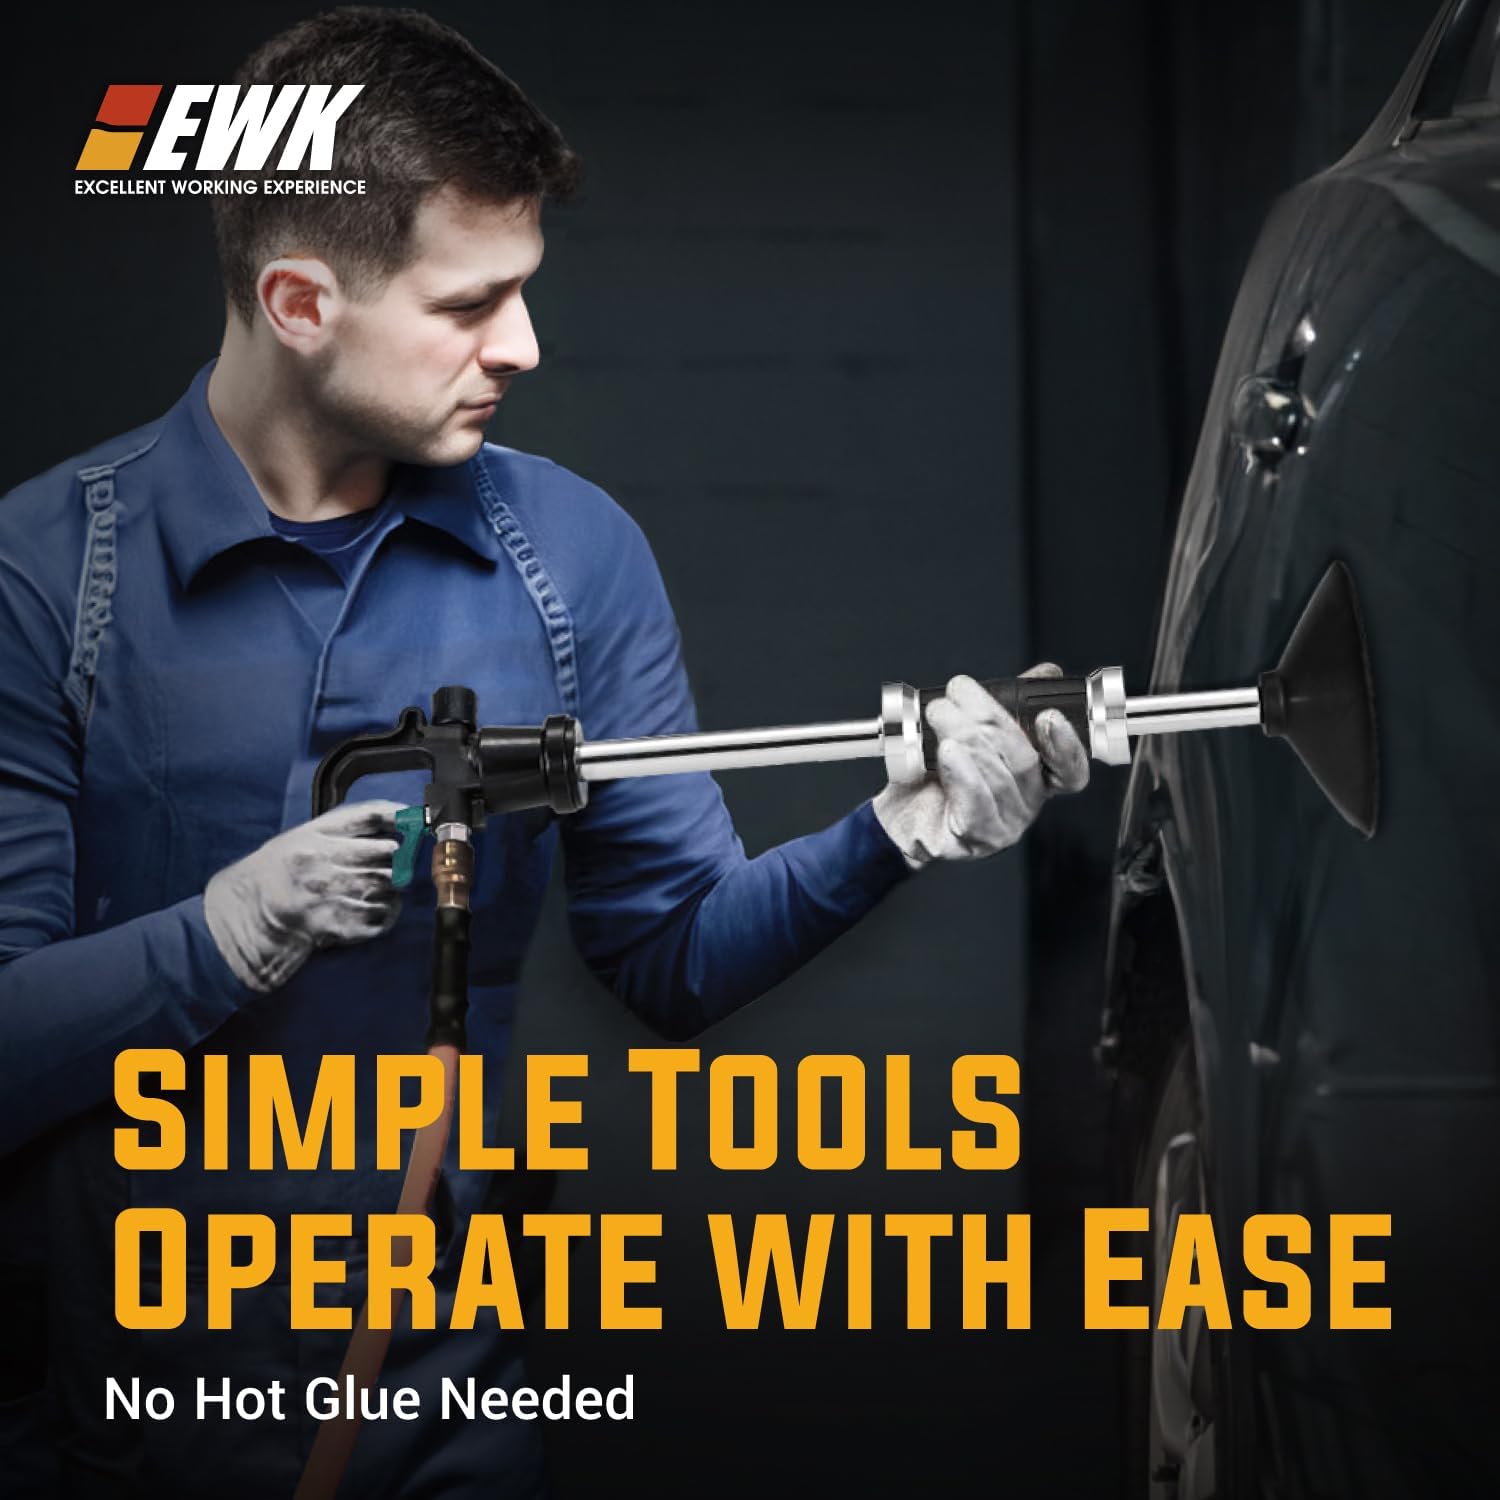
A person is depicted using the EWK dent puller on a car panel, demonstrating the tool's straightforward operation and the absence of hot glue requirements.
- Position the Suction Cup: Place the selected rubber suction cup directly over the center of the dent. Ensure the entire dent is covered by the cup.
- Activate Suction: Press the pneumatic trigger on the handle to activate the vacuum suction. Hold the trigger until a strong seal is formed and the cup firmly adheres to the surface. You should hear the air compressor working to create the vacuum.
- Engage Slide Hammer: Once the suction cup is securely attached, firmly grasp the sliding hammer.
- Pull the Dent: With a controlled motion, slide the hammer towards the handle, away from the car surface. This action creates an impact that pulls the dent outwards. Repeat this action as needed, applying consistent force.
- Check Progress: Periodically release the suction (by releasing the trigger or a dedicated release valve, if present) and inspect the dent's progress. Reapply the suction cup and repeat the pulling process if further correction is needed.
- Final Release: Once the dent is sufficiently repaired, release the suction completely and carefully remove the tool from the vehicle surface.

This image highlights the patented slide hammer in action, illustrating how it pulls dents effectively without causing damage to the vehicle's paint finish.
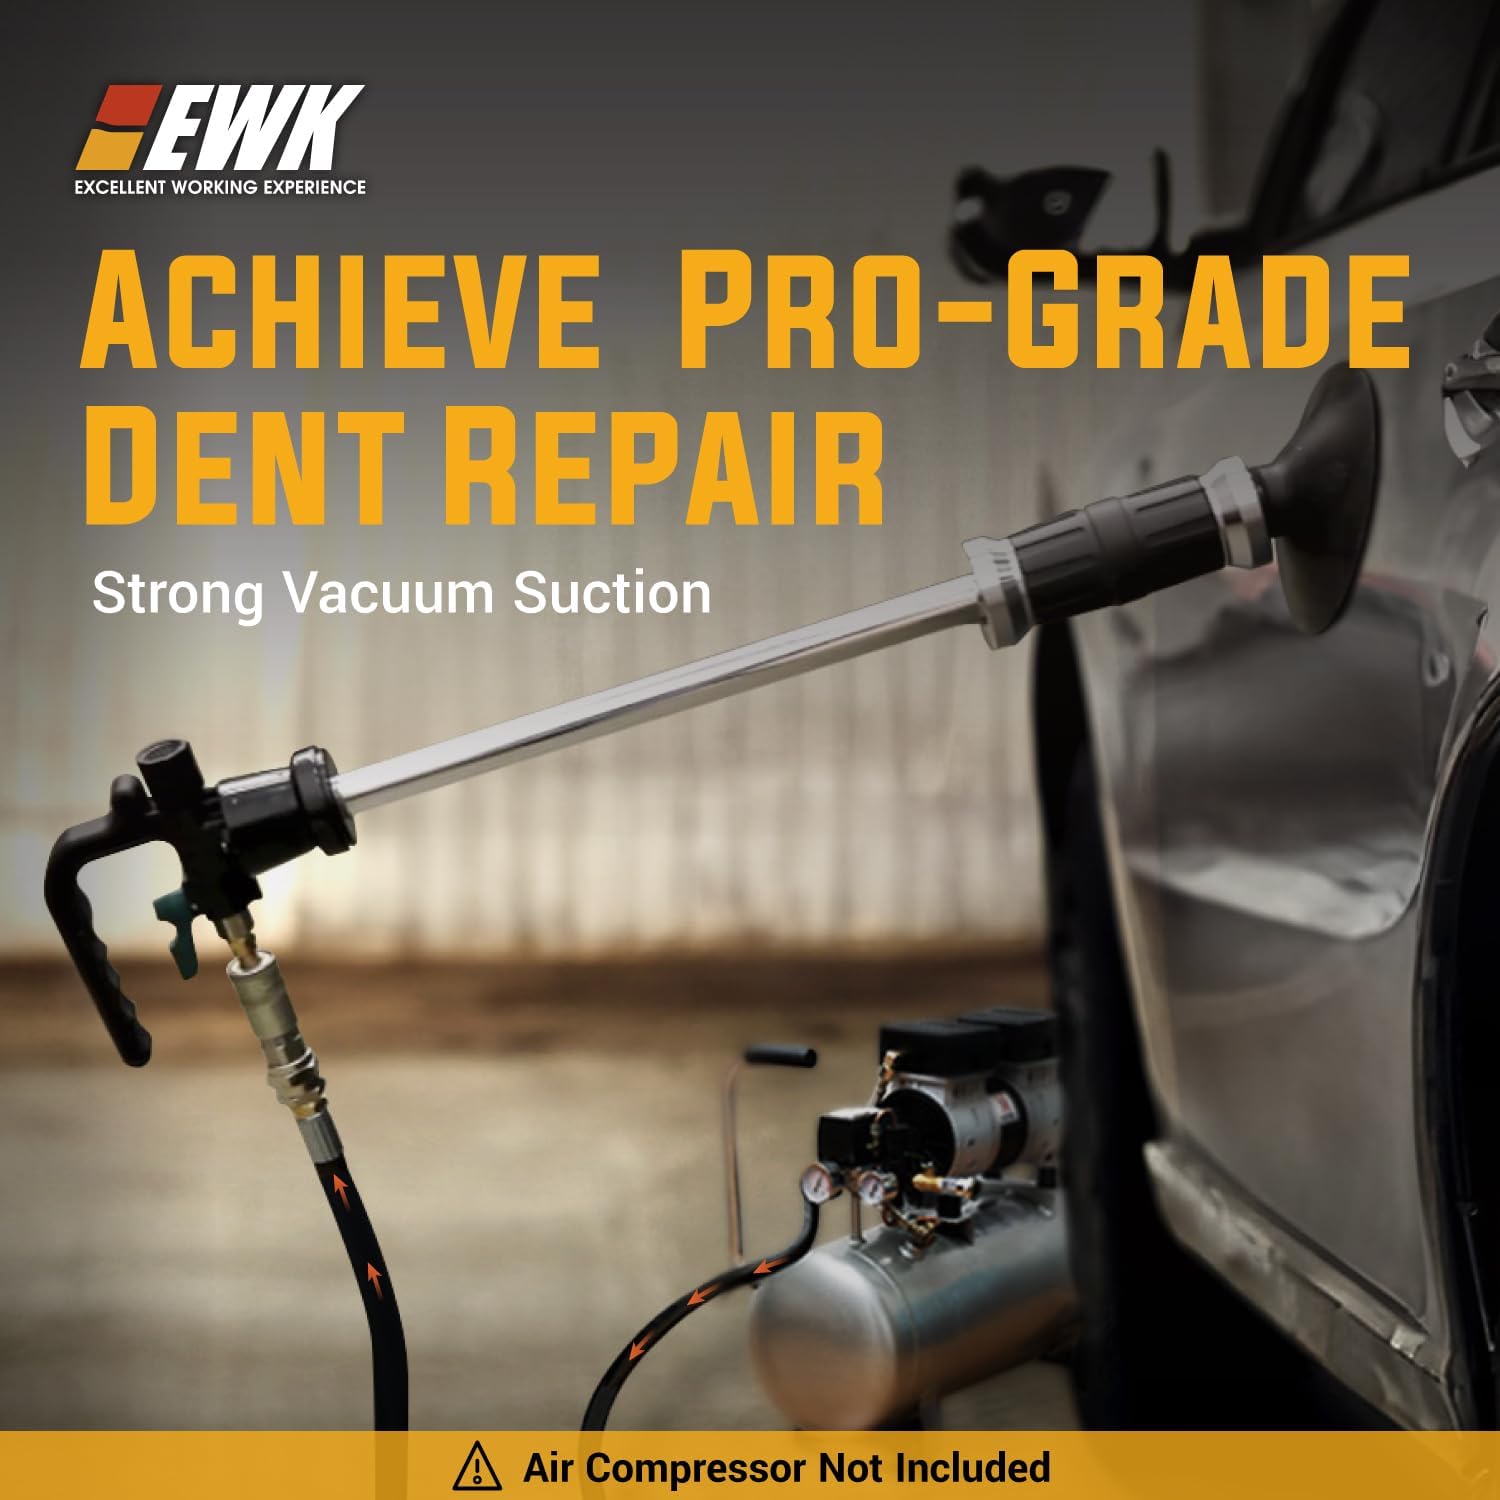
A user is shown operating the pneumatic dent puller on a car door, connected to an air compressor, demonstrating the strong vacuum suction for professional-grade dent repair.

This close-up shows the premium silicone rubber suction cup firmly attached to a dent, illustrating its strong grip for reliable dent removal.

The kit includes three interchangeable rubber suction cup sizes: 75mm, 100mm, and 125mm, allowing for versatile application on small to large dents.
Maintenance
Regular maintenance ensures the longevity and optimal performance of your tool.
- Cleaning: After each use, wipe down the rubber suction cups and the tool body with a clean, damp cloth. Ensure no residue or debris remains on the suction cups, as this can affect their sealing ability.
- Lubrication: Periodically apply a small amount of silicone-based lubricant to the sliding hammer shaft to ensure smooth operation.
- Storage: Store the kit in a clean, dry place, away from direct sunlight and extreme temperatures. Keep all components organized in their original case or a suitable storage container to prevent damage.
- Air Inlet: Ensure the 1/4" air inlet is free from obstructions. If using an air compressor, ensure it has a moisture trap to prevent water from entering the tool.
Troubleshooting
Refer to this section for common issues and their solutions.
| Problem | Possible Cause | Solution |
|---|---|---|
| Suction cup does not hold firmly. | Dirty surface; improper pad size; insufficient air pressure; damaged rubber pad. | Clean the vehicle surface thoroughly. Select a larger suction cup. Ensure air compressor provides adequate pressure. Inspect and replace damaged rubber pads. |
| Dent is not pulling out. | Insufficient pulling force; dent type is unsuitable; improper technique. | Ensure strong suction is maintained. Apply more consistent force with the slide hammer. Review the 'Applicable Dent Types' section. Ensure the suction cup is centered over the dent. |
| Air leaks from the tool. | Loose air connection; damaged O-rings or seals; faulty pneumatic trigger. | Check and tighten all air connections. Inspect O-rings and seals for wear and replace if necessary. If the trigger is faulty, contact customer support. |
| Slide hammer is stiff or not moving smoothly. | Lack of lubrication; debris on the shaft. | Clean the slide hammer shaft and apply silicone-based lubricant. |