1. Introduction
This manual provides detailed instructions for the installation, operation, and maintenance of your Sumerain S3220NI Brushed Nickel Ceiling Shower Faucet System. Please read this manual thoroughly before installation and use to ensure proper function and longevity of your product. Retain this manual for future reference.
2. Safety Information
- Always turn off the main water supply before beginning any installation or maintenance.
- If you are unsure about any part of the installation process, consult a qualified plumber.
- Wear appropriate personal protective equipment (PPE) during installation, such as safety glasses and gloves.
- Ensure all connections are secure to prevent leaks.
- This product is designed for residential use.
- Comply with all local plumbing and building codes.

Image: Compliance logos indicating adherence to U.S./CA UPC & IPC standards and Pb-Free certification. This ensures the product meets safety and quality regulations.
3. Package Contents
Verify that all components are present and undamaged before beginning installation. If any parts are missing or damaged, contact Sumerain customer support.
- 10-inch Square Ceiling Mount Rain Shower Head
- Handheld Shower
- Shower Hose (59 inches, Stainless Steel)
- Rough-in Valve with Trim
- Shower Arm
- Hand Shower Holder
- Mounting Hardware

Image: A complete set of the Sumerain shower system components, including the ceiling-mount shower head, handheld shower, hose, valve, and trim, displayed on a white background.

Image: A collage highlighting key components: brass hand shower, NPT 1/2" connecting thread, 59" stainless steel shower hose, and a complete shower package, alongside a shower head in use.
4. Specifications
| Brand | Sumerain |
| Model Number | S3220NI |
| Finish Type | Brushed Nickel |
| Material | Brass, Stainless Steel |
| Mounting Type | Ceiling Mount |
| Shower Head Size | 10 inches (Square) |
| Number of Handles | 1 |
| Connection Thread | NPT 1/2" |
| Flow Rate (Shower Head) | 1.8 GPM (6.8 L/MIN) - California CEC list compliant |
| Flow Rate (Hand Shower) | 1.2 GPM |
| Item Weight | 4.6 kg |
| Certifications | UPC/IPC/IRC/NPC Compliant, WaterSense Certified (Showerhead only) |

Image: Technical drawing illustrating the dimensions and installation requirements for the ceiling shower head, handheld shower, and rough-in valve, including NPT 1/2" connections and recommended heights.

Image: Information regarding Energy Policy and Conservation Act compliance, including Department of Energy list, California Energy Commission list, and WaterSense Certification for the showerhead.
5. Setup and Installation
Professional installation is recommended. Ensure you have all necessary tools and materials before starting.
5.1 Pre-Installation Steps
- Turn off Water Supply: Locate the main water shut-off valve and turn off the water supply to your home or the specific bathroom.
- Clear Work Area: Ensure the installation area is clean and free of obstructions.
- Review Diagrams: Refer to the technical diagrams provided in Section 4 for precise measurements and rough-in specifications.
5.2 Rough-in Valve Installation
- Install the rough-in valve body into the wall according to the provided dimensions and local plumbing codes. Ensure the "HOT" and "COLD" inlets are correctly oriented.
- Connect the NPT 1/2" hot and cold water lines to the valve inlets.
- Connect the NPT 1/2" outlet lines from the valve to the ceiling shower arm and the handheld shower outlet.
- Secure the valve body firmly to the framing.

Image: An exploded view showing the ceiling-mount shower head, the rough-in valve (green box), the control trim, and the handheld shower with hose, illustrating their relative positions for installation.
5.3 Ceiling Shower Head Installation
- Install the ceiling shower arm into the ceiling, ensuring it is securely fastened and connected to the NPT 1/2" water supply line from the rough-in valve.
- Apply plumber's tape to the threads of the shower arm.
- Thread the 10-inch square rain shower head onto the shower arm and tighten securely. Do not overtighten.
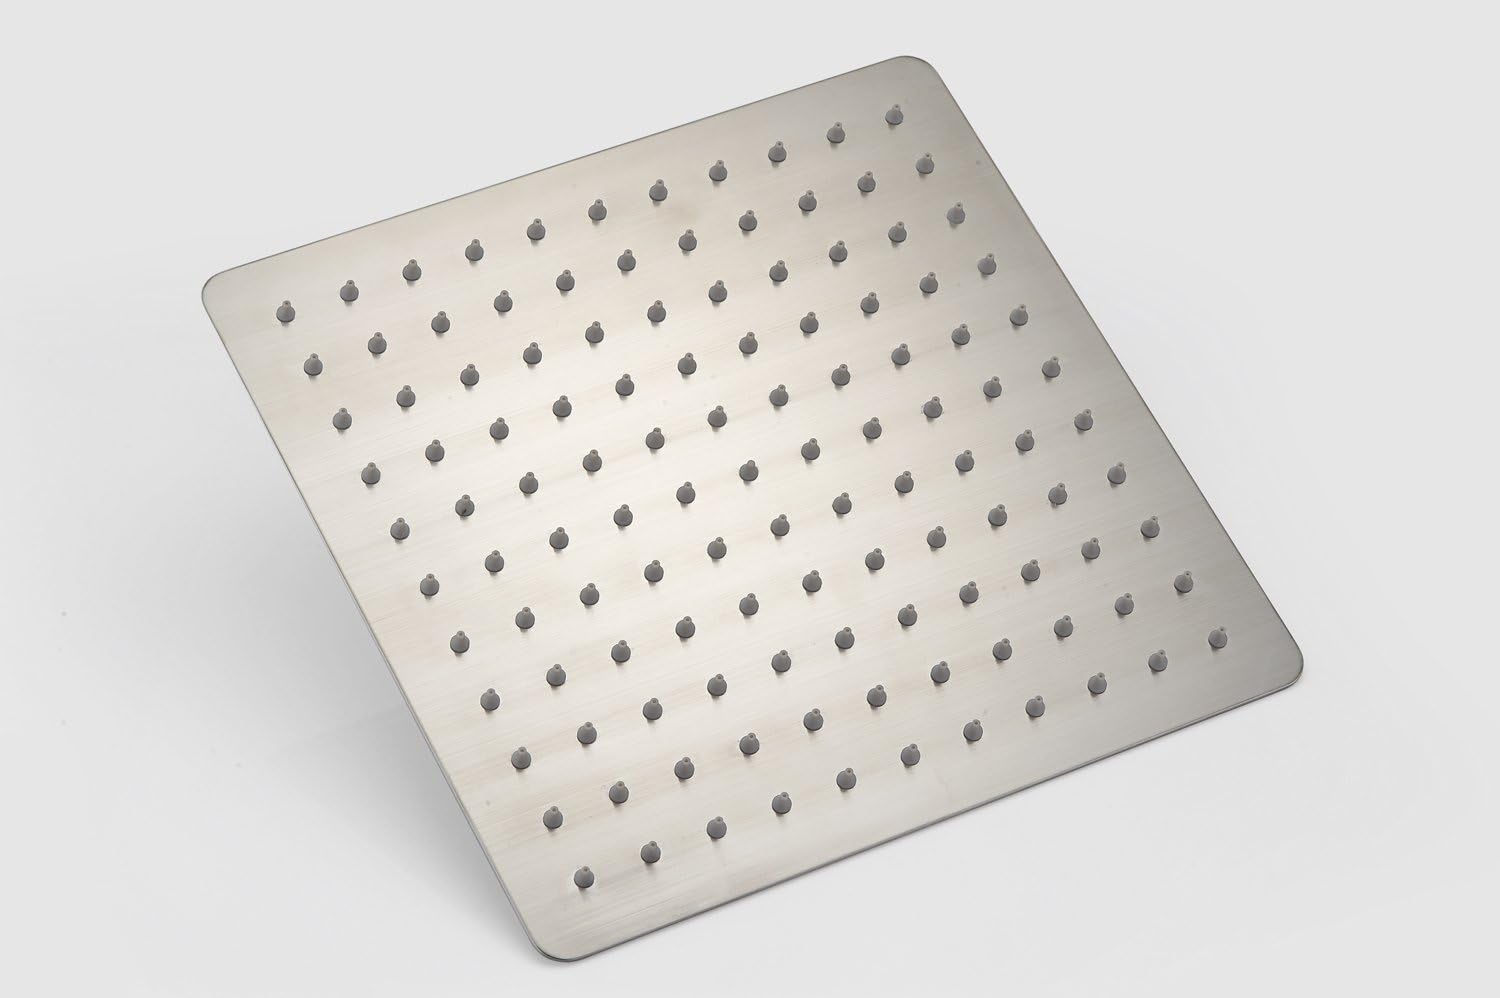
Image: A top-down view of the 10-inch square rain shower head, showcasing its brushed nickel finish and the central threaded connection point for the shower arm.

Image: A close-up view of the underside of the 10-inch square rain shower head, clearly showing the evenly spaced rubber nozzles designed for easy cleaning and consistent water flow.
5.4 Handheld Shower Installation
- Install the hand shower holder at a comfortable height on the wall, ensuring it is securely mounted.
- Connect one end of the 59-inch stainless steel shower hose to the handheld shower head.
- Connect the other end of the shower hose to the wall outlet for the handheld shower.
- Place the handheld shower into its holder.
5.5 Trim Installation
- Install the decorative trim plate and handle onto the rough-in valve according to the manufacturer's instructions.
- Ensure the handle operates smoothly and controls water flow and temperature correctly.
5.6 Post-Installation Check
- Turn on the main water supply slowly.
- Check all connections for leaks. Tighten any leaking connections as necessary.
- Test the functionality of both the ceiling shower head and the handheld shower, as well as the temperature and flow controls.
6. Operating Instructions
Your Sumerain shower system features a single handle for controlling both water flow and temperature.
- Turning On/Off: Lift the handle to turn on the water. Push down to turn off.
- Adjusting Temperature: Rotate the handle left for hotter water and right for colder water.
- Diverting Water Flow: Use the diverter knob or lever on the trim plate to switch water flow between the ceiling rain shower head and the handheld shower.

Image: A modern bathroom setting with the Sumerain ceiling-mount rain shower head and handheld shower both actively dispensing water, demonstrating the system's functionality.
7. Maintenance
Regular cleaning and maintenance will ensure the optimal performance and appearance of your Sumerain shower system.
- Cleaning the Finish: Clean the brushed nickel finish with a soft, damp cloth. Avoid abrasive cleaners, harsh chemicals, or scouring pads, as these can damage the finish.
- Cleaning Shower Head Nozzles: The shower head features Touch Clean soft, rubber nubbins (spray holes). To remove calcium and lime build-up, simply wipe the rubber nozzles with your finger or a soft cloth. This is especially useful in areas with hard water.
- Hose Maintenance: Periodically check the shower hose for kinks or damage. Clean with a soft cloth and mild soap if necessary.
- General Inspection: Regularly inspect all connections for any signs of leaks or wear. Address any issues promptly.

Image: A detailed view of water streams emanating from the nozzles of the rain shower head, illustrating the consistent flow and the design of the spray holes.
8. Troubleshooting
| Problem | Possible Cause | Solution |
|---|---|---|
| Low Water Pressure |
|
|
| Leaks from Connections |
|
|
| Water Temperature Issues |
|
|
| Diverter Not Switching Properly |
|
|
9. Warranty Information
Sumerain products are manufactured to high-quality standards and are backed by a limited warranty. For specific warranty terms and conditions, please refer to the warranty card included with your product or visit the official Sumerain website.
Typically, the warranty covers manufacturing defects in materials and workmanship under normal use. Damage resulting from improper installation, misuse, abuse, or neglect is not covered.
10. Support
If you require further assistance, have questions about your product, or need to order replacement parts, please contact Sumerain customer support:
- Website: www.sumerain.com
- Email: Refer to website for contact form or email address.
- Phone: Refer to website for phone support options.
When contacting support, please have your product model number (S3220NI) and purchase date available.