1. Important Safety Instructions
When using electrical appliances, basic safety precautions should always be followed to reduce the risk of fire, electric shock, and injury to persons. Read all instructions carefully before using the StarBlue Roti Maker.
- Do not touch hot surfaces. Use handles or knobs.
- To protect against electrical hazards, do not immerse the cord, plugs, or the appliance in water or other liquid.
- Close supervision is necessary when any appliance is used by or near children.
- Unplug from outlet when not in use and before cleaning. Allow to cool before putting on or taking off parts, and before cleaning the appliance.
- Do not operate any appliance with a damaged cord or plug, or after the appliance malfunctions or has been damaged in any manner. Contact customer service for examination, repair, or adjustment.
- The use of accessory attachments not recommended by the appliance manufacturer may cause injuries.
- Do not use outdoors.
- Do not let the cord hang over the edge of a table or counter, or touch hot surfaces.
- Do not place on or near a hot gas or electric burner, or in a heated oven.
- Extreme caution must be used when moving an appliance containing hot oil or other hot liquids.
- Always attach the plug to the appliance first, then plug the cord into the wall outlet. To disconnect, turn any control to 'off', then remove the plug from the wall outlet.
- Do not use the appliance for other than intended use.
2. Product Overview
The StarBlue 10-inch Roti Maker is designed for efficient preparation of rotis, chapatis, and tortillas. It features non-stick cooking plates and a durable stainless steel body.
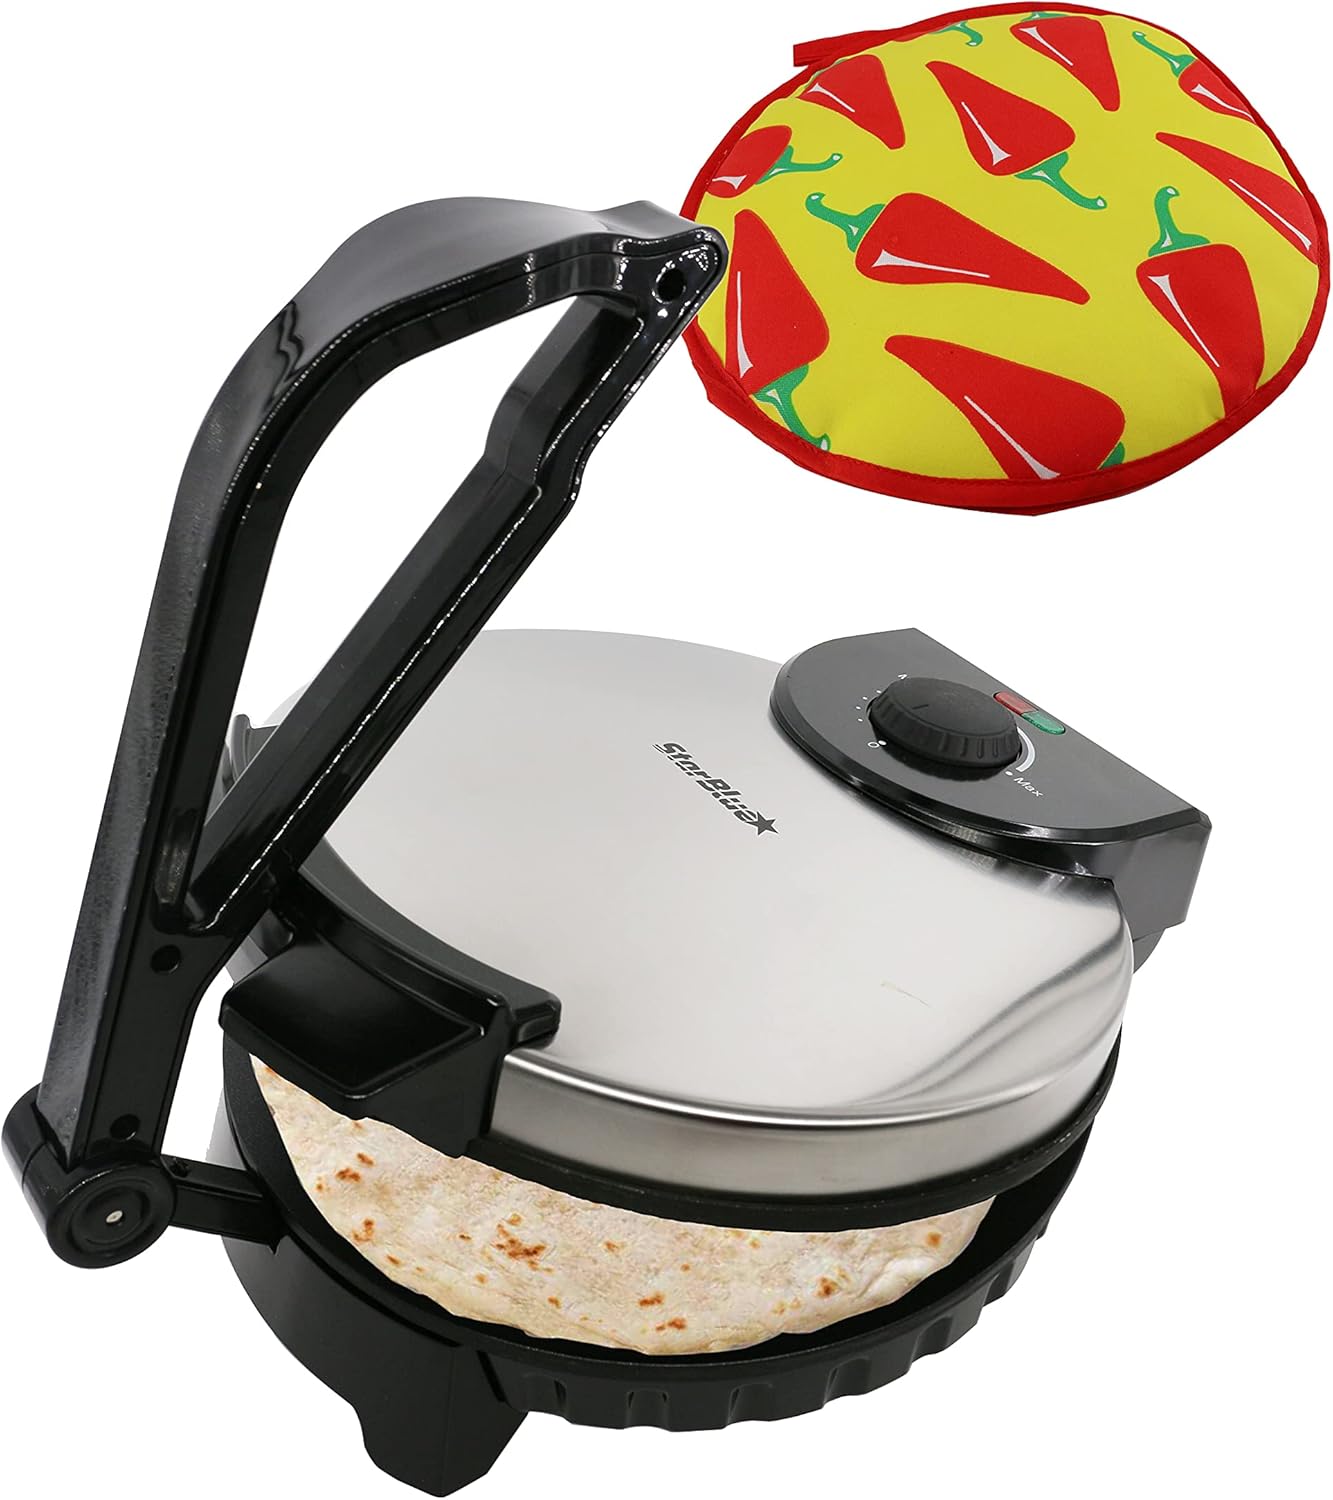
Image: The StarBlue Roti Maker, closed with a roti inside, accompanied by the included roti warmer.

Image: Labeled diagram highlighting key components of the Roti Maker: Adjustable Temperature Control Knob, Movable Handle, Power Indicators (Red for Power, Green for Ready), Granite Non-Stick Coating, Unique Curved Surface, and Durable Stainless Steel Body.
Components:
- Non-Stick Cooking Plates: Ensures rotis do not stick and maintain their shape.
- Adjustable Temperature Control Knob: Allows for precise heat settings.
- Power Indicators: Red light indicates power is on, green light indicates the appliance has reached the set temperature.
- Movable Handle: For pressing and opening the Roti Maker.
- Stainless Steel Housing: Provides durability and protection.
- Cord Wrap: For convenient storage of the power cord.
- Roti Warmer: Included for keeping cooked rotis warm.
3. Setup and First Use
Before using your Roti Maker for the first time, follow these steps:
- Unpack the appliance and remove all packaging materials.
- Wipe the non-stick cooking plates with a damp cloth to remove any dust or residue from manufacturing. Do not use abrasive cleaners or immerse the unit in water.
- Ensure the appliance is placed on a stable, heat-resistant surface.
- Plug the Roti Maker into a 120V AC electrical outlet. The red indicator light will illuminate.
- Turn the temperature control knob to the desired setting (e.g., medium to high). Allow the appliance to preheat until the green indicator light illuminates, signaling it is ready for use. This may take several minutes.
- During the first use, a slight odor or smoke may be emitted. This is normal and will dissipate quickly.
4. Operating Instructions
Follow these steps to prepare rotis, chapatis, or tortillas:

Image: A visual guide to the Roti Maker's operation, from placing the dough ball to pressing and cooking, and finally removing the finished roti.
- Prepare Dough: Ensure your dough is of a soft, pliable consistency. The ideal dough consistency is crucial for best results.
- Preheat: Plug in the Roti Maker and set the temperature control knob. Wait for the green indicator light to turn on, indicating it has reached the optimal cooking temperature.
- Place Dough: Open the Roti Maker and place a small, round ball of dough (approximately 1.5 to 2 inches in diameter) slightly off-center towards the back of the bottom cooking plate.
- Press: Gently close the top plate and press down on the handle for 1-2 seconds to flatten the dough into a round shape. Do not press excessively hard or for too long, as this can damage the appliance or result in uneven cooking.
- Cook: Release the handle and allow the roti to cook. The non-stick plates ensure even heat distribution. The roti will begin to cook and may puff up. Cooking time varies based on dough type and desired crispness.
- Flip (Optional): For some recipes, you may wish to flip the roti once during cooking using a non-metallic spatula.
- Remove: Once cooked to your preference, carefully remove the roti using a non-metallic utensil.
- Keep Warm: Place the cooked roti in the provided roti warmer to keep it soft and warm until serving.
Tips for Best Results:
- Experiment with dough consistency and temperature settings to find what works best for your specific recipe.
- Ensure the Roti Maker is fully preheated before placing dough.
- Do not overload the Roti Maker with too much dough.
5. Maintenance and Cleaning
Proper maintenance ensures the longevity and performance of your Roti Maker.
- Unplug and Cool: Always unplug the appliance from the power outlet and allow it to cool completely before cleaning.
- Clean Cooking Plates: Wipe the non-stick cooking plates with a slightly damp cloth. For stubborn residue, use a soft sponge with a small amount of mild dish soap, then wipe clean with a damp cloth. Do not use abrasive pads, metal utensils, or harsh chemicals, as these can damage the non-stick coating.
- Clean Exterior: Wipe the exterior stainless steel housing with a soft, damp cloth.
- Storage: Once clean and dry, wrap the cord around the cord wrap at the base of the appliance. Store the Roti Maker in a dry place.
Roti Warmer Care:

Image: The included 10-inch Roti Warmer, featuring a red chili pattern, with specific use and care instructions.
- The roti warmer is designed to keep rotis warm for up to 1 hour.
- Do not use near open flame or hot surfaces.
- Do not use for oily or fried foods.
- Do not place in a conventional oven.
- To clean, turn inside out and hand wash or machine wash on a gentle cycle.
- Air dry only; do not place in a dryer.
6. Troubleshooting
If you encounter issues with your StarBlue Roti Maker, refer to the following common problems and solutions:
| Problem | Possible Cause | Solution |
|---|---|---|
| Roti not flattening properly | Dough is too stiff or too much dough. Insufficient pressure applied. | Adjust dough consistency to be softer and more pliable. Use a smaller dough ball. Apply gentle, firm pressure for 1-2 seconds. |
| Roti sticking to plates | Plates not sufficiently preheated. Dough too sticky. | Ensure green indicator light is on before placing dough. Adjust dough consistency. Lightly grease plates with cooking oil if necessary (use sparingly). |
| Roti not cooking evenly or puffing | Incorrect temperature setting. Dough consistency issues. | Adjust temperature setting. Ensure dough is soft and well-hydrated. Allow sufficient preheating time. |
| Appliance not turning on | Not plugged in. Power outlet issue. | Check if the power cord is securely plugged into a working 120V outlet. Check household circuit breaker. |
If the problem persists after attempting these solutions, please contact StarBlue customer support.
7. Specifications
Detailed technical specifications for the StarBlue Roti Maker SB-SW2093.
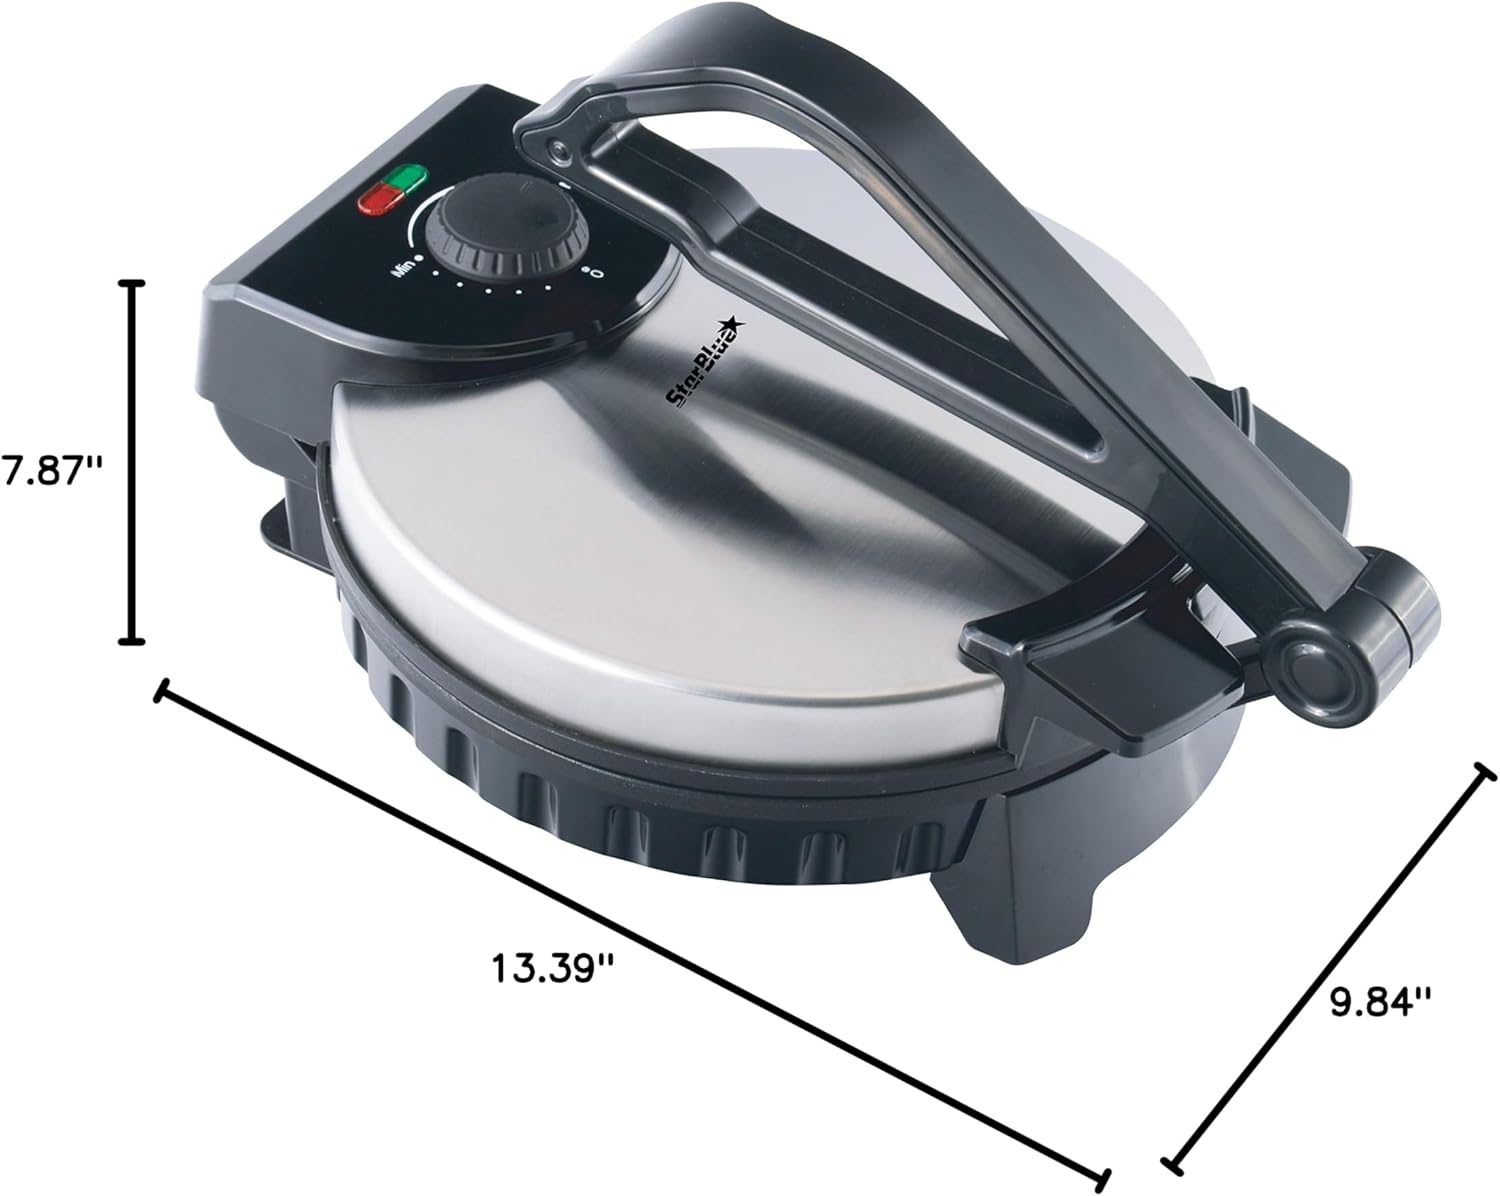
Image: The StarBlue Roti Maker with its key dimensions labeled: 7.87"D x 13.39"W x 9.84"H.
- Model: SB-SW2093
- Brand: StarBlue
- Color: Black/Silver
- Material: Stainless Steel
- Product Dimensions: 7.87"D x 13.39"W x 9.84"H
- Item Weight: 5.45 Pounds
- Wattage: 1200 watts
- Voltage: 120 Volts (AC 50/60Hz)
- Special Features: Non-Stick Coating, Temperature Control
- Number of Settings: 6 (Temperature)
- Included Components: Roti Maker, Tortilla Warmer
- UPC: 697691524429
8. Warranty and Support
The StarBlue Roti Maker SB-SW2093 comes with a Money Back Guarantee. For specific warranty terms and conditions, please refer to the documentation included with your purchase or contact StarBlue customer support.
For technical assistance, troubleshooting not covered in this manual, or warranty claims, please visit the official StarBlue website or contact their customer service department. Contact information can typically be found on the product packaging or the brand's official online presence.