1. Introduction and Overview
The Lovibond MD 200 Photometer is a professional electronic device designed for precise measurement of chlorine, pH, and cyanuric acid levels in water. This instrument ensures high accuracy and comes with all necessary accessories, including test tablets, for immediate use. This manual provides comprehensive instructions for the proper setup, operation, and maintenance of your MD 200 Photometer to ensure reliable and consistent results.
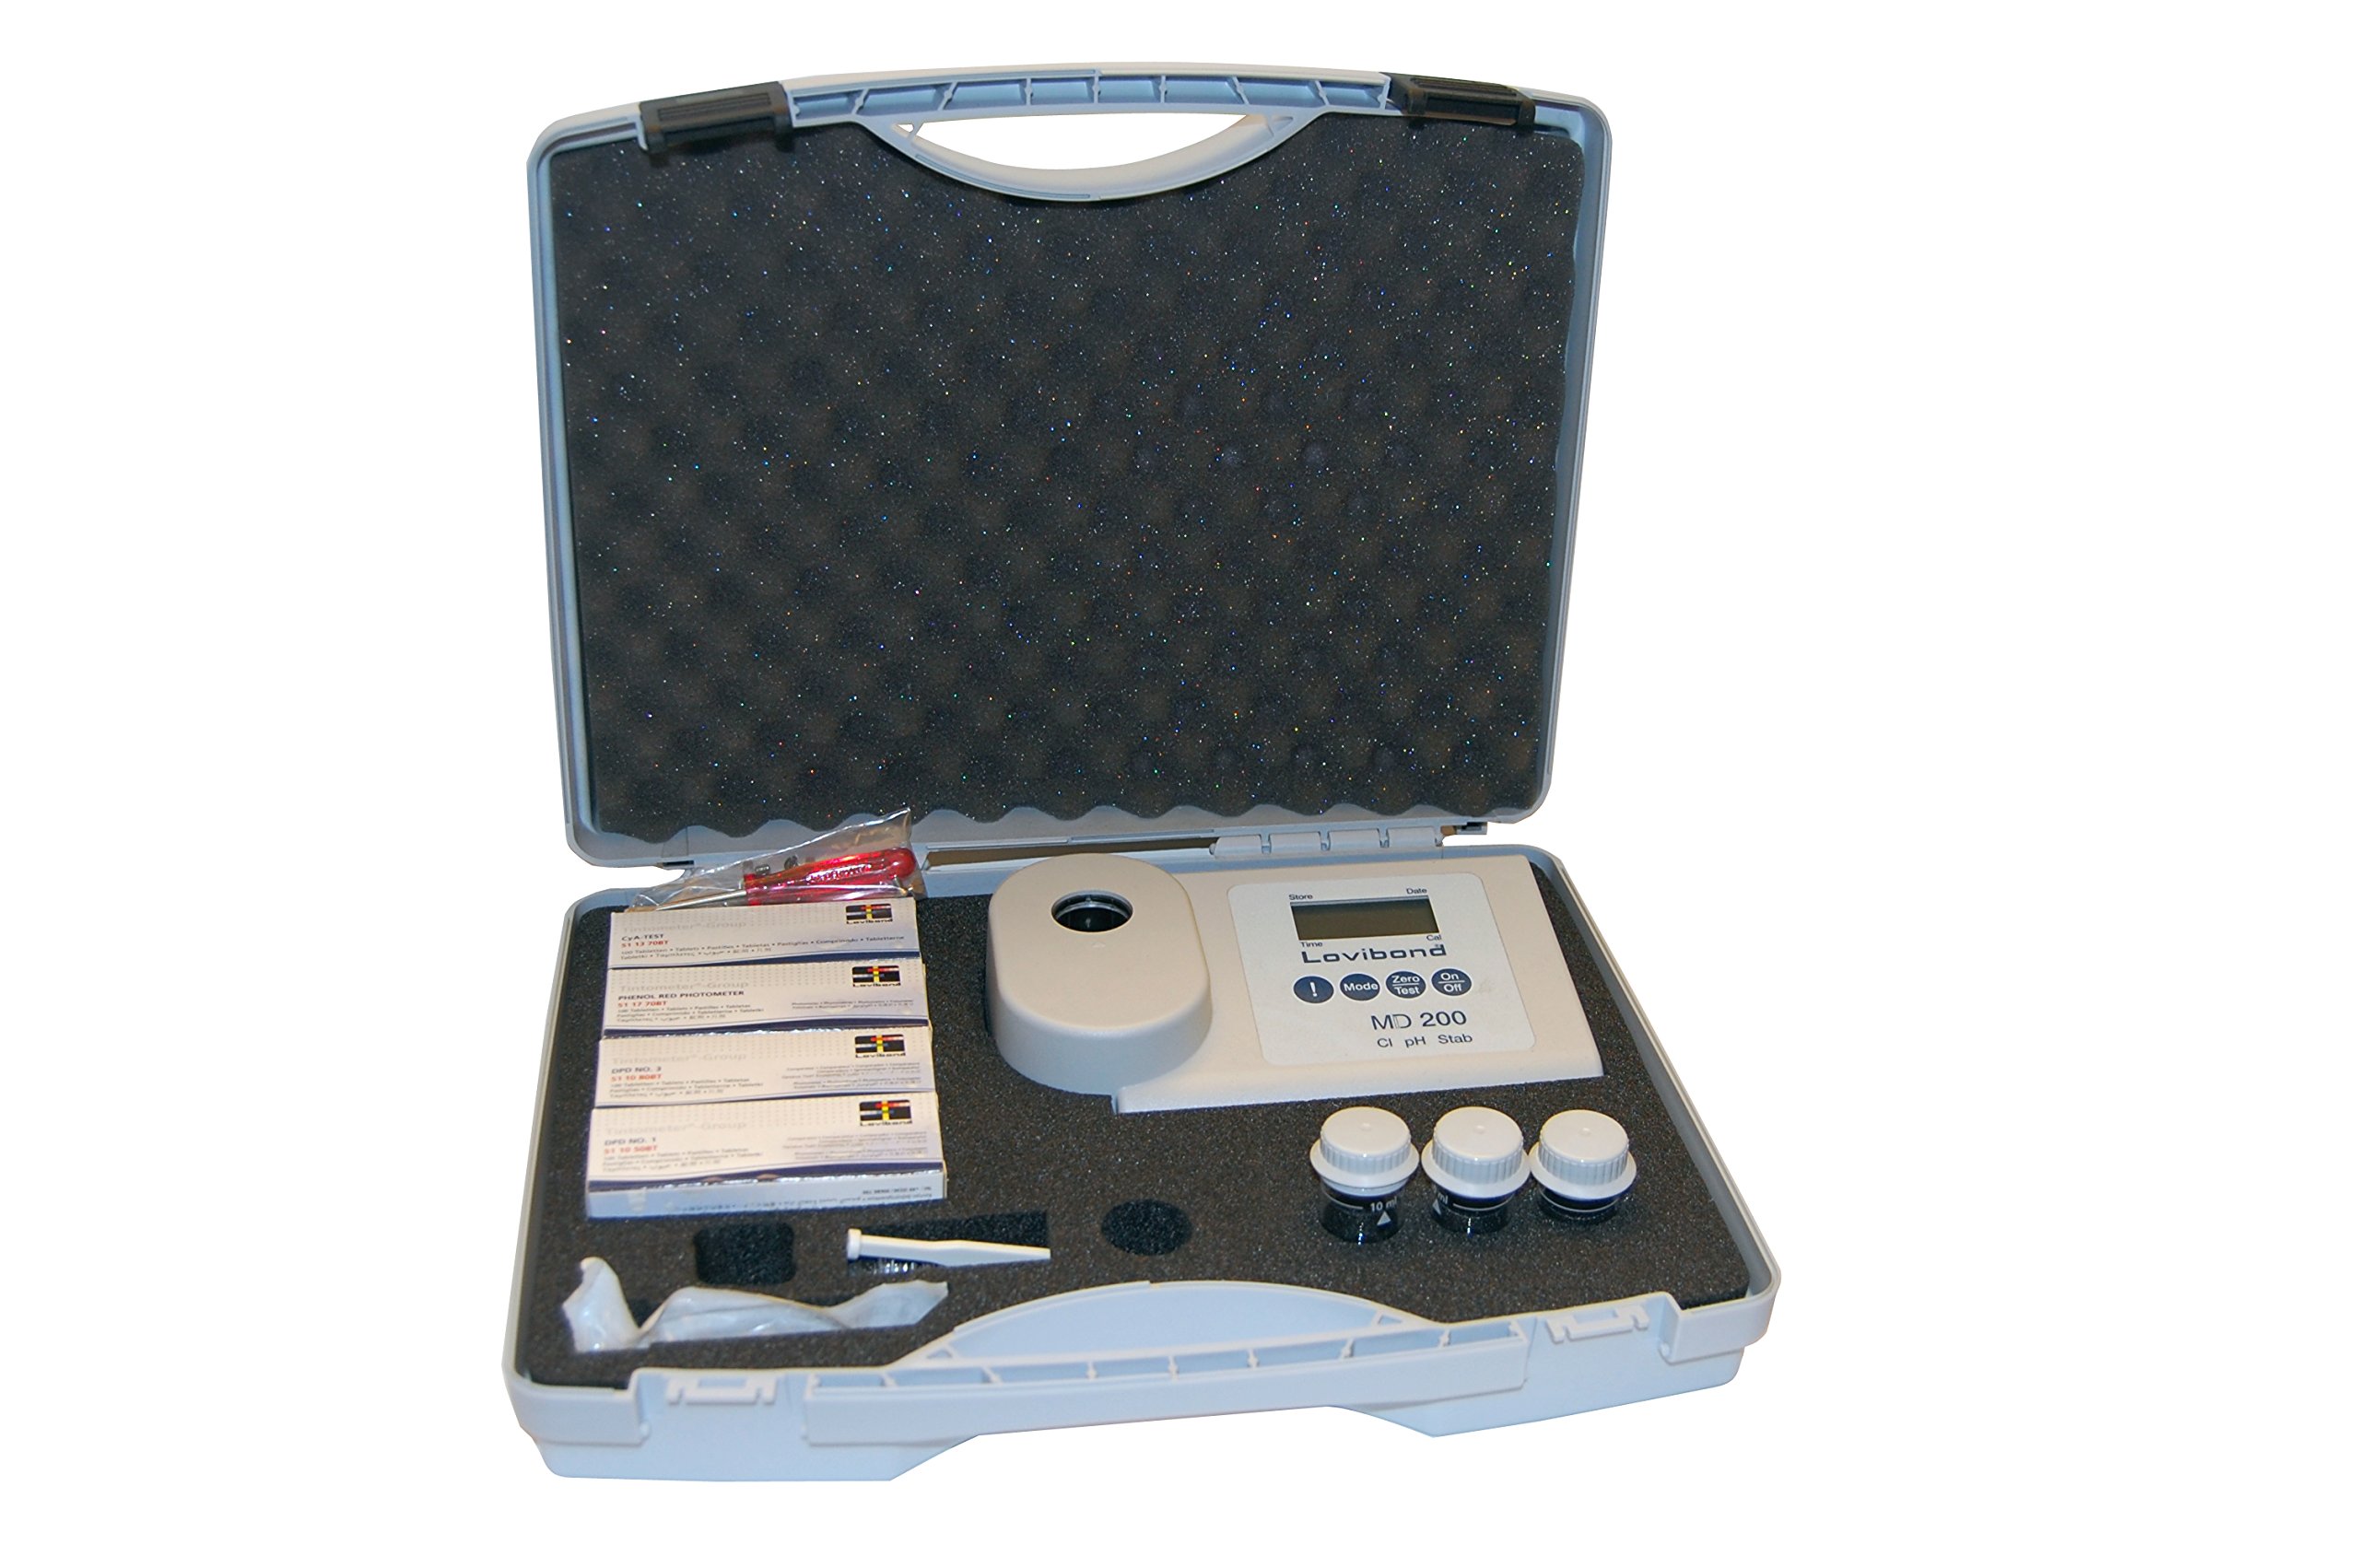
This image displays the Lovibond MD 200 Photometer kit, neatly organized within its protective carrying case. The photometer device, various test tablets, and other essential accessories are visible, ready for use.
2. Setup
2.1 Unpacking
Carefully unpack all components from the carrying case. Verify that all items listed in the packing contents are present and undamaged. The kit typically includes the MD 200 Photometer, cuvettes, and various test tablets.
2.2 Battery Installation
The Lovibond MD 200 Photometer requires batteries for operation, which are not included in the package. Locate the battery compartment on the device, typically on the rear or bottom. Insert the required batteries, ensuring correct polarity (+/-) as indicated inside the compartment. Close the battery compartment securely.
2.3 Initial Checks
Before first use, ensure the photometer's display is clear and functional. Check that the cuvettes are clean and free from scratches or residue. Familiarize yourself with the buttons and display layout.
3. Operating Instructions
The MD 200 Photometer operates on the principle of photometric analysis, measuring the intensity of light passing through a treated water sample. The specific test tablets react with the water sample to produce a color, the intensity of which is proportional to the concentration of the substance being measured.
3.1 General Measurement Procedure
- Power On: Press the ON/OFF button to switch on the photometer.
- Select Test: Use the appropriate buttons to select the desired test (Chlorine, pH, or Cyanuric Acid).
- Prepare Blank: Fill a clean cuvette with the untreated water sample up to the marked line. Insert it into the photometer's sample chamber, ensuring the orientation mark aligns. Close the lid.
- Zero Calibration: Press the ZERO button to calibrate the device with the blank sample. The display will show "0.00" or similar, indicating successful calibration.
- Prepare Treated Sample: Remove the blank cuvette. Take a new, clean cuvette and fill it with the water sample. Add the specific test tablet(s) for the selected parameter (e.g., DPD No. 1 for Free Chlorine, Phenol Red for pH). Crush the tablet(s) thoroughly using a clean stirring rod and allow it to dissolve completely. Observe the specified reaction time (refer to the tablet packaging or specific test instructions).
- Measure Sample: Insert the treated sample cuvette into the photometer's sample chamber, aligning the mark. Close the lid.
- Read Result: Press the TEST button. The photometer will display the measurement result in the appropriate units (e.g., mg/L for chlorine, pH units).
- Record Data: Note down the measurement result for your records.
- Power Off: Press the ON/OFF button to switch off the photometer after use.
3.2 Specific Test Considerations
- Chlorine: Use DPD No. 1 tablets for Free Chlorine and DPD No. 3 tablets (after DPD No. 1) for Total Chlorine. Ensure complete dissolution and observe reaction times.
- pH: Use Phenol Red tablets. The color development is immediate.
- Cyanuric Acid: Use CYA-Test tablets. This test often requires a longer reaction time and specific mixing instructions.
Always refer to the specific instructions provided with each type of test tablet for accurate reaction times and procedures.
4. Maintenance
4.1 Cleaning the Photometer
Wipe the exterior of the photometer with a soft, damp cloth. Do not use abrasive cleaners or solvents. Ensure no water enters the battery compartment or sample chamber. Keep the sample chamber clean and free of dust or debris, as this can affect measurement accuracy.
4.2 Cleaning Cuvettes
After each use, thoroughly rinse the cuvettes with clean water. Use a cuvette brush if necessary to remove any residue. Dry them completely with a lint-free cloth before storage. Scratched or dirty cuvettes can lead to inaccurate readings and should be replaced.
4.3 Storage
Store the photometer and its accessories in the original carrying case in a cool, dry place, away from direct sunlight and extreme temperatures. Remove batteries if the device will not be used for an extended period to prevent leakage.
4.4 Handling Test Tablets
Keep test tablets in their original packaging, sealed, and away from moisture and light. Do not touch the tablets with your fingers, as oils and contaminants can affect results. Use fresh tablets for each test.
5. Troubleshooting
| Problem | Possible Cause | Solution |
|---|---|---|
| Photometer does not power on. | Dead or incorrectly inserted batteries. | Check battery polarity. Replace with fresh batteries. |
| Inaccurate or inconsistent readings. | Dirty/scratched cuvettes, expired/incorrect test tablets, insufficient mixing, incorrect reaction time, sample chamber contamination. | Clean or replace cuvettes. Use fresh, correct tablets. Ensure tablets are fully dissolved. Observe correct reaction times. Clean sample chamber. |
| "Error" message on display. | Cuvette not inserted correctly, lid not closed, internal fault. | Ensure cuvette is properly seated and lid is closed. Power off and on. If error persists, contact support. |
| Display shows "0.00" after adding reagent. | Zero calibration performed with treated sample, or no reagent added. | Ensure zero calibration is done with untreated water. Verify reagent addition. |
6. Specifications
- Model: Lovibond MD 200 Photometer
- Parameters Measured: Chlorine (Free, Total), pH, Cyanuric Acid
- Brand: Lovibond
- Manufacturer: Lovibond
- Batteries Included: No
- ASIN: B078XL24W8
- Product Launch Date (Amazon.fr): January 14, 2018
- Production Status: Not discontinued by manufacturer
7. Warranty and Support
The Lovibond MD 200 Photometer includes instructions and warranty information within its carrying case. For detailed warranty terms and conditions, please refer to the documentation provided with your product. In case of technical issues, questions regarding operation, or warranty claims, please contact Lovibond customer support directly. Keep your purchase receipt and product serial number readily available when contacting support.
For further assistance, you may visit the official Lovibond website or consult their authorized distributors.


