Important Safety Information
Please read and understand all instructions before beginning installation. Failure to follow these instructions may result in electric shock, fire, or other injuries that could be hazardous or fatal. All wiring connections must be in accordance with local codes, ordinances, or the National Electric Code (NEC). Consult a qualified electrical inspector or electrician if you are unfamiliar with wiring methods.
WARNING: Disconnect power at the main circuit breaker or fuse box before installation or servicing. Do not connect this light kit to an ungrounded electrical system. Ensure all connections are secure and properly insulated.
Product Overview
The Progress Lighting AirPro 3-Light Universal Ceiling Fan Light Kit is designed to provide illumination and enhance the aesthetic of your ceiling fan. It features alabaster-style glass shades and a brushed nickel finish, suitable for various interior styles. This kit is compatible with Progress Lighting AirPro ceiling fans and other fans that accept an accessory light with quick-connect wiring.
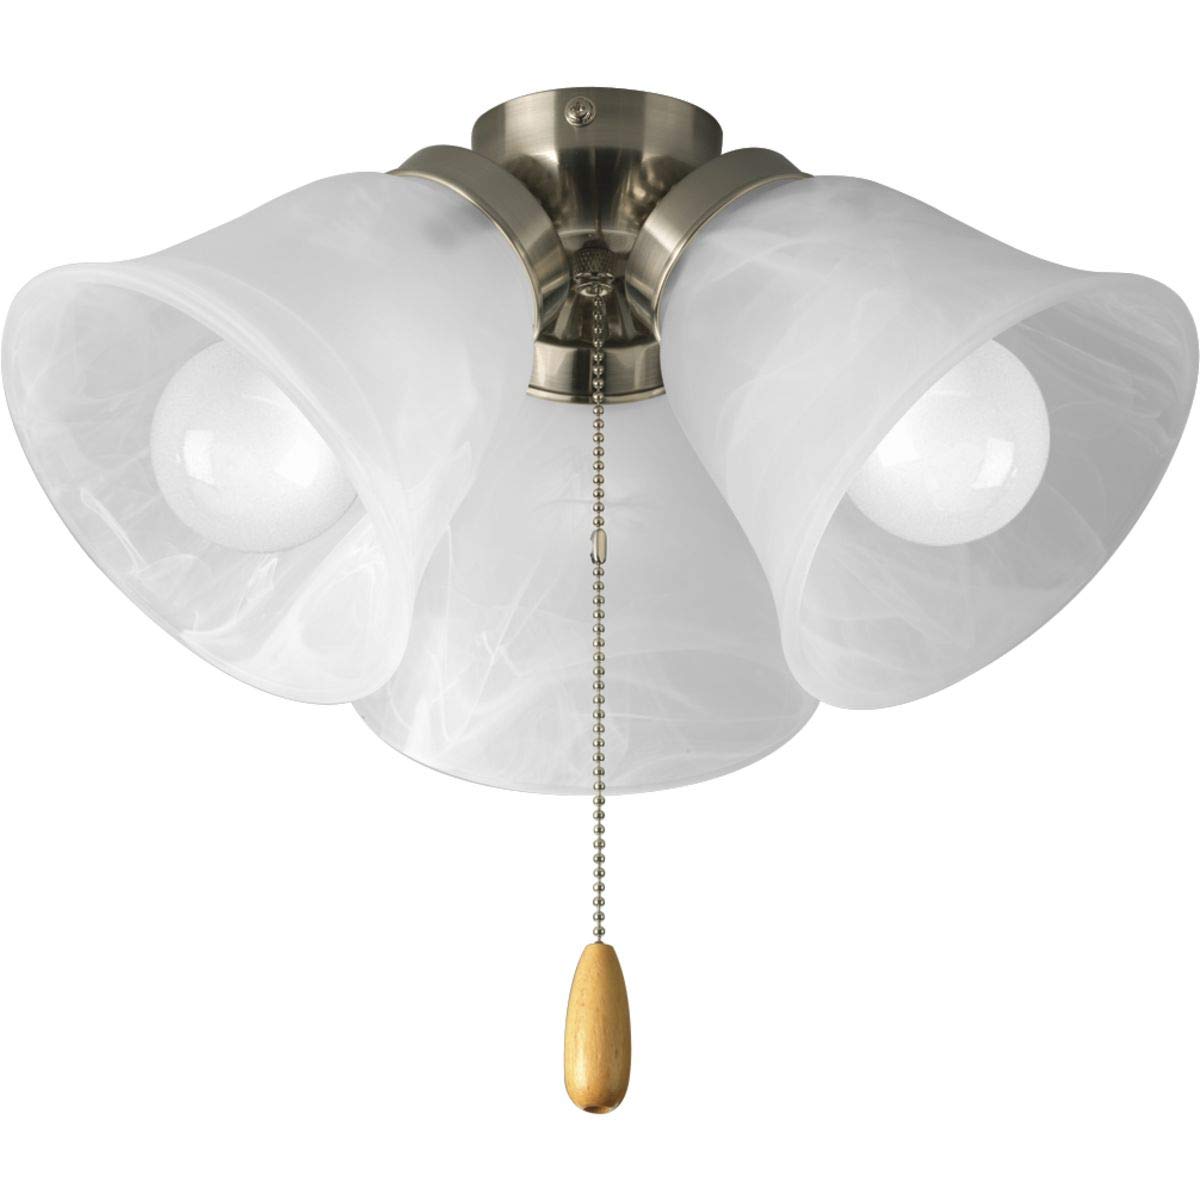
Image: The AirPro 3-Light Universal Ceiling Fan Light Kit, featuring three alabaster-style glass shades and a brushed nickel finish.

Image: Close-up of the brushed nickel pull chain with a maple fob, included for operating the light kit.
Package Contents
Verify that all components are present before beginning installation:
- Ceiling Fan Light Kit Assembly
- 3 x LED Light Bulbs (3000K, 800 lumen each)
- Installation Sheet
Installation Instructions (Setup)
This light kit is designed for use with Progress Lighting AirPro ceiling fans and other fans that accept an accessory light with quick-connect wiring. Ensure your ceiling fan is compatible before proceeding.
- Power Disconnection: Before starting any installation, ensure the power supply to the ceiling fan is completely turned off at the circuit breaker.
- Prepare Fan: Follow your ceiling fan's instructions to prepare it for light kit attachment. This typically involves removing any existing bottom cover or cap.
- Connect Wiring: Utilize the quick-connect wiring system to attach the light kit to the ceiling fan. Ensure a secure and proper connection as per the fan's manual.
- Mount Light Kit: Secure the light kit to the fan motor housing using the provided hardware.
- Install Shades: Carefully attach the alabaster-style glass shades to the light kit.
- Insert Bulbs: Screw the three included LED bulbs into the sockets.
- Restore Power: Once installation is complete and all components are secure, restore power at the circuit breaker.

Image: Diagram illustrating the dimensions of the light kit: 13-5/8 inches wide by 8-1/4 inches high.
Video: An overview of Progress Lighting's Brushed Nickel Design+Series, showcasing various lighting fixtures in this finish. This video provides a visual context of the product's style and finish.
Operating Instructions
The light kit is operated independently from the fan motor using the attached pull chain.
- Turning On/Off: Pull the chain once to turn the lights on. Pull the chain again to turn the lights off.
- Dimming Functionality: This light kit is dimmer-compatible when paired with dimmable light bulbs and a compatible dimmer light switch (sold separately). To use the dimming feature, ensure you have installed dimmable bulbs and connected the light kit to a dimmer switch.

Image: A hand adjusting a dimmer switch, illustrating the dimmable capability of the light kit when used with compatible components.

Image: Three LED bulbs, each rated at 9W and 800 lumens, which are included with the light kit.
Maintenance
To maintain the appearance and functionality of your light kit:
- Cleaning: Always disconnect power before cleaning. Wipe the light kit and shades with a soft, dry cloth. Do not use abrasive cleaners or solvents, as they may damage the finish or glass.
- Bulb Replacement: Ensure power is off before replacing bulbs. Allow bulbs to cool before touching. Use only the specified bulb type and wattage.
Troubleshooting
If you experience issues with your light kit, refer to the following common problems and solutions:
- Lights do not turn on:
- Check if the power supply to the fan is on at the circuit breaker.
- Ensure bulbs are securely screwed into their sockets.
- Verify that the pull chain is fully engaged.
- Inspect wiring connections for looseness or damage.
- Lights flicker:
- Ensure bulbs are fully tightened.
- If using a dimmer, confirm that the bulbs are dimmable and compatible with the dimmer switch.
If problems persist, contact customer support or a qualified electrician.
Specifications
| Feature | Detail |
|---|---|
| Brand | Progress Lighting |
| Model Number | P2642-09WB |
| Color | Brushed Nickel |
| Material | Alloy Steel, Glass |
| Style | 3-Light Transitional |
| Light Fixture Form | Ceiling |
| Room Type | Bedroom, Living Room |
| Product Dimensions | 8"L x 8"W x 8"H (Overall) |
| Shade Dimensions | 5-3/8" x 4-7/8" |
| Specific Uses | Residential |
| Indoor/Outdoor Usage | Indoor |
| Power Source | Corded Electric |
| Installation Type | Semi Flush Mount |
| Special Feature | Dimmable (with compatible bulbs/switch) |
| Control Method | Pull Chain (Remote Control mentioned in specs, but pull chain is primary for this model) |
| Light Source Type | LED (Incandescent also mentioned, but LED bulbs are included) |
| Finish Type | Brushed |
| Shade Material | Glass |
| Number of Light Sources | 3 |
| Voltage | 120 Volts |
| Light Color | Warm White (3000 Kelvin) |
| Brightness | 800 Lumens (each bulb) |
| Wattage | 9 watts (each bulb) |
| Bulb Base | E26 |
| Efficiency | ENERGY STAR Certified, Title 24 Certified |
| Assembly Required | Yes |
| Item Weight | 3.09 Pounds |
| UPC | 785247222001 |
Warranty Information
This Progress Lighting product comes with a 1-year limited manufacturer's warranty. This warranty covers defects in materials and workmanship under normal use. Please retain your proof of purchase for warranty claims. For specific details regarding coverage and how to make a claim, refer to the warranty documentation included with your product or visit the official Progress Lighting website.
Customer Support
For technical assistance, missing parts, or any questions regarding your Progress Lighting AirPro 3-Light Universal Ceiling Fan Light Kit, please contact Progress Lighting customer support.
- Website: Visit the official Progress Lighting website for FAQs and support resources.
- Contact: Refer to the contact information provided in the product packaging or on the official website for phone or email support.


