Introduction
This manual provides essential information for the safe and effective operation, maintenance, and troubleshooting of your GOXAWEE 240W Rotary Tool, Model 1337C-IT. Please read this manual thoroughly before using the tool to ensure proper handling and to prevent injury or damage.
Safety Instructions
Always follow basic safety precautions to reduce the risk of fire, electric shock, and personal injury.
- Wear Eye Protection: Always wear safety goggles or safety glasses with side shields.
- Wear Hearing Protection: Use ear protection during extended operation.
- Secure Workpiece: Always clamp or secure the workpiece to prevent movement during operation.
- Keep Work Area Clean: Cluttered areas invite accidents.
- Avoid Accidental Starting: Ensure the switch is in the OFF position before plugging in the tool.
- Do Not Overreach: Maintain proper footing and balance at all times.
- Disconnect Power: Always disconnect the tool from the power source before changing accessories or performing maintenance.
- Use Correct Accessories: Only use accessories designed for this tool and ensure they are properly installed.
- Inspect Tool and Accessories: Before each use, check for damaged parts, misalignment, or any condition that may affect operation.
- Store Safely: Store the tool out of reach of children and untrained persons.
Product Overview
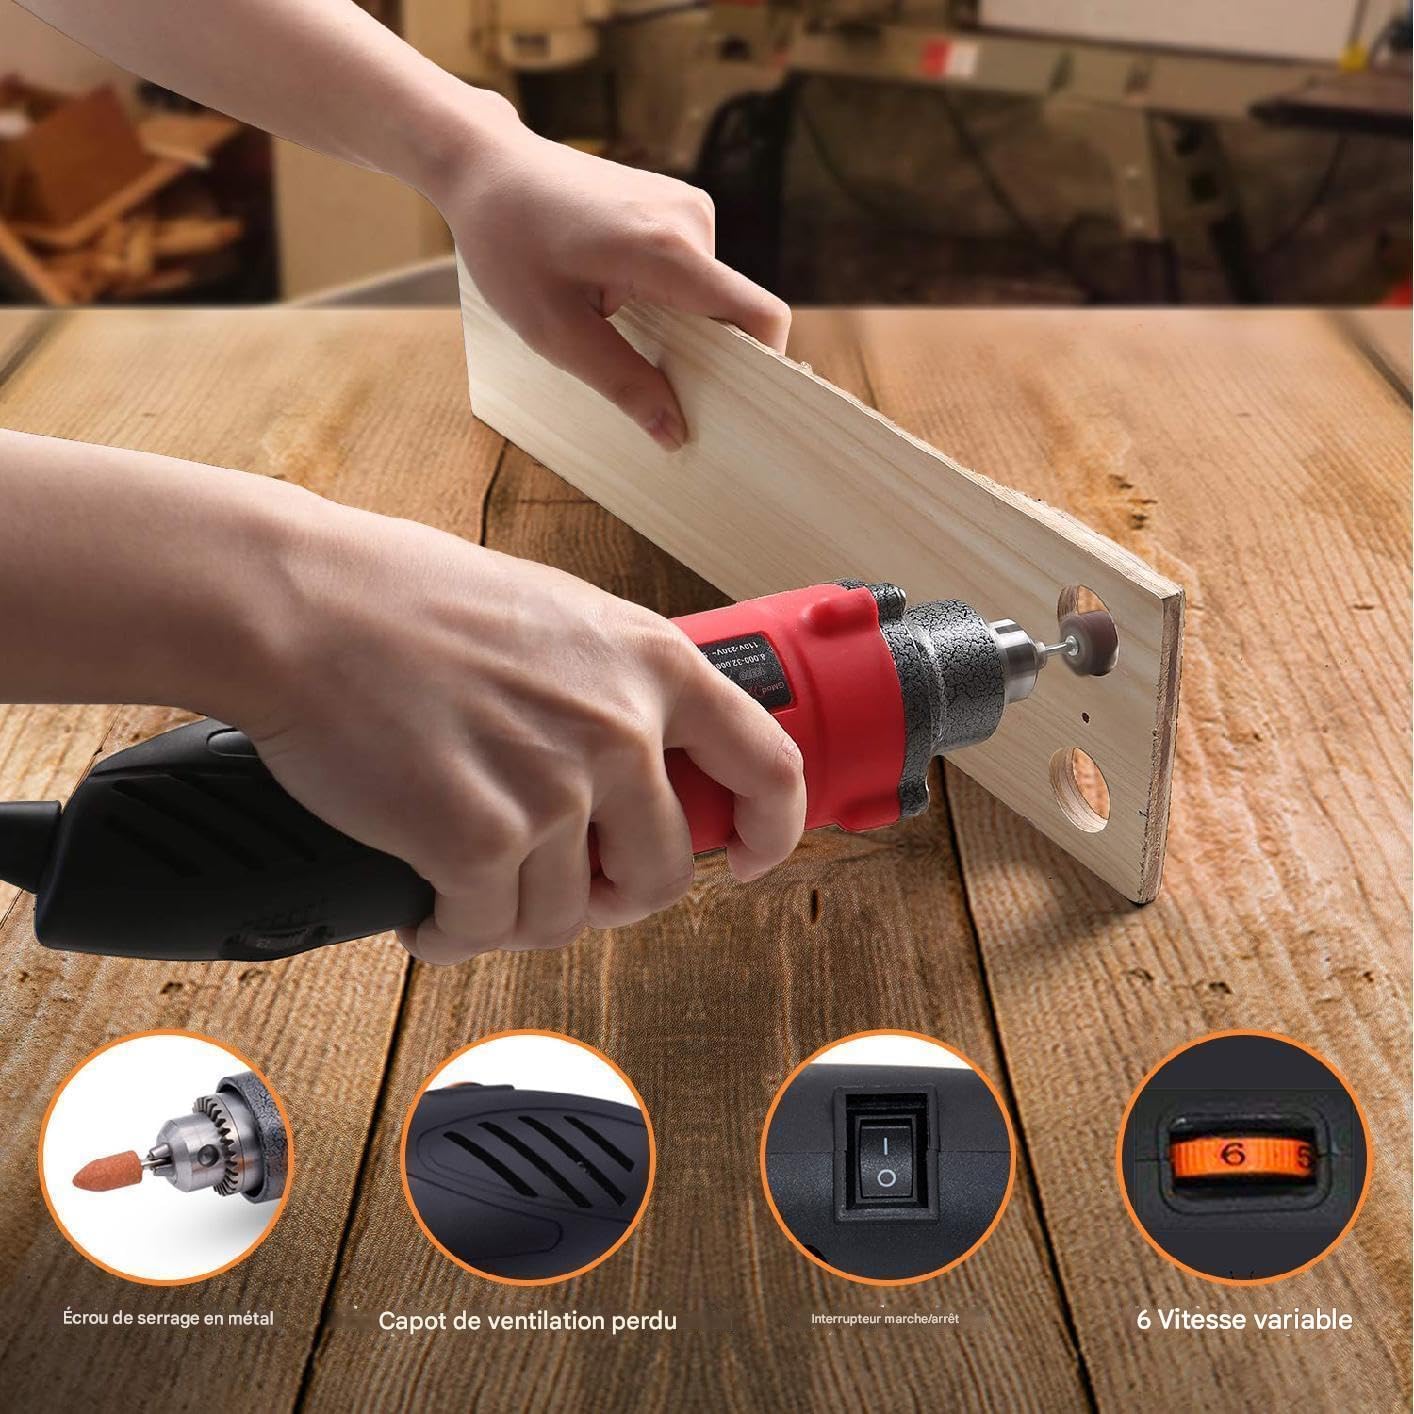
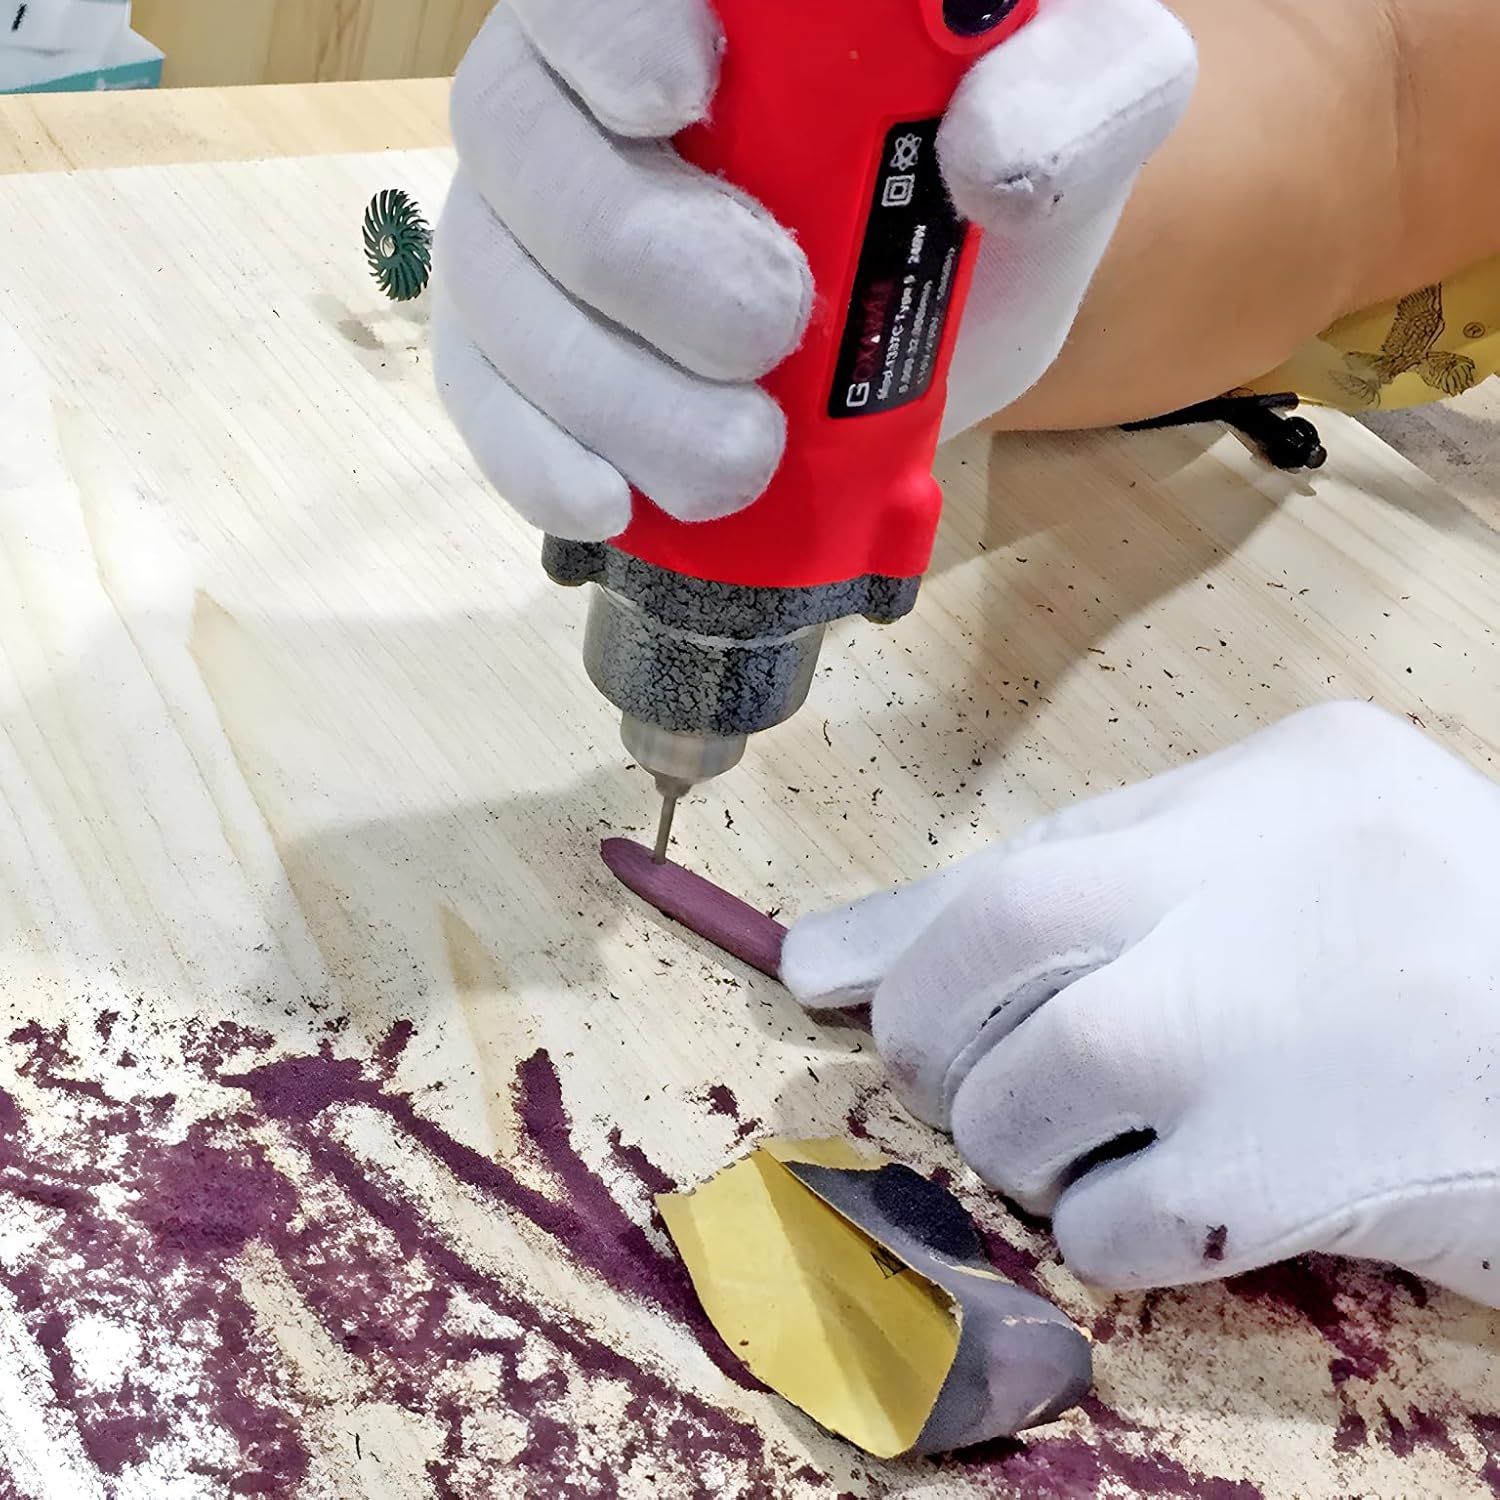
The GOXAWEE 240W Rotary Tool is a versatile electric multi-tool designed for various applications including grinding, polishing, cutting, engraving, and drilling. It features a powerful 240W motor and a 6-step variable speed control.

Key Features:
- Powerful Motor: 240W for demanding tasks.
- Variable Speed Control: 6 steps, ranging from 8000 to 32000 RPM, for optimal control across different materials and applications.
- Wide Collet Range: 0.5-6mm metallic chuck for compatibility with a variety of accessories.
- Durable Construction: Designed for longevity and consistent performance.
- Efficient Cooling: Large thermal fan for rapid heat dissipation, extending tool life.
Setup
Unpacking and Inspection:
Carefully remove the tool and all accessories from the packaging. Inspect for any damage that may have occurred during shipping. Ensure all components listed in the "Included Components" section are present.
Attaching Accessories:
Proper accessory installation is crucial for safe and effective operation. Ensure the accessory shank is inserted into the chuck for at least 3/4 of its length.

- Step 1: Press the chuck nut and turn the chuck to open the jaws.
- Step 2: Insert the desired accessory into the chuck. Ensure the accessory shank is inserted deeply enough for a secure grip. Press the chuck nut and use the provided small key to firmly tighten the chuck.
- Step 3 (For smaller collets): If using a smaller collet, remove the existing shaft core and insert the appropriate collet.
- Step 4 (For smaller collets): Tighten the shaft cap securely.
Always ensure the accessory is centered and securely fastened before starting the tool.
Operating Instructions
Power Connection:
Ensure the tool's ON/OFF switch is in the 'OFF' position before plugging the power cord into a suitable 220-240V electrical outlet.
Adjusting Speed:

The tool features a 6-step variable speed selector (Figure 3) located on the top of the housing. Rotate the dial to select the desired speed setting, ranging from 8000 RPM (setting 1) to 32000 RPM (setting 6). Always select a speed appropriate for the material and accessory being used.
Starting and Stopping:
- To start the tool, slide the ON/OFF switch to the 'ON' position.
- To stop the tool, slide the ON/OFF switch to the 'OFF' position.
- Allow the tool to reach full speed before contacting the workpiece.
General Usage Tips:
- Apply light, consistent pressure. Excessive pressure can cause the tool to bog down, overheat, or damage the accessory/workpiece.
- Move the tool smoothly and continuously across the workpiece to prevent gouging or uneven results.
- For delicate work, start with lower speeds and gradually increase as needed.
- Always test on a scrap piece of material before working on your final project.
Application Examples:


Maintenance
Regular maintenance ensures the longevity and optimal performance of your rotary tool. Always disconnect the tool from the power source before performing any maintenance.
Cleaning:
- After each use, clean the tool housing with a soft, damp cloth. Do not use harsh chemicals or abrasive cleaners.
- Use compressed air to clear dust and debris from the ventilation openings.
- Clean the chuck jaws regularly to ensure proper gripping of accessories.
Carbon Brush Replacement:
The carbon brushes are wear items and will need replacement over time. The tool includes two spare carbon brushes.

- Locate the external carbon brush caps on the tool housing (refer to Figure 1).
- Unscrew the caps using a flathead screwdriver or coin.
- Carefully remove the old carbon brushes.
- Insert the new carbon brushes, ensuring they are oriented correctly.
- Replace and tighten the carbon brush caps.
Replace both brushes at the same time to ensure even wear and performance.
Troubleshooting
| Problem | Possible Cause | Solution |
|---|---|---|
| Tool does not start. | No power supply. ON/OFF switch not engaged. Worn carbon brushes. | Check power outlet and cord. Ensure switch is in 'ON' position. Replace carbon brushes. |
| Tool loses power or runs intermittently. | Loose power connection. Worn carbon brushes. Overheating. | Check power cord connection. Replace carbon brushes. Allow tool to cool down; ensure ventilation is clear. |
| Excessive vibration or noise. | Accessory not properly installed or damaged. Bent accessory shank. Internal component issue. | Re-install or replace accessory. Ensure it is centered. Replace bent accessories. If problem persists, contact customer support. |
| Tool overheats quickly. | Blocked ventilation. Excessive load/pressure. Continuous prolonged use. | Clean ventilation openings. Reduce pressure; use appropriate speed. Allow tool to rest periodically. |
If you encounter problems not listed here or if solutions do not resolve the issue, please contact GOXAWEE customer support.
Specifications
| Brand | GOXAWEE |
| Model Number | 1337C-IT |
| Rated Input Power | 240W |
| Voltage | 220-240V |
| Frequency | 50/60Hz |
| No-Load Speed | 8000-32000 RPM (6-step variable) |
| Collet Capacity | 0.5-6 mm |
| Product Weight | 1.18 kg |
| Dimensions (L x W x H) | Approx. 30 x 10 x 8 cm |
| Power Source | Corded Electric |
Warranty and Support
GOXAWEE products are manufactured to high-quality standards. For warranty information, please refer to the warranty card included with your purchase or visit the official GOXAWEE website. For technical support, replacement parts, or service inquiries, please contact GOXAWEE customer service through their official channels.
Contact Information: Please refer to the contact details provided on the GOXAWEE official website or your purchase documentation.

