Introduction
Welcome to the user manual for your new Brother LX3817 Lightweight and Full-Size Sewing Machine. This machine is designed to offer ease of use and versatility for various sewing projects, from basic repairs to creative designs. With 17 built-in stitches, including a blind hem stitch and a four-step auto-size buttonhole, it provides essential functions for both beginners and experienced users. Please read this manual thoroughly to ensure safe and optimal operation of your sewing machine.
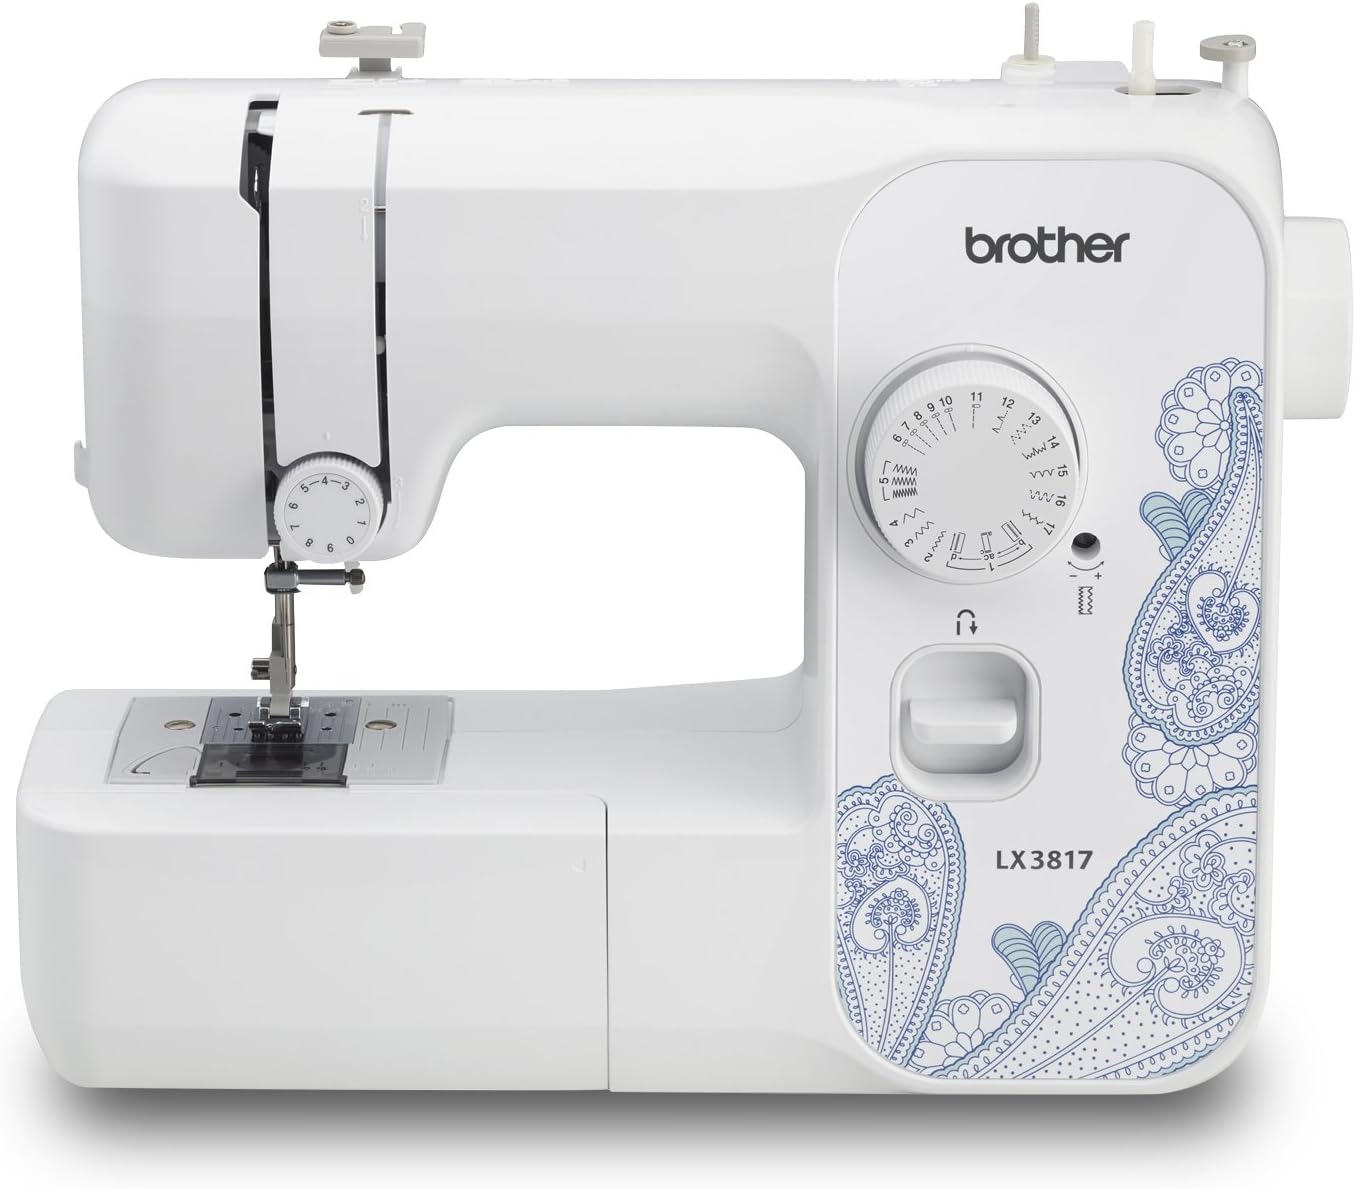
Figure 1: Brother LX3817 Lightweight and Full-Size Sewing Machine.
1. Setup
Before you begin sewing, ensure your machine is properly set up.
1.1 Unpacking and Placement
- Carefully remove the sewing machine and all accessories from the packaging.
- Place the machine on a stable, flat surface with adequate lighting.
- Ensure the power switch is in the OFF position before plugging in the machine.
- Connect the power cord and foot controller to the machine and then to a suitable power outlet.
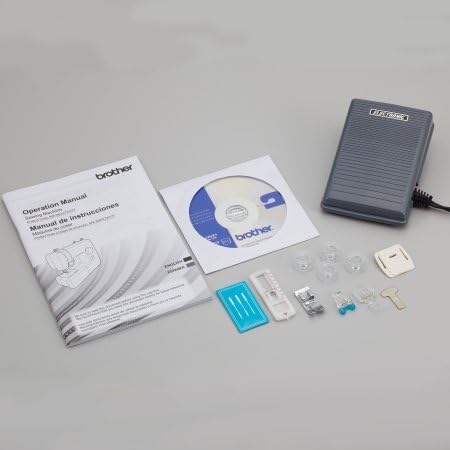
Figure 2: The Brother LX3817 sewing machine with its included accessories, including the foot controller and operation manual.
1.2 Winding the Bobbin
Proper bobbin winding is crucial for consistent stitching.
- Place a spool of thread on the spool pin.
- Guide the thread through the thread guide and around the bobbin winding tension disc.
- Place an empty bobbin onto the bobbin winder spindle.
- Wind the thread a few times manually around the bobbin.
- Push the bobbin winder spindle to the right.
- Press the foot controller to start winding. Stop when the bobbin is full.
- Cut the thread and push the bobbin winder spindle back to the left.
1.3 Threading the Machine
Follow these steps to thread the upper thread correctly:
- Raise the presser foot lever.
- Place the thread spool on the spool pin.
- Guide the thread through the upper thread guide.
- Bring the thread down through the tension slot, then up and around the take-up lever.
- Guide the thread down to the needle bar.
- Thread the needle from front to back.

Figure 3: Detailed view of the threading path on the Brother LX3817, indicating the correct sequence for upper thread installation.
1.4 Inserting the Bobbin
The Brother LX3817 features a convenient top-loading bobbin system.
- Open the bobbin cover plate.
- Insert the wound bobbin into the bobbin case, ensuring the thread unwinds in the correct direction (usually counter-clockwise).
- Guide the bobbin thread through the tension spring.
- Close the bobbin cover plate.
2. Operating Instructions
Understand the basic operations to start your sewing projects.
2.1 Stitch Selection
The LX3817 offers 17 built-in stitches. To select a stitch, turn the stitch selection dial to the desired stitch number or symbol.
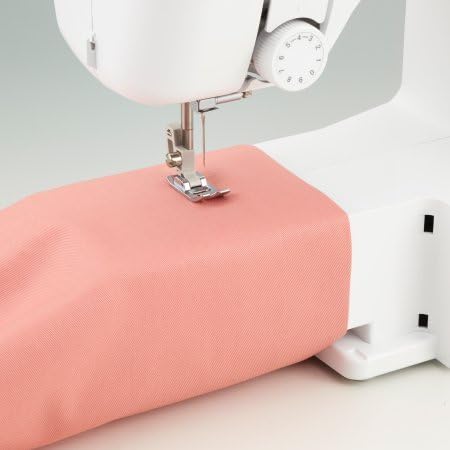
Figure 4: The stitch selection dial on the Brother LX3817, showing various stitch patterns and numbers.
2.2 Sewing Basics
- Place the fabric under the presser foot.
- Lower the presser foot lever.
- Gently press the foot controller to start sewing. The machine will begin stitching.
- To sew in reverse (for securing stitches), press and hold the reverse sewing lever.
- Guide the fabric gently with your hands, but do not pull or push it forcefully.

Figure 5: The Brother LX3817 sewing machine actively stitching fabric, demonstrating its operational use.
2.3 Buttonhole Function
The machine includes a four-step auto-size buttonhole feature.
- Attach the buttonhole foot.
- Set the stitch selection dial to the buttonhole settings (usually marked with 'A', 'B', 'C', 'D' or similar symbols).
- Follow the specific instructions in the detailed operation manual for precise buttonhole creation.

Figure 6: A buttonhole foot accessory positioned next to fabric with completed buttonholes, illustrating the machine's capability.
3. Maintenance
Regular maintenance ensures the longevity and smooth operation of your sewing machine.
3.1 Cleaning the Machine
- Always unplug the machine before cleaning.
- Remove the needle plate and bobbin case.
- Use a small brush to remove lint and dust from the feed dogs and bobbin area.
- Wipe the exterior of the machine with a soft, dry cloth.
3.2 Needle Replacement
- Turn off and unplug the machine.
- Loosen the needle clamp screw.
- Remove the old needle and insert a new one, ensuring the flat side of the needle faces the back.
- Tighten the needle clamp screw securely.
4. Troubleshooting
Here are solutions to common issues you might encounter:
| Problem | Possible Cause | Solution |
|---|---|---|
| Thread tangling/nesting under fabric | Incorrect upper thread tension or improper threading. | Re-thread the machine completely, ensuring the thread is seated correctly in all guides and tension discs. Adjust upper thread tension if necessary. |
| Skipped stitches | Bent or dull needle, incorrect needle size for fabric, or improper threading. | Replace the needle with a new, correct size needle. Re-thread the machine. |
| Machine not sewing | Power not connected, foot controller not plugged in, or bobbin winder spindle engaged. | Check power connections. Ensure the bobbin winder spindle is pushed to the left (sewing position). |
| Needle breaking | Pulling fabric while sewing, incorrect needle, or needle installed incorrectly. | Do not pull fabric. Use the correct needle for your fabric. Ensure needle is installed correctly. |
5. Specifications
- Brand: Brother
- Model: LX3817
- Product Dimensions: 15 x 6 x 12 inches (Machine), 14"D x 17"W x 7"H (Packaging)
- Item Weight: 10.36 pounds
- Stitch Count: 17 built-in stitches
- Buttonhole: 4-step auto-size buttonhole
- Color: Black
- Manufacturer: BROTHER
- First Available Date: December 4, 2017
6. Warranty & Support
For detailed warranty information and customer support, please refer to the official Brother website or the warranty card included with your product. You can also contact Brother customer service for assistance with any operational issues or parts replacement.
For additional resources, including instructional videos and FAQs, visit the Brother Store on Amazon.