
1. Introduction
The JDIAG JD101 is a compact and user-friendly diagnostic tool designed to read and clear trouble codes from your vehicle's On-Board Diagnostics II (OBDII) system. It supports all OBDII, EOBD, and CAN protocols, providing essential information for vehicle maintenance and repair. This manual provides detailed instructions for the proper use and care of your JD101 scanner.
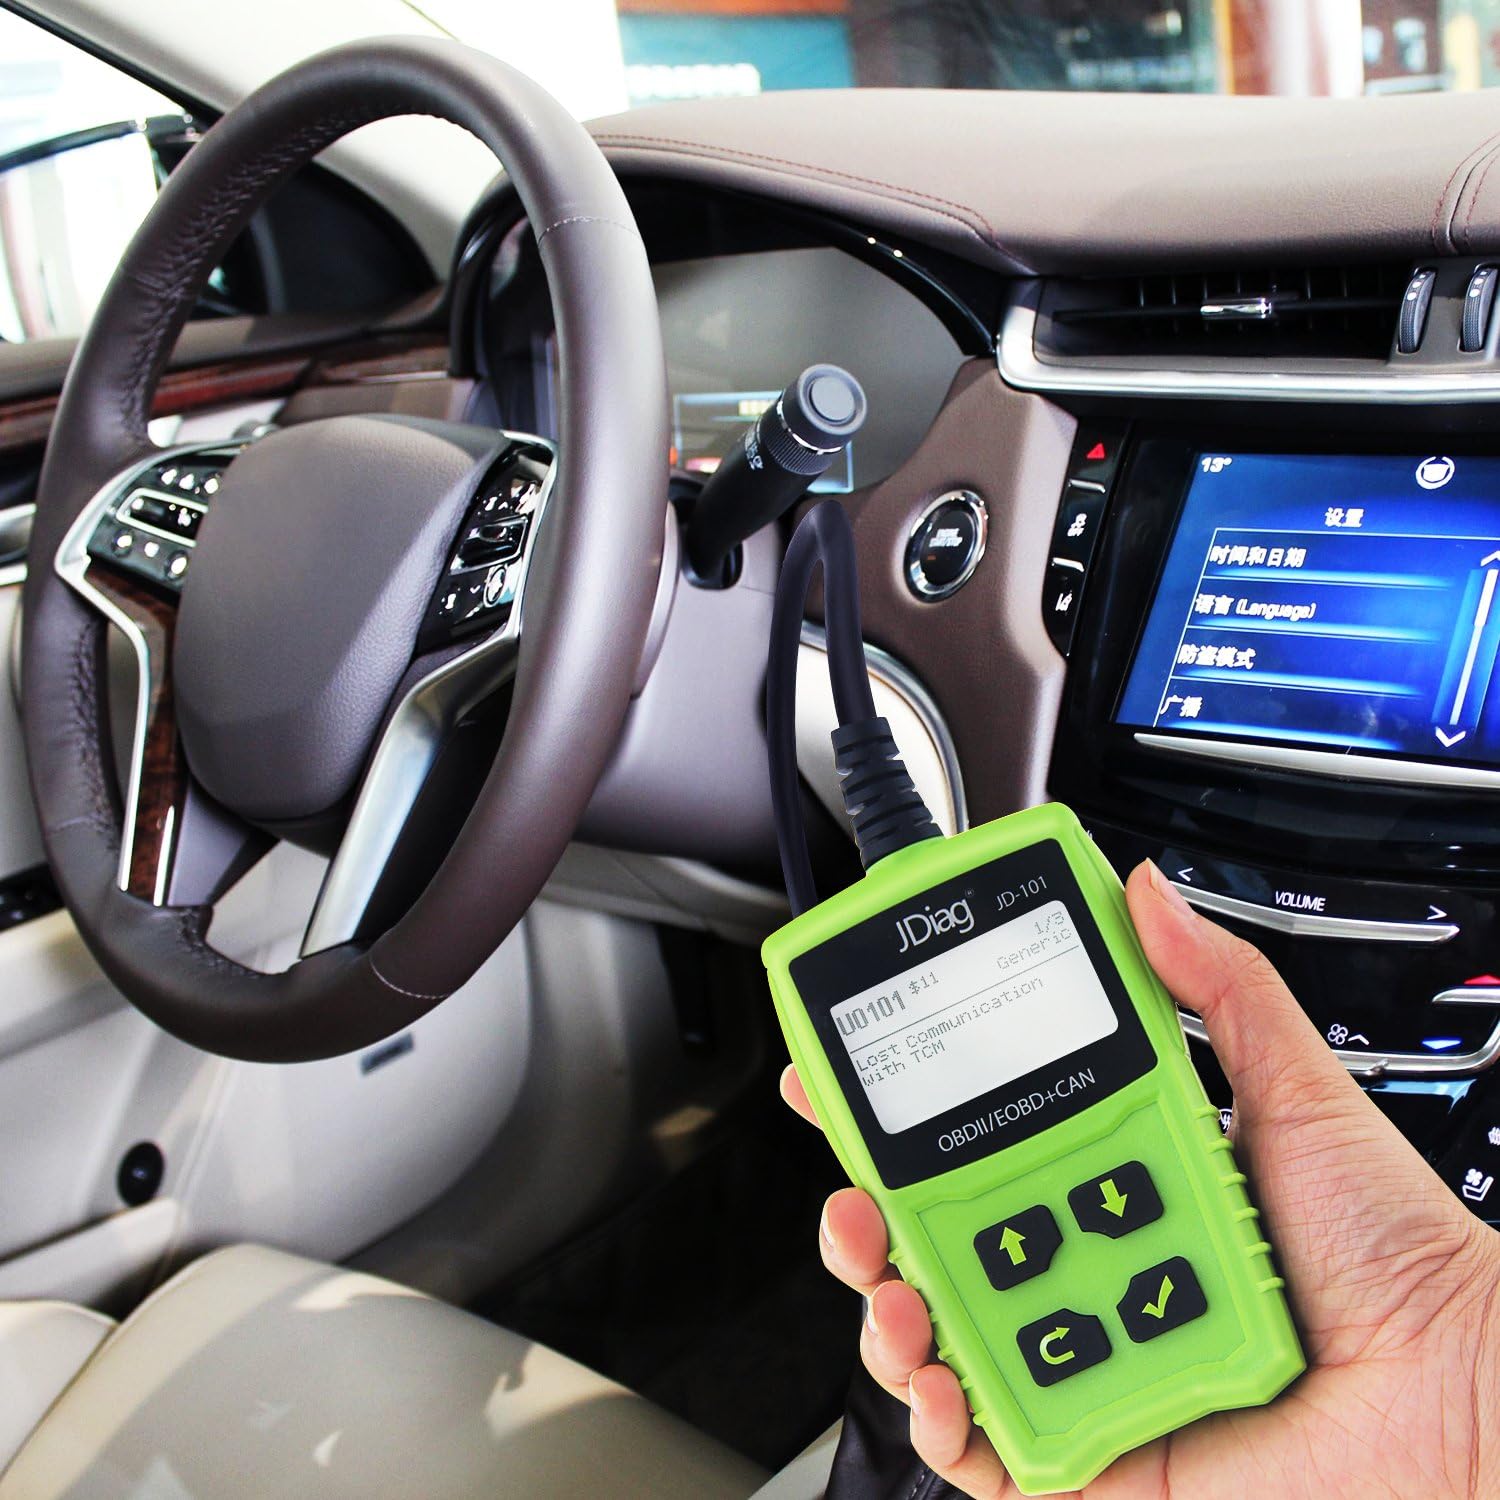
Image 1.1: The JDIAG JD101 OBD2 scanner connected to a vehicle's diagnostic port, showing its display screen. This image illustrates the device in use within a car's interior.
2. Safety Information
Always observe safety precautions when working on a vehicle. Failure to do so may result in personal injury or damage to the vehicle or the diagnostic tool.
- Vehicle Operation: Operate the vehicle in a well-ventilated work area to avoid inhaling exhaust fumes.
- Environmental Protection: Keep the device away from corrosive substances and water to prevent damage.
- Personal Safety: Do not wear loose clothing or jewelry when working on a vehicle. Ensure the vehicle is in park with the parking brake engaged before connecting or disconnecting the tool.
- Vehicle Manual: Always refer to your vehicle's service manual for specific diagnostic procedures and safety precautions.

Image 2.1: The rear view of the JDIAG JD101 scanner, displaying a warning label regarding operation in a well-ventilated area and protection from corrosive substances and water. This image also shows some operational specifications.
3. Product Overview
The JDIAG JD101 scanner features a clear LCD display and intuitive buttons for easy navigation and operation. Familiarize yourself with the components below.

Image 3.1: A detailed diagram of the JDIAG JD101 scanner, highlighting its key components: the LCD Display, Up Scroll Button, Exit Button, Down Scroll Button, Enter Button, and the OBD II Connector. This helps users identify each part of the device.
Device Components:
- LCD Display: Shows test results, menu options, and diagnostic information.
- Up Scroll Button: Moves the cursor up or scrolls up through menu options.
- Down Scroll Button: Moves the cursor down or scrolls down through menu options.
- Exit Button: Returns to the previous menu or cancels an operation.
- Enter Button: Confirms a selection or enters a menu.
- OBD II Connector: Connects the scanner to the vehicle's Data Link Connector (DLC).
4. Features
The JDIAG JD101 offers a range of diagnostic capabilities to help you understand and maintain your vehicle.

Image 4.1: An infographic showcasing the multiple functions of the JDIAG JD101, such as reading and clearing fault codes, retrieving vehicle information, viewing freeze frame data, and supporting online upgrades and multiple languages.
- Wide Vehicle Compatibility: Works on most vehicles manufactured from 1996 onwards that support OBD II and CAN protocols, including domestic and imported models.
- Code Retrieval: Retrieves generic (P0, P2, P3, and U0) and manufacturer-specific (P1, P3, and U1) diagnostic trouble codes (DTCs). Capable of reading pending codes, stored codes, and freeze frame codes.
- MIL Management: Turns off the Malfunction Indicator Light (MIL), clears DTCs, and resets monitors after repairs.
- DTC Definitions: Displays DTC definitions directly on the 2.4-inch LCD screen for quick understanding.
- Live Data Stream: Reads live data stream (PID) with over 130 parameters, providing real-time vehicle sensor information.
- Vehicle Information: Retrieves vehicle information such as Vehicle Identification Number (VIN), Calibration ID (CIN), and Calibration Verification Number (CVN).
- Multilingual Support: Features a multilingual menu and DTC definitions, including English, Spanish, French, Russian, German, Italian, Japanese, and Chinese.
- Online Upgrade: Supports online software upgrades to ensure compatibility with newer vehicles and updated diagnostic protocols.
5. Specifications
Technical specifications for the JDIAG JD101 scanner.

Image 5.1: This image details the driving information and communication protocols supported by the JDIAG JD101, such as AUTO, ISO15765-4 (CAN11/250), EOBD, and OBD II standards. It also provides examples of VIN and Calibration ID retrieval.
| Specification | Detail |
|---|---|
| Brand | JDIAG |
| Model | JD101 |
| Screen Size | 2.4 Inches |
| Power Source | Vehicle's OBDII port (Battery powered) |
| Working Voltage | 12 V |
| External Power | 8.0 to 18.0 V via vehicle battery |
| Operating Temperature | 0 to 60 °C (32 to 140 °F) |
| Storage Temperature | -20 to 70 °C (-4 to 158 °F) |
| Supported Protocols | AUTO, ISO15765-4 (CAN11/250), EOBD, OBD II |
6. Setup
Follow these steps to connect and power on your JDIAG JD101 scanner.
- Locate the DLC: Identify the vehicle's 16-pin Data Link Connector (DLC). This is usually located under the dashboard on the driver's side.
- Ignition ON: Turn the vehicle's ignition key to the "ON" position. The engine should be off.
- Connect Scanner: Plug the OBDII connector of the JD101 scanner firmly into the vehicle's DLC.
- Power On: The scanner will automatically power on and display the main menu. If it does not power on, check the connection and the vehicle's battery.
7. Operating Instructions
This section outlines the basic operations of the JDIAG JD101 scanner.
7.1. Reading Diagnostic Trouble Codes (DTCs)
- From the main menu, use the Up/Down Scroll Buttons to navigate to "Read Codes" and press the Enter Button.
- Select "Stored Codes" to view current fault codes or "Pending Codes" to view intermittent codes.
- The screen will display the DTCs and their definitions. Use the Up/Down Scroll Buttons to view all codes if multiple are present.
7.2. Clearing Diagnostic Trouble Codes (DTCs)
Note: Clearing DTCs will also turn off the Malfunction Indicator Light (MIL) and reset all monitor status to a non-ready state. Ensure the underlying issue has been resolved before clearing codes.
- From the main menu, navigate to "Erase Codes" and press the Enter Button.
- A confirmation message will appear. Select "Yes" and press the Enter Button to confirm.
- The scanner will confirm that the codes have been cleared.
7.3. Viewing Live Data Stream
- From the main menu, navigate to "Live Data" and press the Enter Button.
- Select the desired data parameters (PIDs) to view.
- The screen will display real-time sensor data.
7.4. Viewing Freeze Frame Data
Freeze Frame Data is a snapshot of the vehicle's operating conditions at the moment an emission-related fault occurred.
- From the main menu, navigate to "Freeze Frame" and press the Enter Button.
- The scanner will display the recorded parameters.
7.5. Retrieving Vehicle Information
This function allows you to retrieve the Vehicle Identification Number (VIN), Calibration ID (CIN), and Calibration Verification Number (CVN).
- From the main menu, navigate to "Vehicle Info" and press the Enter Button.
- The scanner will display the available vehicle information.
8. Maintenance
Proper maintenance ensures the longevity and reliable operation of your JDIAG JD101 scanner.
- Cleaning: Use a soft, dry cloth to clean the scanner's casing and screen. Do not use abrasive cleaners or solvents.
- Storage: Store the tool in a cool, dry place, away from direct sunlight and extreme temperatures.
- Handling: Avoid dropping the scanner or subjecting it to strong impacts.
- Cable Inspection: Regularly inspect the OBDII cable for any signs of damage, such as cuts, fraying, or bent pins. Replace if damaged.
- Software Updates: Check the official JDIAG website periodically for available software updates to ensure your scanner has the latest features and vehicle compatibility.
9. Troubleshooting
If you encounter issues with your JDIAG JD101, refer to the following common problems and solutions.
9.1. Scanner Does Not Power On
- Check Connection: Ensure the OBDII connector is securely plugged into the vehicle's DLC.
- Ignition Status: Verify that the vehicle's ignition is in the "ON" position (engine off).
- Vehicle Battery: Confirm the vehicle's battery has sufficient charge.
- DLC Fuse: Check the vehicle's fuse for the DLC (often labeled as cigarette lighter, accessory, or OBD).
9.2. "Link Error" or "No Communication" Message
- Verify Connection: Re-check that the OBDII connector is properly seated in the DLC.
- Ignition Status: Ensure the ignition is ON.
- Vehicle Compatibility: Confirm your vehicle is OBDII compliant (generally 1996 and newer for US vehicles, 2001 for petrol EU vehicles, 2004 for diesel EU vehicles).
- Other Modules: Ensure no other diagnostic tools are connected to the vehicle.
9.3. Incorrect Data Displayed
- Software Update: Ensure the scanner's software is up to date.
- Vehicle Specifics: Some data parameters may vary or not be supported by all vehicles.
10. Warranty and Support
For warranty information, technical assistance, or customer service inquiries regarding your JDIAG JD101 scanner, please refer to the manufacturer's official website or contact their customer support channels. Details are typically provided with your product packaging or on the manufacturer's website.


