1. Introduction
This manual provides comprehensive instructions for the proper use and care of your DREAMSTITCH Curve Stitching Presser Foot. Designed for low shank sewing machines, this accessory facilitates precise curve stitching, ideal for quilting and other projects requiring accurate curved seams.

Figure 1: DREAMSTITCH Curve Stitching Presser Foot. This image shows the clear plastic presser foot with a red movable guide and a metal pin for attachment.
2. Safety Information
- Always turn off and unplug your sewing machine before attaching or removing any presser foot.
- Ensure the presser foot is securely attached to prevent injury or damage to the machine.
- Keep fingers clear of the needle area while operating the sewing machine.
- Store the presser foot in a safe place when not in use to prevent loss or damage.
3. Setup and Installation
The DREAMSTITCH Curve Stitching Presser Foot is a snap-on (clip-on) type, compatible with most universal low shank home sewing machines, including models from Janome, Singer, Brother, Babylock, Bernette, Bernina, Toyota, Juki, Pfaff, Husqvarna Viking, Kenmore, Consew, Elna, White, and Simplicity.
- Prepare Machine: Turn off and unplug your sewing machine. Raise the presser foot lever and loosen the screw holding the current presser foot. Remove the existing presser foot.
- Attach Presser Foot: Align the bar of the Curve Stitching Presser Foot with the presser foot holder on your machine. Lower the presser foot lever so the holder snaps onto the foot's bar. Tighten the screw if necessary to secure it.
- Adjust Red Spacer: The presser foot features a red movable spacer for guiding fabric.
- For machines with a middle needle position (e.g., Singer, Brother, Babylock), move the red spacer to the right side.
- For machines with a left needle position (e.g., Janome, Elna), move the red spacer to the left side.


Figure 2: Red spacer adjustment for different needle positions. The left image shows the spacer on the right for middle needle machines (e.g., Singer, Brother, Babylock). The right image shows the spacer on the left for left needle machines (e.g., Janome, Elna).
Note on Compatibility: While designed for low shank machines, some high shank machines (e.g., certain Janome models) or 9mm machines may require a separate universal foot holder or may not be compatible due to the single-pole design of this presser foot. Always verify compatibility with your specific machine model.
4. Operating Instructions
This presser foot is specifically designed to simplify curve stitching, ensuring a precise 1/4-inch seam allowance without the need for pins or clips. It is particularly useful for quilting patterns like Double Wedding Ring or Drunkard's Path.
- Prepare Fabric: Cut your fabric pieces for curved seams. The unique design of this foot helps ease curves automatically.
- Position Fabric: Place the fabric under the presser foot, aligning the raw edge of your fabric with the red spacer guide. The short toes in front of the needle opening allow for easier maneuverability of curved edges.
- Select Stitch: Use a straight stitch setting on your sewing machine.
- Sew: Begin sewing slowly, guiding the fabric along the red spacer. The foot will help maintain a consistent 1/4-inch seam allowance, ensuring perfectly pieced blocks.
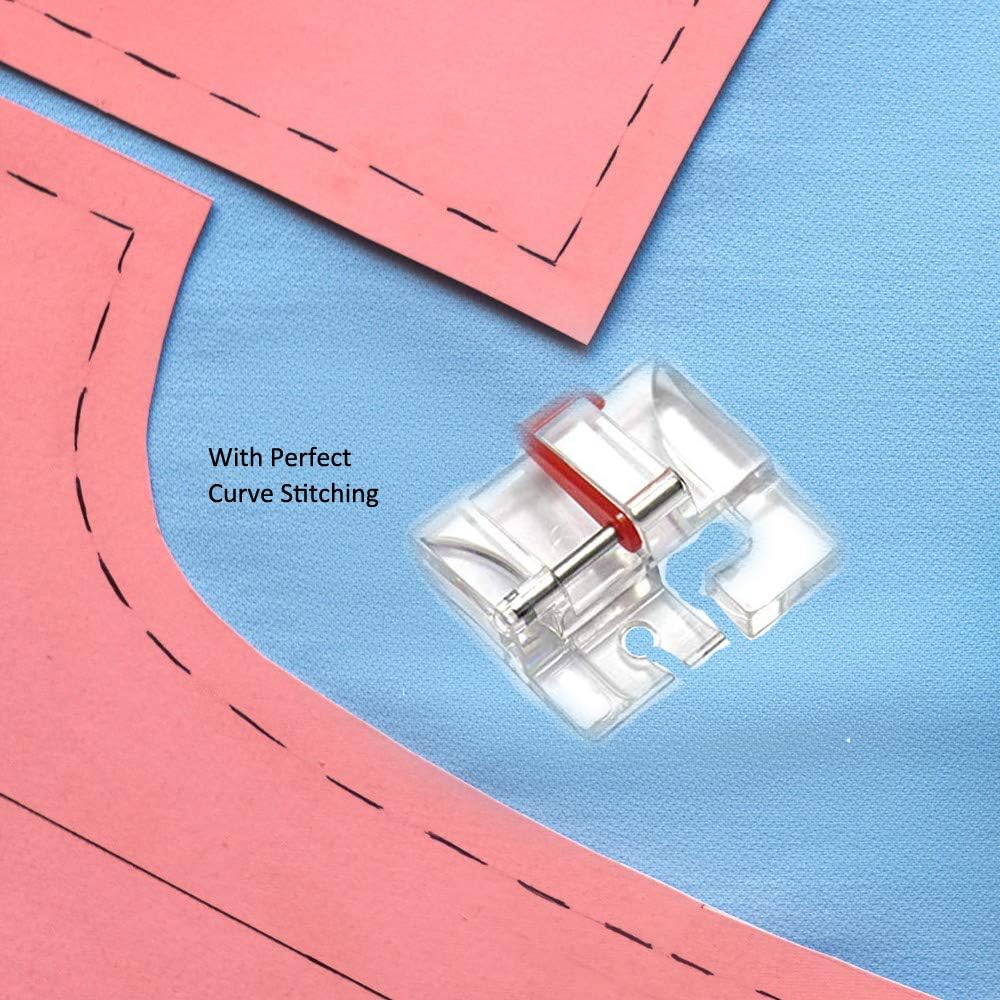
Figure 3: Example of curve stitching using the presser foot. The image shows the presser foot positioned on fabric with a curved seam line, demonstrating its application for precise stitching.


Figure 4: In-use demonstration. The left image shows hands guiding fabric under the presser foot during stitching. The right image displays fabric pieces before and after being joined with a curved seam, illustrating the foot's effectiveness.
5. Maintenance
- Cleaning: Wipe the presser foot with a soft, dry cloth after each use to remove any lint or fabric dust. Avoid using harsh chemicals or abrasive materials.
- Storage: Store the presser foot in its original packaging or a dedicated sewing accessory box to protect it from dust and damage.
- Inspection: Periodically inspect the presser foot for any signs of wear or damage. If the red spacer becomes loose or the foot is damaged, consider replacement.
6. Troubleshooting
| Problem | Possible Cause | Solution |
|---|---|---|
| Presser foot feels wobbly or unstable. | Not securely attached; incompatible machine type. | Ensure the screw holding the presser foot is tightened. Verify your machine is a low shank model. Some 9mm machines may require a different foot or adapter. |
| Difficulty maintaining 1/4-inch seam. | Fabric not aligned with red spacer; incorrect spacer position. | Ensure fabric edge consistently follows the red spacer. Check that the red spacer is on the correct side for your machine's needle position (right for middle, left for left). |
| Foot does not fit machine. | Machine is high shank or 9mm with specific requirements. | This foot is designed for low shank machines. High shank or certain 9mm machines may require a universal foot holder or a different presser foot designed for their specific shank type. |
7. Specifications
- Product Name: Curve Stitching Presser Foot 1/4 inch
- Brand: DREAMSTITCH
- Model Number: DreamStitch
- Compatibility: Universal Low Shank Sewing Machines (5mm, 7mm needle positions)
- Material: Metal, Plastic
- Item Weight: 0.32 ounces
- Package Dimensions: 3.86 x 2.6 x 0.43 inches
- UPC: 713830379443
8. Warranty and Support
For warranty information, please refer to the specific terms provided by DREAMSTITCH at the time of purchase or contact the manufacturer directly. For additional support, including visual demonstrations and advanced techniques, search for "DREAMSTITCH Curve Stitching Presser Foot" on online video platforms like YouTube.
Manufacturer: DreamStitch
For further assistance, please visit the DREAMSTITCH Store on Amazon.