
Aquaking 10
Aquaking 10 Single Cartridge Ice Machine Water Filtration System User Manual
Model: 10
Introduction
This manual provides essential information for the proper installation, operation, and maintenance of your Aquaking 10 Single Cartridge Ice Machine Water Filtration System. Adhering to these guidelines will ensure optimal performance and longevity of the unit.
The Aquaking 10 system is designed to prolong the life of your beverage or ice machine by reducing scale buildup and removing unpleasant tastes and odors caused by chlorine. This improves the clarity and taste of ice and beverages.
What's Included
- 1 Aquaking 10 Single Cartridge Ice Machine Water Filtration System
- Installation Bracket
- Mounting Hardware
- User Manual (this document)
Safety Information
Please read all safety warnings and instructions carefully before installing or operating the filtration system. Failure to do so may result in property damage or injury.
- Always turn off the water supply before installation or maintenance.
- Ensure all connections are secure to prevent leaks.
- Do not expose the system to freezing temperatures.
- Use only genuine Aquaking replacement cartridges.
Setup and Installation
Follow these steps for proper installation of your Aquaking 10 filtration system.
1. Choose a Location
Select a location near your ice or beverage machine that is easily accessible for cartridge replacement and protected from freezing temperatures. The system should be installed vertically with the inlet at the top.
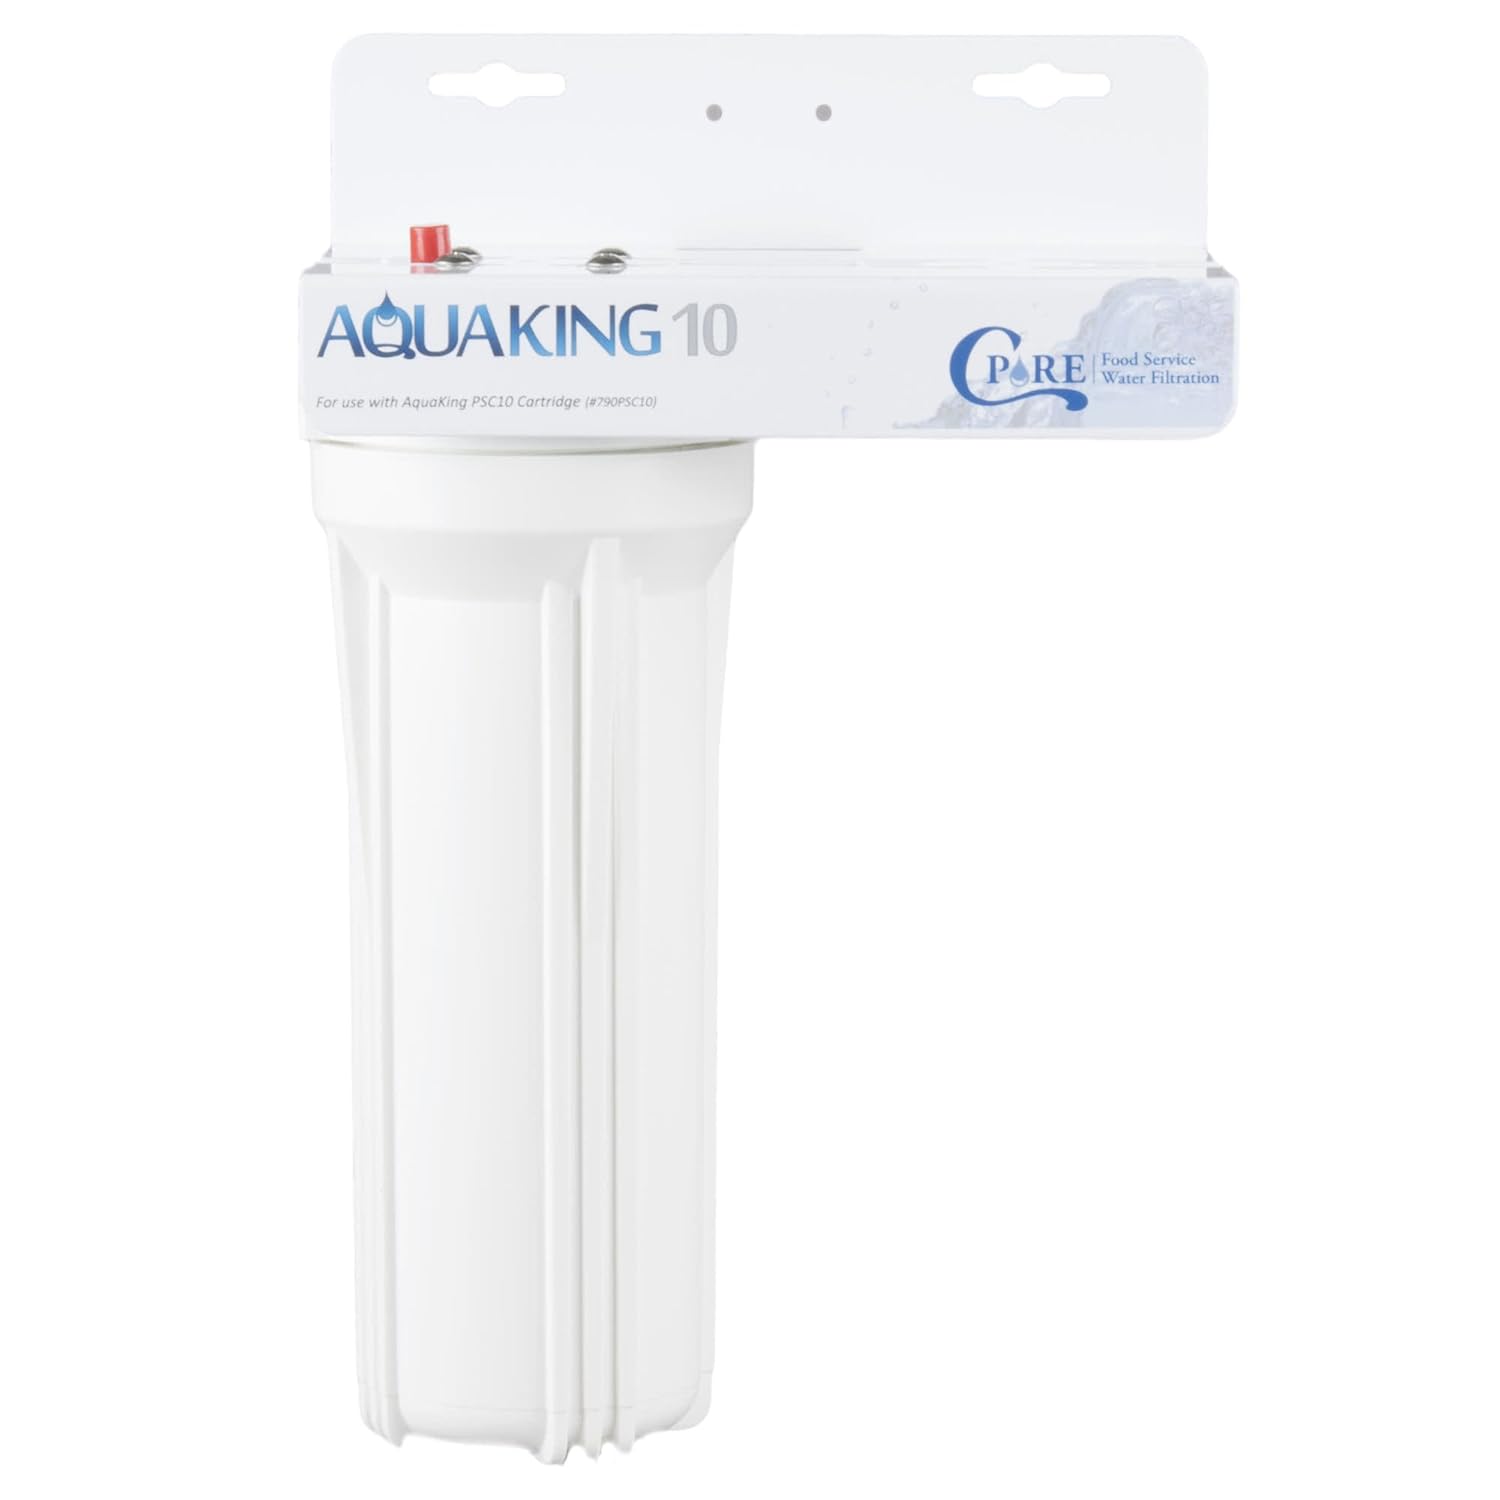
Figure 1: Front view of the Aquaking 10 filtration system, showing the main housing and mounting bracket.
2. Mount the System
- Secure the mounting bracket to a sturdy surface using appropriate hardware. Ensure it is level.
- Attach the filter head to the mounting bracket.

Figure 2: Side view of the filtration system, illustrating the compact design and integrated mounting bracket.
3. Connect Water Lines
- Turn off the main water supply.
- Connect the incoming water line to the "IN" port of the filter head.
- Connect the outgoing water line from the "OUT" port of the filter head to your ice or beverage machine.
- Ensure all connections are tight and leak-free.

Figure 3: Angled view of the filtration system, highlighting the inlet and outlet ports for water line connections.
4. Install Filter Cartridge
- Unwrap the new filter cartridge.
- Insert the cartridge into the filter housing, ensuring it is properly seated.
- Screw the housing onto the filter head until hand-tight. Do not overtighten.

Figure 4: Close-up view of the filter head, showing the red pressure relief button and the integrated service chart for maintenance tracking.
5. Flush the System
- Slowly turn on the main water supply.
- Allow water to flow through the system for 5-10 minutes to flush out any carbon fines or air.
- Check for leaks at all connections.
Operating Instructions
Once installed, the Aquaking 10 system operates automatically, providing filtered water to your appliance. No manual operation is required during normal use.
- Ensure continuous water flow to the system.
- Monitor water pressure to ensure it remains within the recommended operating range (refer to specifications).
Maintenance
Regular maintenance is crucial for the optimal performance and longevity of your filtration system.
Cartridge Replacement
The filter cartridge should be replaced every 6-12 months, or sooner if you notice a significant drop in water pressure or a return of unpleasant tastes/odors. The integrated service chart on the unit can be used to track replacement dates.

Figure 5: Top-down view of the filter head, clearly showing the "Service Chart" area for recording cartridge replacement dates.
- Turn off the water supply to the filtration system.
- Press the red pressure relief button on top of the filter head to release pressure.
- Unscrew the filter housing counter-clockwise and remove the old cartridge. Dispose of the old cartridge responsibly.
- Clean the inside of the filter housing with mild soap and water. Rinse thoroughly.
- Lubricate the O-ring with food-grade silicone grease if necessary.
- Insert a new Aquaking PSC10 cartridge (#790PSC10) into the housing.
- Screw the housing back onto the filter head until hand-tight.
- Slowly turn on the water supply and check for leaks. Flush the system for 5-10 minutes.
- Record the replacement date on the service chart.

Figure 6: Detailed view of the Aquaking 10 branding on the filter head, indicating compatibility with Aquaking PSC10 Cartridge (#790PSC10).
Troubleshooting
| Problem | Possible Cause | Solution |
|---|---|---|
| Low Water Flow/Pressure | Clogged filter cartridge | Replace filter cartridge. |
| Low Water Flow/Pressure | Air in the system | Press the red pressure relief button to release air. Flush system. |
| Water Leaks | Loose connections | Tighten all connections. |
| Water Leaks | Damaged O-ring | Inspect and replace O-ring if damaged. Lubricate with food-grade silicone grease. |
| Water Leaks | Cracked housing | Contact customer support for replacement. |
| Unpleasant Taste/Odor Returns | Expired filter cartridge | Replace filter cartridge. |
Specifications
| Feature | Detail |
|---|---|
| Model Name | 10 |
| Brand | Aquaking |
| Product Dimensions | 9.58"L x 5.75"W x 14.5"H |
| Item Weight | 2 Pounds |
| Maximum Flow Rate | 3 Gallons Per Minute (GPM) |
| Supported Water TDS Level Maximum | 500 PPM |
| Special Feature | Anti-scaling phosphate drop |
| Installation Type | Countertop (or wall-mounted) |
| Power Source | Manual Operation (no electrical power required) |
| Compatible Cartridge | Aquaking PSC10 (#790PSC10) |
Warranty and Support
For warranty information or technical support, please contact Aquaking customer service. Keep your purchase receipt as proof of purchase.
Contact information is typically available on the product packaging or the manufacturer's official website.
Related Documents - 10
 |
Spa Dealers SG-0007B System User Manual: Installation and Operation Guide Comprehensive user manual for the Spa Dealers SG-0007B System, detailing installation procedures, operating instructions, and system features for spa baths. Ensure safe and optimal use of your spa. |
 |
C Pure 20" Filter Wrench Compatibility Guide Find the correct C Pure 20" filter wrench for your AquaKing filtration system. This guide details compatibility based on purchase date, recommending 790WRENCH20 or 790WRENCH20A. |
Ask a question about this manual
Ask about setup, troubleshooting, compatibility, parts, safety, or missing instructions. Manuals+ will review the question and use this page’s manual context to help answer it.