1. Introduction
Thank you for choosing the RELIFE REBUILD YOUR LIFE Power Tower JL-PT04. This multi-functional fitness equipment is designed to provide a comprehensive full-body workout in your home environment. Please read this manual carefully before assembly and use to ensure safe and effective operation.
1.1 Safety Information
- Always consult with a healthcare professional before starting any new exercise program.
- Ensure all bolts, nuts, and connections are securely tightened before each use. Regularly check for loose parts.
- Place the power tower on a flat, stable surface. Ensure adequate clearance around the equipment for safe movement.
- Do not exceed the maximum weight recommendation of 180 kg (396 lbs).
- Keep children and pets away from the equipment during use.
- Wear appropriate athletic footwear and clothing during exercise.
- Stop exercising immediately if you feel pain, dizziness, or nausea.
2. Package Contents
Upon unpacking, verify that all components are present and undamaged. If any parts are missing or damaged, please contact customer support.
- Main frame components (vertical bars, base supports, pull-up bar)
- Dip station arms and backrest
- Leg press/stretch bar
- Cushioned pads for backrest and armrests
- Assembly hardware (bolts, washers, locknuts, adjustment knobs)
- Tools for assembly (wrenches)
- Instruction Manual
3. Assembly Instructions
Follow these steps carefully for proper assembly. It is recommended to have two people for easier and safer assembly.
3.1 Step-by-Step Guide
- Unpack Components: Lay out all parts on a clean, flat surface. Refer to the parts list to ensure everything is present.
- Assemble Base: Connect the base supports to the main vertical frame using the provided bolts and locknuts. Ensure the suction cup feet are oriented correctly.
- Install Vertical Bars: Attach the main vertical bars to the base. Do not fully tighten bolts until all major components are in place.
- Attach Pull-Up Bar: Secure the pull-up bar to the top of the vertical frame.
- Mount Dip Station and Backrest: Slide the dip station arms and backrest assembly onto the vertical frame. Adjust to your desired height and secure with adjustment knobs.
- Install Leg Press/Stretch Bar: Insert the removable leg press/stretch bar into the designated slots on the lower frame.
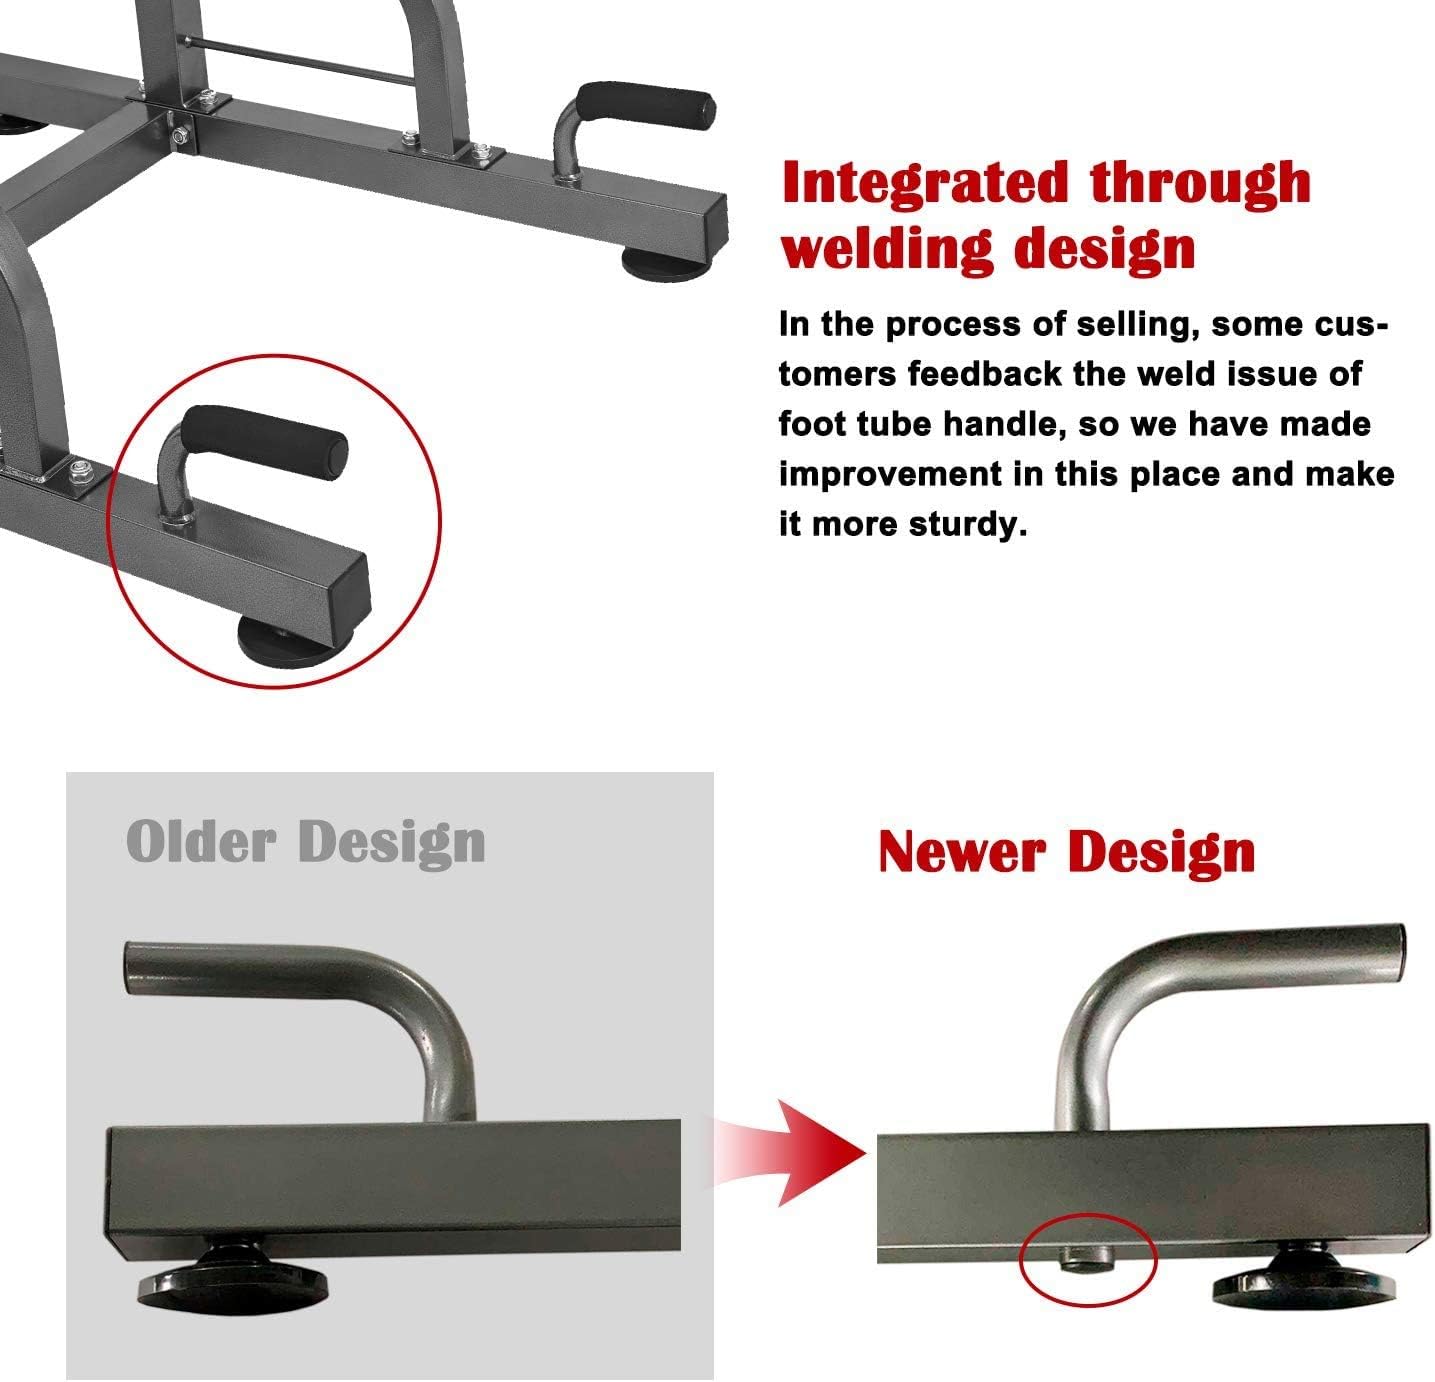
- Final Tightening: Once all components are assembled, systematically tighten all bolts and locknuts. Pay special attention to the locknuts on the base for enhanced stability.

4. Operating Instructions
The RELIFE Power Tower offers multiple adjustment options to customize your workout experience. Ensure all adjustments are securely locked before beginning any exercise.
4.1 Adjustments
- Height Adjustment: The main frame offers 9 levels of height adjustment, ranging from 147 cm to 225 cm. Loosen the adjustment knob, slide the upper section to the desired height, and securely tighten the knob.
- Backrest Adjustment: The backrest can be adjusted to 4 different positions to support proper posture during exercises like leg raises.
- Handle Adjustment: The dip handles offer 3 adjustment options for personalized comfort and exercise variation.
- Leg Press Bar Adjustment: The removable leg press bar has two height settings for stretching and muscle relaxation.

4.2 Exercises
The Power Tower supports a variety of exercises for a full-body workout:
- Pull-Ups: Use the top bar for various grip pull-ups to target back and arm muscles.
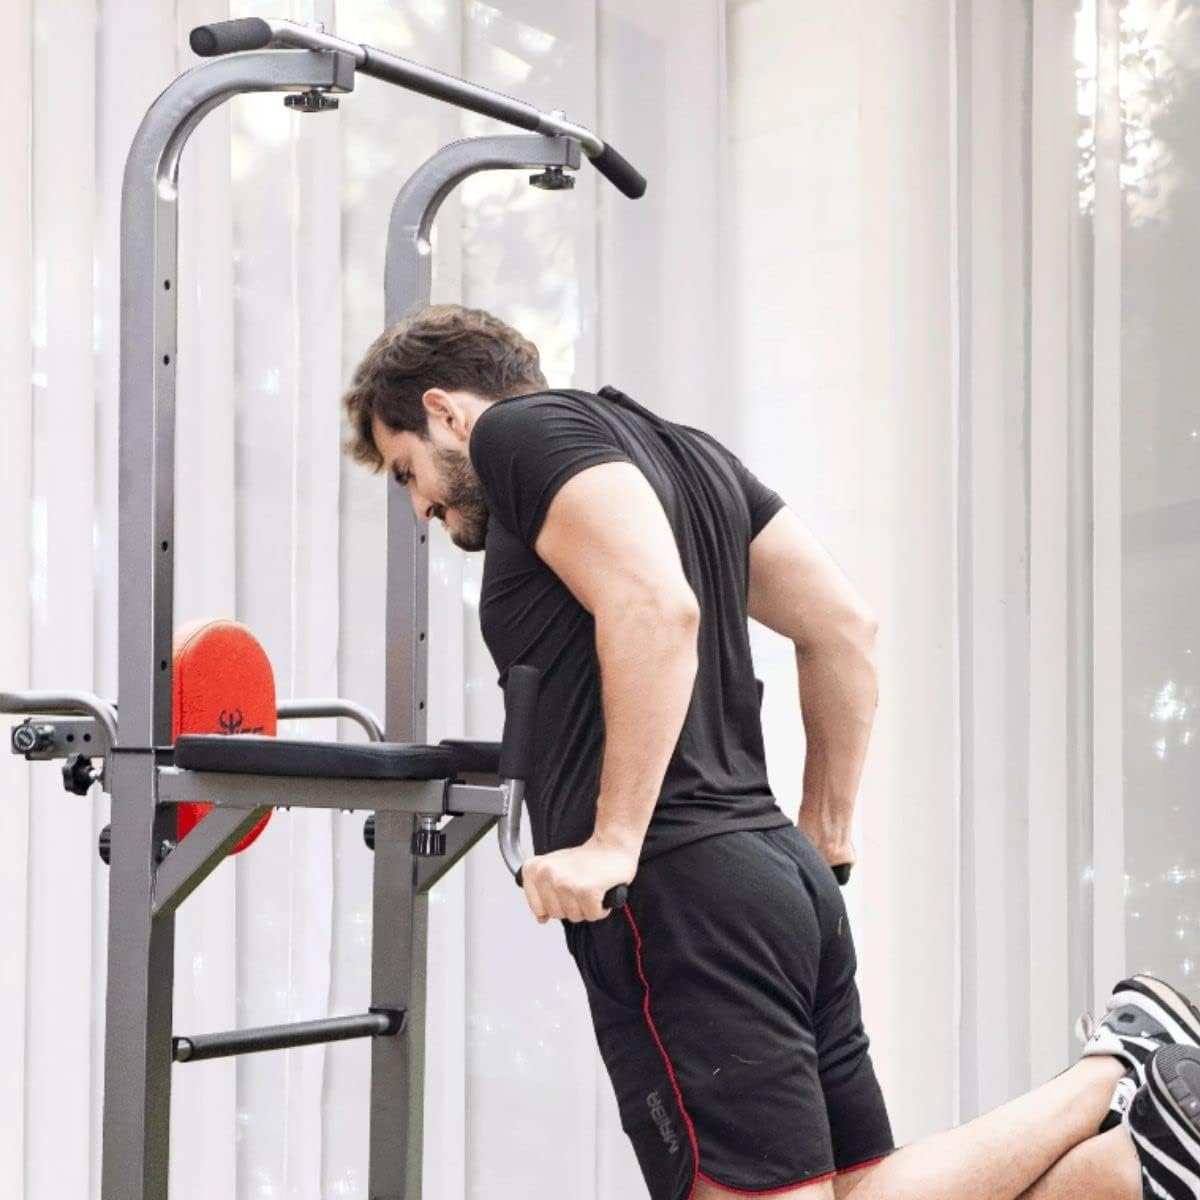
- Dips: Utilize the dip handles to work chest, shoulders, and triceps.
- Leg Raises: Position yourself on the armrests with your back against the backrest to perform leg raises for abdominal muscles.
- Push-Ups: The lower handles can be used for elevated push-ups, targeting chest and triceps.
- Leg Press/Stretching: Use the removable bar for leg pressing or stretching exercises to relax leg muscles after training.


5. Maintenance
Regular maintenance ensures the longevity and safe operation of your power tower.
- Cleaning: Wipe down the frame and padded areas with a damp cloth after each use to remove sweat and dirt. Avoid abrasive cleaners.
- Inspection: Periodically inspect all bolts, nuts, and connections for tightness. Retighten any loose hardware.
- Wear and Tear: Check padded areas and grip covers for signs of wear or damage. Replace if necessary.
- Stability: Ensure the suction cup feet are clean and making good contact with the floor for maximum stability.
6. Troubleshooting
If you encounter issues with your power tower, refer to the following common solutions:
- Equipment feels unstable:
- Ensure all assembly bolts and especially the locknuts on the base are firmly tightened.
- Verify that the suction cup feet are clean and fully engaged with a flat, non-porous surface. Rotate them if needed to achieve optimal contact.
- Parts do not align during assembly:
- Double-check the orientation of each part against the assembly diagrams.
- Loosen all bolts slightly, adjust the alignment, and then retighten. Do not force parts together.
- Adjustment knobs are difficult to turn:
- Ensure the adjustment pin is fully disengaged before attempting to slide components.
- Clean any debris from the adjustment mechanism.
7. Specifications
| Model Number | JL-PT04 |
| Brand | RELIFE REBUILD YOUR LIFE |
| Material | Alloy Steel |
| Color | Grey |
| Dimensions (L x W x H) | 109 cm x 90 cm x 225 cm (Maximum) |
| Product Weight | 19.7 kg |
| Maximum Weight Recommendation | 180 kg |
| Height Adjustment | 9 levels (147 cm - 225 cm) |
| Backrest Adjustment | 4 positions |
| Handle Type | Padded with foam, adjustable |

8. Warranty and Support
The RELIFE REBUILD YOUR LIFE Power Tower JL-PT04 comes with a Lifetime Warranty, reflecting our commitment to quality and durability. For any questions, concerns, or support needs regarding your product, please contact RELIFE customer service through your purchase platform or the official RELIFE website. Please have your model number (JL-PT04) and purchase information ready when contacting support.