Heschen AD16-22D/S26
Heschen 22mm LED Indicator Lights User Manual
Model: AD16-22D/S26
1. Introduction
Thank you for choosing Heschen 22mm LED Indicator Lights. This manual provides essential information for the safe and efficient installation, operation, and maintenance of your AD16-22D/S series indicator lights. Please read this manual thoroughly before use and retain it for future reference.
2. Product Overview
The Heschen AD16-22D/S series LED indicator lights are designed for clear visual signaling in various electrical and industrial applications. This set includes red, green, and yellow indicators.
Key Features:
- Mounting Hole Diameter: 22 mm
- Colors: Red, Green, Yellow for explicit designation and clear work status indication.
- Operating Voltage: 12V AC/DC
- Operating Current: 20 mA
- Connection: Two screw terminals inside for secure and convenient wiring.
- Brightness: > 100 cd/m²
- Protection Rating: IP65 (Dust tight and protected against low-pressure water jets from any direction).
Product Images:

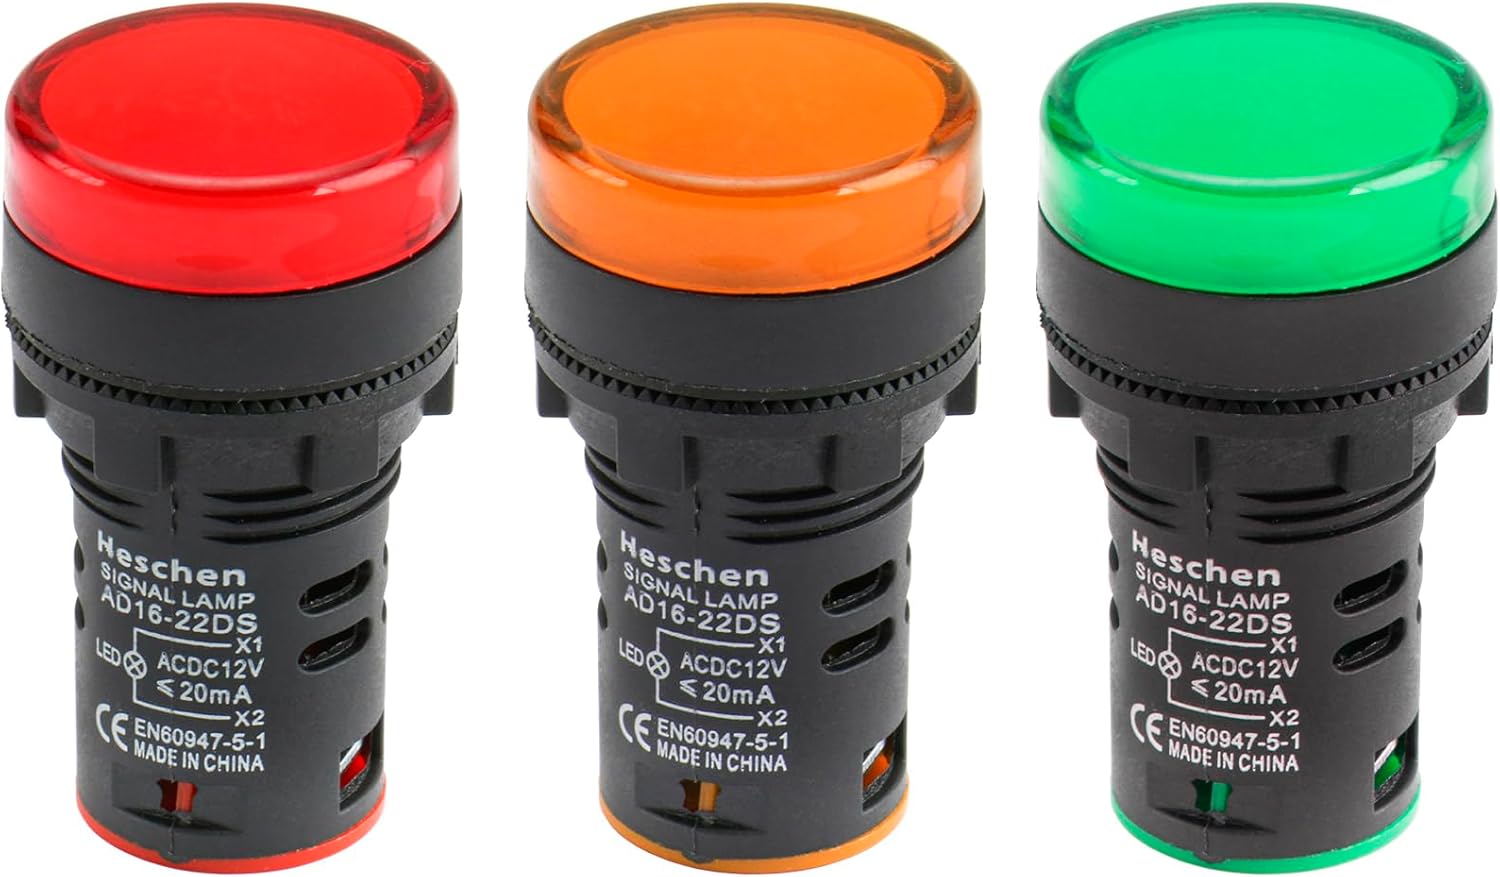
This image displays the three indicator lights included in the set, showcasing their distinct red, orange (yellow), and green colors. Each light features a black body with a colored lens.

This diagram provides detailed measurements of the indicator light, including the 22mm (0.87 inch) mounting hole diameter, 29mm (1.14 inch) cap diameter, 51mm (2 inch) total length, and 37mm (1.46 inch) body length.

This image illustrates the internal wiring schematic for the AD16-22DS indicator light, showing the LED and a resistor connected between terminals X1 and X2.

This image shows the back of the indicator lights, highlighting the two screw terminals on each unit for electrical connections.
A clear front view of the red, orange, and green indicator lights, showing their robust construction and colored lenses.

This image demonstrates the vibrant illumination of the red, orange, and green indicator lights when active, showcasing their high visibility.

This image highlights the Heschen AD16-22DS indicator lamps, emphasizing that they use LED lamps as the light source and offer advantages such as long life, light weight, small size, and energy saving.

This image provides a summary of key product details for the AD16-22DS, including working life (≥30000h), voltage fluctuation tolerance (+20% above 110V), dielectric strength (2.5kV ACRMS, 1min), usage frequency (AC50-60Hz), rated operating current (≤20mA), brightness (>100cd/m²), comparative tracking index (CT1, flame retardant), and insulation resistance (Uis60V, 5MΩ; 60V<Ui≤660V, 50MΩ).

This image combines the wiring diagram with a visual representation of the illuminated red, orange, and green indicator lights, showing their bright output.
3. Safety Information
Always observe the following safety precautions to prevent injury or damage to the product:
- Ensure power is disconnected before installation or maintenance.
- Verify the correct voltage (12V AC/DC) and current (20mA) before connecting. Incorrect voltage can damage the LED.
- The product has an IP65 protection rating, meaning it is dust-tight and protected against low-pressure water jets. However, it is not designed for submersion.
- Installation should be performed by qualified personnel familiar with electrical wiring and safety standards.
- Do not attempt to disassemble or modify the indicator light.
4. Setup and Installation
Follow these steps for proper installation of your Heschen LED indicator lights:
- Prepare Mounting Hole: Ensure the mounting surface has a circular hole with a diameter of 22mm (0.87 inches).
- Insert Indicator: Insert the indicator light through the mounting hole from the front of the panel.
- Secure with Nut: On the rear side of the panel, place the provided washer and then screw on the retaining nut until the indicator is securely fastened. Do not overtighten.
- Wire Connections: Connect the power supply wires to the two screw terminals located at the rear of the indicator light. The terminals are labeled X1 and X2. Ensure connections are tight and secure. Refer to Figure 2.3 for the wiring diagram.
- Verify Polarity (DC): While these LEDs typically have internal protection, it is good practice to observe polarity for DC applications (12VDC). Connect the positive wire to X1 and the negative wire to X2, or test to ensure proper illumination. For AC applications, polarity is not critical.
- Test: Once all connections are made, apply power to test the functionality of the indicator light.
5. Operating Instructions
The Heschen LED indicator lights are designed for straightforward operation:
- Once properly installed and wired to a 12V AC/DC power source, the LED indicator will illuminate when power is supplied to its terminals.
- The color of the illuminated light (red, green, or yellow) corresponds to the specific status or condition it is intended to indicate in your system.
- No user interaction is required for operation beyond providing the correct power input.
6. Maintenance
Heschen LED indicator lights require minimal maintenance due to their durable design and long LED lifespan. However, periodic checks and cleaning can ensure optimal performance:
- Cleaning: To clean the surface of the indicator light, gently wipe it with a soft, damp cloth. Do not use abrasive cleaners, solvents, or harsh chemicals, as these can damage the plastic lens or body. Ensure the power is off before cleaning.
- Inspection: Periodically inspect the wiring connections to ensure they remain tight and free from corrosion. Check for any physical damage to the light or its mounting.
- Recycling: When the product reaches the end of its lifespan, please dispose of it according to local electronic waste recycling regulations. LEDs contain electronic components that should be recycled responsibly.
7. Troubleshooting
If your Heschen LED indicator light is not functioning as expected, consider the following troubleshooting steps:
| Problem | Possible Cause | Solution |
|---|---|---|
| Light does not illuminate. | No power supply. Incorrect voltage. Loose wiring connection. Damaged LED. | Verify power is supplied to the circuit. Ensure input voltage is 12V AC/DC. Check and tighten all wiring connections at the terminals. Replace the indicator light if damaged. |
| Light flickers or is dim. | Unstable power supply. Voltage drop. Poor connection. | Check power source stability. Ensure adequate wire gauge for the distance. Re-secure wiring connections. |
| Light is not securely mounted. | Mounting nut loose. Incorrect hole size. | Tighten the retaining nut on the rear of the panel. Ensure mounting hole is exactly 22mm. |
8. Specifications
| Attribute | Value |
|---|---|
| Brand | Heschen |
| Manufacturer | Heschen Electric Co.Ltd |
| Product Dimensions (L x W x H) | 2.8 x 2.8 x 5 cm |
| Item Weight | 50 grams |
| Model Number | AD16-22D/S26 |
| Style | Modern |
| Color | Yellow, Red, Green |
| Shape | Round |
| Material | Plastic |
| Finish Type | Painted |
| Number of Bulbs | 3 (per set) |
| Voltage | 12 Volts (AC/DC) |
| Plug Type | Electric Cable |
| Installation Type | Mounting Hole |
| Batteries Included? | No |
| Batteries Required? | No |
| Certification | IP65 |
| Bulb Type | Light Emitting Diode (LED) |
| Luminous Flux | 100 milliCandela |
| First Available Date | November 19, 2017 |
9. Warranty and Support
For any questions, technical assistance, or support regarding your Heschen LED indicator lights, please contact Heschen customer service through the retailer's platform or the official Heschen website. Please have your product model number (AD16-22D/S26) and purchase details ready when contacting support.
While specific warranty details are not provided in this manual, Heschen products are typically covered by a standard manufacturer's warranty against defects in materials and workmanship. Please refer to your purchase documentation or the Heschen website for detailed warranty terms and conditions.
Related Documents - AD16-22D/S26
 |
YJCAL AD16-22FVAH Digital AC Voltmeter - Important Safety Instructions and Specifications Essential safety guidelines and technical specifications for the YJCAL AD16-22FVAH Digital Display AC Voltmeter. Covers operating parameters, environmental conditions, and critical usage warnings to ensure safe and effective operation. |
 |
SHSNAO LH093 AD16-22SM Red LED Signal Indicator with Built-in Buzzer - 12V AC/DC, 22mm Mounting Detailed technical specifications for the SHSNAO LH093 AD16-22SM red LED signal indicator with an integrated buzzer. Features 12V AC/DC operation, 22mm mounting diameter, flashing sound, and durable construction for industrial applications. |
 |
AD16 Series Mini Digital Panel Meter User Manual & Installation Guide Comprehensive user manual and installation guide for the AD16 Series Mini Digital Panel Meter, covering features, technical specifications, model selection, installation, troubleshooting, maintenance, storage, and disclaimer. |
 |
ShortCam III User's Guide: LC-AD16 Thermal Imaging Camera Comprehensive user guide for the Shenzhen Launch Digital Technology Co., Ltd. ShortCam III (Model LC-AD16), detailing its features, operation, software, and troubleshooting for PCB inspection. |
 |
ShortCam III LC-AD16 User Guide and Technical Specifications Comprehensive user guide for the ShortCam III LC-AD16 thermal imaging camera, covering setup, operation, software features, troubleshooting, and technical specifications. |
 |
Installation Manual: Heat Pump Cover AD16-1206 Comprehensive installation manual for the AD16-1206 heat pump cover. Includes detailed assembly instructions, parts list with dimensions, and important notes for outdoor installation of this wooden accessory for air-to-air heat pumps. |