1. Overview
The Elite Audio EA-OB04G is a comprehensive 4-gauge car amplifier installation kit designed to provide all necessary components for connecting an amplifier to your vehicle's audio system. This kit supports up to 2000W max power and includes high-quality wiring for power, ground, remote turn-on, RCA signal transmission, and speaker connections, along with a mini ANL fuse holder for circuit protection. The components are engineered for efficient power transfer and clear audio signal integrity.
2. What's in the Box
The Elite Audio EA-OB04G kit includes the following components:
- 17 ft. of 4-gauge Blue Power Cable
- 3 ft. of 4-gauge Black Ground Cable
- 17 ft. of 18-gauge Remote Wire
- 17 ft. 2-Channel Twisted Pair Shielded RCA Cable
- 17 ft. of 16-gauge Speaker Wire
- Nickel Plated In-line Mini ANL Fuse Holder
- 80 Amp Mini ANL Fuse
- 10 x 6" Cable Ties

Image: All components included in the Elite Audio EA-OB04G 2000W 4-Gauge Amplifier Installation Kit, neatly packaged.
3. Setup and Installation
Proper installation of your amplifier wiring kit is crucial for safety and optimal audio performance. It is recommended that installation be performed by a qualified professional. Always disconnect the vehicle's battery before beginning any electrical work.
3.1. Power Cable Installation
The 17 ft. 4-gauge blue power cable is designed for high power loads up to 2000W. Route this cable from the vehicle's battery to the amplifier location, ensuring it is protected from sharp edges and heat sources. Use the provided firewall grommet if passing through the firewall.
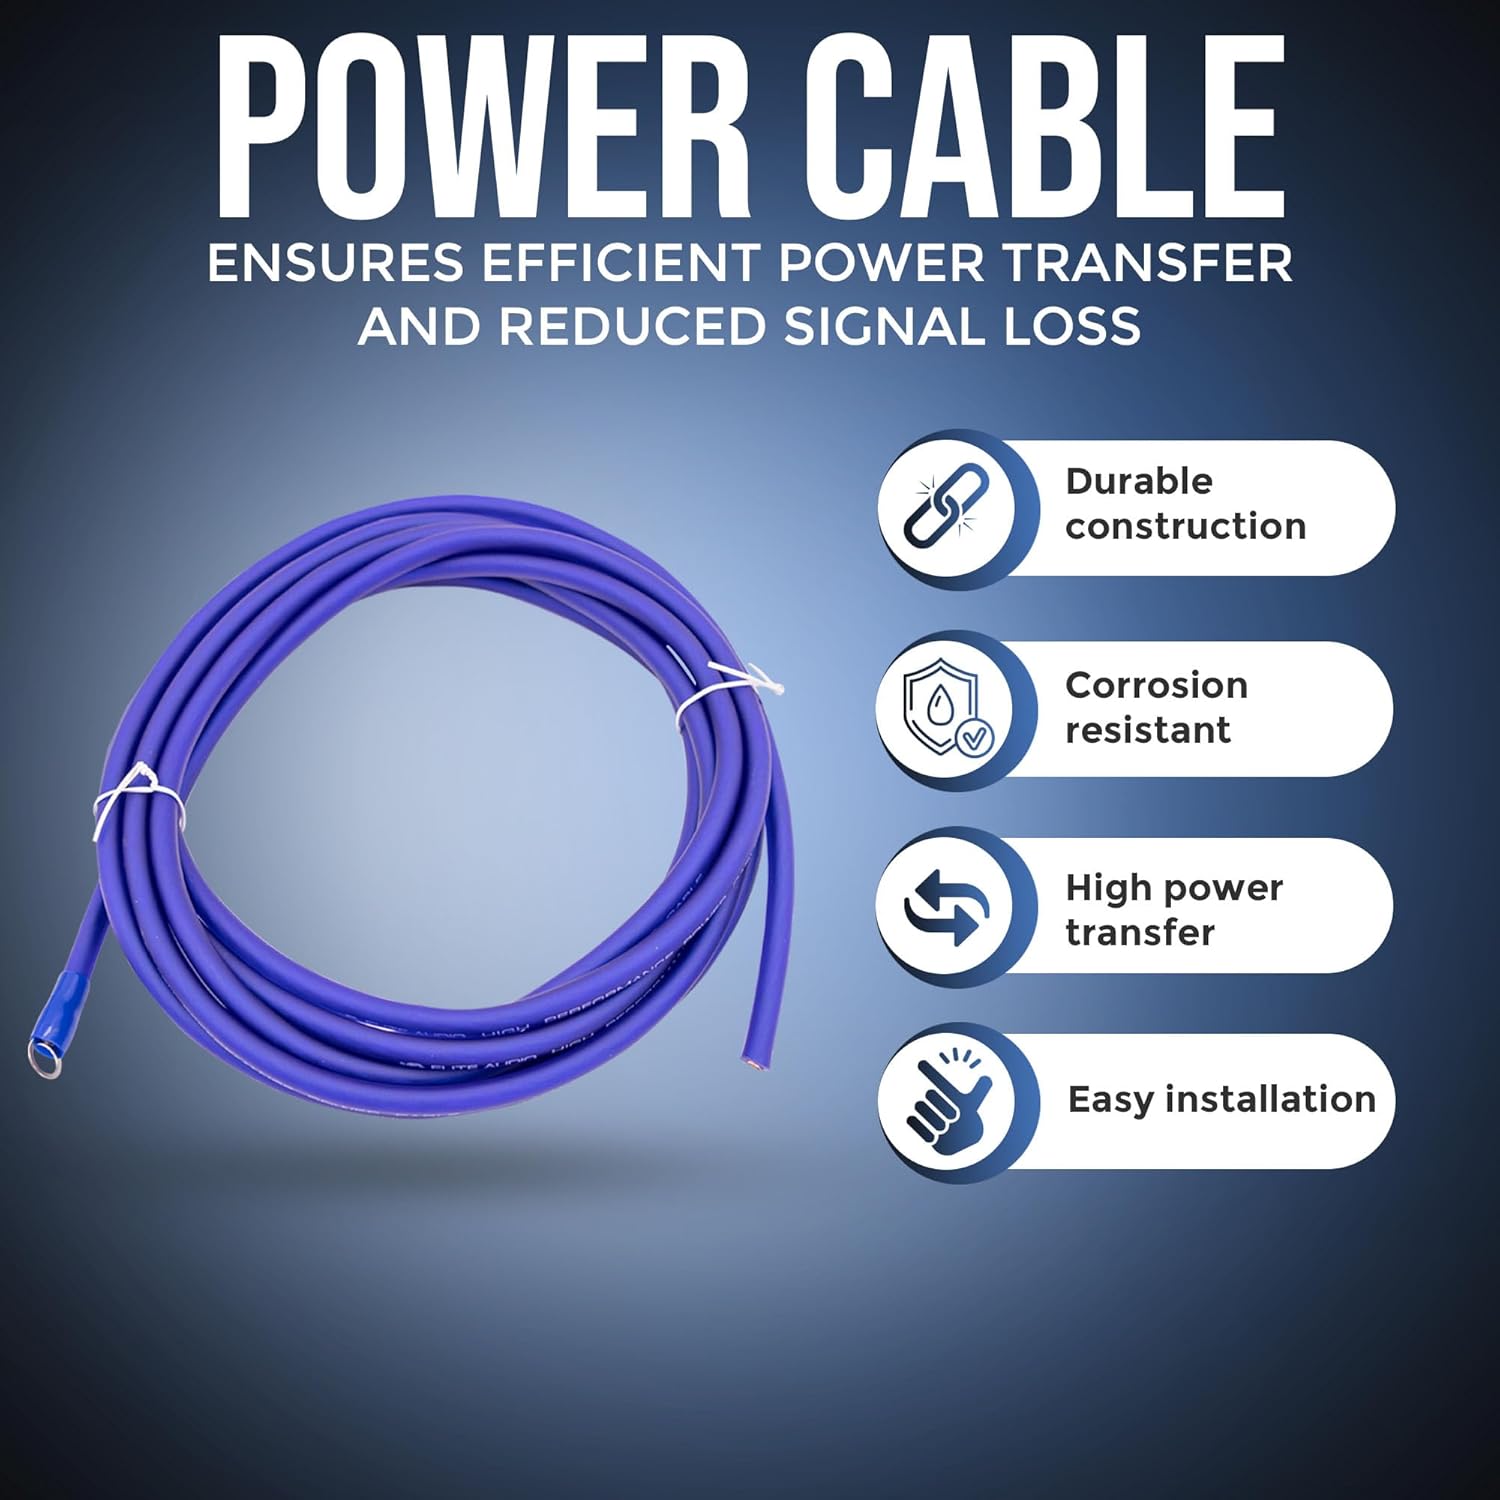
Image: A coiled 4-gauge blue power cable, highlighting its durable construction and high power transfer capabilities.
3.2. Fuse Holder Installation
Install the mini ANL fuse holder within 18 inches (45 cm) of the battery on the power cable. This protects your amplifier and electrical system from surges or short circuits. Ensure the fuse is securely seated in the holder.

Image: A clear mini ANL fuse holder with an 80 amp fuse, designed for reliable circuit protection.
3.3. Ground Cable Installation
Connect the 3 ft. 4-gauge black ground cable from the amplifier to a clean, unpainted metal surface on the vehicle's chassis. A strong ground connection is essential for stable power delivery and to prevent noise in the audio system. Ensure the contact point is free of paint, rust, or debris.
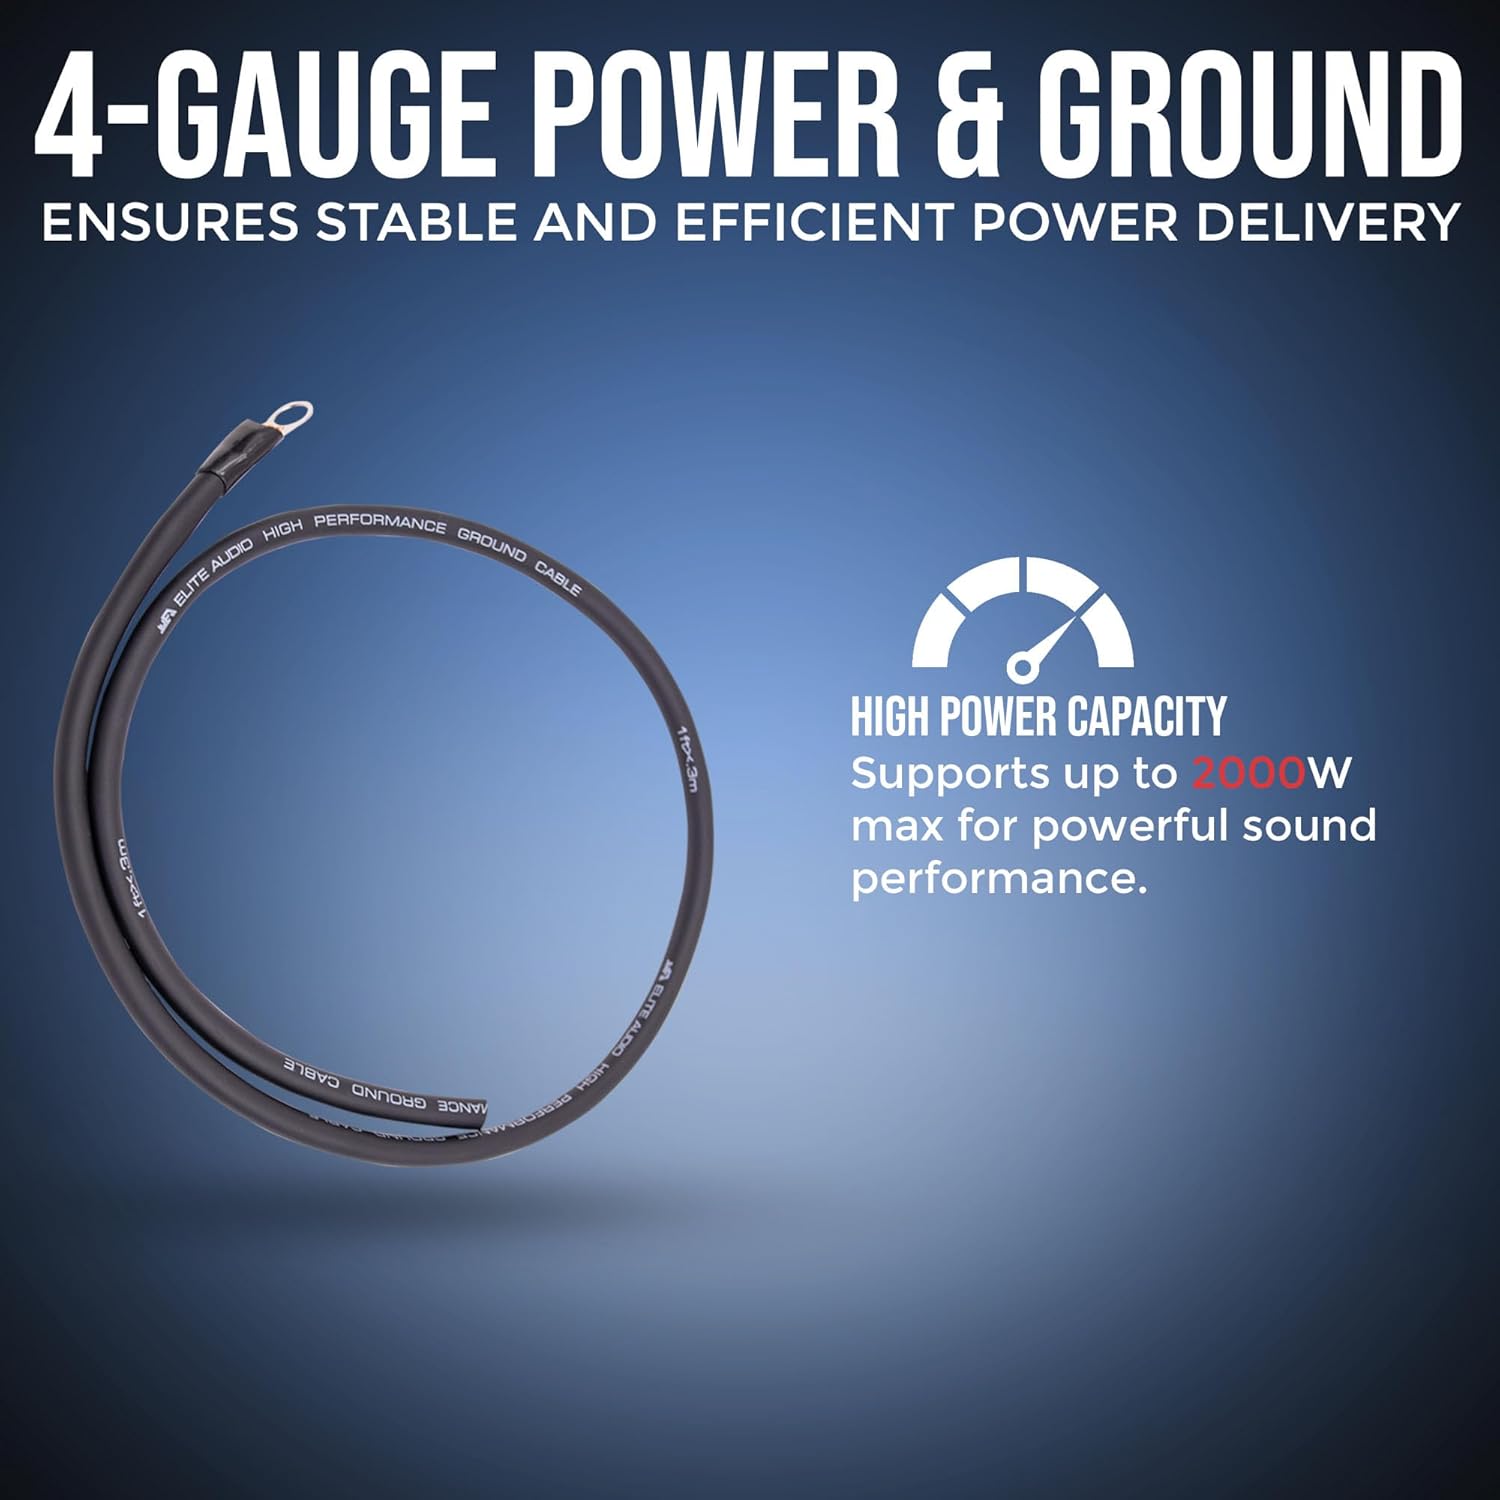
Image: Coiled 4-gauge power and ground cables, emphasizing high power capacity for powerful sound performance.
3.4. Remote Wire Connection
The 17 ft. 18-gauge remote wire connects the amplifier to the head unit's remote turn-on output. This wire signals the amplifier to turn on and off with the vehicle's stereo system.

Image: A coiled 18-gauge remote wire, designed for reliable signal transmission and efficient power control.
3.5. RCA Cable Connection
Connect the 17 ft. 2-channel twisted pair shielded RCA cable from the head unit's RCA outputs to the amplifier's RCA inputs. These cables are designed to minimize electromagnetic and radio frequency interference, ensuring a clear audio signal.

Image: A coiled 17ft 2-channel RCA cable, featuring shielded construction for clear signal transfer and premium sound quality.
3.6. Speaker Wire Connection
Use the 17 ft. 16-gauge speaker wire to connect the amplifier's speaker outputs to your vehicle's speakers. Ensure correct polarity (+ to + and - to -) for optimal sound reproduction.

Image: A coiled 16-gauge speaker wire, described as durable and flexible for optimal sound quality and easy installation.
3.7. Cable Management
Utilize the included cable ties to secure all wiring, preventing chafing, short circuits, and interference. Route power and signal cables separately where possible to minimize noise.
4. Operating Guidelines
Once all connections are made and secured, reconnect the vehicle's battery. Turn on your vehicle's audio system. The amplifier should power on automatically via the remote turn-on wire. Adjust amplifier gain settings according to the amplifier's specific instructions to match the output of your head unit and prevent distortion.
Video: An overview of Elite Audio products, demonstrating various components and their application in car audio systems. This video provides visual context for the quality and design of Elite Audio components.
5. Maintenance
Regularly inspect all wiring connections for tightness and corrosion. Ensure the fuse holder is clean and the fuse is intact. Any signs of wear or damage to the cables should be addressed immediately to prevent system failure or electrical hazards.
6. Troubleshooting
- No Power to Amplifier: Check the 80 amp mini ANL fuse in the fuse holder. Ensure all power and ground connections are secure and free of corrosion. Verify the remote turn-on wire is correctly connected and receiving a signal from the head unit.
- No Sound: Confirm RCA cables are securely connected at both the head unit and amplifier. Check speaker wire connections for correct polarity and secure contact. Ensure amplifier gain settings are not set too low.
- Engine Noise/Whining: This often indicates a grounding issue or signal interference. Ensure the ground cable has a clean, solid connection to the chassis. Try routing power and RCA cables on opposite sides of the vehicle to minimize interference.
- Distorted Sound: Adjust amplifier gain settings. Ensure the head unit's volume is not excessively high, causing clipping. Check speaker impedance compatibility with the amplifier.
7. Specifications
| Feature | Detail |
|---|---|
| Brand | Elite Audio |
| Model Number | EA-OB04G |
| Output Power | 2000 Watts (Max) |
| Power Cable Gauge | 4-Gauge |
| Ground Cable Gauge | 4-Gauge |
| Remote Wire Gauge | 18-Gauge |
| RCA Cable Channels | 2-Channel |
| Speaker Wire Gauge | 16-Gauge |
| Fuse Type | Mini ANL |
| Fuse Rating | 80 Amp |
| Item Dimensions (L x W x H) | 13.9 x 4 x 10.5 inches |
| Item Weight | 2.7 pounds |
8. Warranty and Support
For warranty information or technical support regarding your Elite Audio EA-OB04G amplifier installation kit, please refer to the documentation included with your purchase or contact Elite Audio customer service directly. Additional protection plans may be available for purchase separately.
You can visit the official Elite Audio Store for more product information and support resources.