
Helestra 18/1807.06
Helestra Adeo LED Wall Light Instruction Manual
Model: 18/1807.06
Brand: Helestra
Introduction
This manual provides detailed instructions for the installation, operation, and maintenance of your Helestra Adeo LED Wall Light, model 18/1807.06. Please read this manual thoroughly before installation and retain it for future reference.
The Helestra Adeo is a modern LED wall light designed for indoor use, featuring a sleek metal construction and energy-efficient lighting. Its nickel finish and curved design make it a stylish addition to any contemporary interior.
Important Safety Information
Read all instructions carefully before installation.
- Installation must be performed by a qualified electrician in accordance with local electrical codes.
- Disconnect power at the circuit breaker before installation, maintenance, or cleaning.
- Do not modify the fixture. Any modifications may void the warranty and pose a safety risk.
- This fixture is designed for indoor use only (IP20 rating). Do not expose to moisture or direct water.
- Do not touch the LED module directly when the light is on or immediately after turning it off, as it may be hot.
- Ensure the mounting surface can support the weight of the fixture.
- Keep packaging materials out of reach of children.
For information on recycling light bulbs, refer to recycling guidelines.
For information on cleaning light bulbs, refer to cleaning guidelines.
Package Contents
Carefully unpack the box and ensure all components are present and undamaged.
- Helestra Adeo LED Wall Light Fixture
- Integrated LED Bulb(s)
- Mounting Hardware (screws, wall anchors)
- Instruction Manual (this document)
Setup and Installation
Professional installation by a qualified electrician is highly recommended for this product.
Preparation
Turn off power at the main circuit breaker before beginning installation.
Identify the desired mounting location on the wall. Ensure there is adequate wiring available.
Mounting the Fixture
Mark the drilling points on the wall using the fixture's mounting bracket as a template.
Drill holes and insert appropriate wall anchors if necessary.
Secure the mounting bracket to the wall using the provided screws.
Electrical Connection
Connect the household electrical wires to the fixture's wires according to local electrical codes (e.g., live to live, neutral to neutral, ground to ground). Use appropriate wire connectors.
Ensure all connections are secure and insulated.
Attaching the Fixture
Carefully attach the light fixture body to the mounting bracket, ensuring no wires are pinched. Secure it with the provided screws or fasteners.
Final Check
Once the fixture is securely mounted and wired, restore power at the circuit breaker.
Test the light to ensure it functions correctly.

Figure 1: Side view of the Helestra Adeo LED Wall Light installed on a wall, highlighting its curved profile and upward light emission.
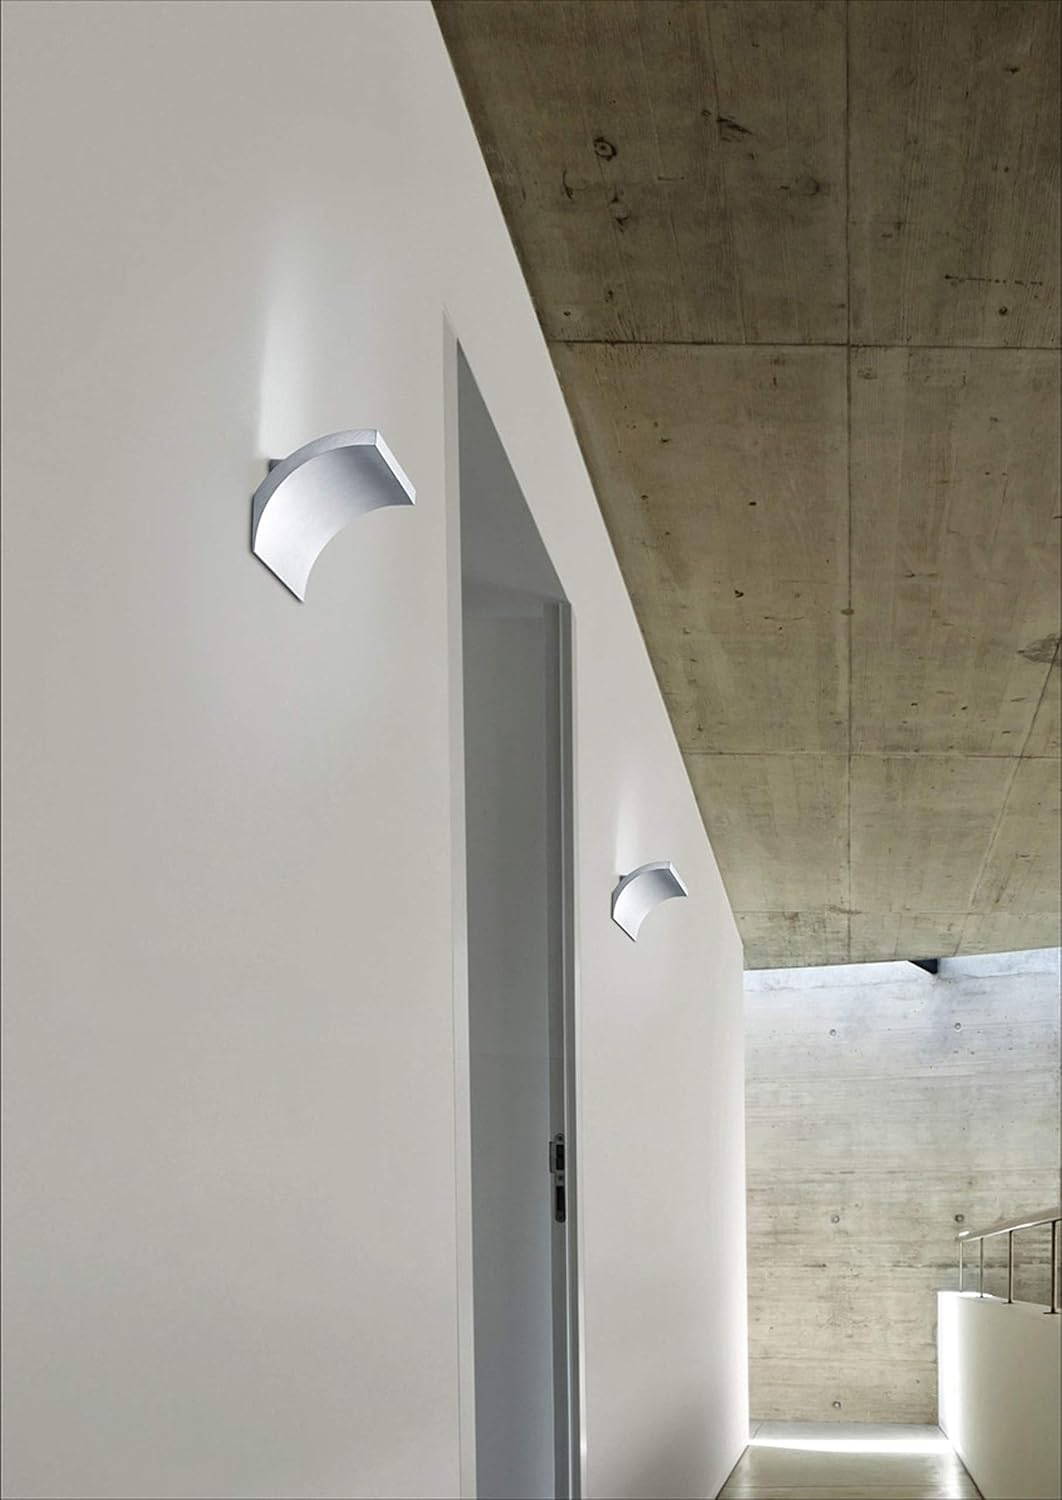
Figure 2: Helestra Adeo LED Wall Lights illuminating a modern hallway, demonstrating their aesthetic and functional placement.
Operating Instructions
The Helestra Adeo LED Wall Light is designed for simple operation.
To turn the light ON or OFF, use the standard wall switch connected to the fixture's electrical circuit.
This fixture uses integrated LED technology and does not require bulb replacement.
Maintenance and Care
Regular cleaning will help maintain the appearance and performance of your Helestra Adeo LED Wall Light.
- Cleaning: Before cleaning, ensure the power to the fixture is turned off at the circuit breaker. Use a soft, dry, or slightly damp cloth to wipe the surface of the fixture. Do not use abrasive cleaners, solvents, or polishes, as these can damage the finish.
- LED Module: The integrated LED module is designed for long-term use and does not require maintenance. Do not attempt to open or replace the LED module.
- Inspection: Periodically inspect the fixture for any signs of damage or loose connections. If any issues are found, disconnect power and consult a qualified electrician.
Troubleshooting
| Problem | Possible Cause | Solution |
|---|---|---|
| Light does not turn on. | No power to the fixture. Loose wiring connection. Faulty wall switch. | Check circuit breaker. Ensure power is off, then check wiring connections. Test or replace the wall switch. |
| Light flickers. | Loose wiring connection. Incompatible dimmer switch (if applicable). | Ensure power is off, then check wiring connections. This fixture is not specified as dimmable. If a dimmer is used, replace with a standard switch. |
| Light is dim. | Incorrect voltage. Dust accumulation on the light source. | Verify input voltage matches specifications. Clean the fixture as per maintenance instructions. |
If the problem persists after attempting these solutions, please contact a qualified electrician or Helestra customer support.
Product Specifications

Figure 3: Front view of the Helestra Adeo LED Wall Light, showcasing its elegant design and the upward light distribution.
| Feature | Detail |
|---|---|
| Brand | Helestra |
| Model Number | 18/1807.06 |
| Type | LED Wall Light (Applique) |
| Material | Metal |
| Color | Nickel |
| Light Source | Integrated LED |
| Power Consumption | 8 W |
| Color Temperature | 2800 K (Warm White) |
| Luminous Flux | 640 lm |
| Energy Efficiency Class | F (A++ according to older label) |
| Ingress Protection (IP) Rating | IP20 (Indoor use only) |
| Dimensions (L x H x D) | 200 x 75 x 65 mm (approx. 7.87 x 2.95 x 2.56 inches) |
| Weight | 1 kg (approx. 2.2 lbs) |
| Voltage | 230 Volts (AC) |
| Installation Type | Wall Mount |
| Special Features | Energy-saving |
Warranty and Support
For warranty information, please refer to the terms and conditions provided by your retailer or contact Helestra customer service directly.
If you require technical assistance or have questions not covered in this manual, please contact your point of purchase or visit the official Helestra website for support.
Keep your purchase receipt as proof of purchase for warranty claims.
Ask a question about this manual
Ask about setup, troubleshooting, compatibility, parts, safety, or missing instructions. Manuals+ will review the question and use this page’s manual context to help answer it.