1. Introduction and Kit Overview
The Equus E8500 5-Piece Gauge Kit provides essential vehicle monitoring with a comprehensive set of gauges. This kit includes a mechanical 3-3/8" speedometer, a 2" water temperature gauge, a 2" oil pressure gauge, a 2" electric fuel level gauge, and a 2" voltmeter. Each gauge is engineered with mechanical Bourdon tubing or OEM-type electric air core movement for reliable performance and accuracy.
The kit is designed for straightforward installation, featuring a twist-on cup design for simple mounting, lightweight anodized aluminum bezels for enhanced appearance, and bright backlit displays for clear visibility during nighttime operation. Included accessories facilitate installation, such as a mating fuel level sender (0E90F), bulb and socket assemblies, red/green/blue bulb covers, installation adapters, and mounting hardware.
2. Product Components
The Equus E8500 kit includes the following components:
- Speedometer (3-3/8")

Image: The 3-3/8 inch mechanical speedometer, displaying speed in MPH and an odometer. Features a white face, black numbers, and a red needle.
- Water Temperature Gauge (2")

Image: The 2 inch water temperature gauge, indicating temperature in both Fahrenheit and Celsius. Features a white face, black numbers, and a red needle.
- Oil Pressure Gauge (2")

Image: The 2 inch oil pressure gauge, showing pressure in PSI and kPa. Features a white face, black numbers, and a red needle.
- Electric Fuel Level Gauge (2")
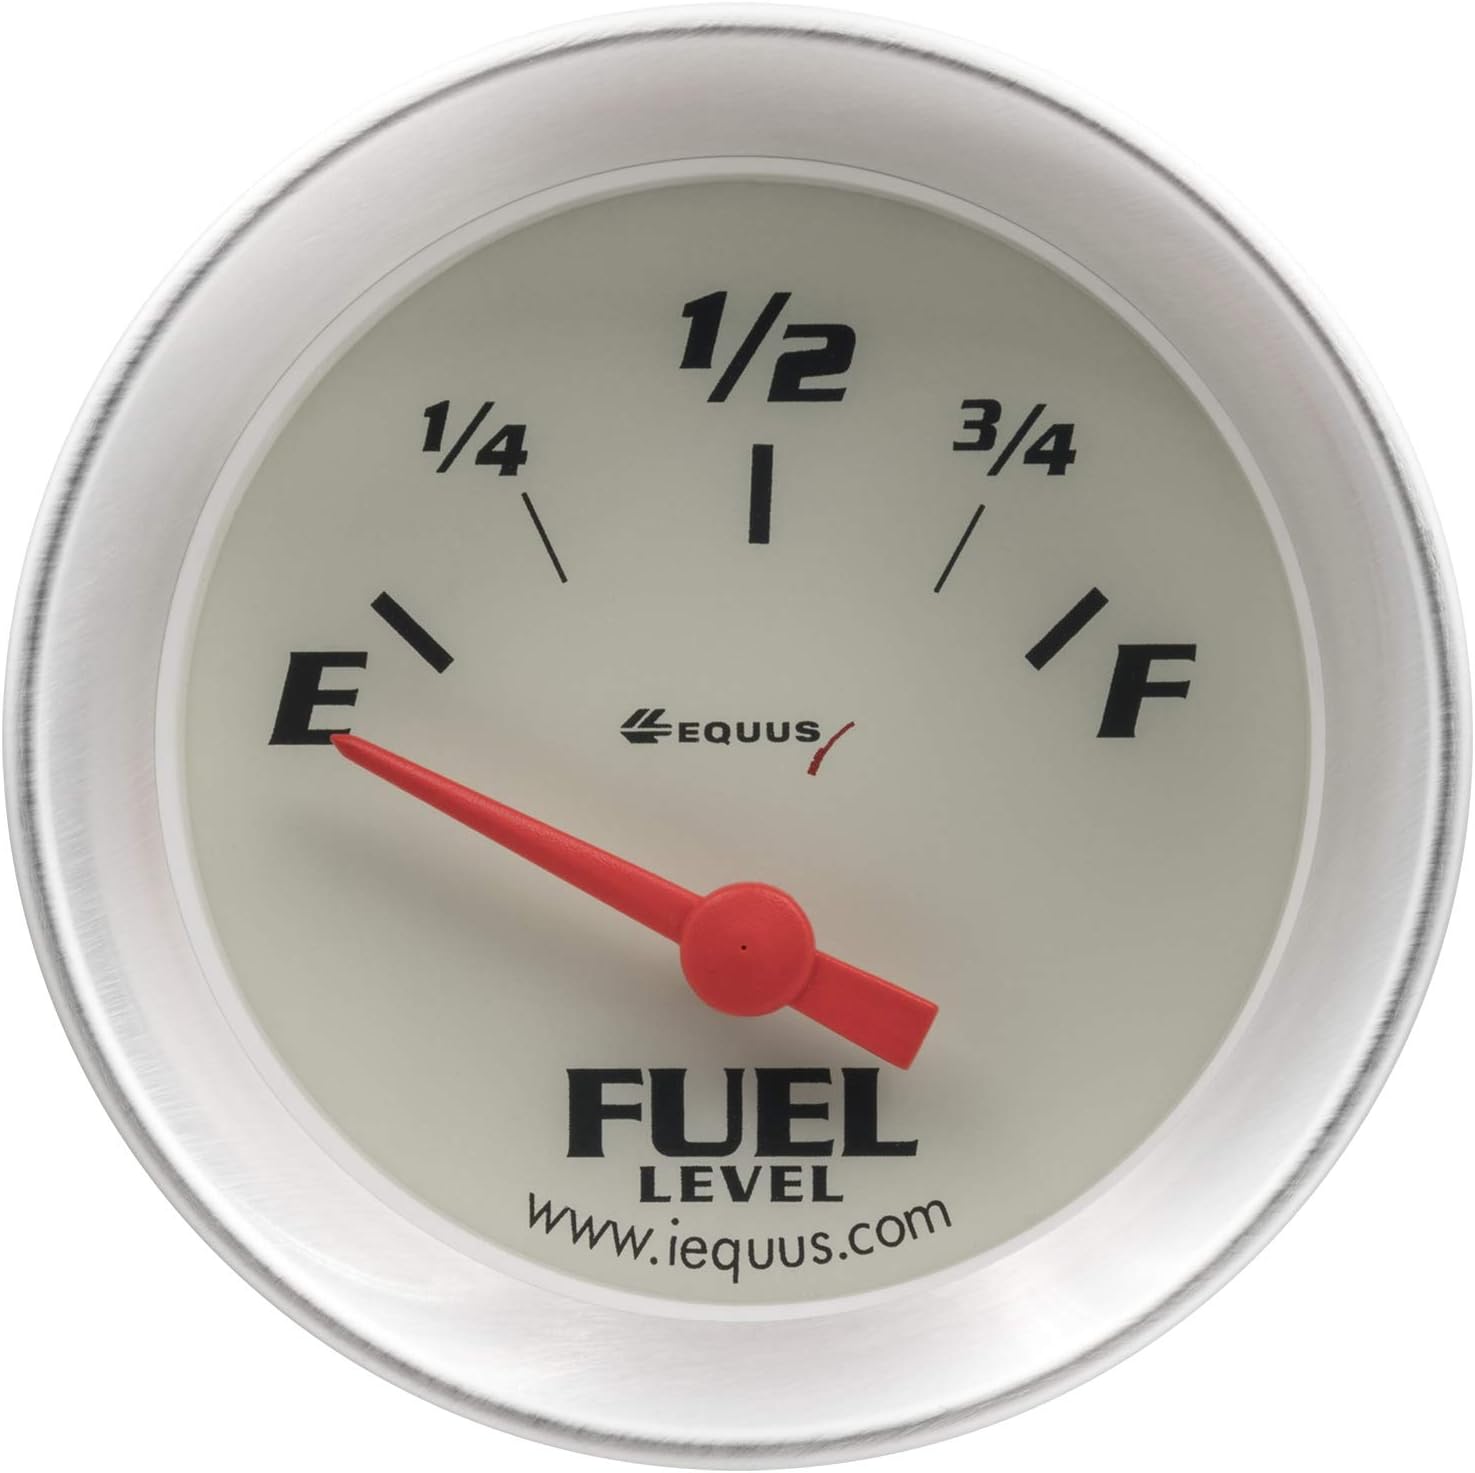
Image: The 2 inch electric fuel level gauge, with markings for Empty (E), 1/4, 1/2, 3/4, and Full (F). Features a white face, black markings, and a red needle.
- Voltmeter (2")

Image: The 2 inch voltmeter, displaying voltage from 8 to 18 volts. Features a white face, black numbers, and a red needle.
- Fuel Level Sender (0E90F)

Image: The included fuel level sender unit (model 0E90F), a mechanical arm with a float designed to be installed in the fuel tank to provide input to the electric fuel level gauge.
- Bulb and socket assemblies
- Red, green, and blue bulb covers
- Installation adapters
- Mounting hardware
3. Installation Instructions
Proper installation is crucial for the accurate and safe operation of your Equus E8500 gauge kit. It is recommended that installation be performed by a qualified automotive technician. Always disconnect the vehicle's battery before beginning any electrical work.
3.1. Mounting the Gauges
- Select appropriate locations on your dashboard or a gauge panel for each gauge. Ensure clear visibility and accessibility.
- Cut the necessary mounting holes for each gauge. The speedometer requires a 3-3/8" hole, and the other four gauges require 2" holes.
- Insert each gauge into its respective hole. The twist-on cup design allows for secure mounting from the rear of the panel using the provided mounting hardware.
- Ensure gauges are firmly seated and oriented correctly.
3.2. Electrical Wiring
Each gauge requires electrical connections for power, ground, and illumination. Refer to the specific wiring diagram provided with your kit for detailed connections. General wiring principles include:
- Power (Ignition Switched +12V): Connect to a circuit that is active when the ignition is on. Use an inline fuse for protection.
- Ground (-): Connect to a clean, reliable chassis ground point.
- Illumination (+12V): Connect to the vehicle's dash lighting circuit to allow the gauge backlighting to dim with the dashboard lights.
- Sensor Input: Connect the appropriate sensor wire from each gauge to its respective sending unit.
3.3. Sensor and Sender Installation
- Speedometer: Connect the mechanical speedometer cable from the vehicle's transmission to the back of the speedometer. Ensure a secure connection.
- Water Temperature Gauge: Install the water temperature sending unit (if not already present or compatible) into an appropriate port in the engine's cooling system. Connect the gauge's sensor wire to this sending unit.
- Oil Pressure Gauge: Install the oil pressure sending unit (if not already present or compatible) into an appropriate port on the engine block. Connect the gauge's sensor wire to this sending unit.
- Electric Fuel Level Gauge: Install the provided fuel level sender (0E90F) into your vehicle's fuel tank. This typically involves removing the existing sender unit and replacing it. Ensure the sender's float mechanism has a full range of motion. Connect the gauge's sensor wire to the fuel level sender.
- Voltmeter: The voltmeter typically connects directly to the vehicle's electrical system (power and ground) and does not require a separate sending unit.
After all connections are made, re-connect the vehicle's battery and test the functionality of each gauge before driving.
4. Operation
Once installed and powered, the gauges will provide real-time readings of your vehicle's critical parameters:
- Speedometer: Displays vehicle speed in miles per hour (MPH) and tracks total distance traveled via the odometer.
- Water Temperature Gauge: Indicates engine coolant temperature in both Fahrenheit and Celsius. Monitor this to prevent engine overheating.
- Oil Pressure Gauge: Shows engine oil pressure in pounds per square inch (PSI) and kilopascals (kPa). Proper oil pressure is vital for engine lubrication.
- Electric Fuel Level Gauge: Displays the approximate fuel level in the tank, from Empty (E) to Full (F).
- Voltmeter: Measures the vehicle's electrical system voltage, typically indicating the battery's charge level and alternator output.
The bright backlit displays ensure easy readability in all lighting conditions, especially at night.
5. Maintenance
The Equus E8500 gauge kit requires minimal maintenance to ensure longevity and accurate readings.
- Cleaning: Clean the gauge faces and bezels with a soft, damp cloth. Avoid abrasive cleaners or solvents that could damage the finish or clear lens.
- Connections: Periodically check all electrical and mechanical connections for tightness and corrosion. Loose connections can lead to inaccurate readings or intermittent operation.
- Sensor Integrity: Inspect sensor wires and sending units for any signs of damage or wear.
6. Troubleshooting
If you experience issues with your gauge kit, consider the following troubleshooting steps:
- Gauge Not Working (No Power/Illumination):
Check: Fuse in the power line, ground connection, and ignition switched power source. Ensure bulbs are correctly seated and functional. - Inaccurate Readings:
Check: Sensor connections for tightness and corrosion. Verify the correct sending unit is installed and compatible with the gauge. Ensure proper grounding for both the gauge and the sending unit. For mechanical gauges, check cable integrity. - Intermittent Operation:
Check: All wiring connections for looseness or damage. Inspect for shorts or frayed wires. - Fuel Gauge Always Full/Empty:
Check: Fuel level sender unit for proper installation and free movement of the float arm. Verify the sender's resistance range matches the gauge's requirements. Check wiring between sender and gauge.
If problems persist after troubleshooting, contact Equus customer support or a qualified automotive technician.
7. Specifications
| Feature | Specification |
|---|---|
| Manufacturer | Equus |
| Model Number | E8500 |
| Gauge Types Included | Speedometer, Water Temperature, Oil Pressure, Electric Fuel Level, Voltmeter |
| Speedometer Size | 3-3/8 inches |
| Other Gauge Sizes | 2 inches |
| Movement Type | Mechanical Bourdon tubing or OEM-type electric air core |
| Display | Bright backlit |
| Bezel Material | Anodized Aluminum |
| Product Dimensions | 44.7 x 22.35 x 12.19 cm |
| Item Weight | 1.56 kg |
8. Warranty and Support
For information regarding product warranty, technical support, or replacement parts, please contact Equus customer service directly. Keep your purchase receipt as proof of purchase for any warranty claims.
Contact information for Equus can typically be found on their official website or product packaging.