
Hyper Tough 4376
Hyper Tough HT 51-Piece Auto and Motorcycle Tool Kit User Manual
Model: 4376
Introduction
This user manual provides essential information for the safe and effective use, maintenance, and storage of your Hyper Tough HT 51-Piece Auto and Motorcycle Tool Kit. This comprehensive kit is designed for various automotive and motorcycle repair and maintenance tasks, offering a wide range of tools for common applications.

Figure 1: Complete Hyper Tough 51-Piece Auto and Motorcycle Tool Kit contents.
Product Contents
The Hyper Tough HT 51-Piece Auto and Motorcycle Tool Kit includes the following components, neatly organized in a durable storage pouch:
- 1 x 6-inch Adjustable Wrench
- 1 x 3/8-inch Drive Reversible Ratchet
- 2 x 3/8-inch Drive Spark Plug Sockets: 5/8-inch & 13/16-inch
- 5 x 3/8-inch Drive 6-Point SAE Sockets: 3/8-inch, 7/16-inch, 1/2-inch, 9/16-inch & 11/16-inch
- 5 x 3/8-inch Drive 6-Point Metric Sockets: 8mm, 10mm, 12mm, 14mm & 15mm
- 1 x 5-inch Curved Jaw Locking Pliers
- 1 x 10-50 PSI Tire Gauge
- 4 x Open-End Wrenches: 3/8-inch x 7/16-inch, 1/2-inch x 9/16-inch, 10mm x 11mm & 12mm x 14mm
- 1 x Magnetic Screwdriver Handle
- 20 x 1-inch Screwdriver Bits
- 8 x Star Keys with Comfort Grip Handle (T9, T10, T15, T20, T25, T27, T30, T40)
- 1 x Gap Gauge
- 1 x Storage Pouch with Zipper

Figure 2: The compact and durable storage pouch for the tool kit.
Setup and Preparation
Before using your tool kit, ensure all components are present and in good condition. Familiarize yourself with each tool's function and proper handling.
- Unpack and Inspect: Carefully remove all tools from the storage pouch. Inspect each tool for any signs of damage or manufacturing defects.
- Organize: Return the tools to their designated slots within the storage pouch after inspection. This ensures easy access and proper storage, preventing loss or damage.
- Safety Check: Always wear appropriate personal protective equipment (PPE) such as safety glasses and gloves when performing any repair or maintenance work.
Operating Instructions
This section provides general guidance on using the various tools included in your kit. Always refer to specific vehicle or equipment manuals for detailed repair procedures.
Adjustable Wrench
Use the 6-inch adjustable wrench for fasteners of varying sizes. Adjust the jaw opening by turning the worm screw to fit the fastener snugly. Ensure a tight fit to prevent slipping and damage to the fastener or tool.

Figure 3: Proper use of the adjustable wrench for securing or loosening fasteners.
Ratchet and Sockets
The 3/8-inch drive reversible ratchet combined with the SAE and Metric sockets allows for efficient tightening and loosening of bolts and nuts. Select the correct socket size for the fastener to avoid rounding corners. Use the reversible switch on the ratchet head to change direction.

Figure 4: The 3/8-inch drive ratchet and various sockets for different fastener sizes.
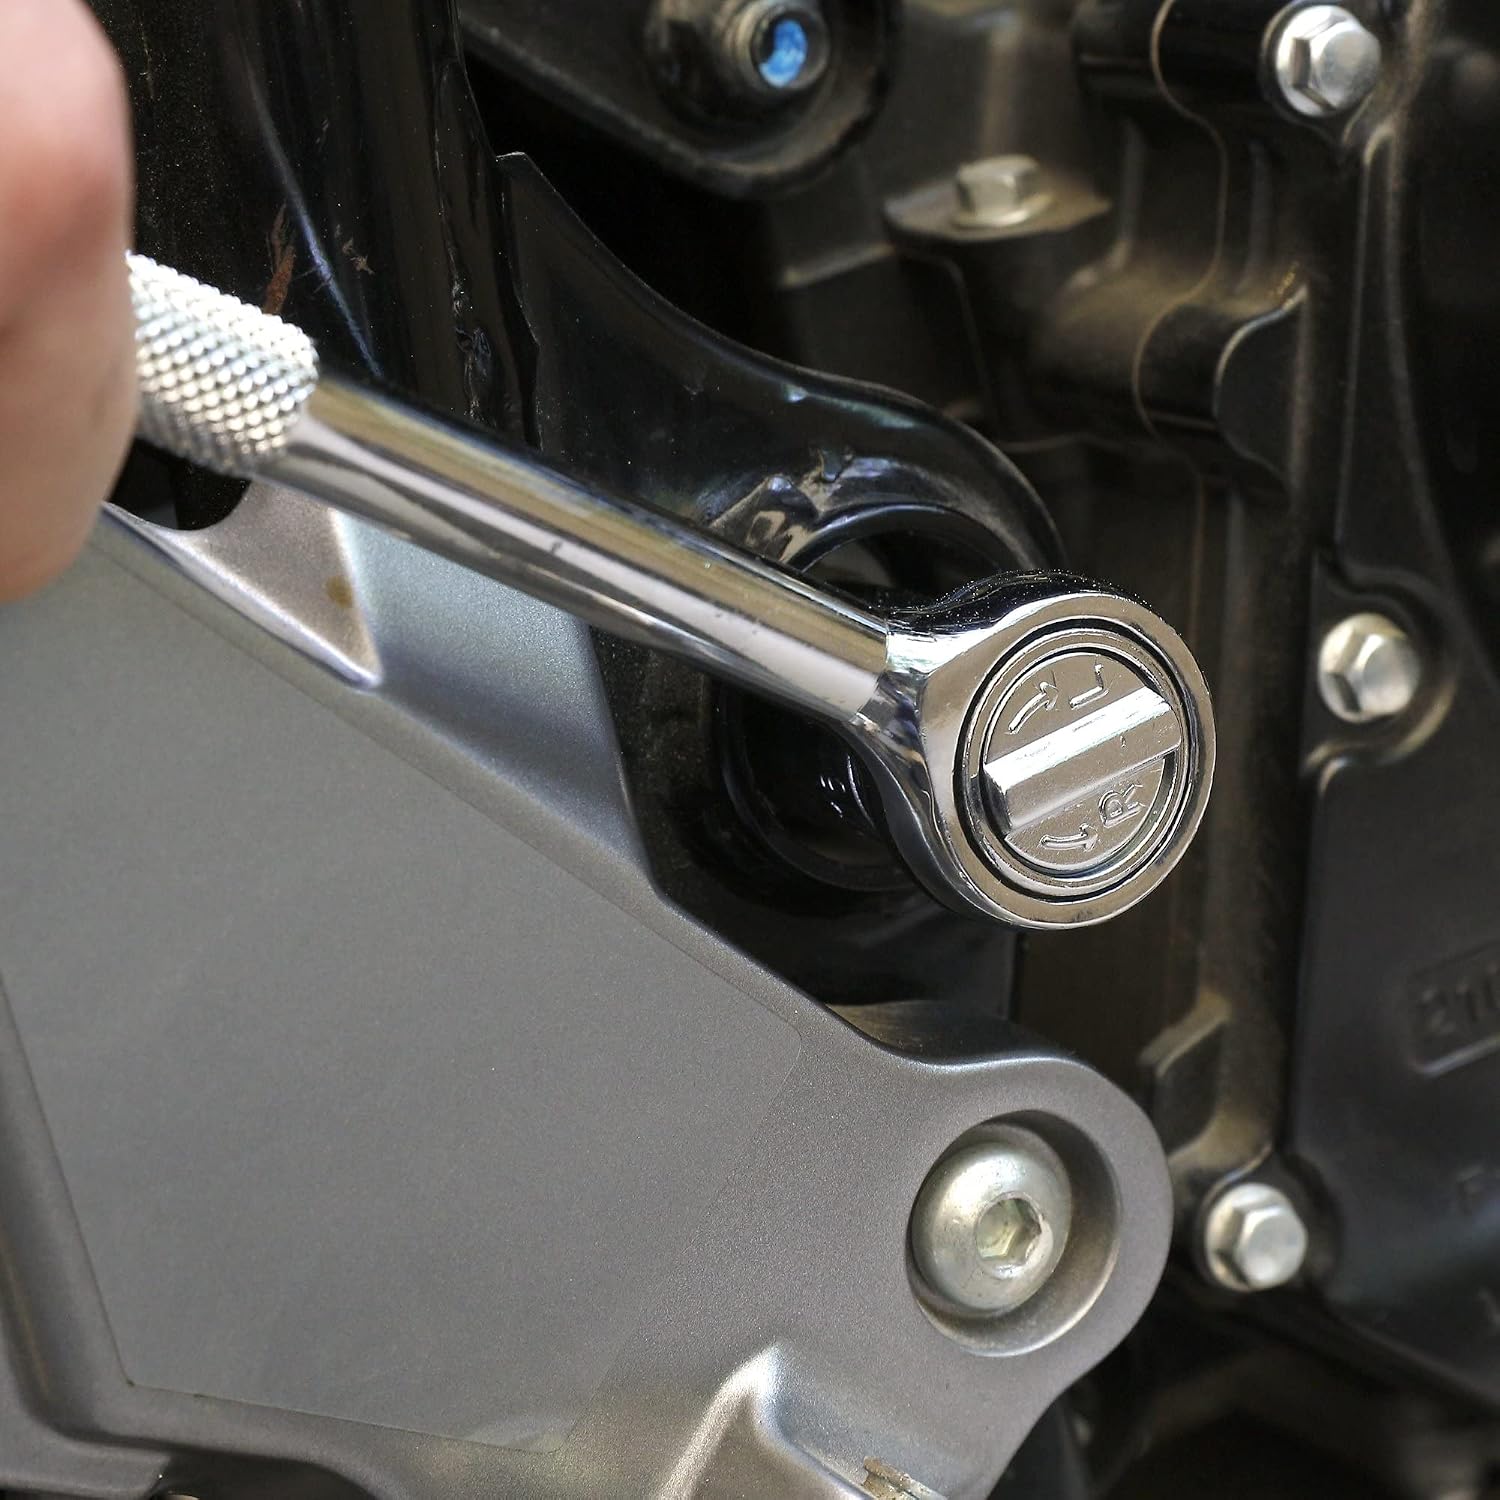
Figure 5: Applying the ratchet and socket to a component for tightening or loosening.
Spark Plug Sockets
The 5/8-inch and 13/16-inch spark plug sockets are specifically designed for removing and installing spark plugs. Use with the 3/8-inch drive ratchet. Exercise caution to avoid cross-threading or overtightening spark plugs.
Curved Jaw Locking Pliers
These pliers provide a strong, non-slip grip for holding, clamping, or turning objects. Adjust the jaw opening using the screw at the handle end, then squeeze the handles to lock. Release by pressing the lever.

Figure 6: The curved jaw locking pliers, ready for use.
Tire Gauge
Use the 10-50 PSI tire gauge to accurately measure tire pressure. Press the gauge firmly onto the tire valve stem until the reading appears. Proper tire pressure is crucial for safety and vehicle performance.
Open-End Wrenches
The four open-end wrenches are suitable for fasteners where a socket cannot be used due to space constraints. Ensure the wrench size matches the fastener exactly to prevent damage.
Magnetic Screwdriver Handle & Screwdriver Bits
Insert the desired 1-inch screwdriver bit into the magnetic handle. The magnetic tip holds the bit securely and helps to hold screws in place during installation or removal. This versatile tool is ideal for various screw types.
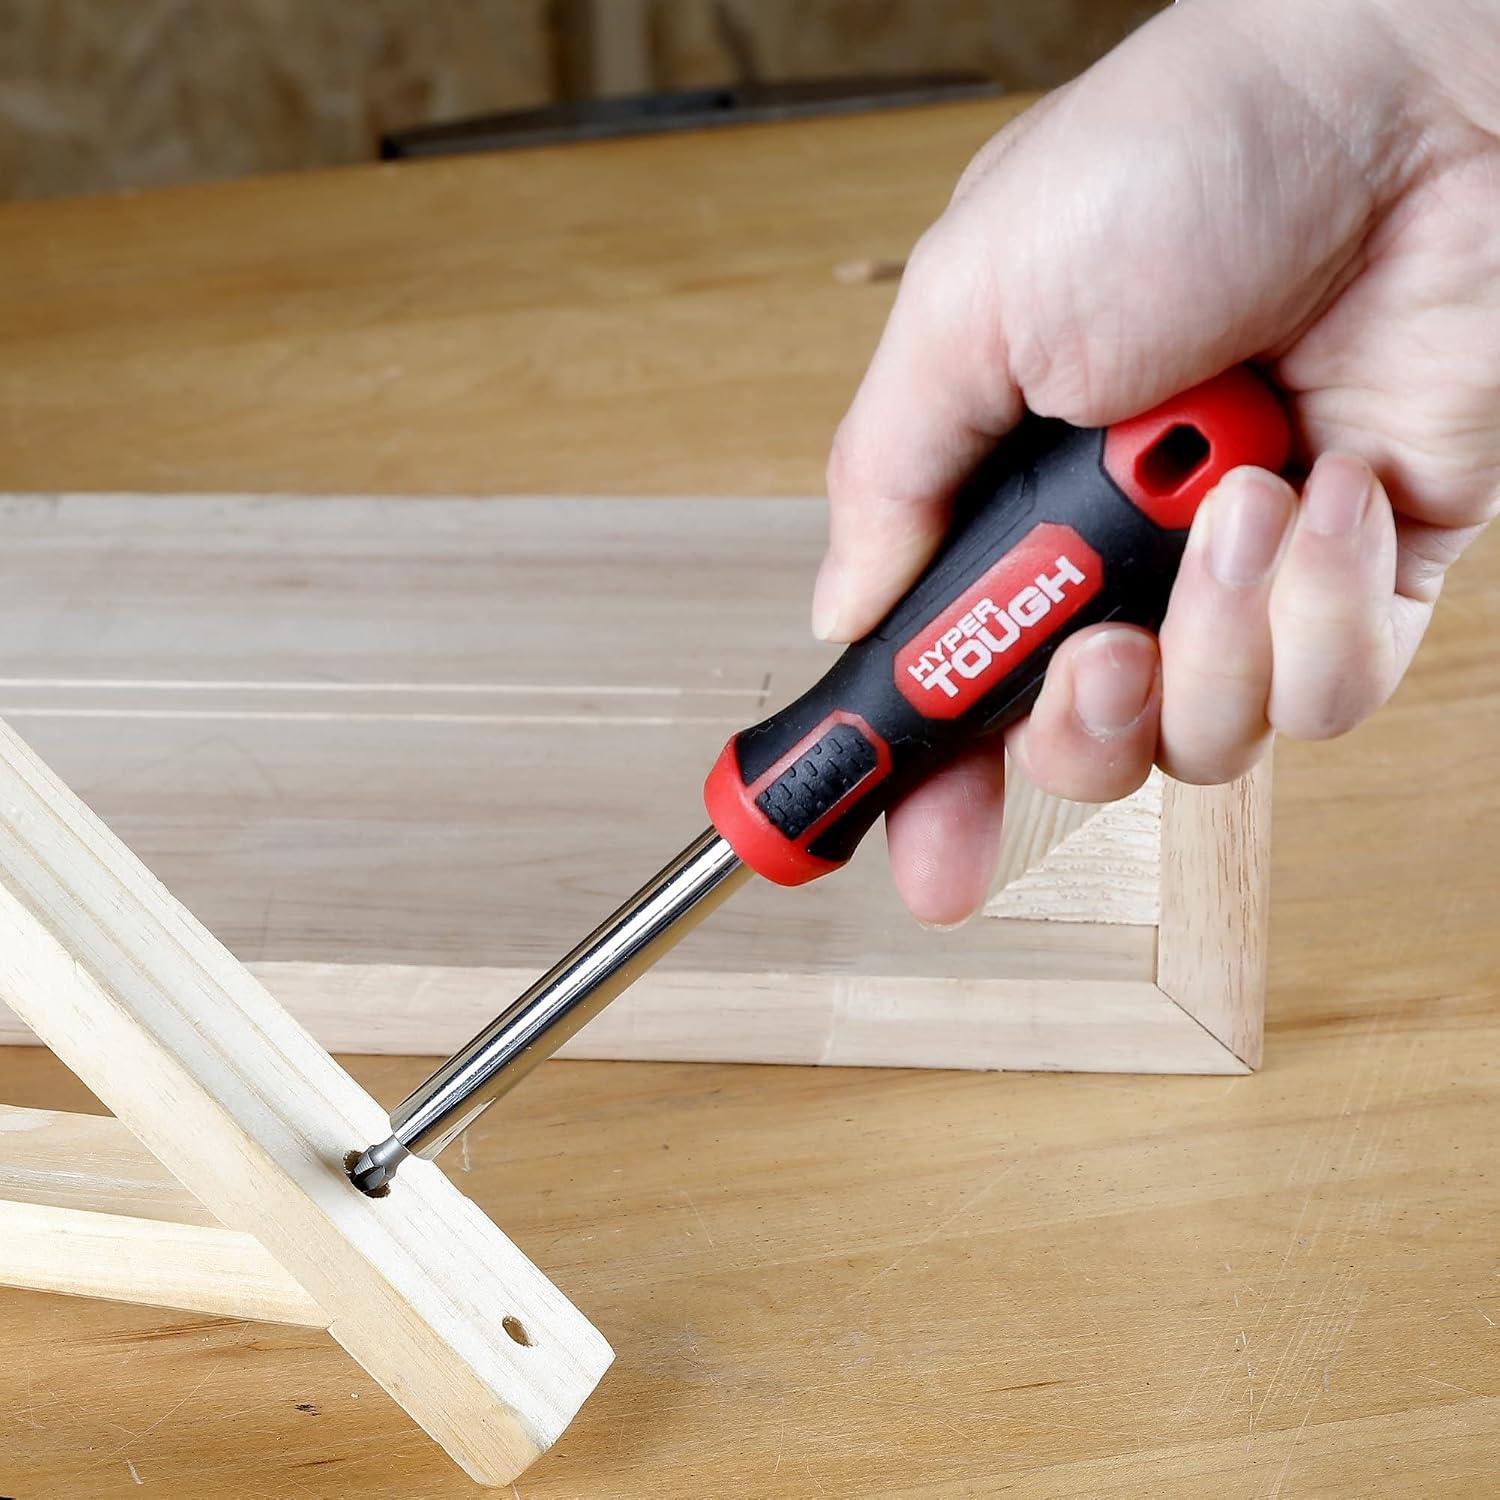
Figure 7: The magnetic screwdriver handle in use for driving a screw.
Star Keys with Comfort Grip Handle
These 8 star keys (Torx keys) are used for fasteners with a star-shaped recess. The comfort grip handle provides better leverage and reduces hand fatigue. Select the correct size (T9, T10, T15, T20, T25, T27, T30, T40) for the fastener.

Figure 8: The set of 8 star keys for specialized fasteners.

Figure 9: Using a star key to work on a component with a star-shaped screw head.
Gap Gauge
The gap gauge is used to measure small distances or clearances, commonly for spark plug gaps or valve clearances. Follow the specific measurement requirements for your application.
Maintenance
Proper maintenance extends the life of your tools and ensures their reliable performance.
- Cleaning: After each use, wipe down tools with a clean, dry cloth to remove dirt, grease, and moisture. For stubborn grime, use a mild degreaser and then dry thoroughly.
- Lubrication: Periodically apply a light coat of machine oil to moving parts of the ratchet, adjustable wrench, and locking pliers to ensure smooth operation and prevent rust.
- Storage: Always store the tools in their original storage pouch in a dry environment to prevent corrosion. Keep the pouch closed to protect tools from dust and damage.
- Inspection: Regularly inspect tools for wear, damage, or signs of rust. Replace any damaged tools immediately to ensure safety and effectiveness.
Troubleshooting
If you encounter issues while using your tool kit, consider the following common troubleshooting tips:
- Tool Slipping: Ensure the tool (wrench, socket, pliers) is correctly sized and fully engaged with the fastener. Avoid using worn or damaged tools.
- Stuck Fasteners: Apply penetrating oil to rusted or seized fasteners. Use steady, increasing pressure rather than sudden force. For very tight fasteners, consider using a breaker bar with sockets (if available and compatible).
- Damaged Fastener Heads: If a fastener head is rounded or stripped, specialized tools like extractor sets may be required (not included in this kit). Always use the correct tool size to prevent damage.
- Ratchet Not Engaging: Check the direction switch on the ratchet head. Ensure it is fully engaged in either the tightening or loosening position. Clean any debris from the ratchet mechanism.
Specifications
| Feature | Detail |
|---|---|
| Brand | Hyper Tough |
| Model Number | 4376 |
| Part Number | 4376 |
| Number of Pieces | 51 |
| Item Weight | 4.21 pounds (1.91 kg) |
| Product Dimensions | 7.28 x 10.83 x 2.36 inches |
| First Available Date | November 10, 2017 |
| UPC | 689339722915, 820909043768 |
Warranty Information
Hyper Tough products are manufactured to high-quality standards. For specific warranty details regarding your 51-Piece Auto and Motorcycle Tool Kit, please refer to the packaging or contact Hyper Tough customer support directly. Keep your purchase receipt as proof of purchase.
Customer Support
For further assistance, questions, or to report any issues with your Hyper Tough tool kit, please contact Hyper Tough customer support. Contact information can typically be found on the product packaging or the official Hyper Tough website.
Please note: This manual is for informational purposes only and does not replace professional advice or specific vehicle repair instructions. Always prioritize safety when working with tools.
Related documents4376

Ask a question about this manual
Ask about setup, troubleshooting, compatibility, parts, safety, or missing instructions. Manuals+ will review the question and use this page’s manual context to help answer it.