1. Introduction
This manual provides detailed instructions for the safe and efficient installation, operation, and maintenance of your Hunter Gulf Winds Ceiling Fan. Please read all instructions carefully before beginning installation and retain this manual for future reference.
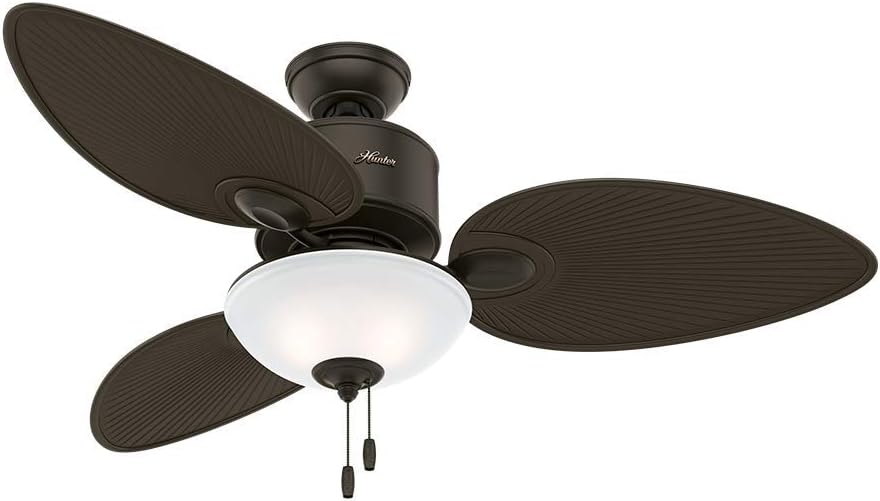
Figure 1: Hunter Gulf Winds Ceiling Fan, 127V Bronze with Leaf-Shaped Blades.
2. Safety Information
Always follow basic safety precautions when installing and operating electrical appliances to reduce the risk of fire, electric shock, and personal injury.
- Ensure power is disconnected at the circuit breaker before installation or servicing.
- All wiring must be in accordance with national and local electrical codes.
- Consult a qualified electrician if you are unsure about wiring procedures.
- Mount the fan to a ceiling joist or support structure capable of supporting the fan's weight.
- Do not operate the fan with damaged blades.
- Keep hands, clothing, and other objects clear of rotating fan blades.
3. Package Contents
Verify that all components are present before beginning installation:
- Fan Motor Assembly
- Fan Blades (Leaf-Shaped)
- Downrod and Canopy
- Mounting Bracket
- Light Kit with LED
- Remote Control and Receiver
- Hardware Pack (screws, washers, wire nuts)
- Instruction Manual
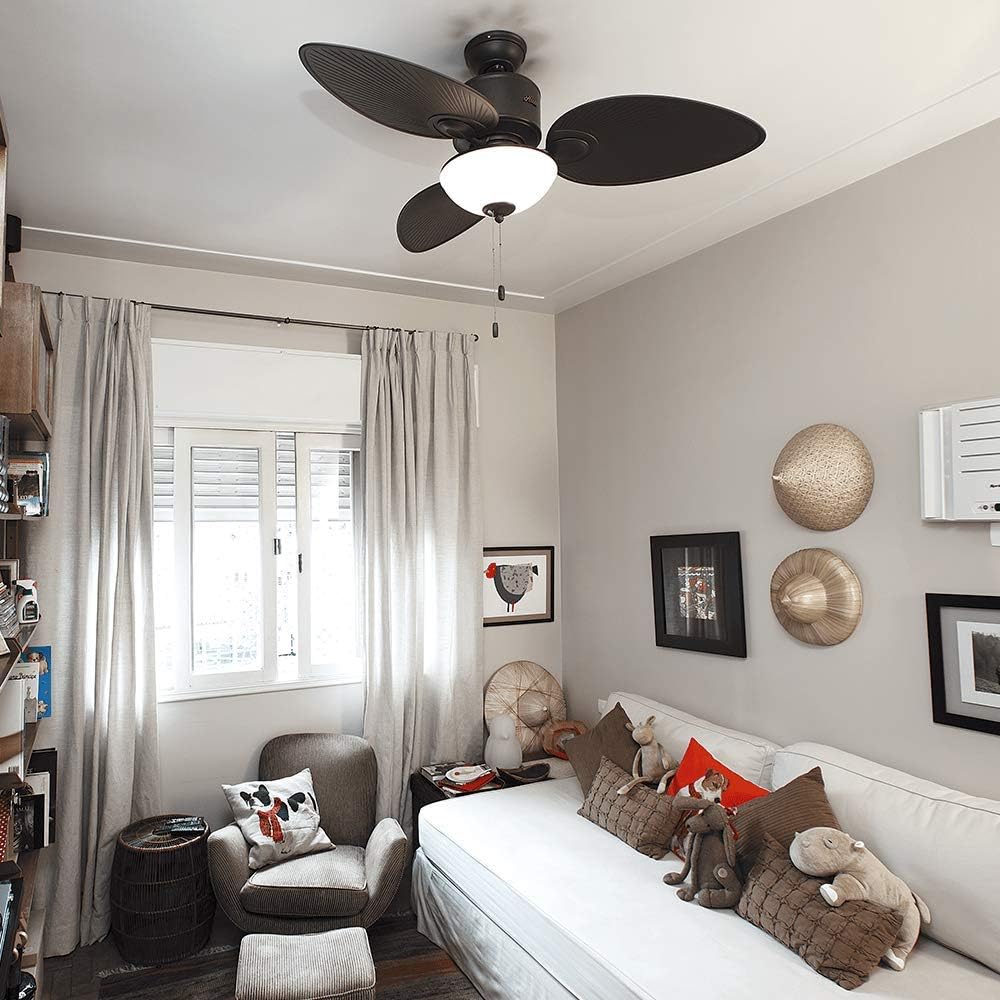
Figure 2: Components of the Hunter Gulf Winds Ceiling Fan.
4. Setup and Installation
Follow these steps for proper installation of your ceiling fan:
- Mounting Bracket Installation: Secure the mounting bracket to a ceiling joist or a fan-rated outlet box. Ensure it is firmly attached to support the fan's weight.
- Wiring the Fan: Connect the fan's electrical wires to your household wiring according to the wiring diagram provided in the manual. Ensure all connections are secure and insulated with wire nuts.
- Assembling the Downrod: Insert the downrod through the canopy and motor housing. Secure it with the provided pin and clip.
- Hanging the Fan: Carefully lift the fan assembly and hang it from the mounting bracket.
- Attaching Fan Blades: Secure each leaf-shaped blade to the motor housing using the provided screws. Ensure all blades are tightly fastened.
- Installing the Light Kit: Connect the light kit wires to the fan motor wires. Secure the light kit to the bottom of the fan motor housing.
- Final Assembly: Attach the light cover and ensure all components are securely in place. Restore power at the circuit breaker.
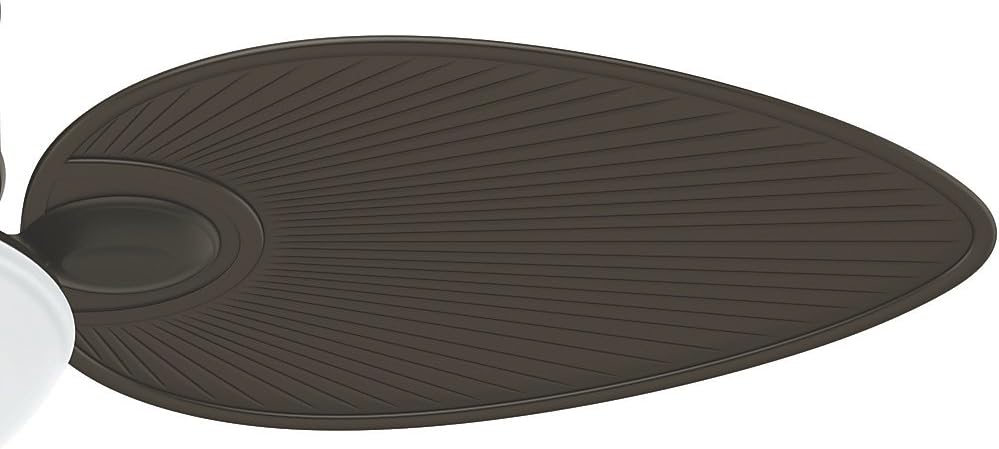
Figure 3: Close-up of the unique leaf-shaped blades being attached to the fan.
5. Operating Instructions
Your Hunter Gulf Winds fan comes with a remote control for convenient operation of its features.
5.1 Remote Control Functions
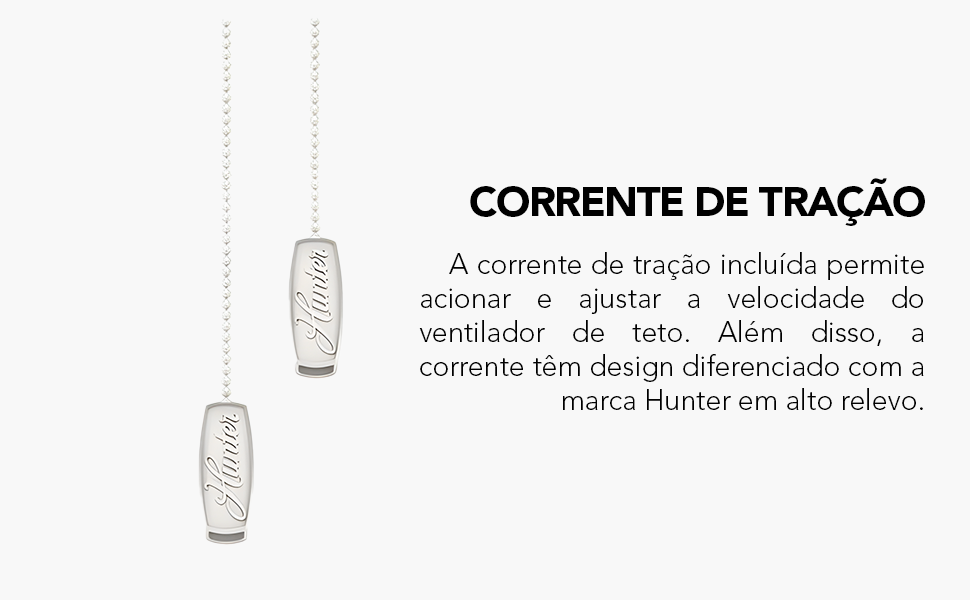
Figure 4: Remote control for fan speed, light, and timer settings.
- Power Button: Turns the fan ON/OFF.
- Fan Speed Buttons (1-6): Adjusts fan speed from low (1) to high (6).
- Light ON/OFF Button: Toggles the light ON/OFF.
- Light Dimmer Buttons (+/-): Adjusts light brightness.
- Color Temperature Button: Cycles through white, neutral, and warm light settings.
- Timer Buttons (1H, 2H, 4H): Sets the fan to turn off automatically after 1, 2, or 4 hours.
- FR (Forward/Reverse) Button: Changes the direction of blade rotation for seasonal use.
5.2 Seasonal Operation (FR Button)
The FR button allows you to change the direction of the fan blades:
- Summer Mode (Counter-clockwise): Pushes air downward, creating a cooling breeze.
- Winter Mode (Clockwise): Draws air upward, circulating warm air trapped near the ceiling.

Figure 5: Auto Balance Technology ensures smooth and quiet operation.
6. Maintenance
Regular maintenance ensures optimal performance and longevity of your fan.
- Cleaning: Use a soft, damp cloth to clean the fan blades and motor housing. Do not use abrasive cleaners or solvents.
- Blade Inspection: Periodically check all blade screws for tightness. Loose screws can cause wobbling and noise.
- Light Kit: The LED light source is designed for long life and typically does not require replacement.
7. Troubleshooting
| Problem | Possible Cause | Solution |
|---|---|---|
| Fan does not start | No power to the fan; loose wiring; remote control battery low. | Check circuit breaker; verify wiring connections; replace remote battery. |
| Fan wobbles | Loose blade screws; unbalanced blades; improper mounting. | Tighten all blade screws; use balancing kit (if included); ensure mounting bracket is secure. |
| Light does not work | Loose wire connection in light kit; remote control battery low. | Check light kit wiring; replace remote battery. |
8. Specifications
- Brand: Hunter
- Model: 50052
- Voltage: 110 Volts (127V variant)
- Color: Bronze
- Electric Fan Design: Ceiling Fan
- Power Source: Electric Power
- Style: Classic, Modern, Contemporary
- Room Type: Living Room (suitable for covered indoor/outdoor areas)
- Special Features: Quiet for Life Technology, Auto Balance Technology, Leaf-shaped Blades, Pull Chain Control, Procel Seal Category A
- Mounting Type: Ceiling Mount
- Controller Type: Remote Control
- Material: Composite
- Item Weight: 11.8 Kilograms
- UPC: 049694500526
9. Warranty and Support
For warranty information, technical support, or to purchase replacement parts, please refer to the official Hunter website or contact their customer service. Keep your purchase receipt as proof of purchase.
Return Policy: This product is subject to a 30-day refund/replacement policy from the date of purchase.
Extended Warranty: Extended warranty options against failures and defects may be available for up to 144 months. Please check with your retailer for details.