1. Introduction
This manual provides instructions for the assembly, operation, and maintenance of your Giantex 5-Tier Wooden Trapezoid Plant Stand. This versatile plant holder rack is designed for displaying multiple plants and other decorative items, suitable for both indoor and outdoor environments such as living rooms, balconies, patios, and porches. Constructed from carbonized pine wood, it offers durability and a unique aesthetic.
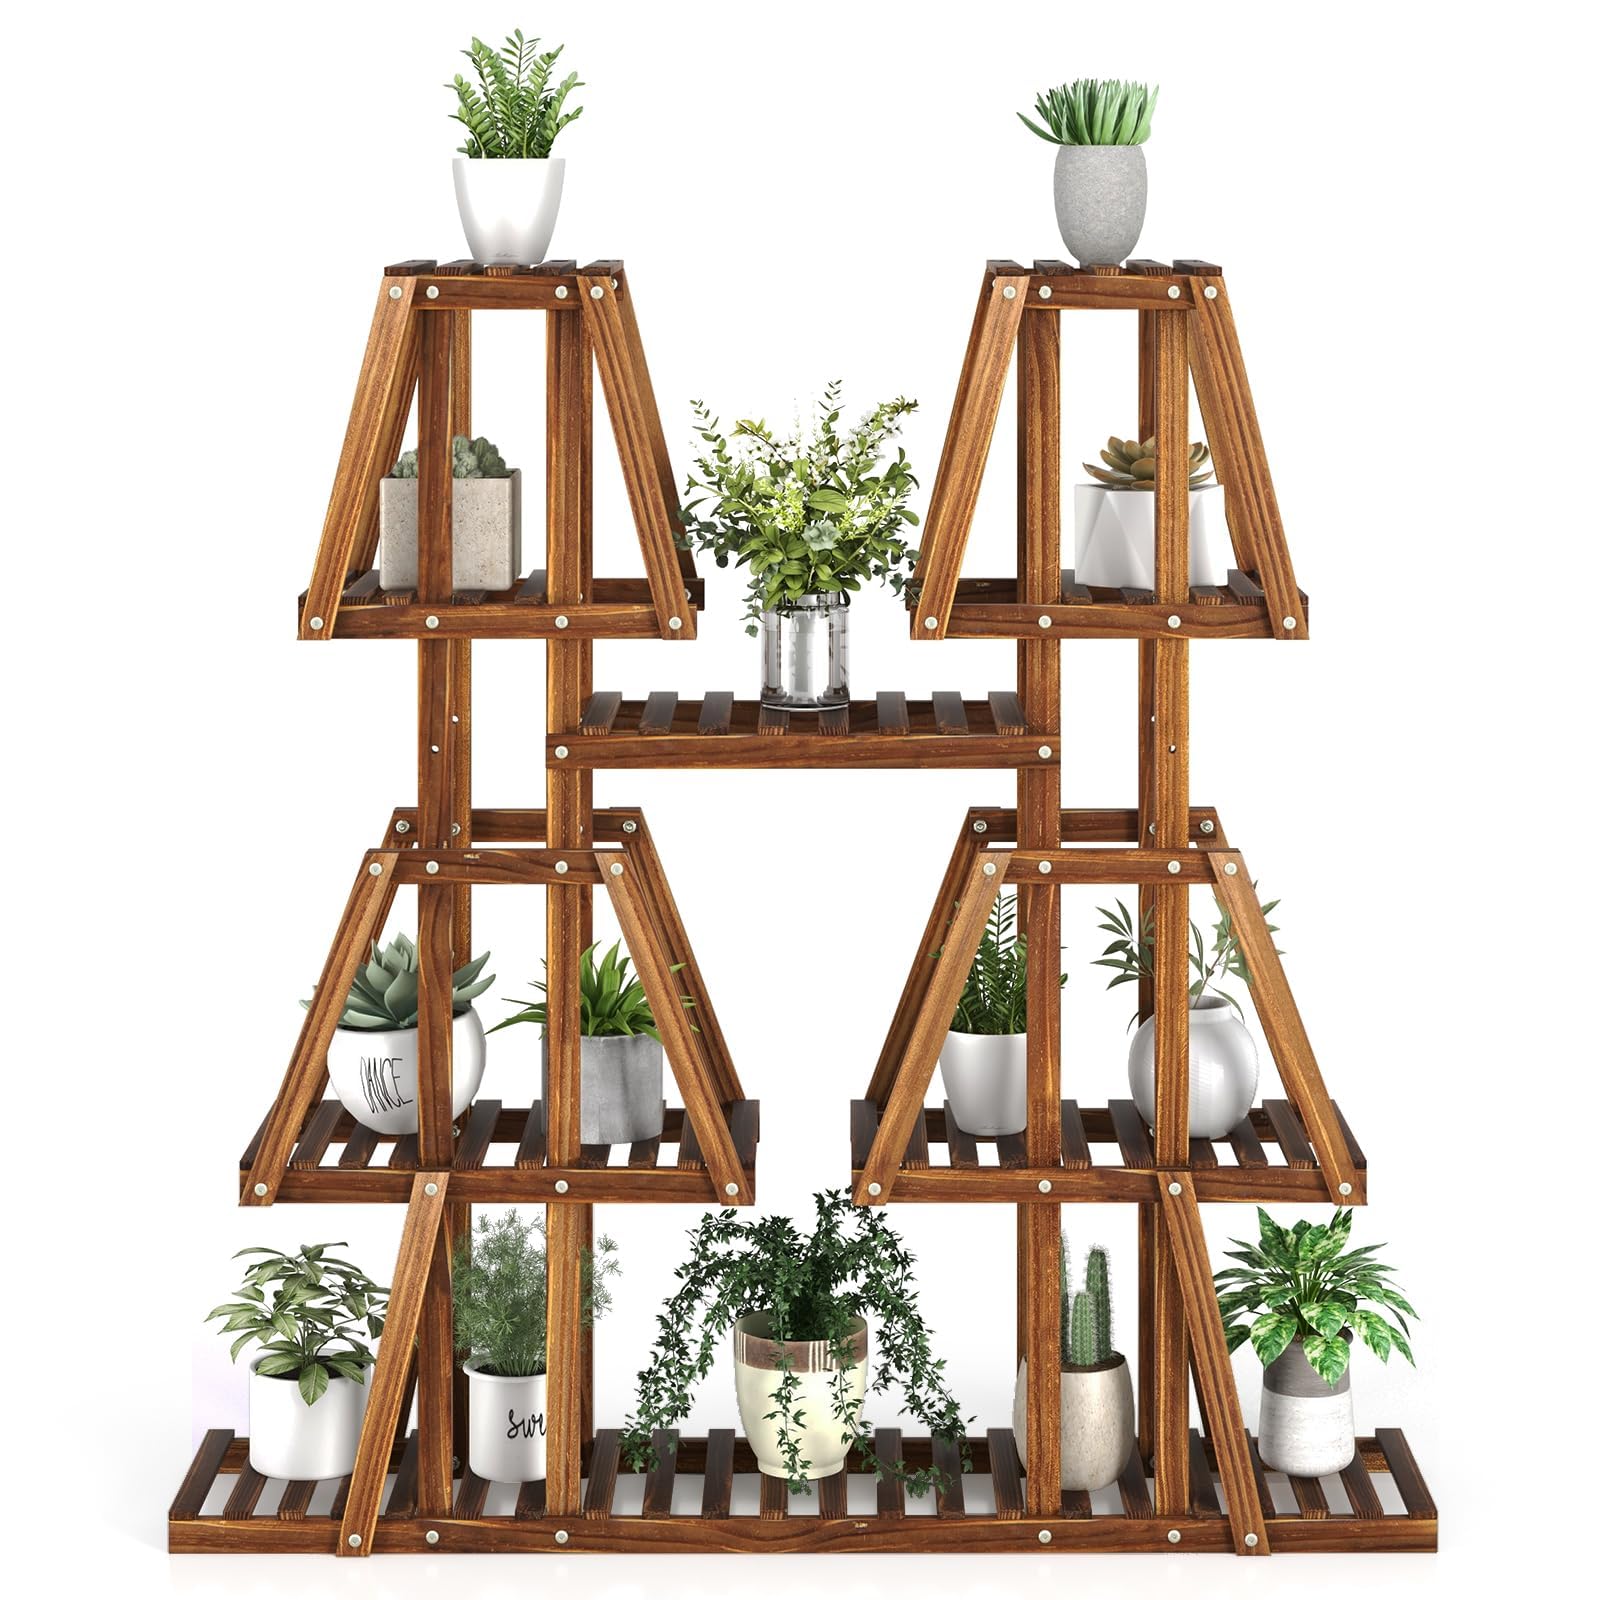
Figure 1: The Giantex 5-Tier Wooden Trapezoid Plant Stand, highlighting its multipurpose design for various settings.
2. Safety Information
- Read all instructions carefully before assembly and use. Failure to follow instructions may result in injury or product damage.
- Keep small parts away from children. This product contains small components that could be a choking hazard.
- Assemble on a soft, clean surface. This prevents scratching the product or your floor.
- Ensure all connections are secure. Periodically check and tighten all screws and bolts to maintain stability.
- Do not overload the stand. Distribute weight evenly across the shelves. Refer to the 'Operating & Usage' section for guidance.
- Place the stand on a level surface. An uneven surface can compromise stability and lead to tipping.
- Avoid direct exposure to extreme weather conditions for prolonged periods. While suitable for outdoor use, extreme sun, rain, or snow may affect the wood's longevity.
3. Package Contents
Before beginning assembly, verify that all parts listed below are present and undamaged. If any parts are missing or damaged, do not proceed with assembly. Contact customer support for assistance.

Figure 2: Illustrated parts list for the plant stand. Refer to your included manual for specific part numbers and quantities.
Hardware List (Example)
- Screws (various sizes)
- Nuts
- Washers
- Allen Wrench (Hex Key)
Note: The exact number and type of hardware may vary slightly. Please refer to the detailed parts list provided in your product's physical instruction manual.
4. Setup & Assembly
Assembly typically requires two people. Follow the steps below carefully. Do not fully tighten screws until all parts are loosely assembled.

Figure 3: Assembly diagram. Follow the numbered steps and corresponding part labels.
- Unpack Components: Carefully remove all parts from the packaging and lay them out on a soft, clean surface. Compare them with the 'Package Contents' list to ensure everything is present.
- Identify Parts: Refer to Figure 2 and the included manual to identify each wooden panel and hardware piece.
- Assemble Base: Begin by connecting the base panels (e.g., Part A and Part B) using the specified screws and an Allen wrench. Do not overtighten.
- Attach Vertical Supports: Connect the main vertical support beams (e.g., Part C and Part D) to the base. Ensure they are oriented correctly as shown in Figure 3.
- Install Shelves: Attach the various trapezoidal and rectangular shelves (e.g., Part E, F, G) to the vertical supports. The unique high-low structure allows for optimal plant display.
- Secure All Connections: Once all parts are in place, gradually tighten all screws and bolts until they are firm. Avoid overtightening to prevent stripping the wood.
- Final Check: Gently shake the assembled stand to ensure it is stable. If there is any wobbling, re-check all connections.
5. Operating & Usage
The Giantex plant stand is designed for displaying potted plants, garden tools, photo frames, trophies, crafts, books, and other decorative items. Its 5-tier, high-low structure ensures that plants receive ample sunlight from various angles.

Figure 4: The plant stand's large capacity, accommodating multiple potted plants and other items.
- Weight Distribution: Distribute the weight of your items evenly across the shelves. Avoid placing excessively heavy items on a single shelf or concentrating weight on one side.
- Plant Placement: Utilize the tiered design to arrange plants according to their light requirements. Taller plants can be placed on lower shelves or in gaps, while smaller, sun-loving plants can occupy higher, more exposed positions.
- Indoor/Outdoor Use: This stand is suitable for both indoor and outdoor use. When used outdoors, consider placing it in a sheltered area to protect it from prolonged exposure to harsh weather.
- Stability: Always ensure the stand is placed on a flat, stable surface to prevent tipping. The wide base and reinforced wood bars contribute to its stability.

Figure 5: The 5-tier high-low structure, designed for optimal sunlight exposure for all plants.
6. Maintenance
Proper care will extend the life and appearance of your plant stand.
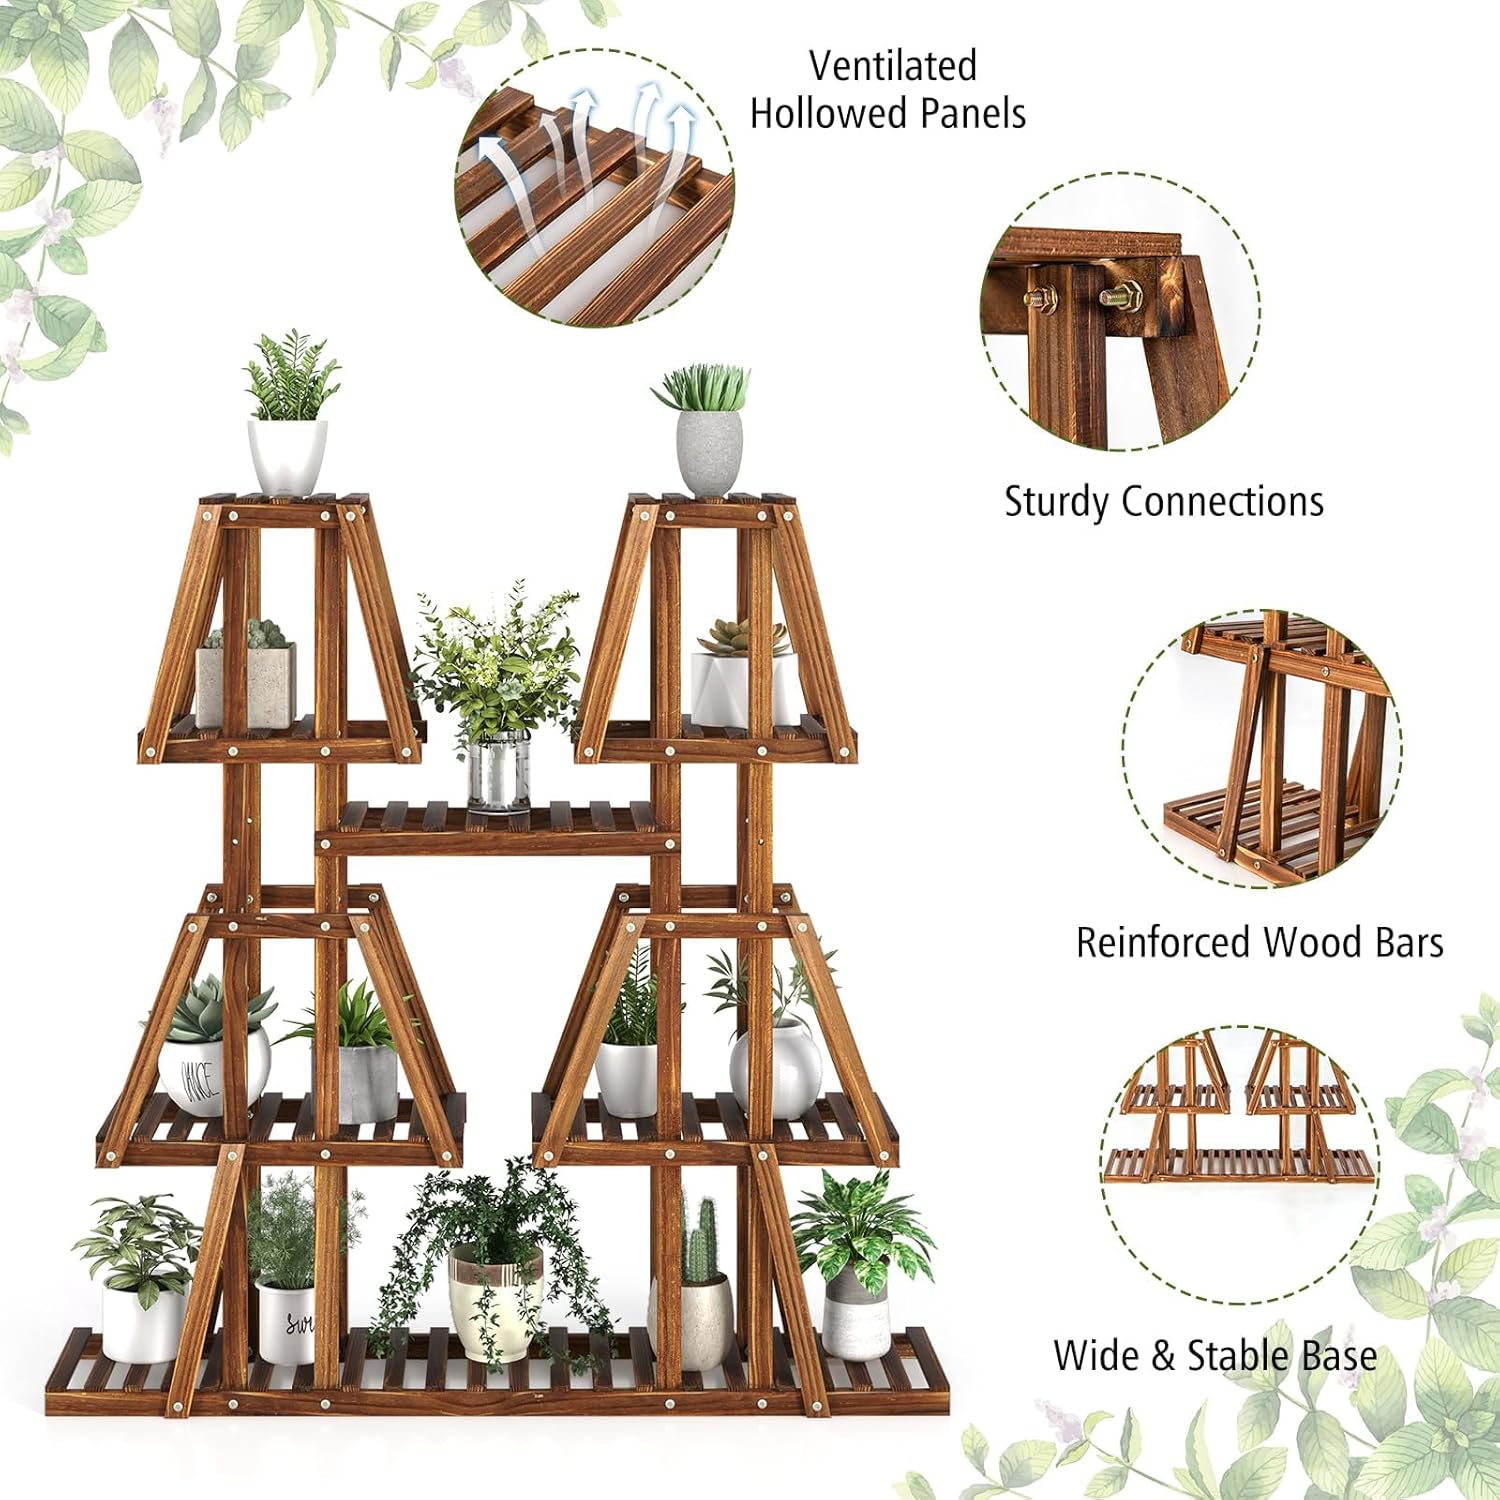
Figure 6: The plant stand is crafted from carbonized pine wood, known for its durability.
- Cleaning: Wipe the stand with a soft, damp cloth to remove dust and dirt. Avoid using harsh chemicals or abrasive cleaners, which can damage the wood finish.
- Spills: Immediately wipe up any water spills from potted plants to prevent water stains or damage to the wood.
- Tighten Fasteners: Periodically check all screws and bolts and tighten them as needed to ensure the stand remains stable.
- Protection: For outdoor use, consider applying a wood sealant annually to further protect the carbonized pine wood from the elements.
- Ventilation: The ventilated hollowed panels promote air circulation, which is beneficial for plants and helps prevent moisture buildup. Ensure these panels remain clear of debris.

Figure 7: Design features like ventilated panels and reinforced bars aid in maintenance and stability.
7. Troubleshooting
| Problem | Possible Cause | Solution |
|---|---|---|
| Stand is wobbly/unstable | Loose fasteners; uneven surface; incorrect assembly. | Ensure all screws and bolts are tightened. Move the stand to a level surface. Review assembly steps. |
| Missing parts | Packaging error. | Do not proceed with assembly. Contact Giantex customer support with your purchase details. |
| Difficulty aligning holes during assembly | Screws overtightened prematurely; incorrect orientation of parts. | Loosen all fasteners slightly. Ensure parts are oriented as per the manual. Apply gentle pressure to align. |
| Wood appears damaged/splintered | Manufacturing defect; shipping damage. | Contact Giantex customer support with photos of the damage. |
8. Specifications

Figure 8: Product dimensions for the Giantex 5-Tier Wooden Trapezoid Plant Stand.
| Feature | Detail |
|---|---|
| Model Number | TG4114-GT |
| Material | Carbonized Pine Wood |
| Color | Brown |
| Overall Dimensions (L x W x H) | 45" x 11" x 45" (114cm x 27cm x 114cm) |
| Number of Tiers | 5 |
| Assembly Required | Yes |
| Item Shape | Trapezoidal |
9. Warranty & Support
For specific warranty information, please refer to the documentation included with your purchase or visit the official Giantex website. If you encounter any issues or have questions regarding your Giantex 5-Tier Wooden Trapezoid Plant Stand, please contact our customer support team.
Customer Support:
- Website: Visit the Giantex Store on Amazon
- Email: Refer to your purchase invoice or product packaging for direct contact information.
- Phone: Refer to your purchase invoice or product packaging for direct contact information.
Please have your model number (TG4114-GT) and purchase date ready when contacting support.


